Adding a Work Order and Invoice
Click here to edit the description
Select the ‘+’ symbol in the upper right corner of the screen
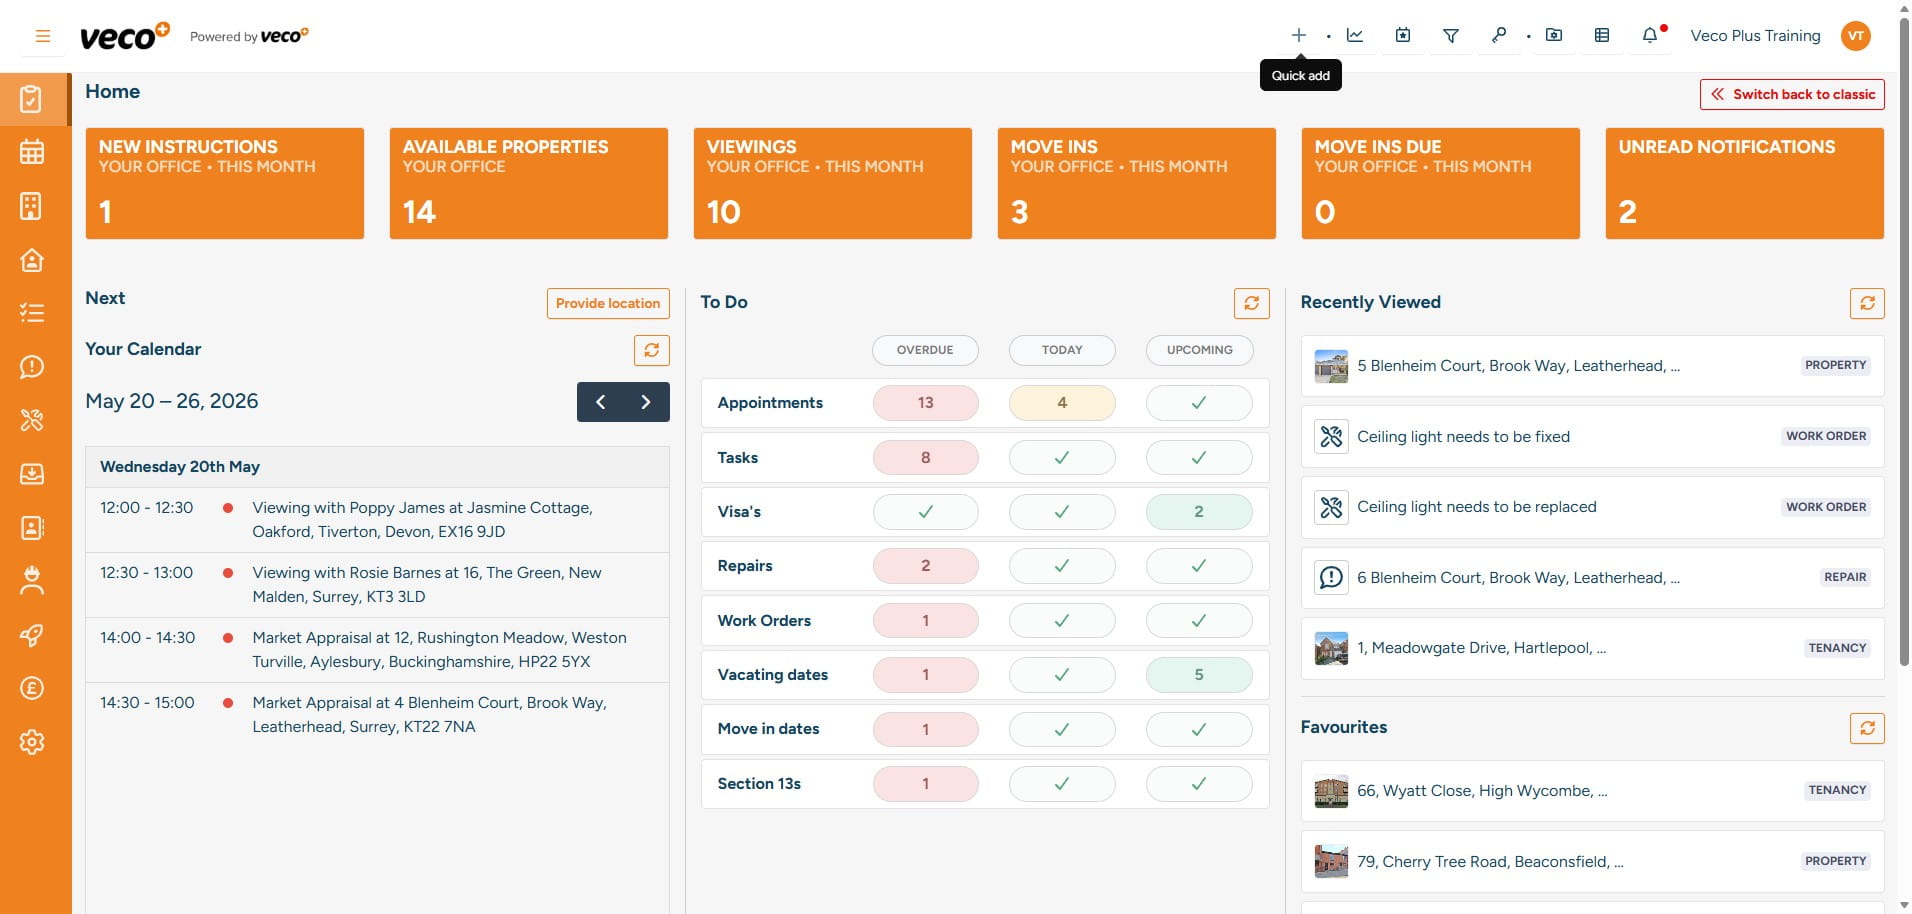
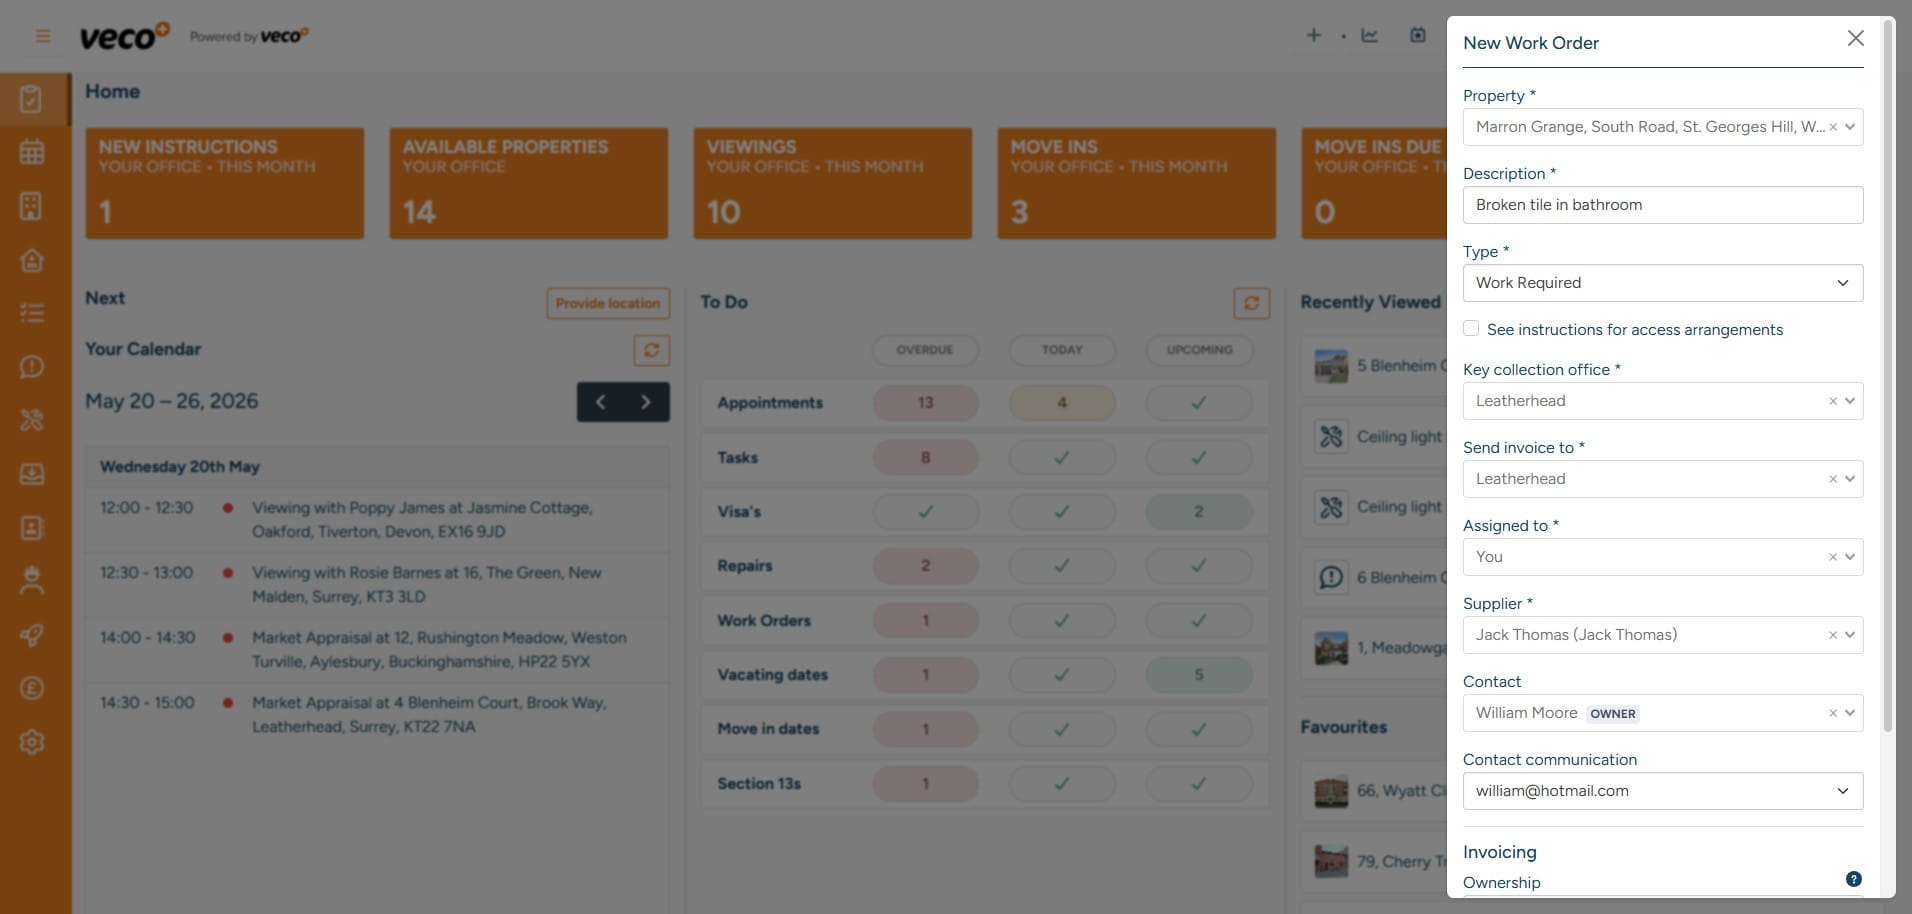
Select 'Work Order'

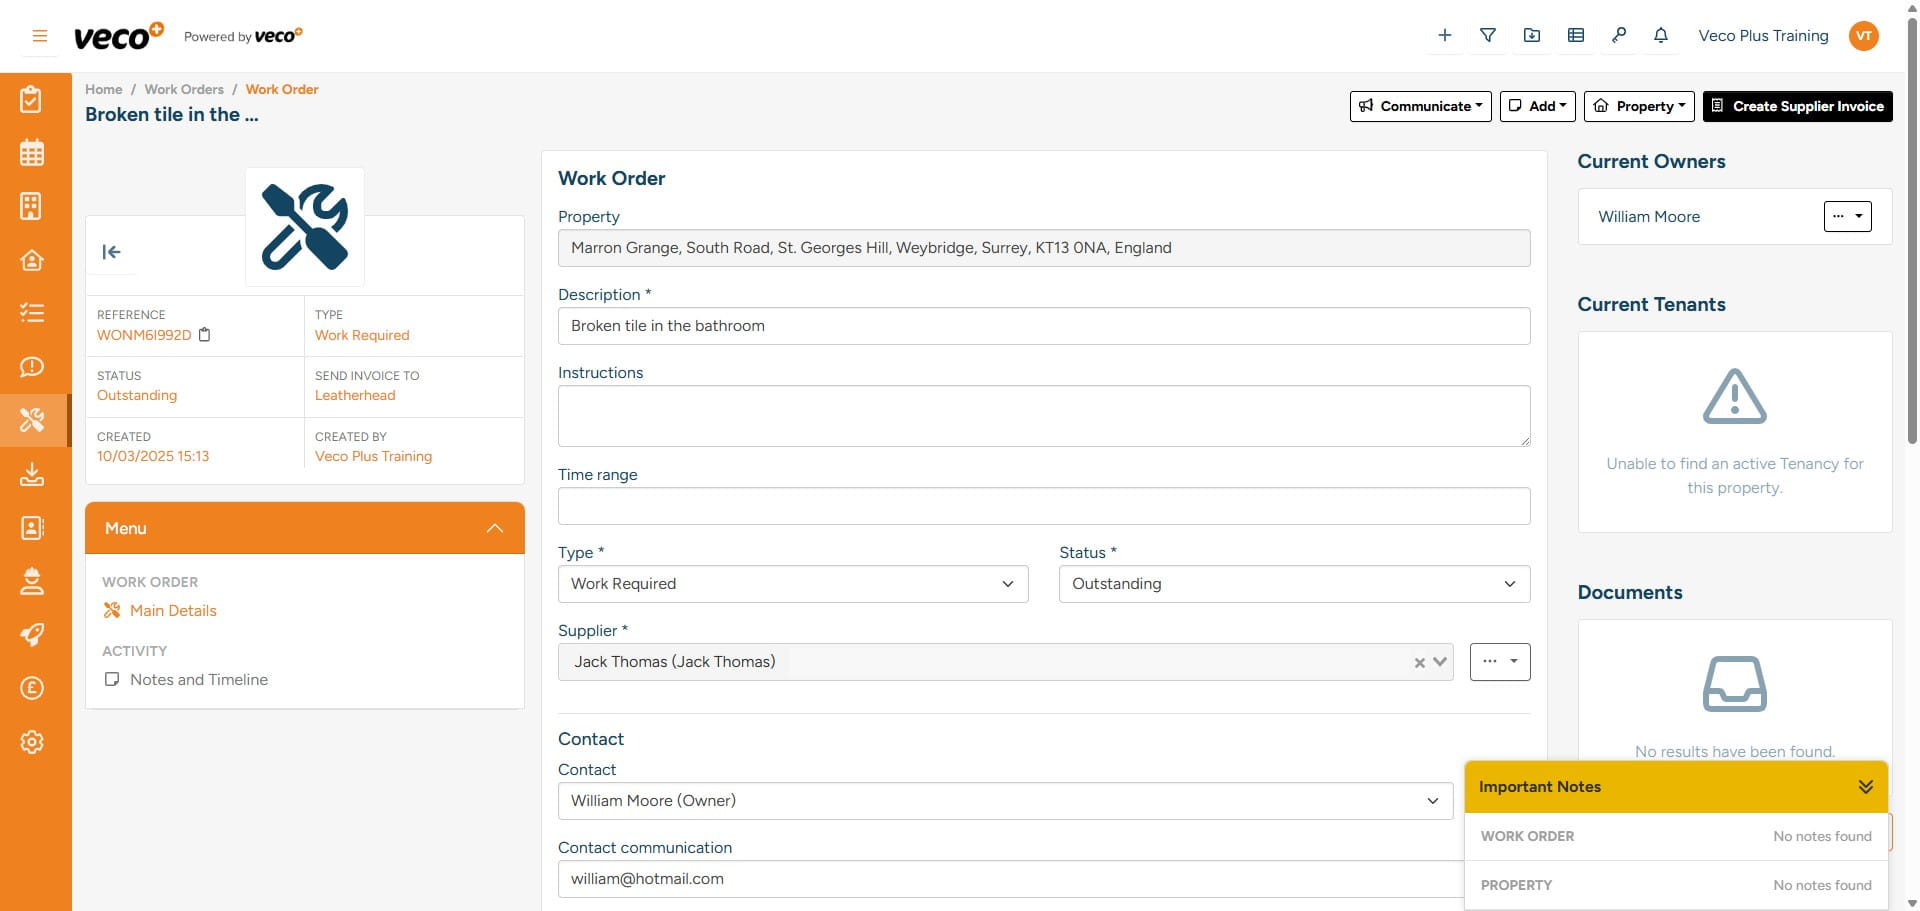
Search for the address the Work Order relates to. Complete the required information – this will include which party will be invoiced for the work
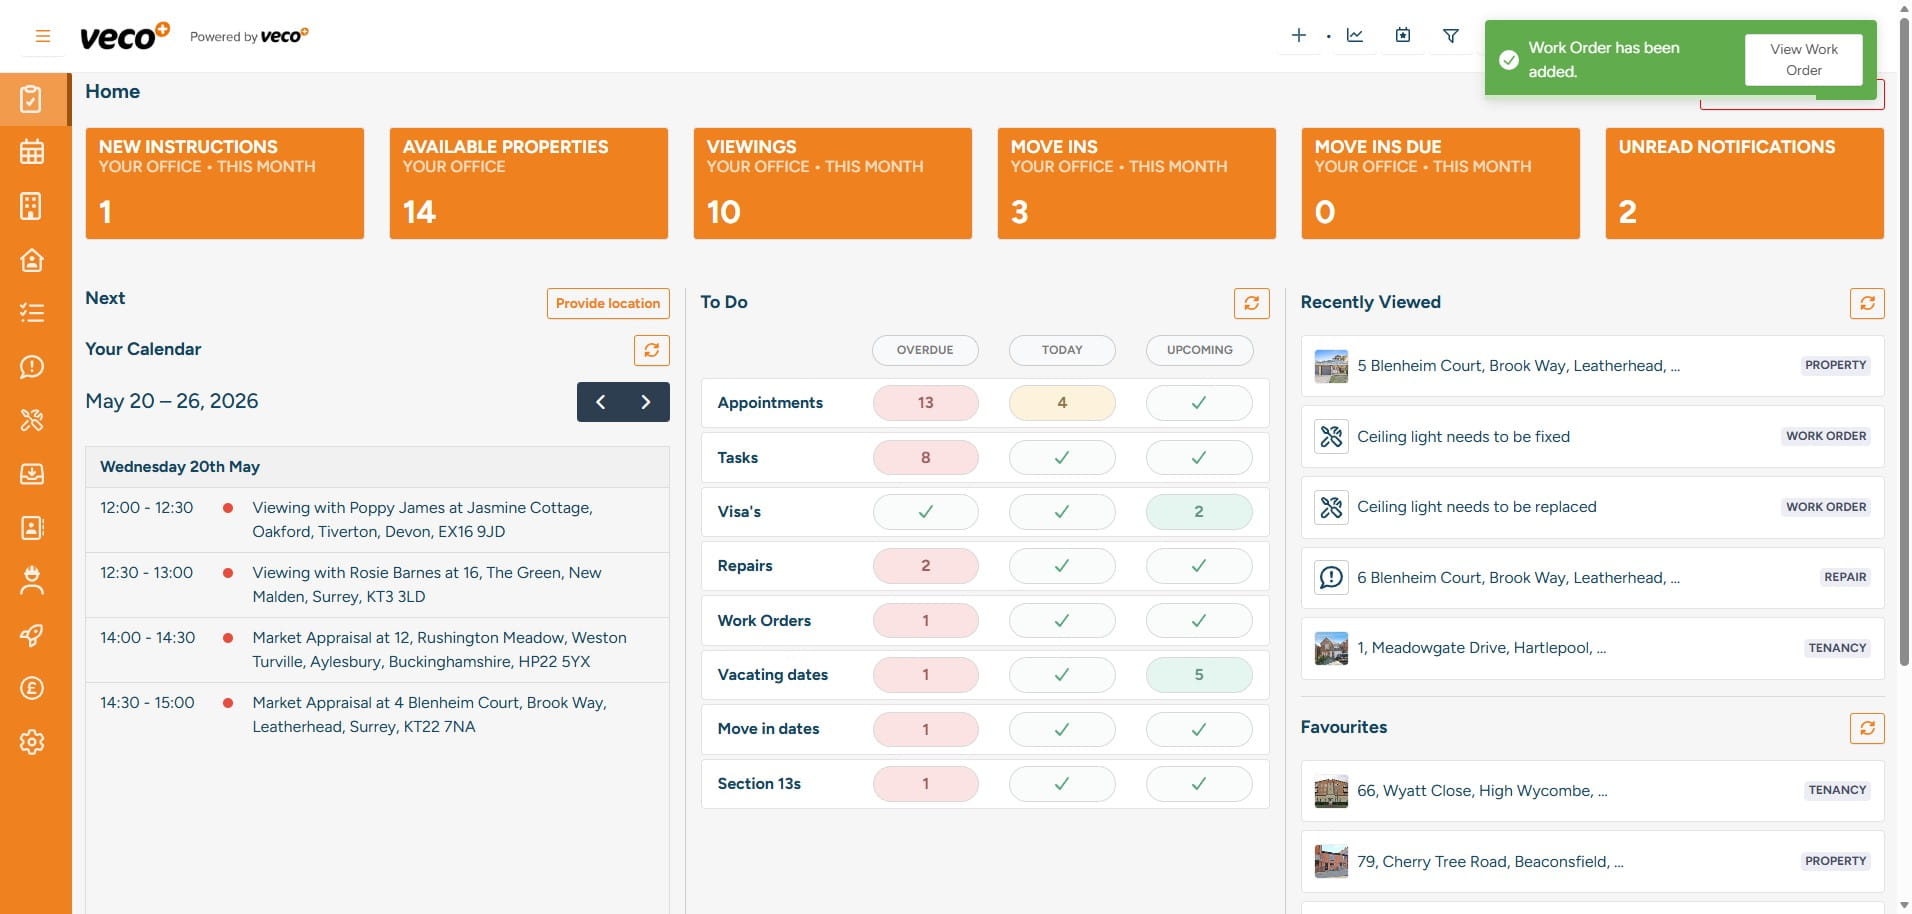
Once ‘Saved’, ‘View Work Order’ will appear in the upper right corner
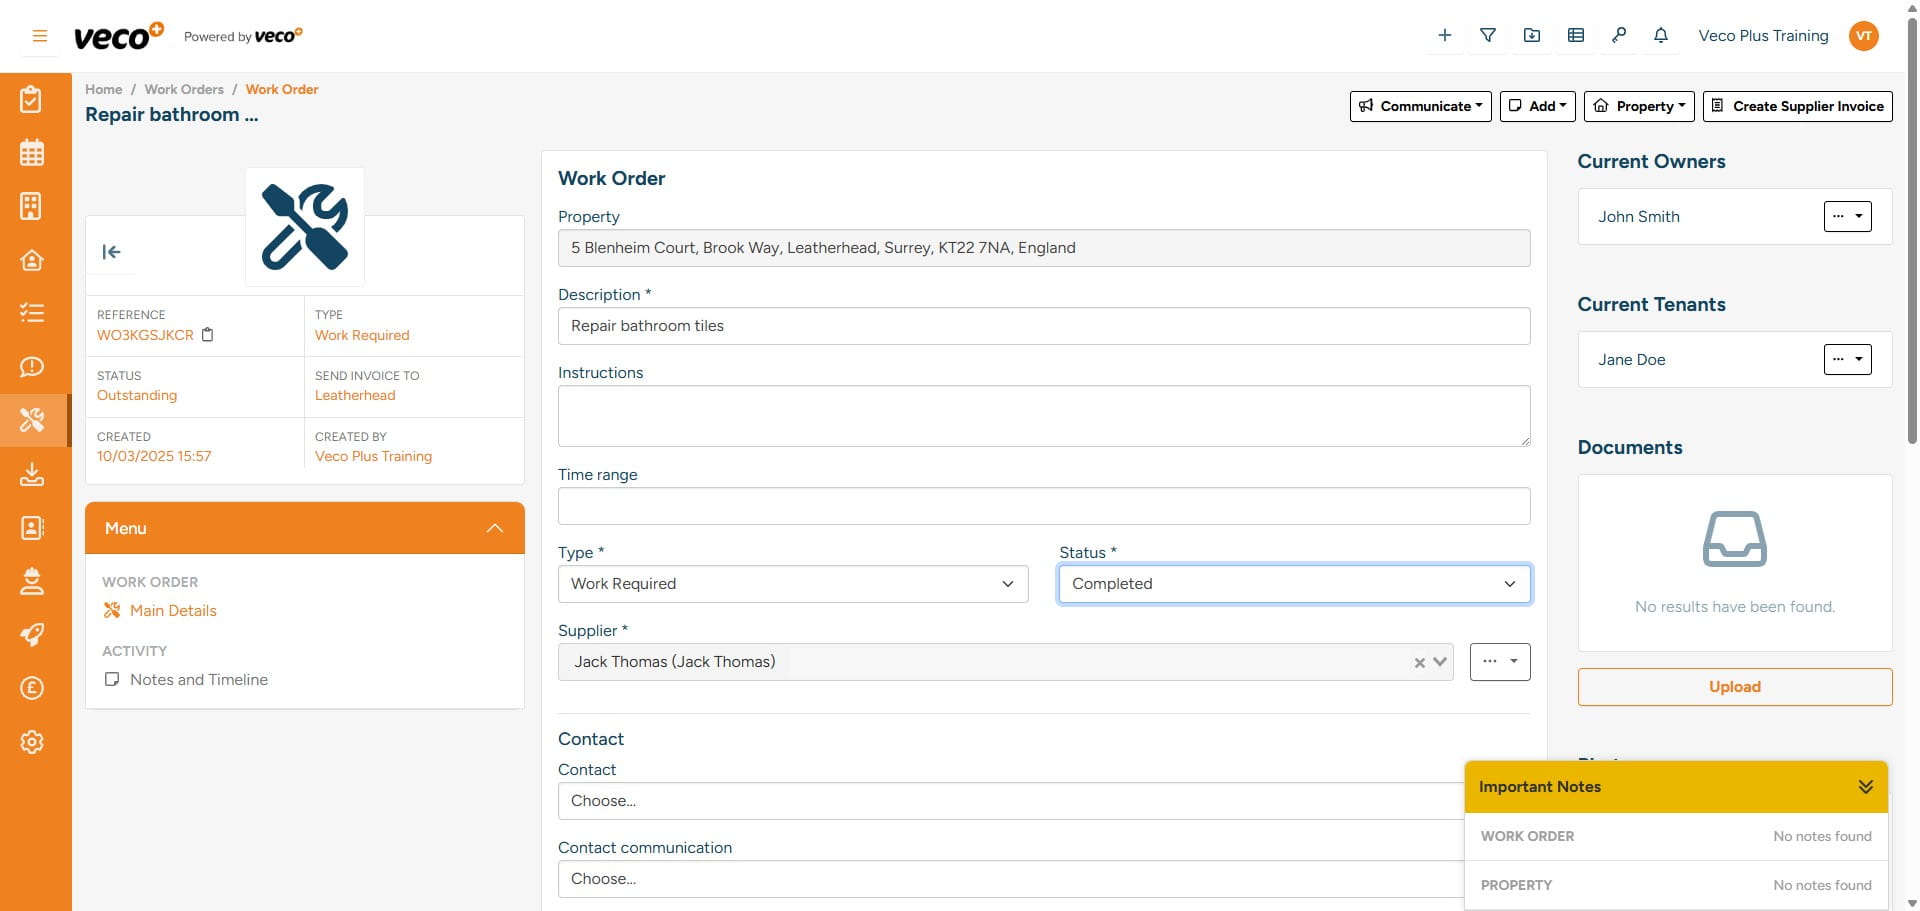
Complete the ‘Instructions’ if applicable - Instructions are used to give the supplier specific job details
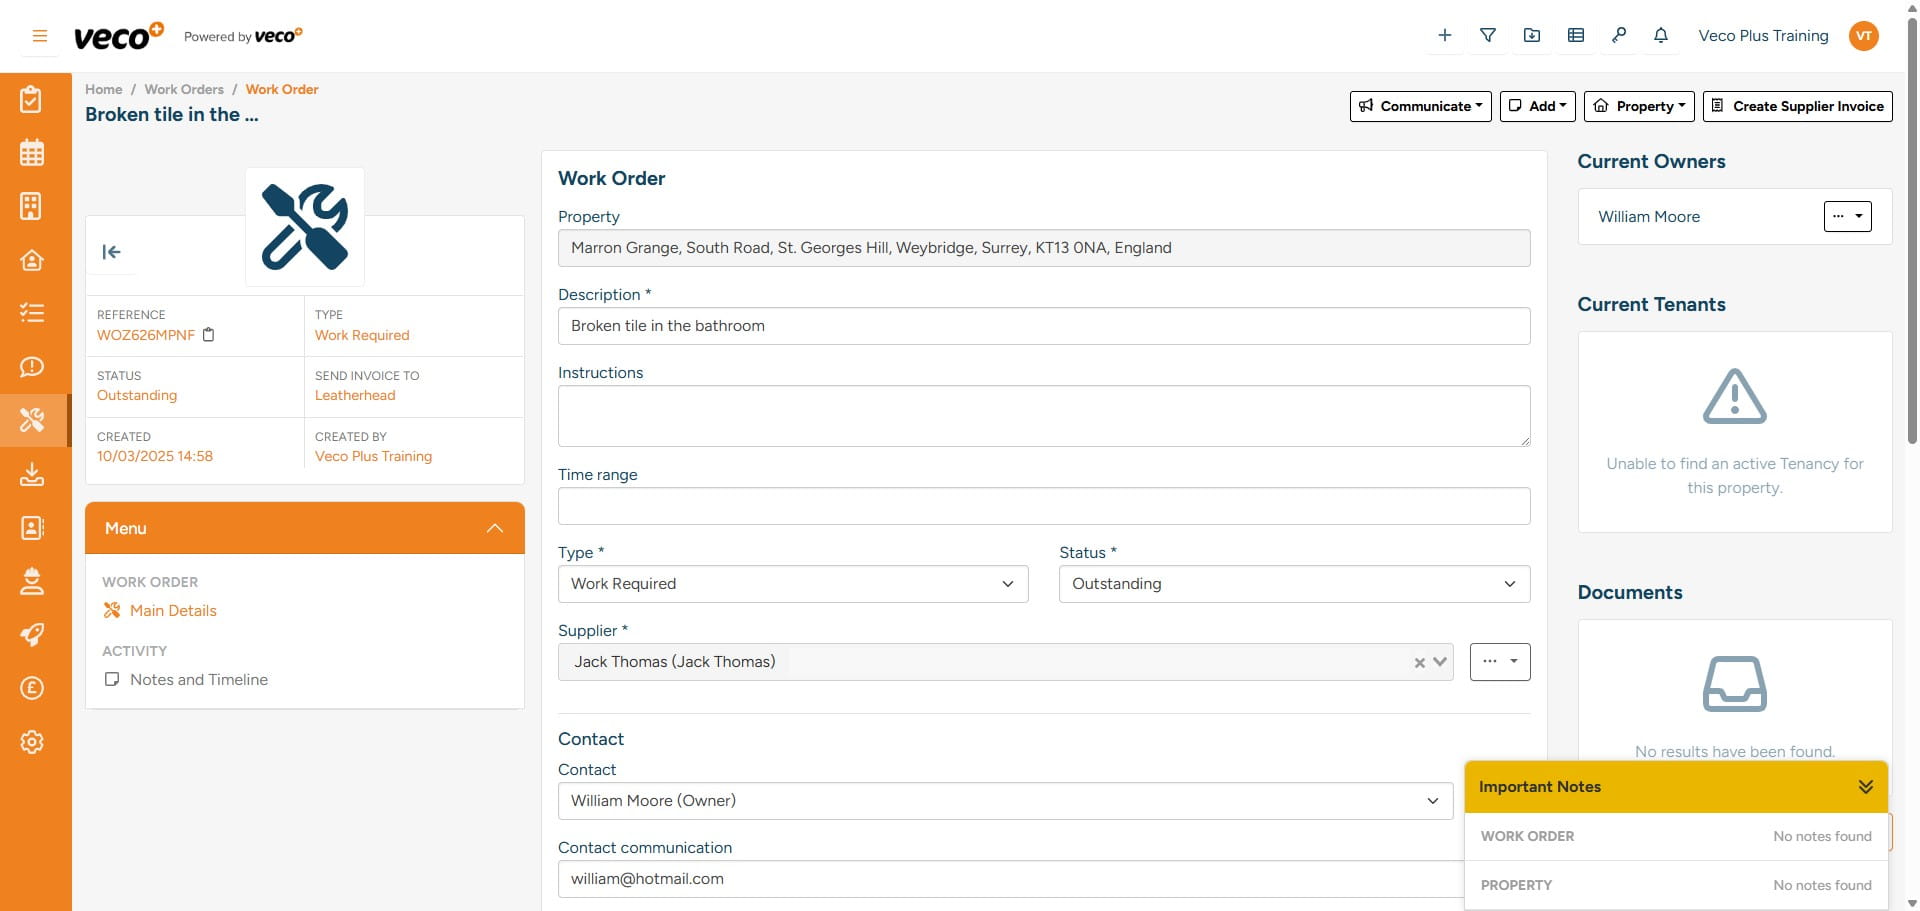
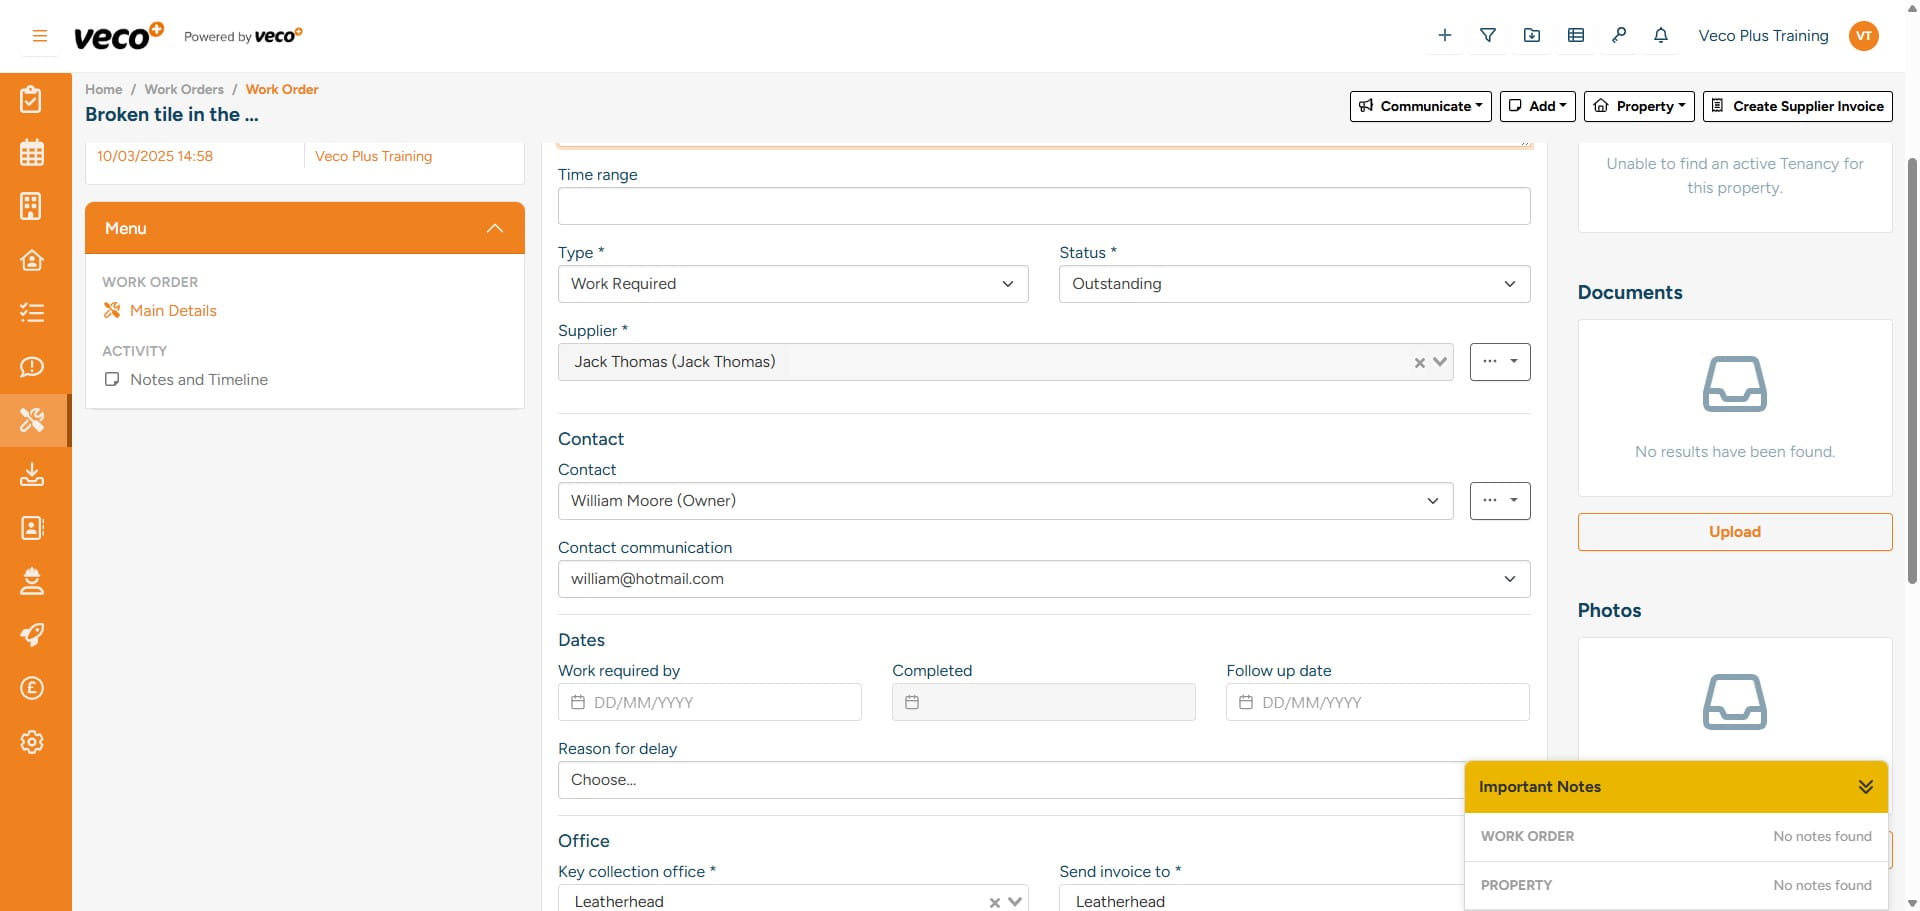
Complete all required information e.g. ‘Work Required By’
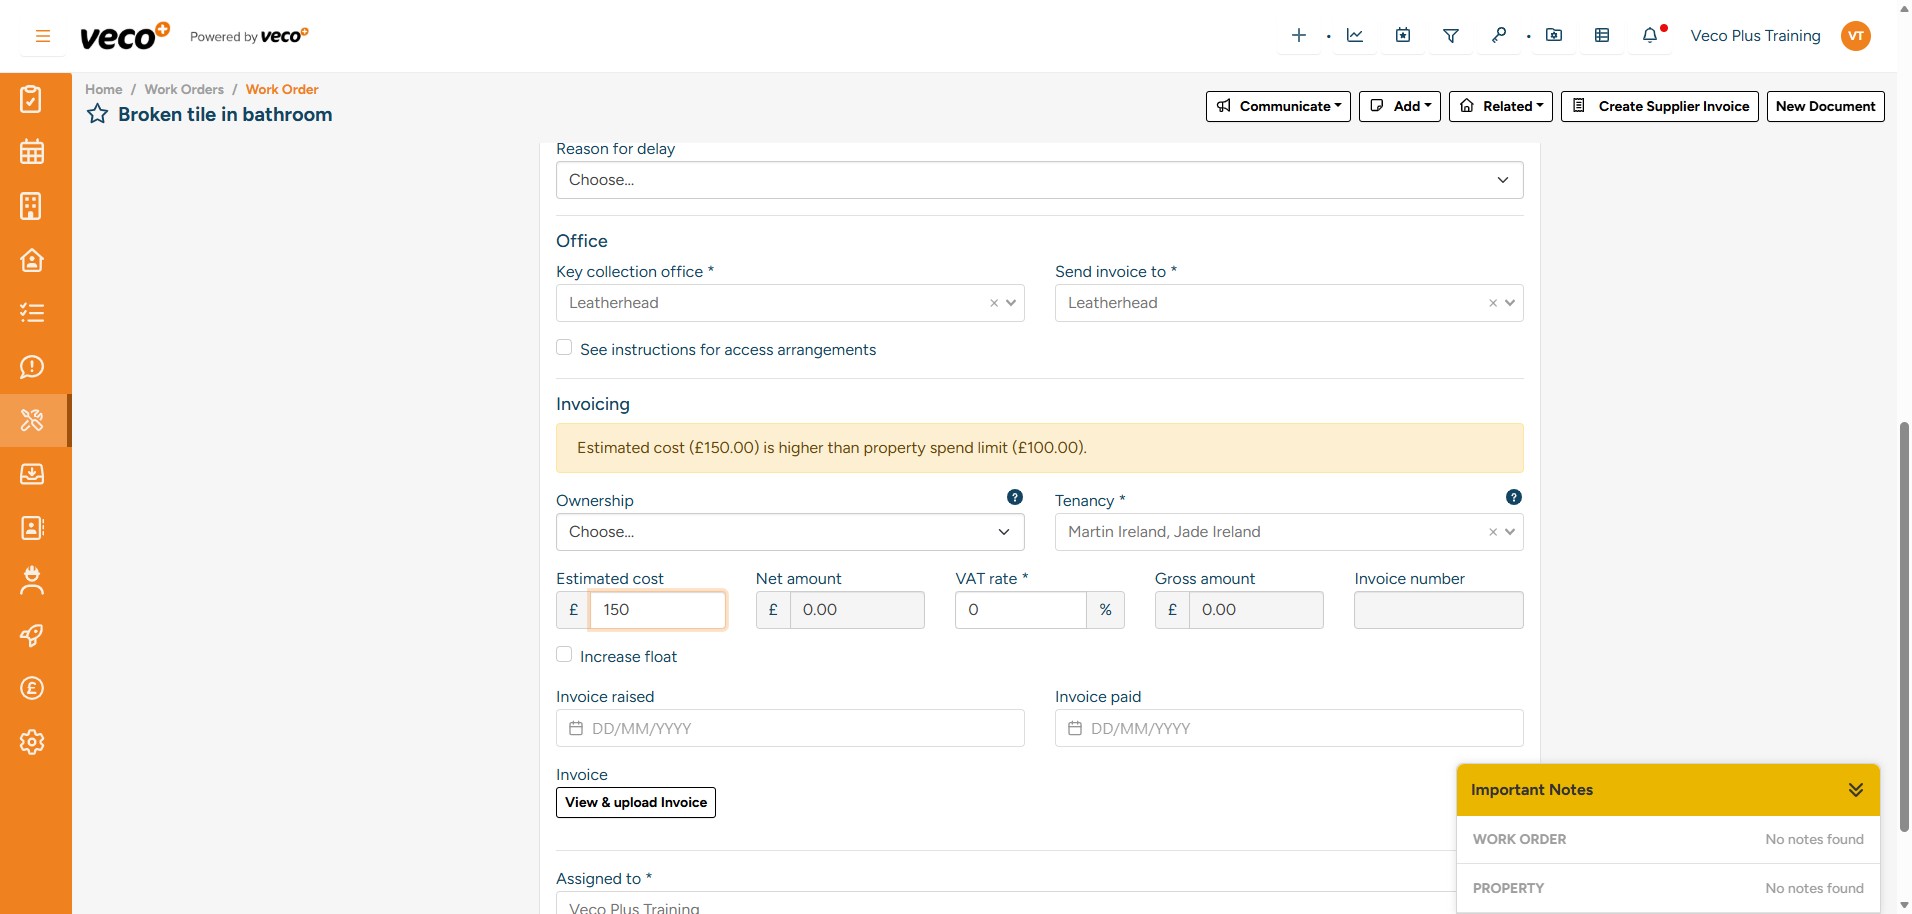
If you have set a spend limit in the property record's maintenance details, you will see an alert if you enter an estimated cost which exceeds that limit
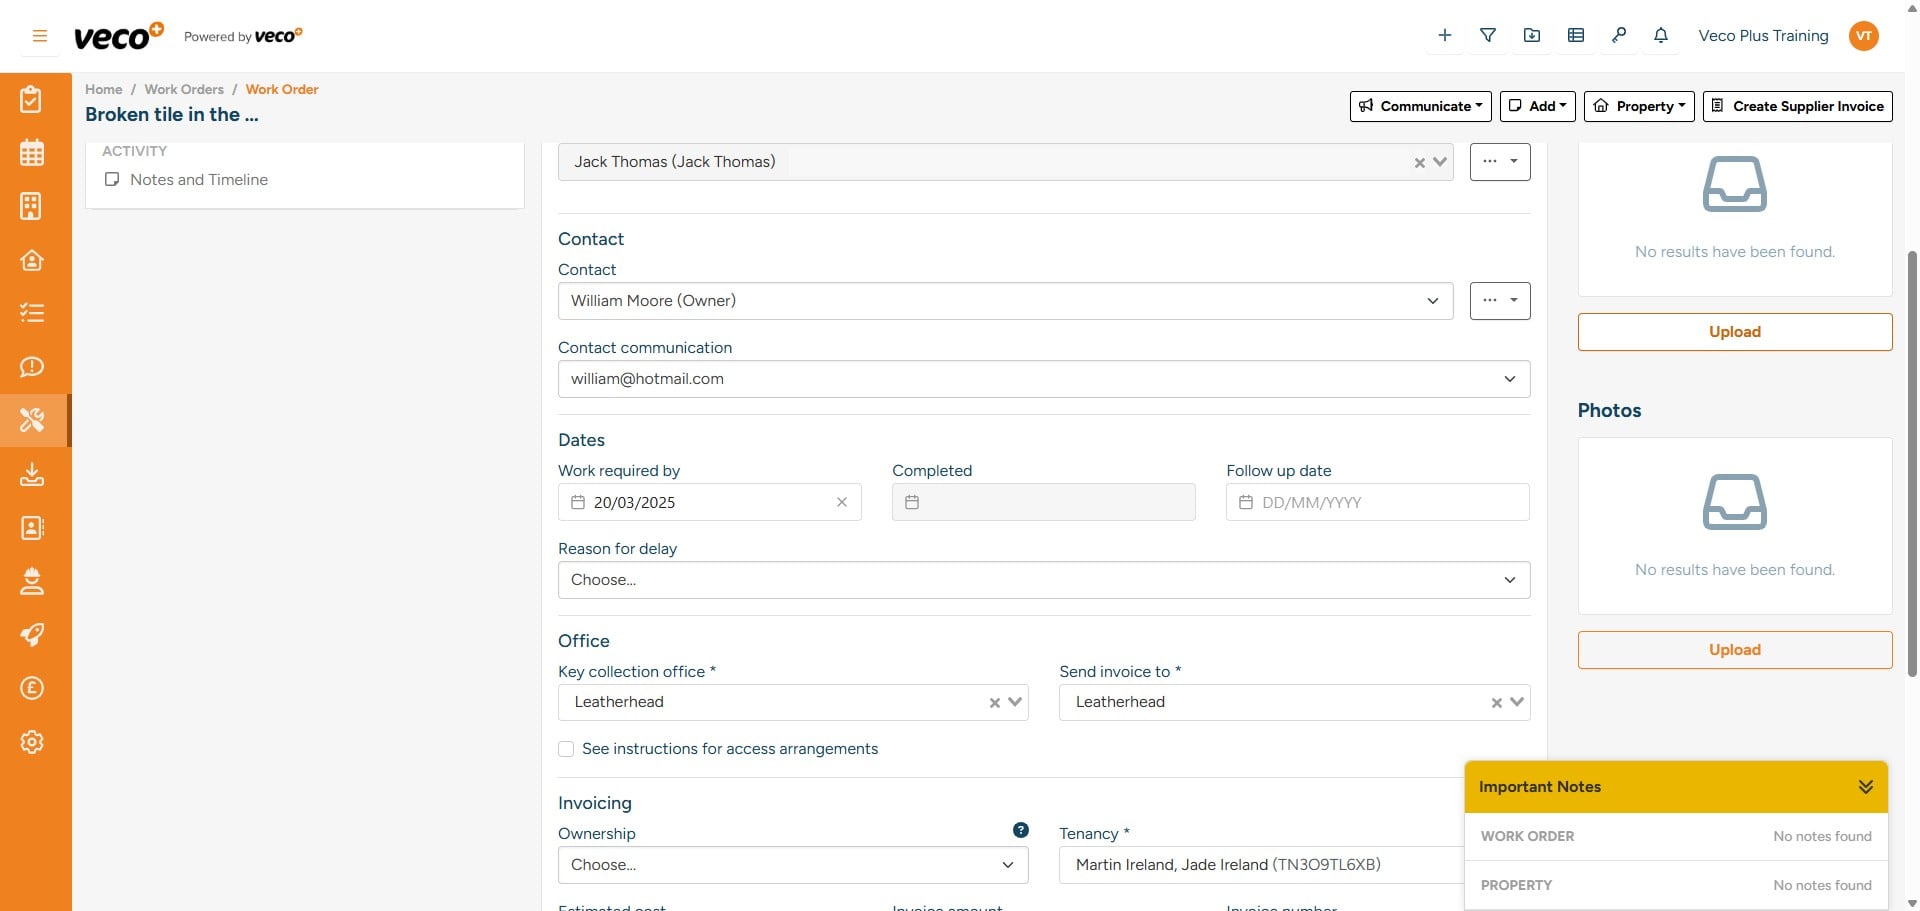
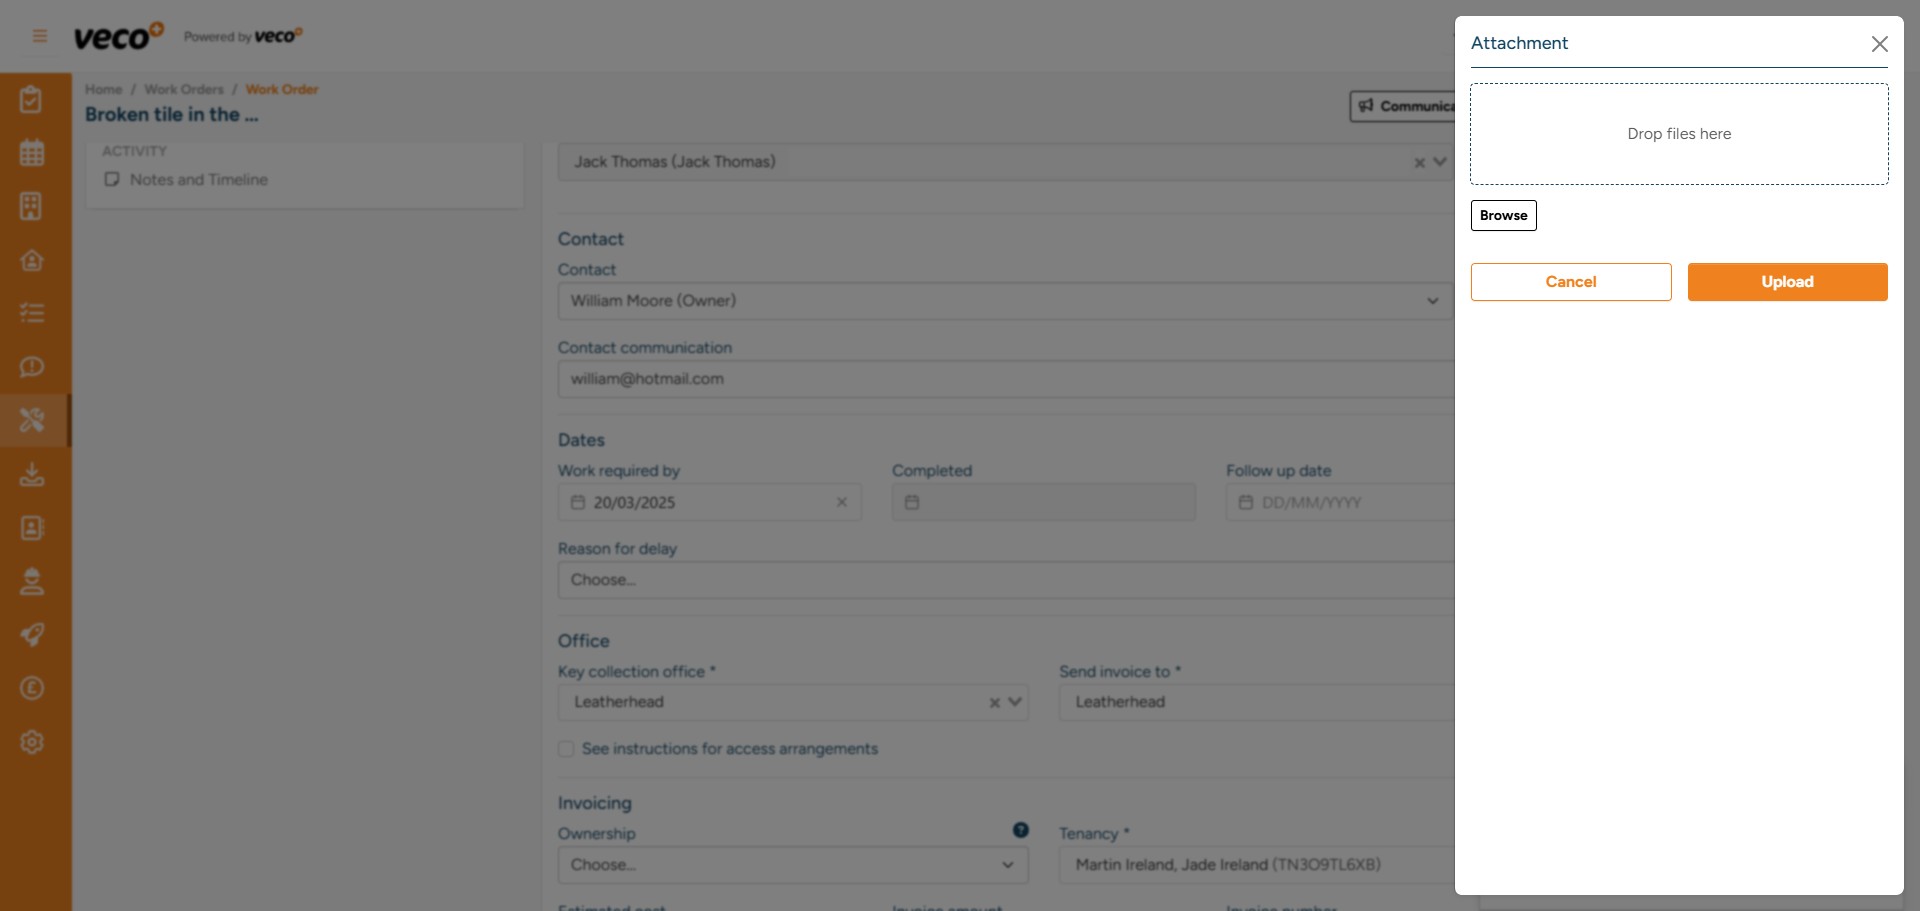
To add documents or photos, select ‘Upload’ on the right side of the ‘Work Order’
Once you select ‘Upload’, you will then be able to browse documents/photos or drag and drop them into the box ‘Drop Files Here’. Then select ‘Upload’
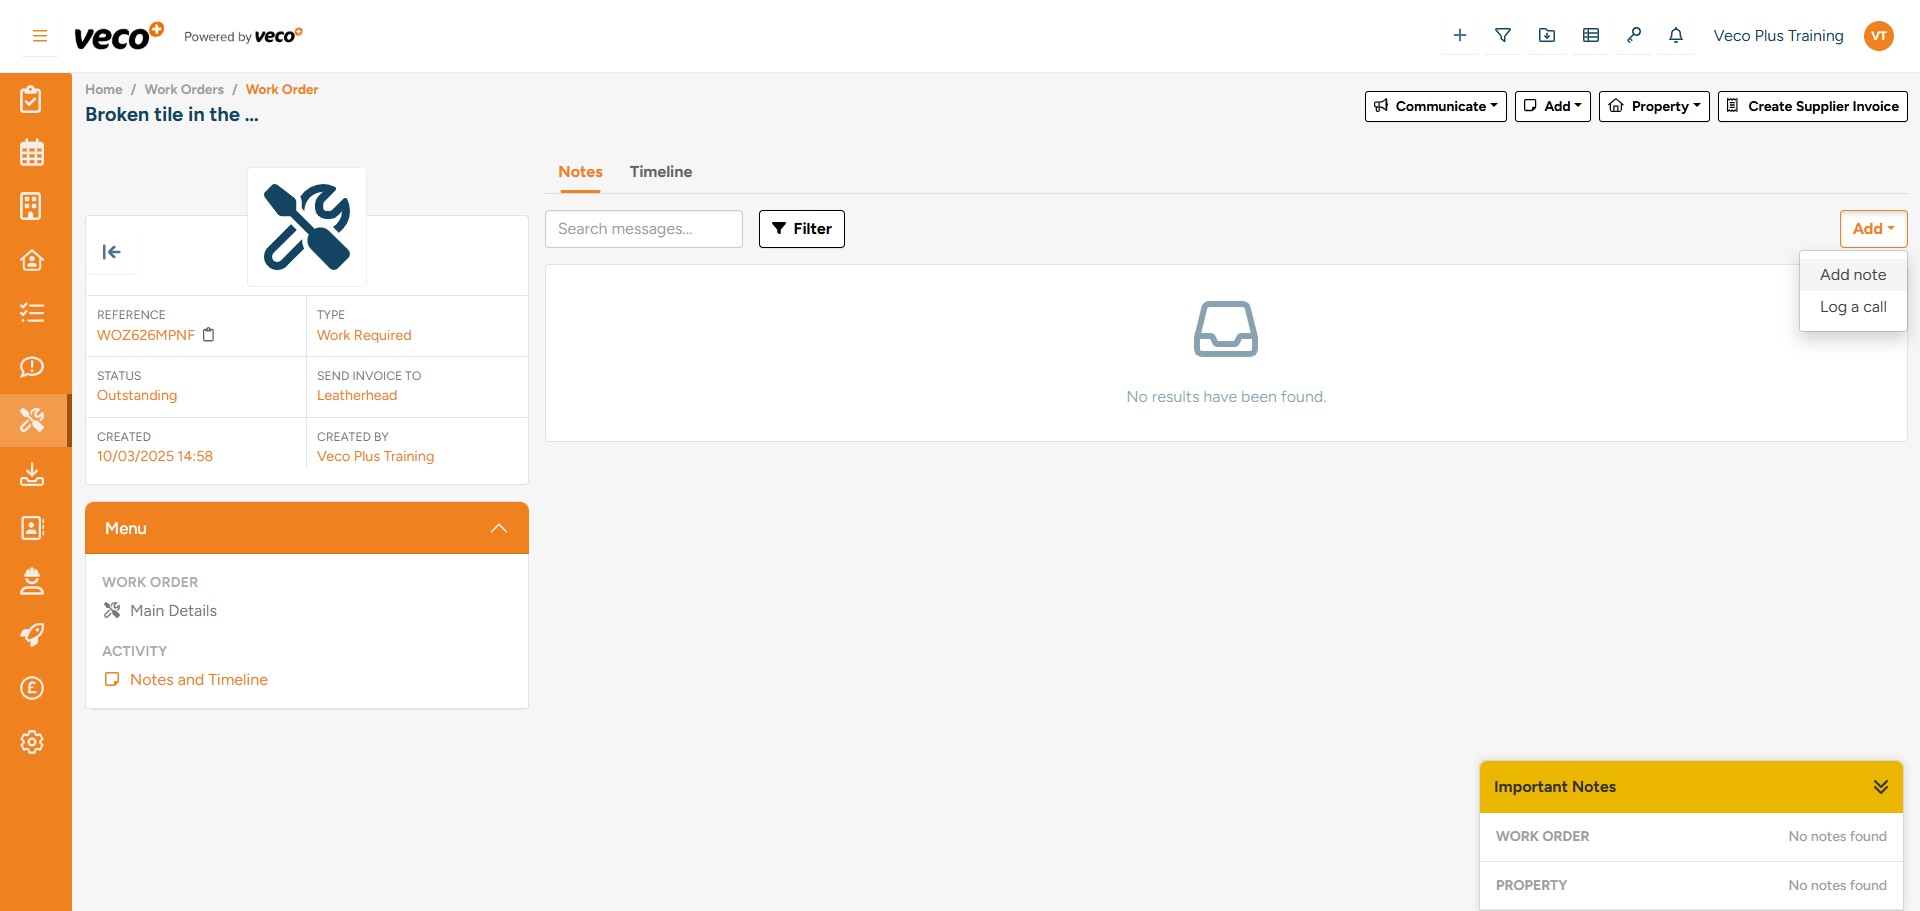
Notes regarding the ‘Work Order’ can be added from ‘Notes and Timeline’ in the menu, then selecting ‘Add’ on the right side of the page. Then select either ‘Add Note’ or ‘Log a call’
Once the Supplier has completed the work and sent over the invoice, on the ‘Main Details’ of the Work Order, you can now add the invoice and invoice information in preparation for payment. Complete the ‘Invoice Amount’ and ‘Invoice Number’ – as shown below
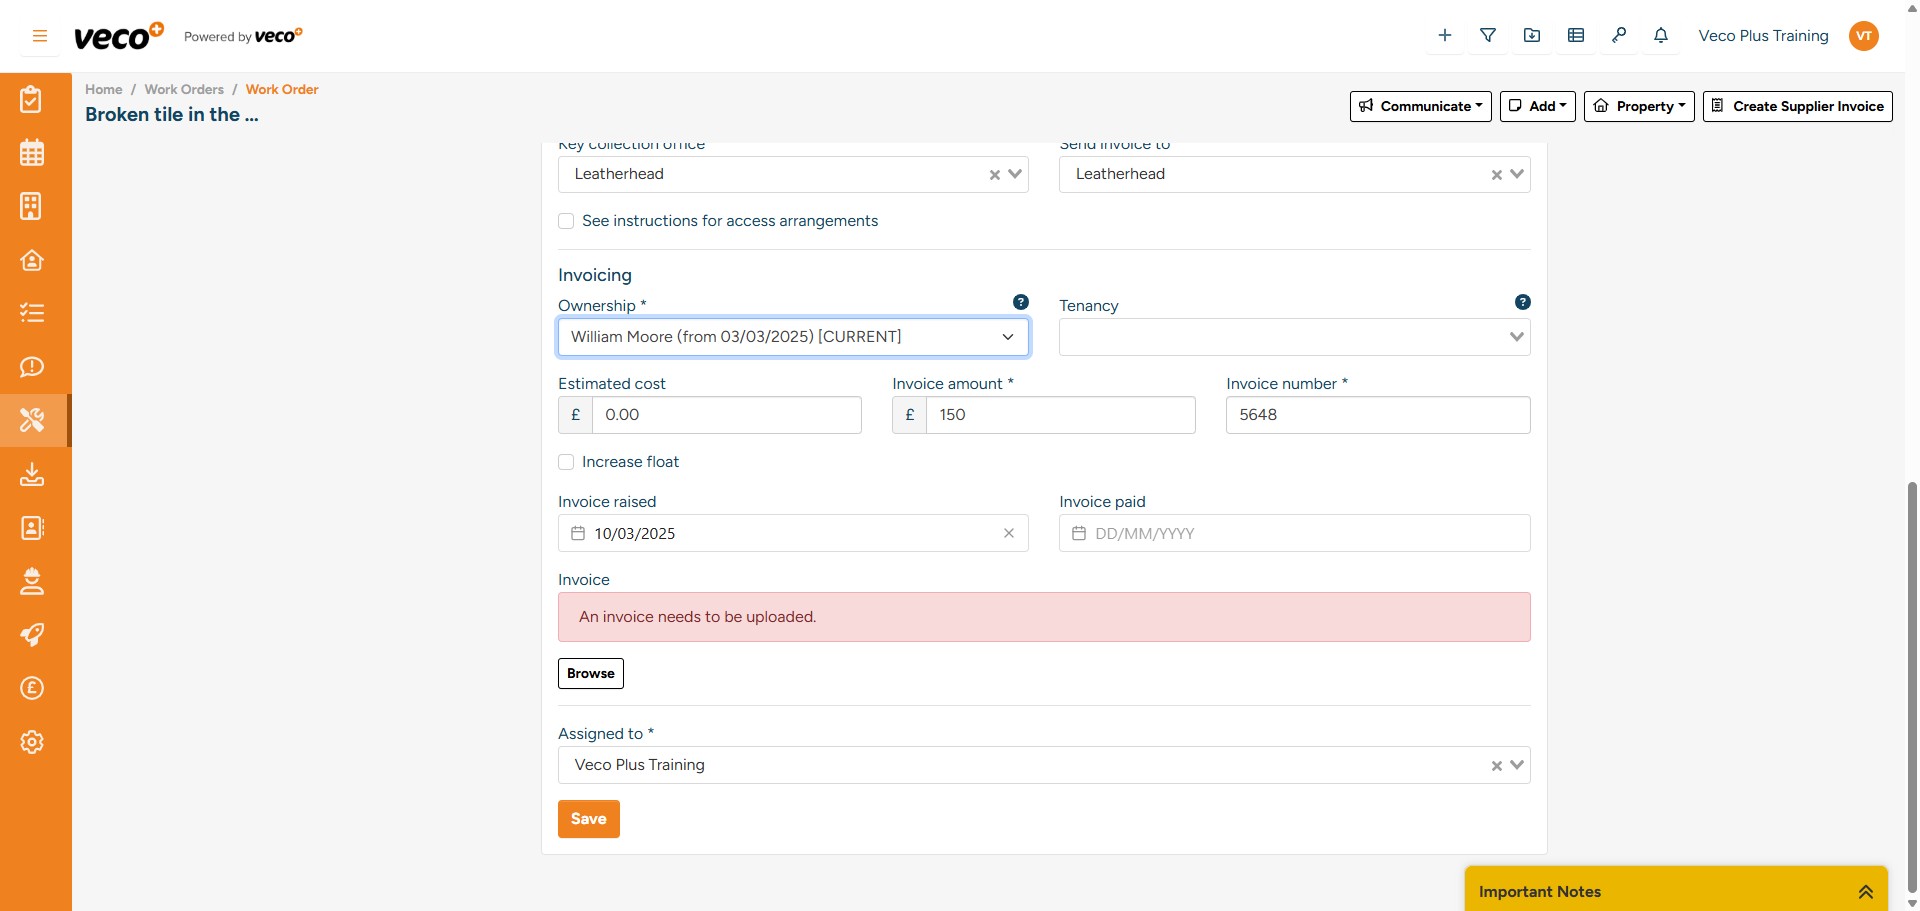
Select ‘Browse’ to attach the invoice document
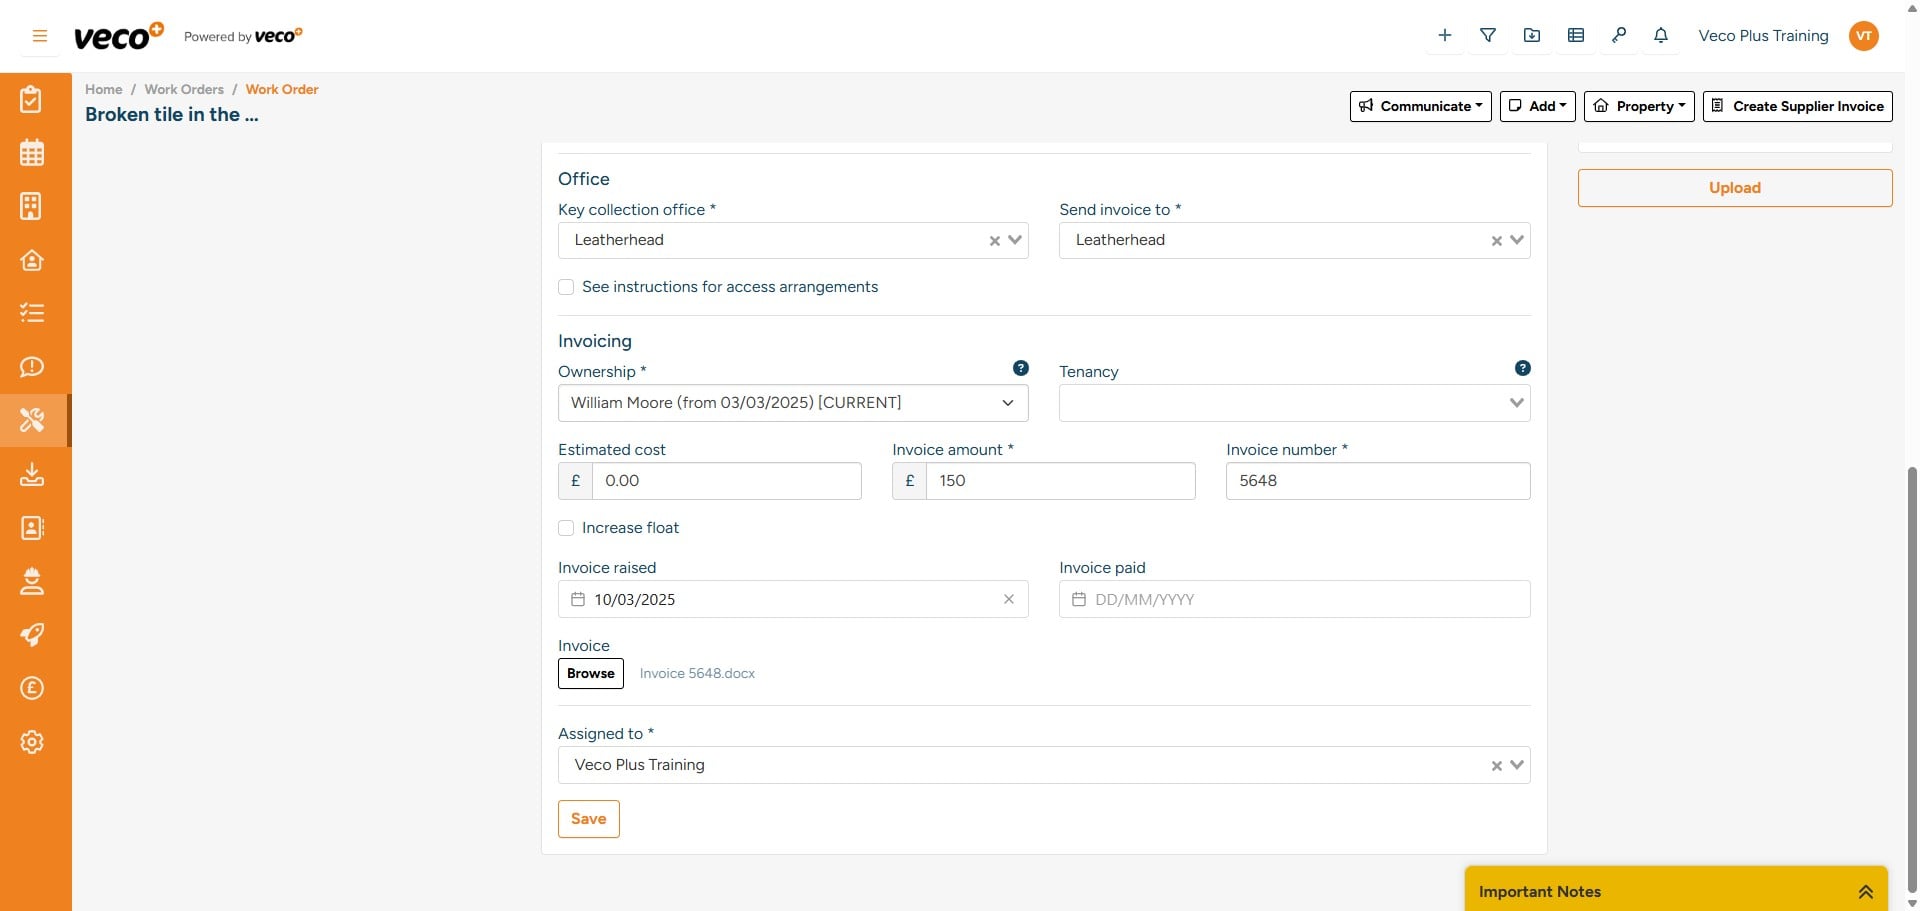
Once the invoice has been uploaded, in the upper right corner there is an option called ‘Create Supplier invoice’ – this will allow you to post a supplier invoice ready for payment
When posting a supplier invoice, it is important to check the Description, Invoice Number and Net amount are all correct – these will be carried over from the information added to the ‘Work Order’
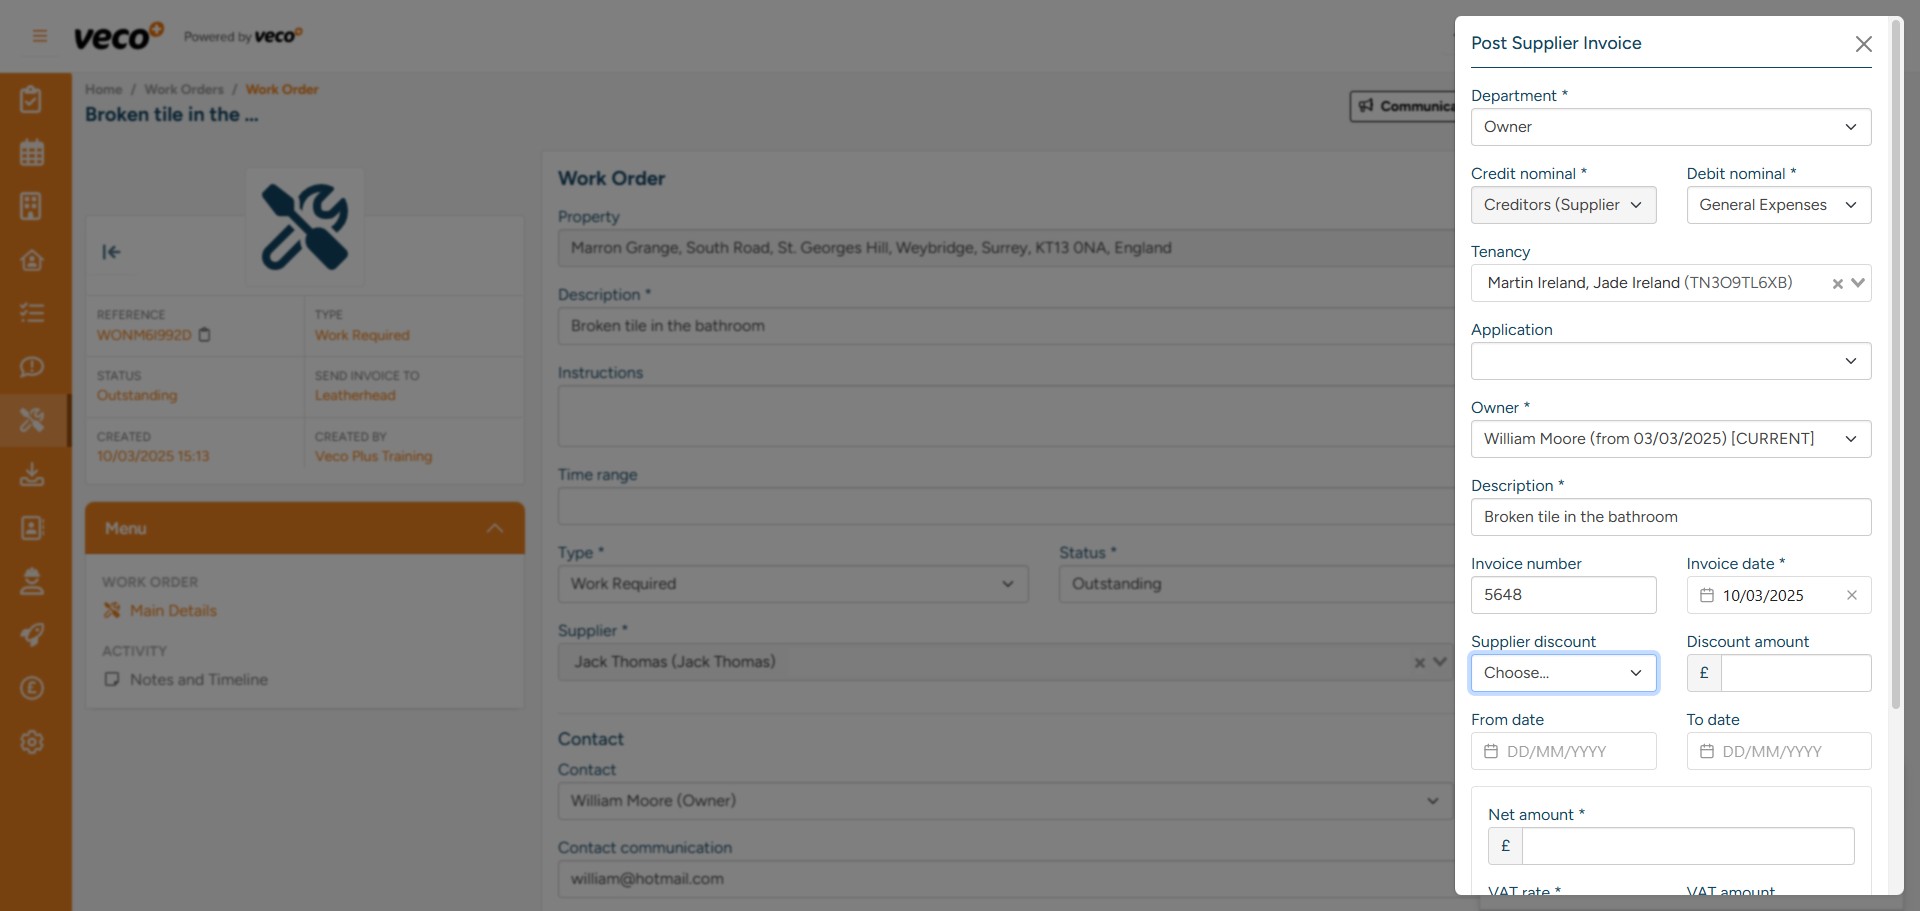
Ensure the correct ‘Debit Nominal’ is selected, this will allow you to identify what the supplier invoice relates to and for reporting purposes
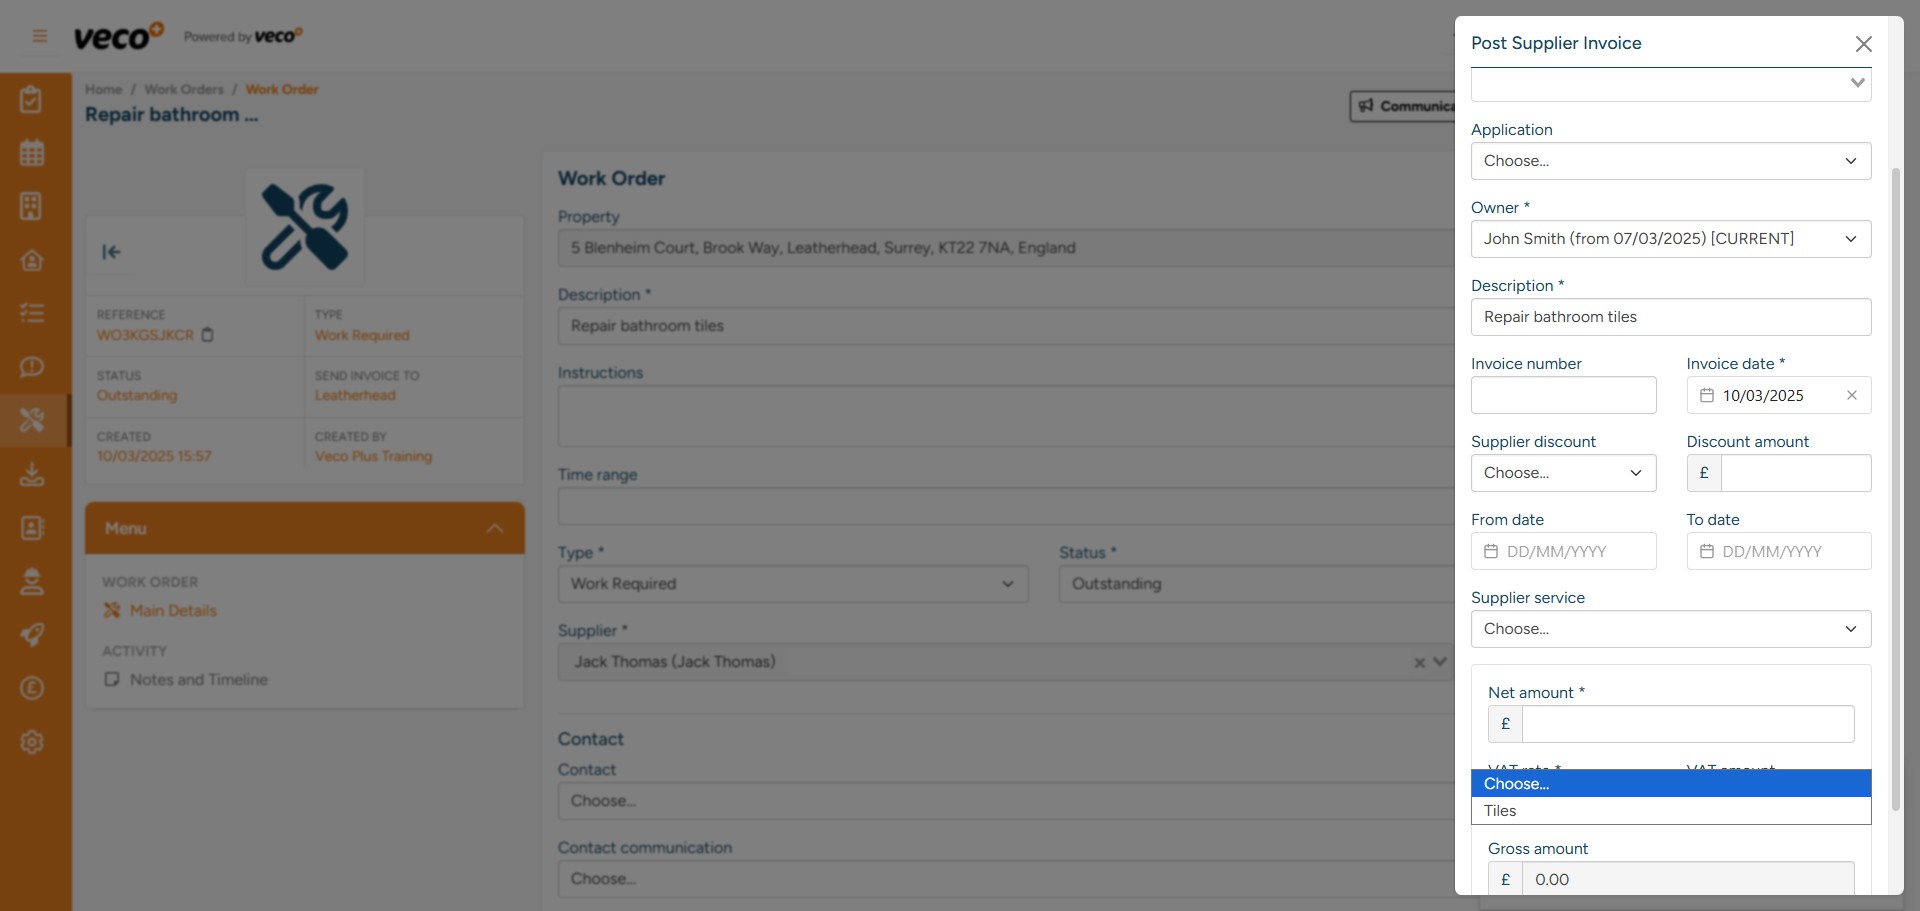
Selected Suppliers may have ‘Services’ they provide that will already be added to their supplier record. When creating the Supplier Invoice, you can select a ‘Service’ if they have been added to the Supplier record. This will then add the correct amount to be invoiced depending on the service
Now the Supplier Invoice has been posted, you will be shown a summary of the transaction. This transaction summary will give you an option to allocate the Supplier Invoice, as there will be no payment to allocate to at this point – select ‘Cancel’
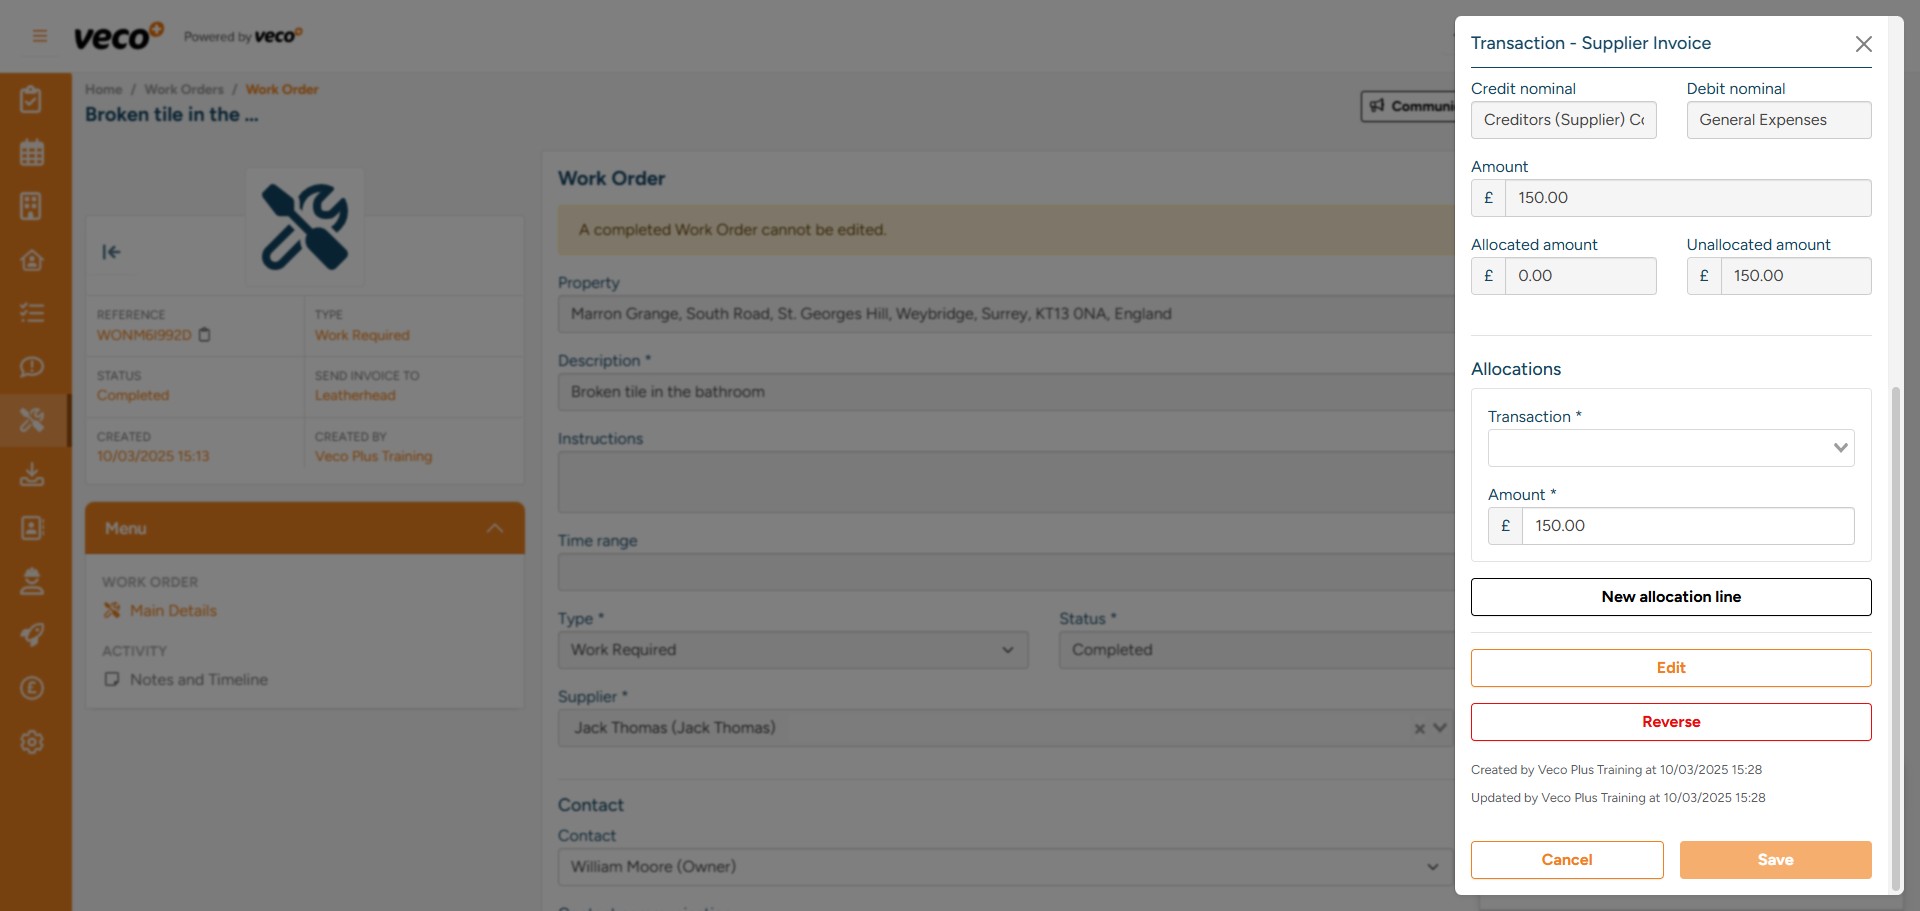
The Work Order will now have a status of ‘Completed’. A completed Work Order cannot be edited. You have now successfully raised a Work Order and created an invoice for the supplier