Accounts Processes
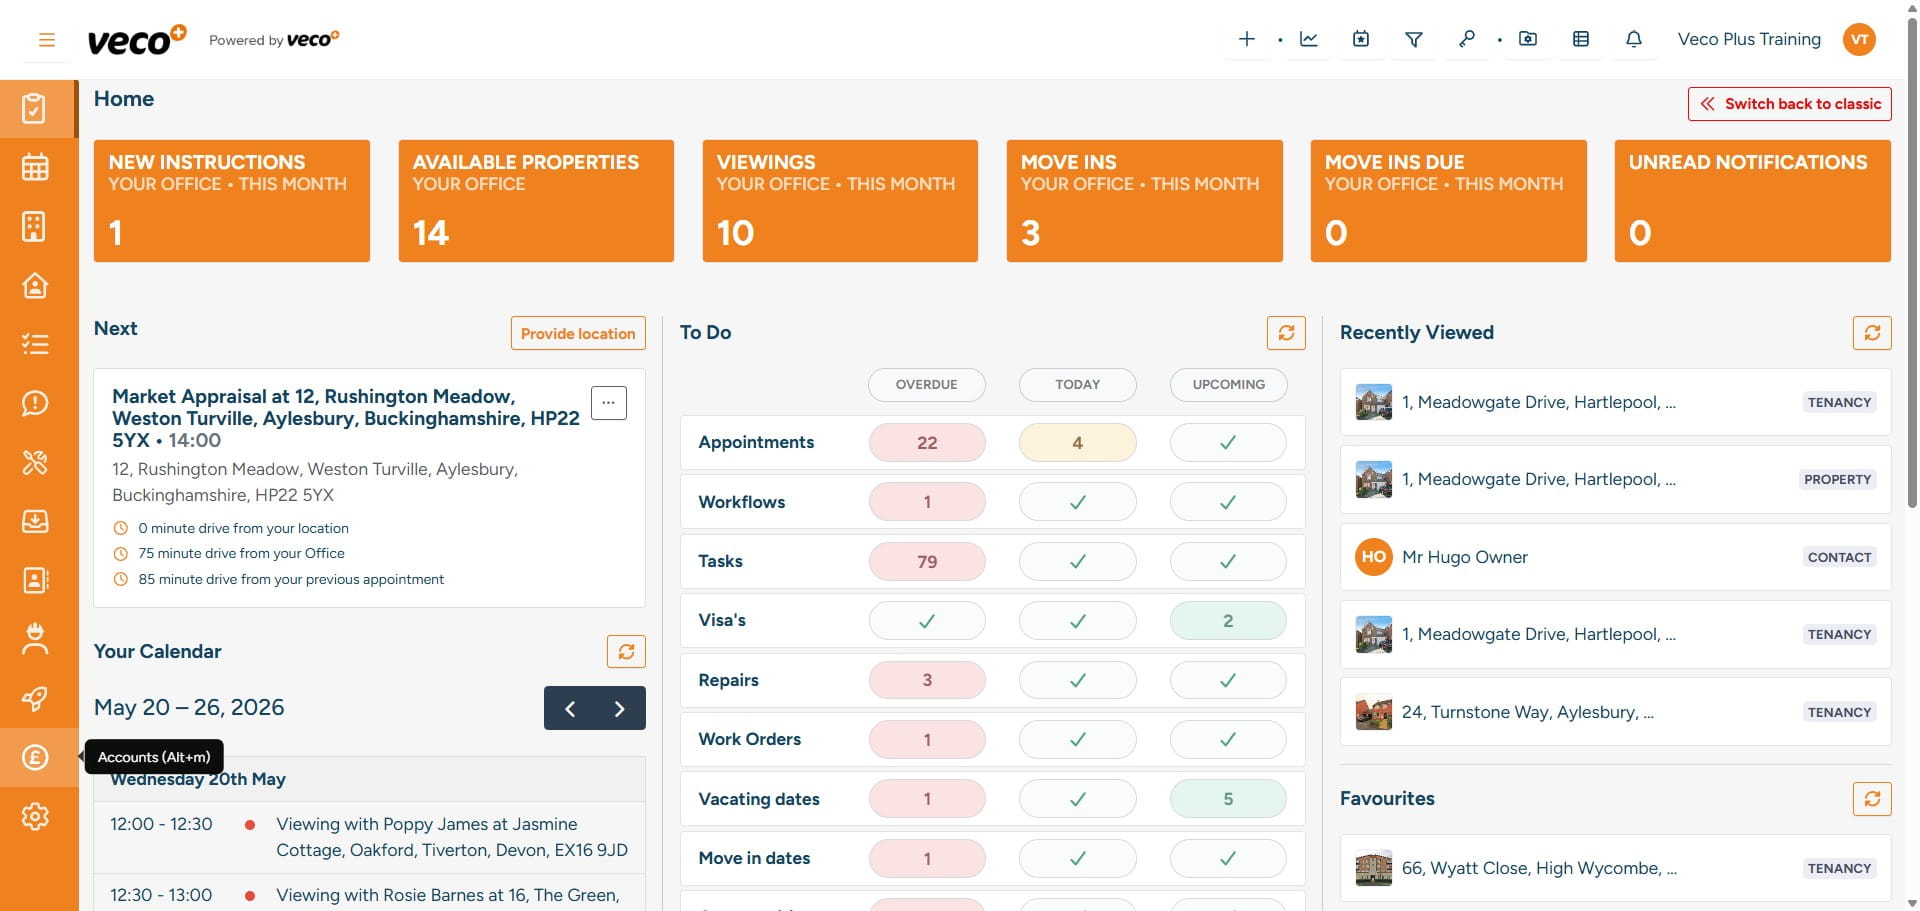
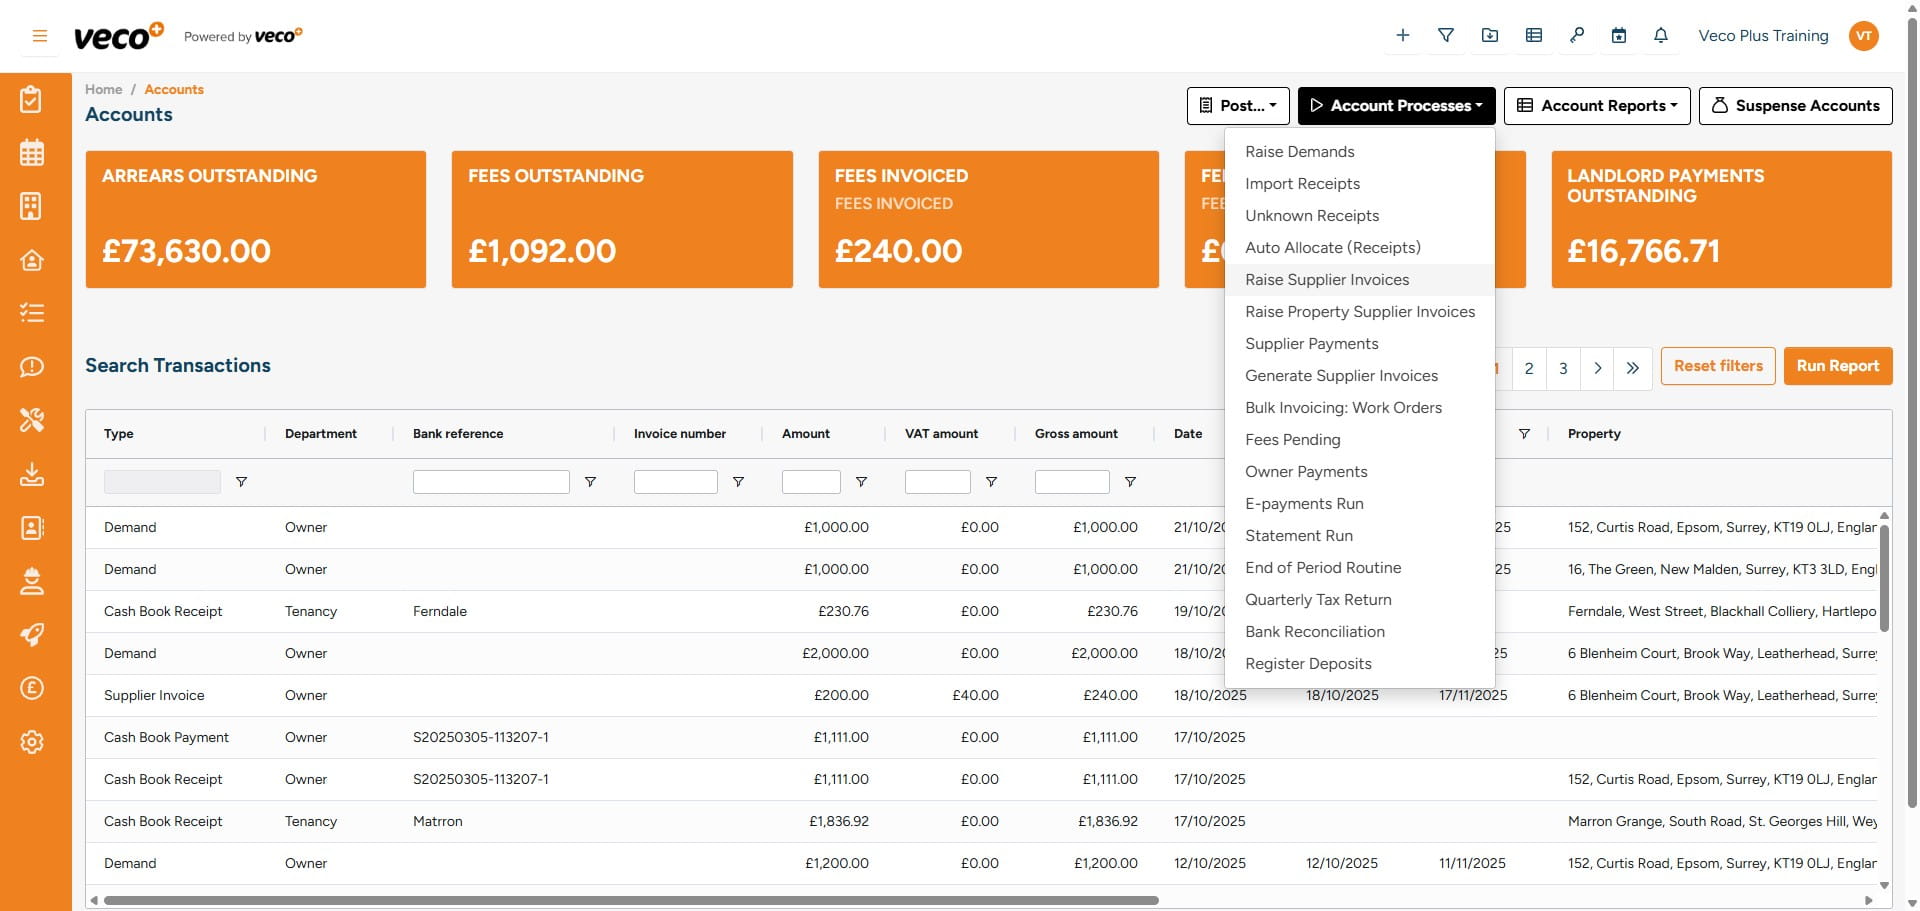
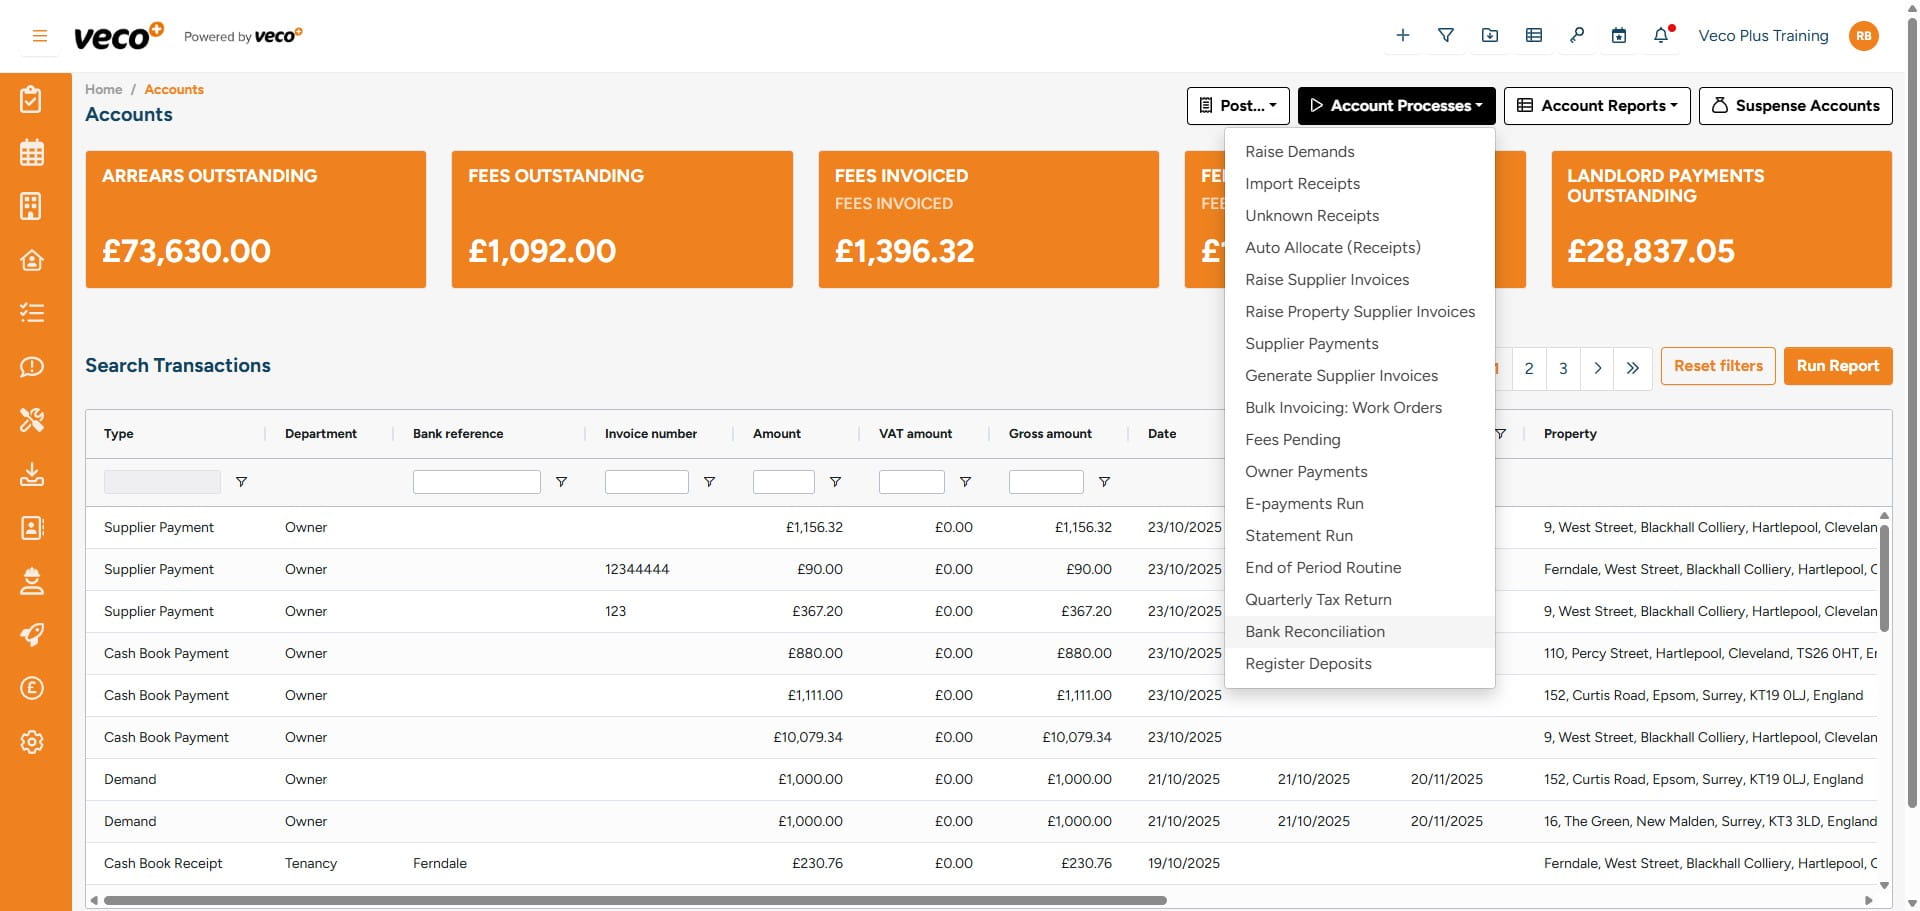
Select 'Accounts' on the navigation bar
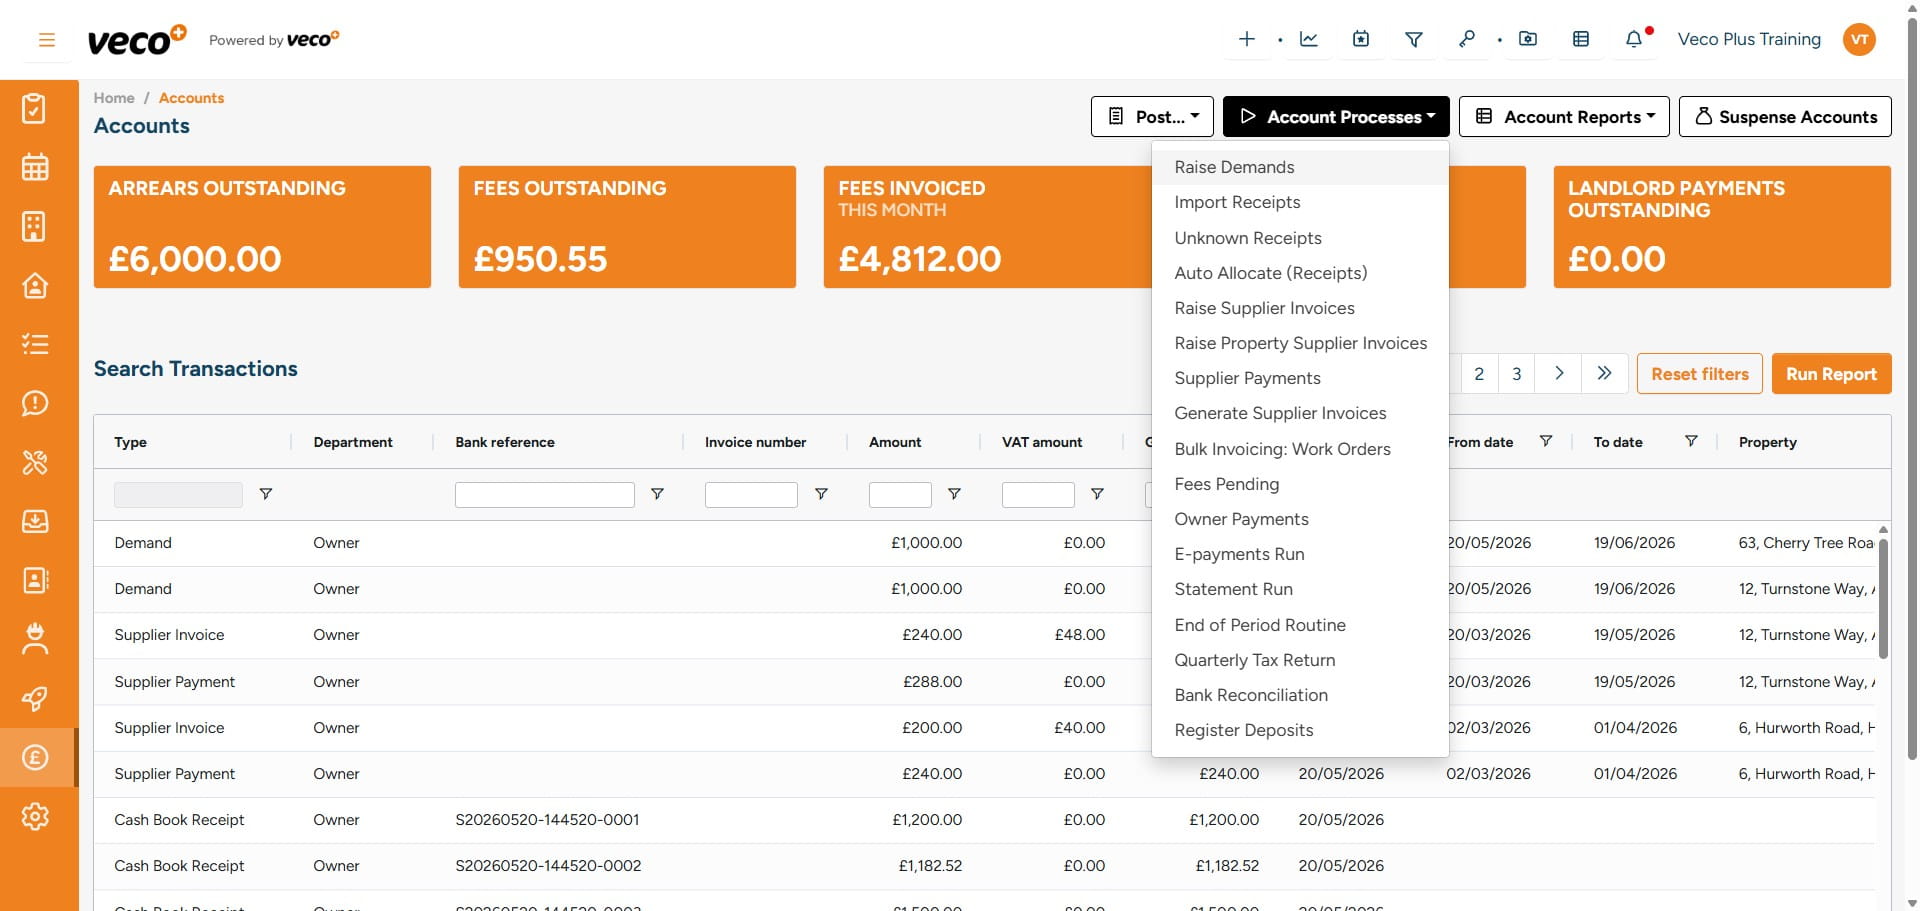
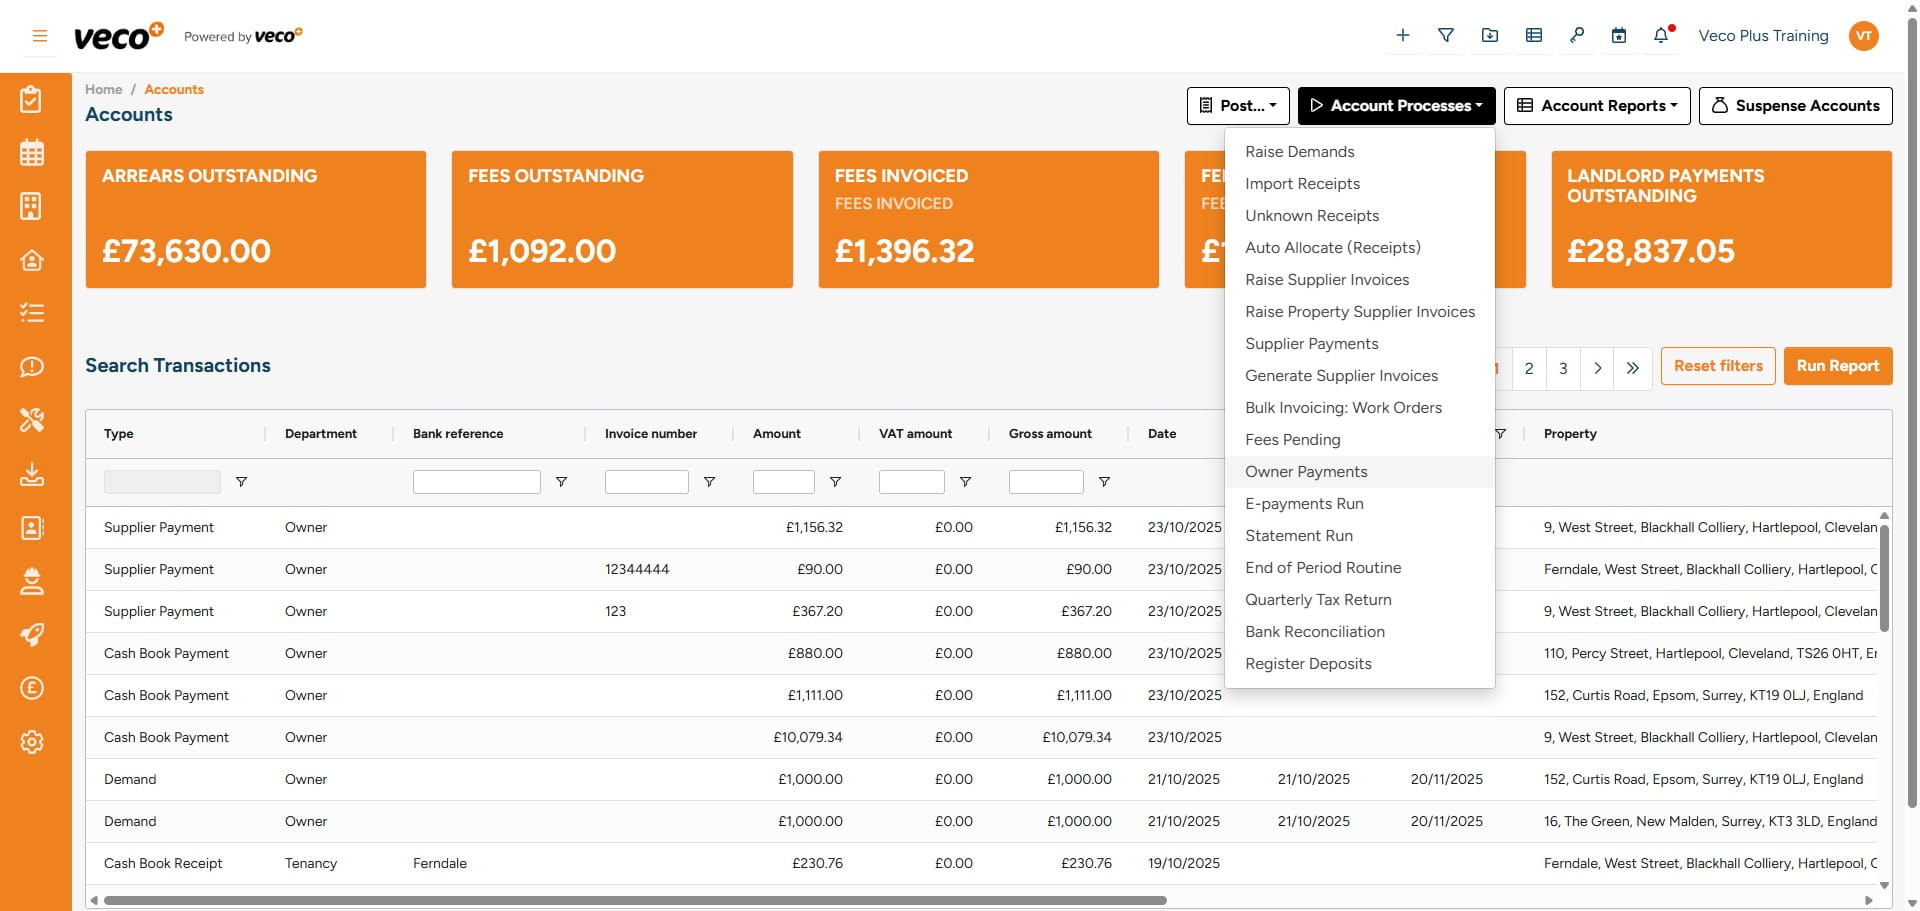
Select 'Account Processes'
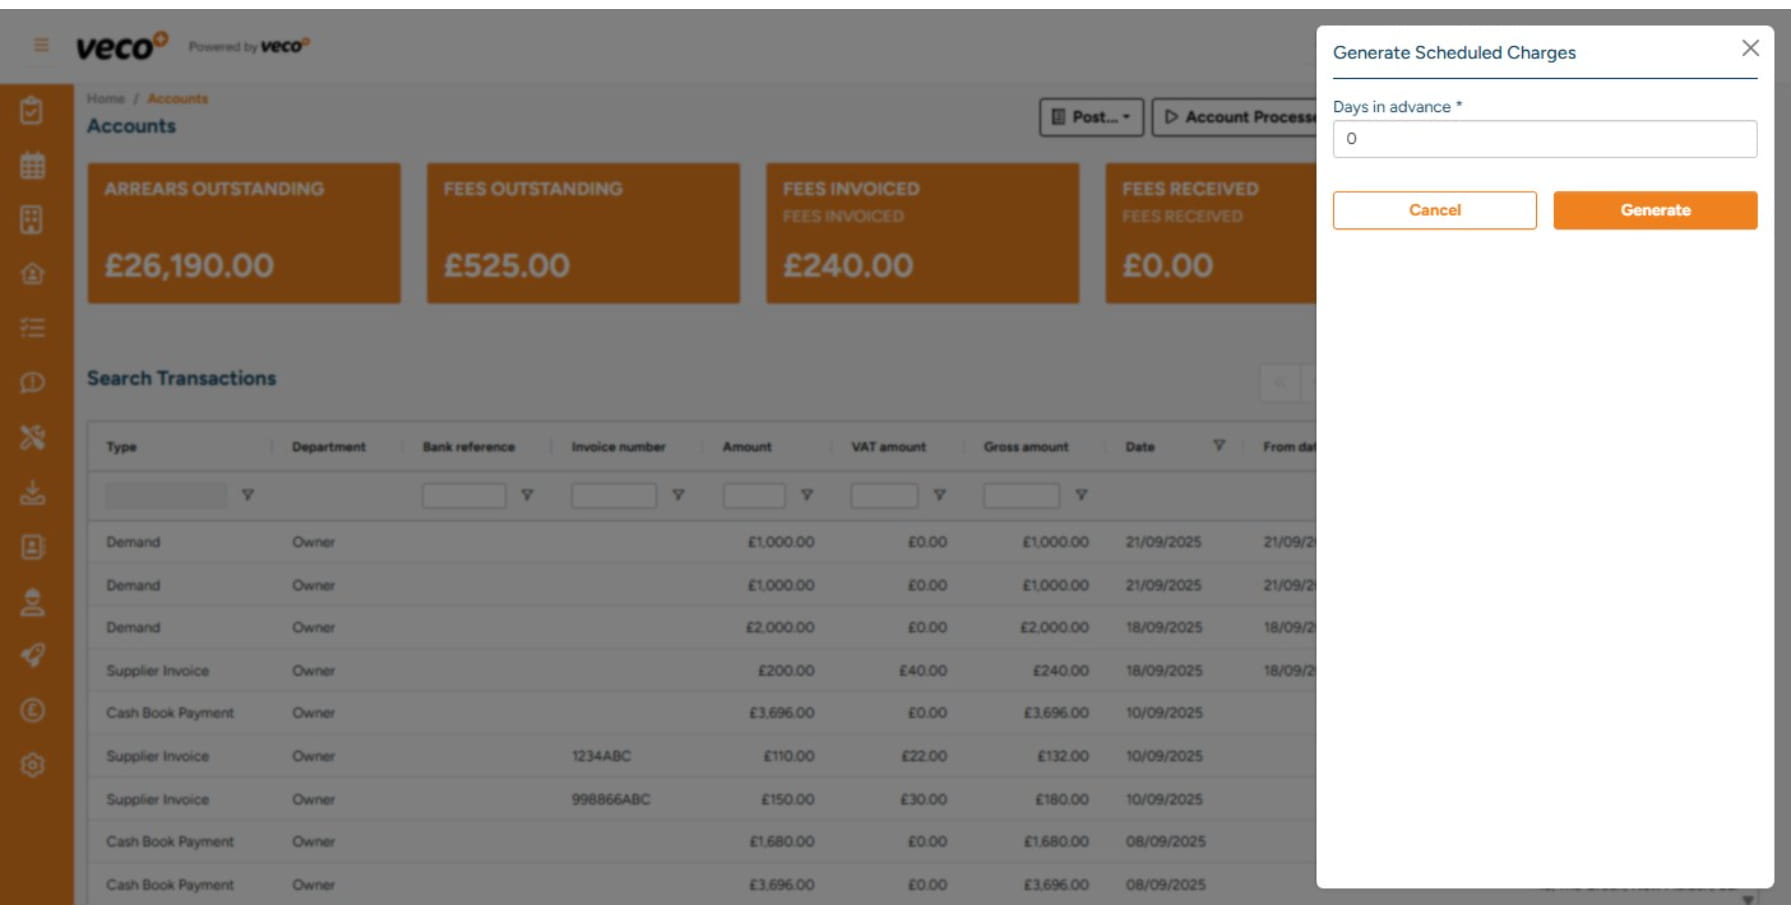
Select 'Raise Demands'. Please note that Demands in Veco Plus are raised automatically overnight and pulled through from the scheduled charges. However, should you wish to raise the demands manually, the process is as follows
You will need to type how many days in advance you would like to manually raise the demands. For example on a Monday, you may want to raise all demands for that week, so you would raise 7 days in advance. Then select 'Generate'. This process will then run in the background, and you will be notified in the notification centre once all the demands have been processed
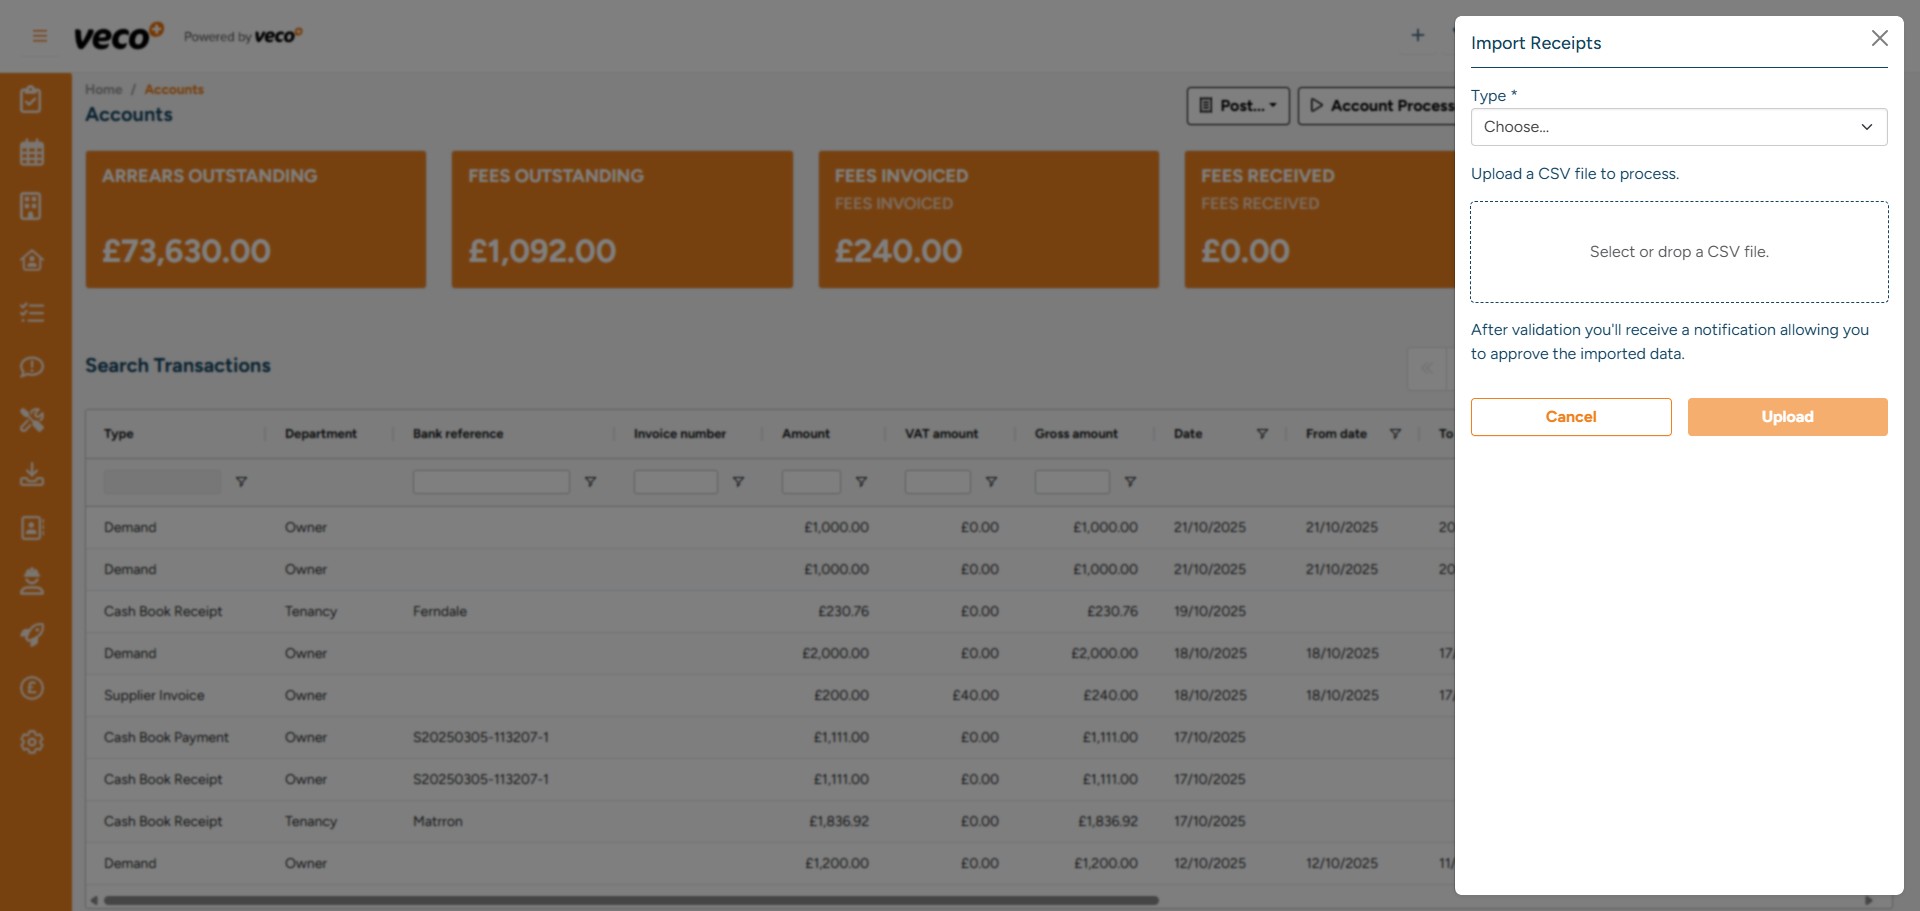
Select 'Import Receipts' on the navigation bar

You can either browse to or drag and drop your statement in CSV format, which will import your bank/card transactions into the system
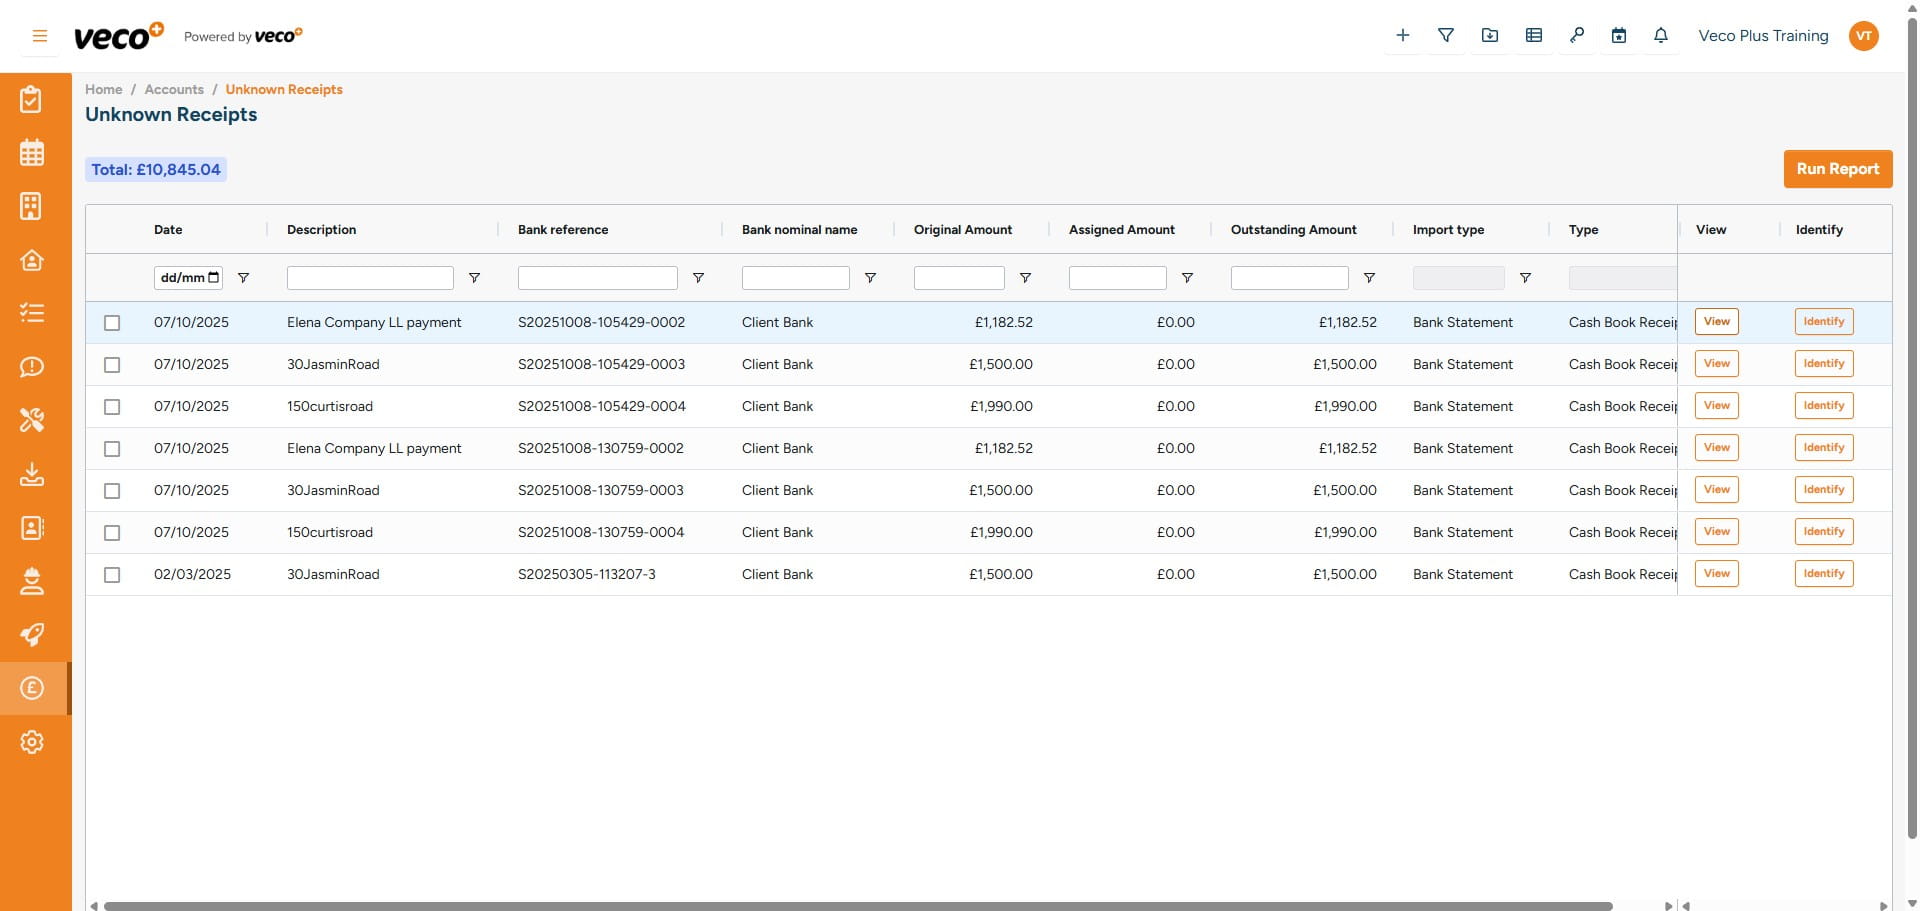
Select 'Unknown Receipts'

You will see a list of unmatched transactions that have been imported from either the bank statement or card statement. Here you will be able to 'View' or 'Identify' the transactions
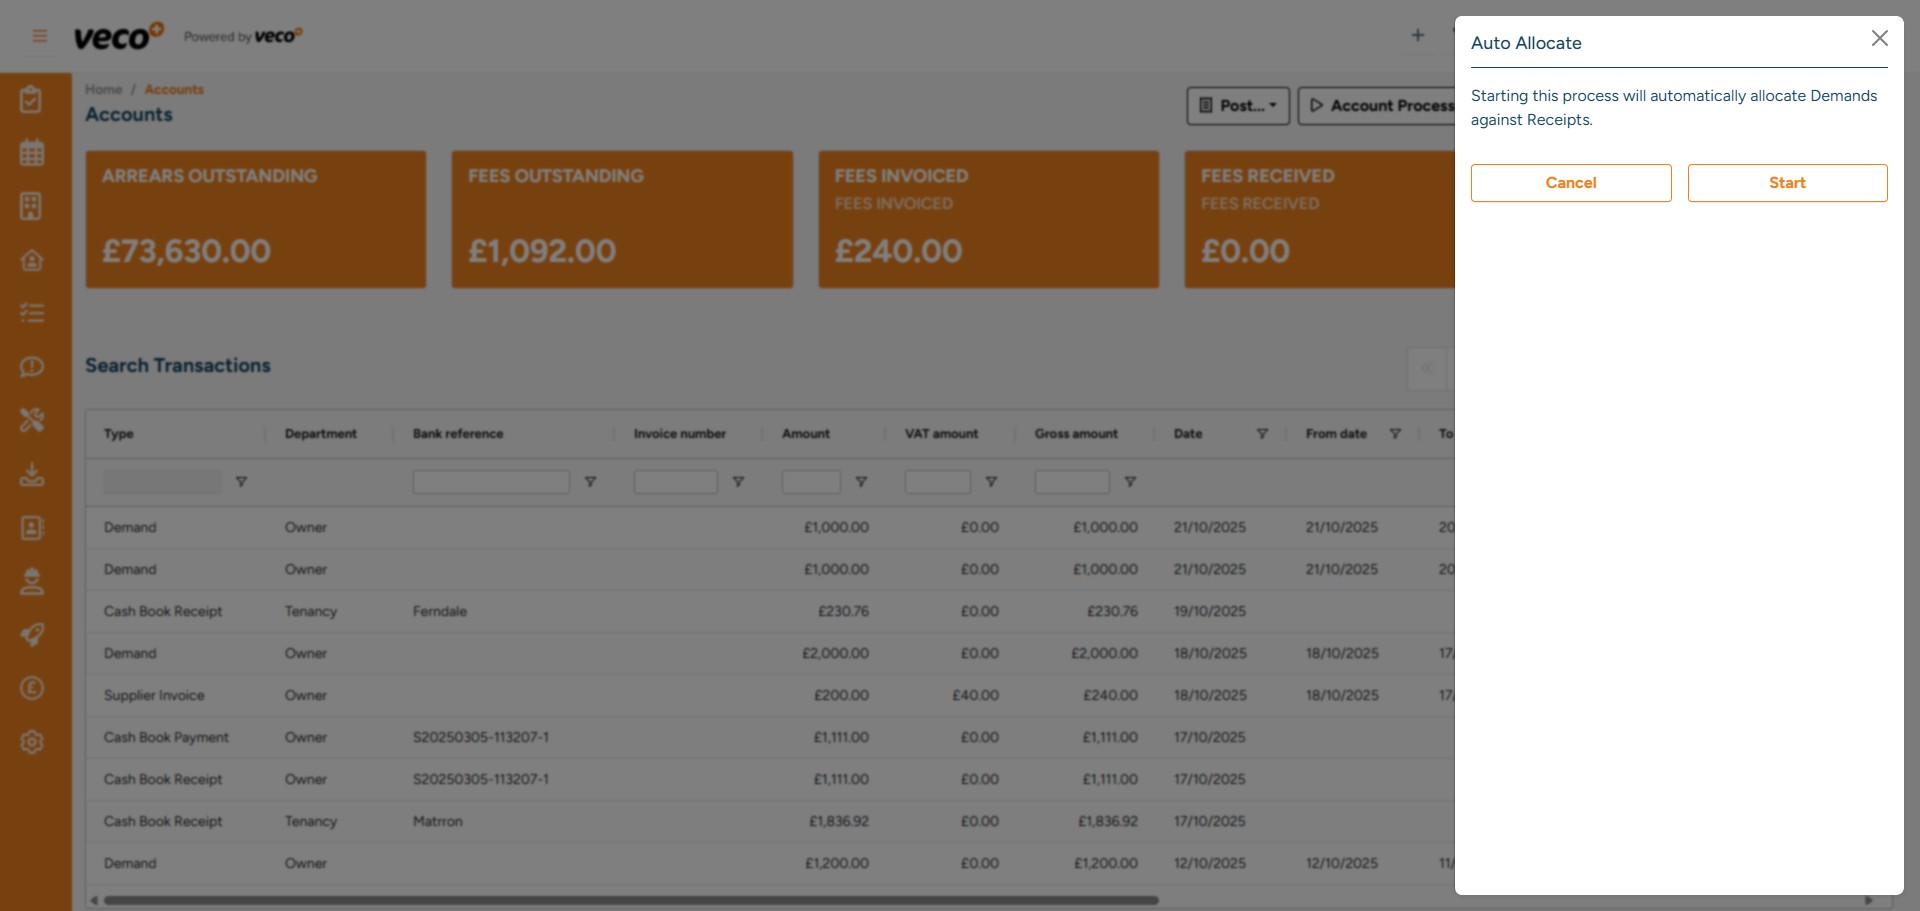
Select 'Auto Allocate (Receipts)'

Select 'Start' to initiate the background process. The system will then check for any unallocated Receipts and allocate them to any outstanding Demands that relate to the same Tenancy. It will always be allocated to the oldest outstanding Demand
Select 'Raise Supplier Invoices'
Please note that Supplier Invoices in Veco Plus are raised automatically overnight and pulled through from the scheduled charges. However, should you wish to raise the invoices manually, you will need to type how many days in advance you would like to manually raise the invoices. For example, on a Monday, you may want to raise all invoices for that week, so you would raise 7 days in advance. Then select 'Start'

Select 'Raise Property Supplier Invoices'

Please note that Property Supplier Invoices in Veco Plus are raised automatically overnight and pulled through from the scheduled charges. However, should you wish to raise the invoices manually, you will need to type how many days in advance you would like to manually raise the invoices. For example, on a Monday, you may want to raise all invoices for that week, so you would raise 7 days in advance. Then select 'Start'

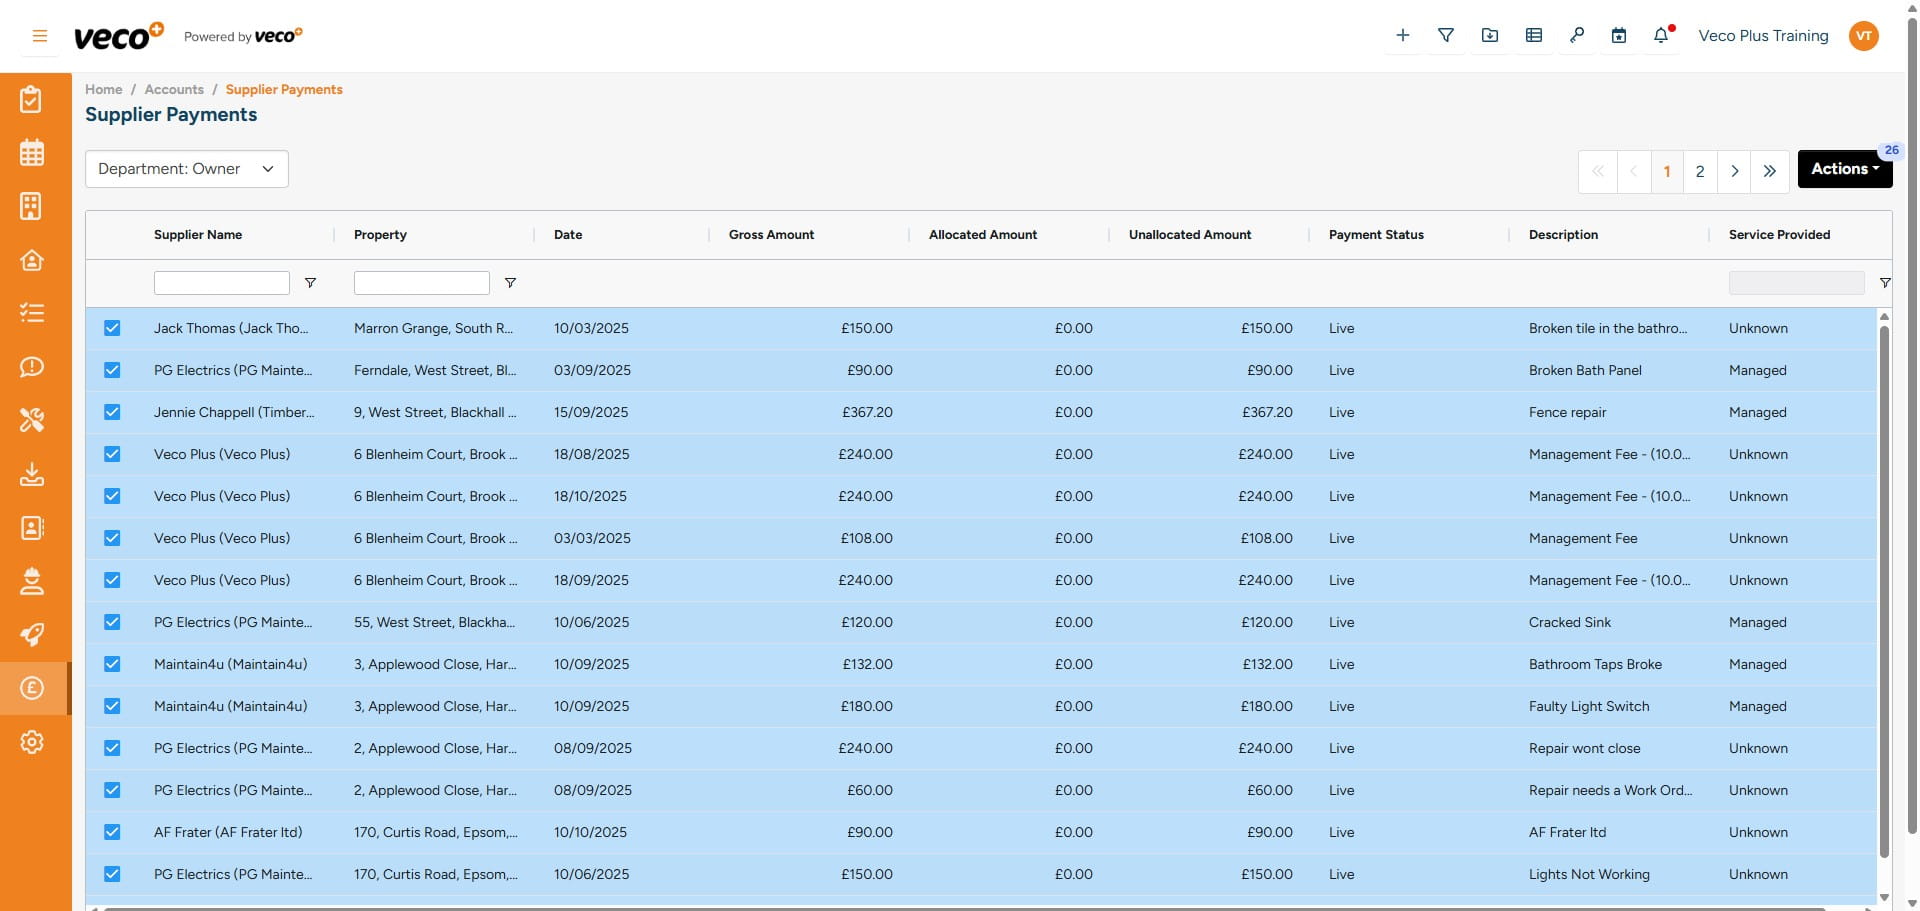
Select 'Supplier Payments'

You can select 'Actions' to process all Supplier Payments, or you can select the individual payments you wish to process. This will pay supplier invoices where there are available funds on the account
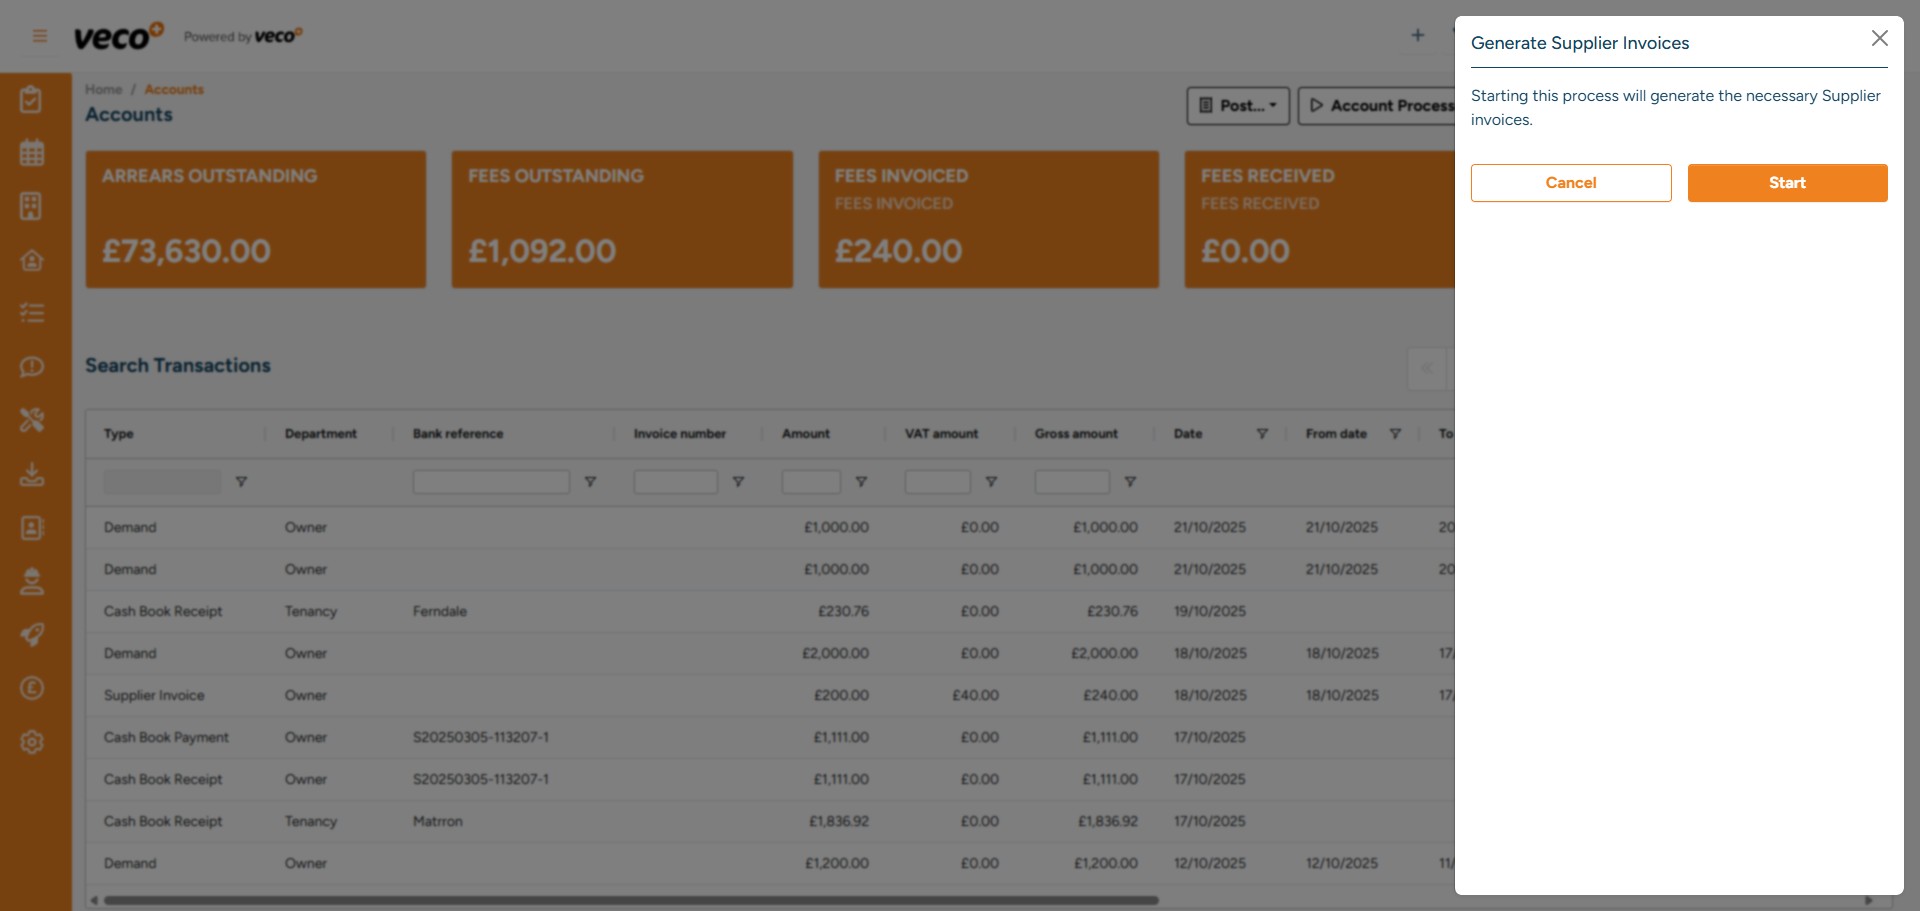
Select 'Generate Supplier Invoices'

This background process will create a PDF invoice for any default supplier invoices that do not have an invoice number. Once this has been processed, it will assign the invoice an invoice number and the PDF invoice will be attached to the statements that are sent to the owner once they have been paid
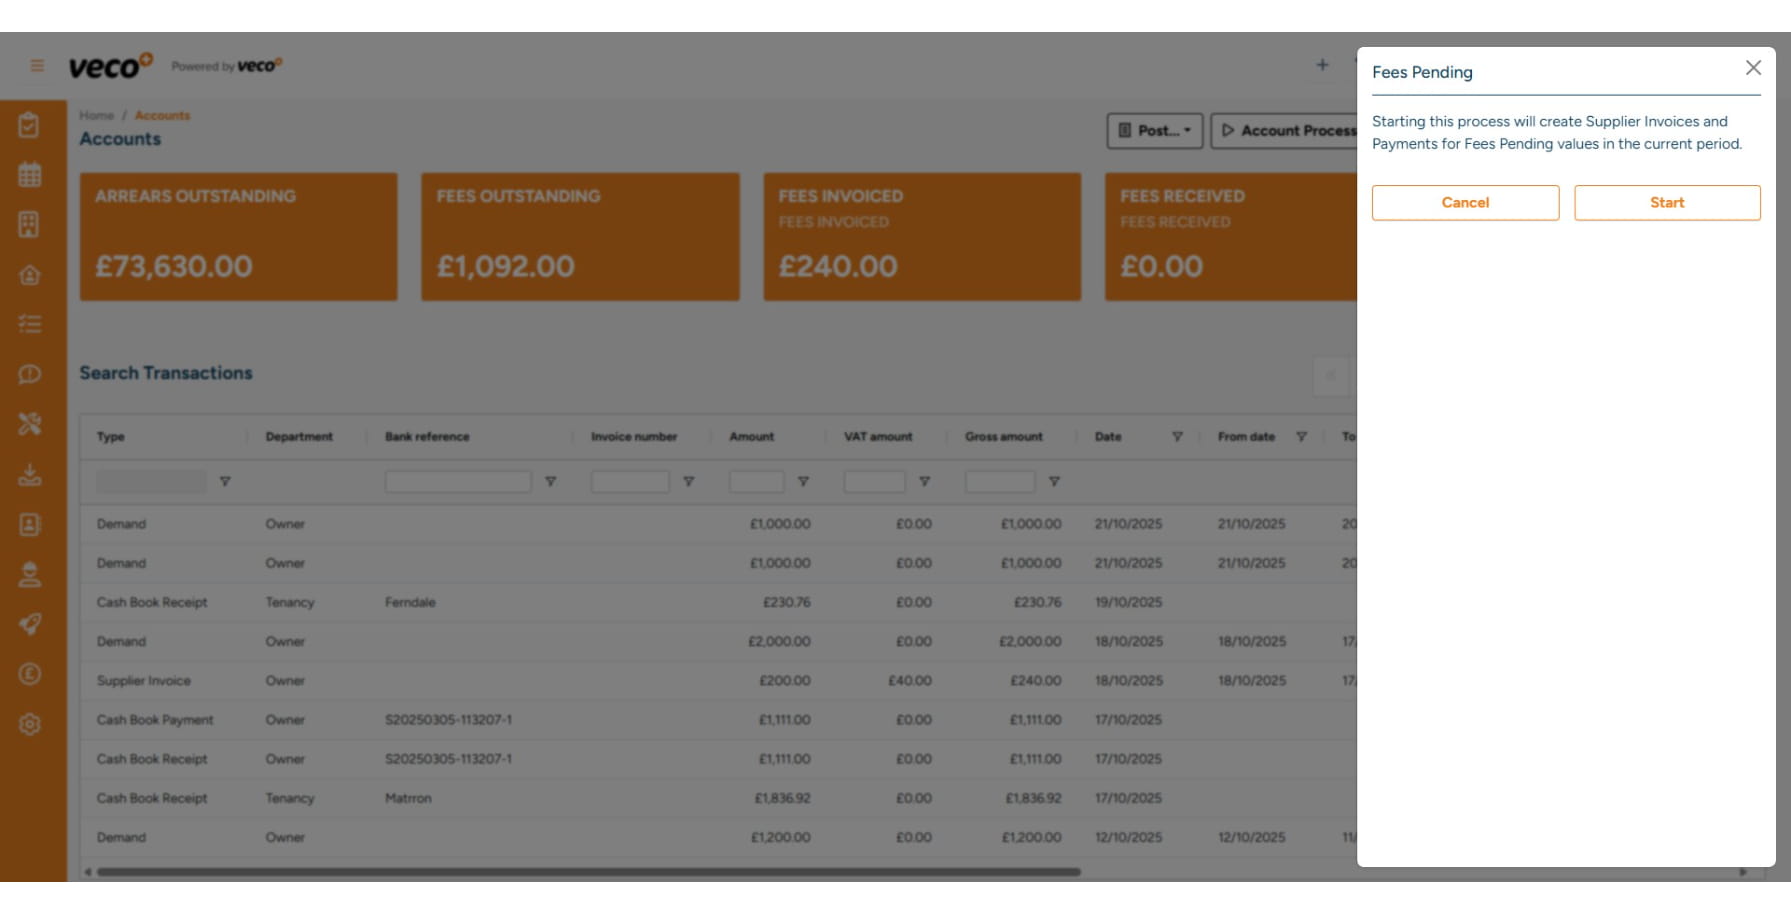
Select 'Fees Pending'

Please note that Fees Pending in Veco Plus are raised automatically overnight. However, should you wish to process the percentage fees based on the amount of rent received manually, the process will then run in the background, and you will be notified in the Notification Centre once all the demands have been processed
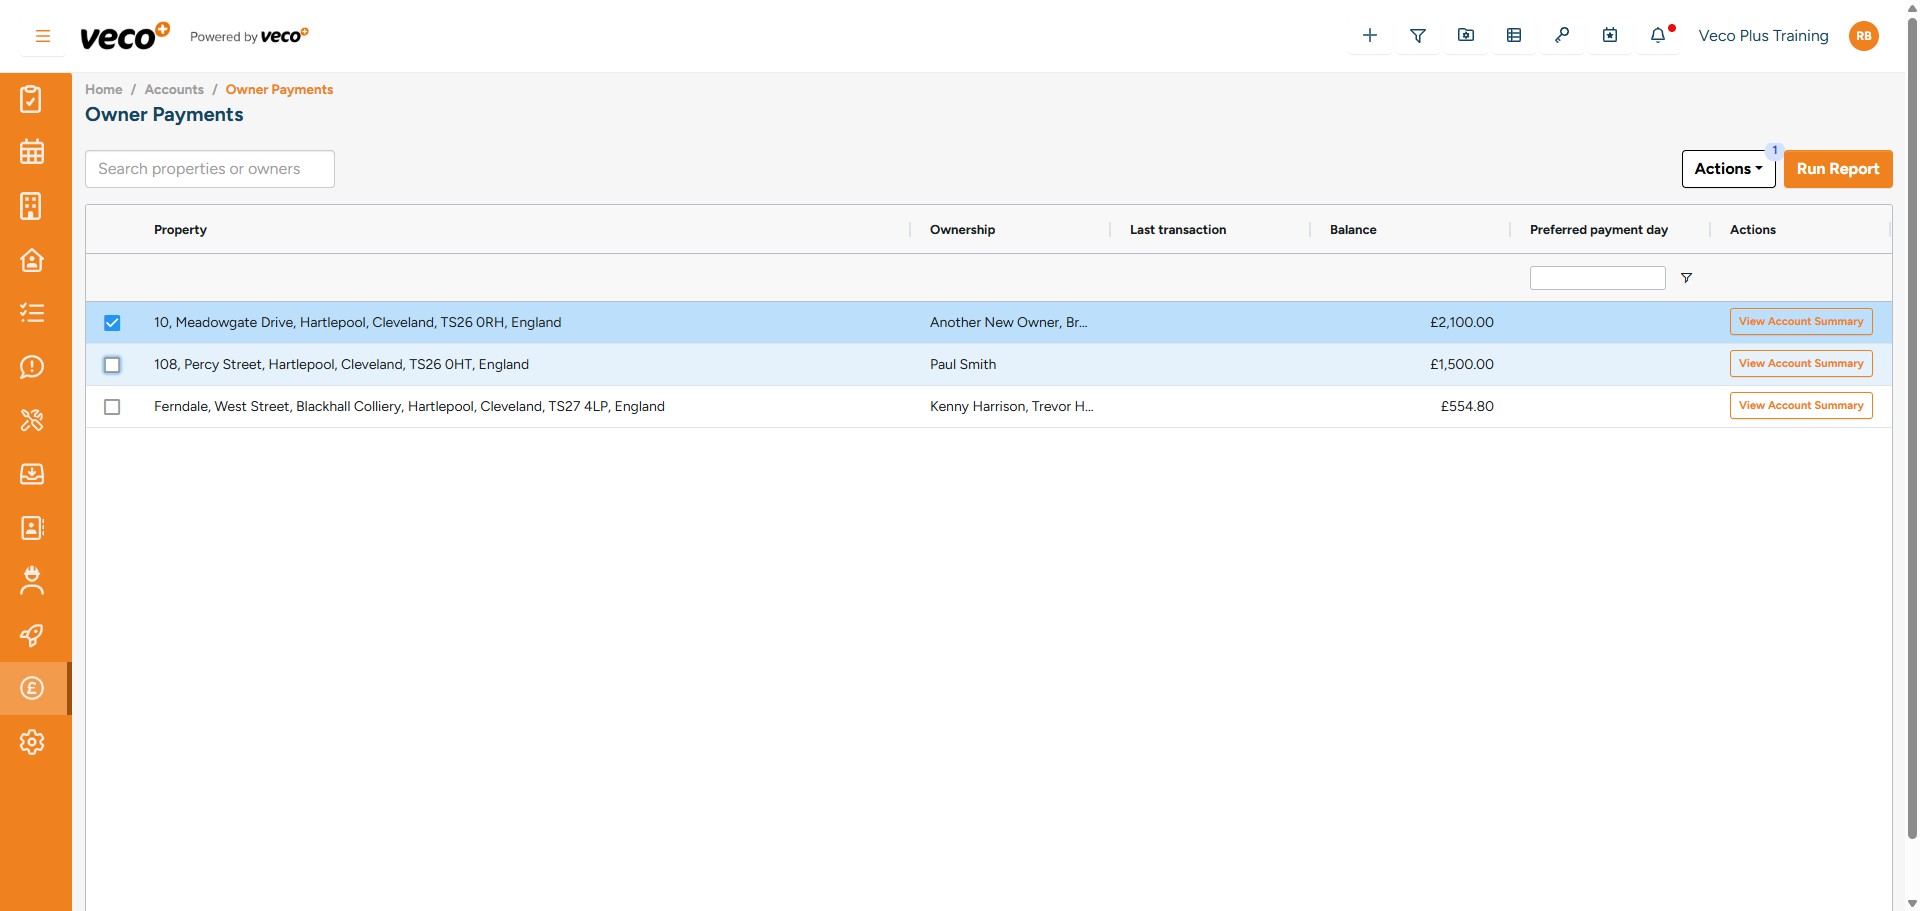
Select 'Owner Payments'
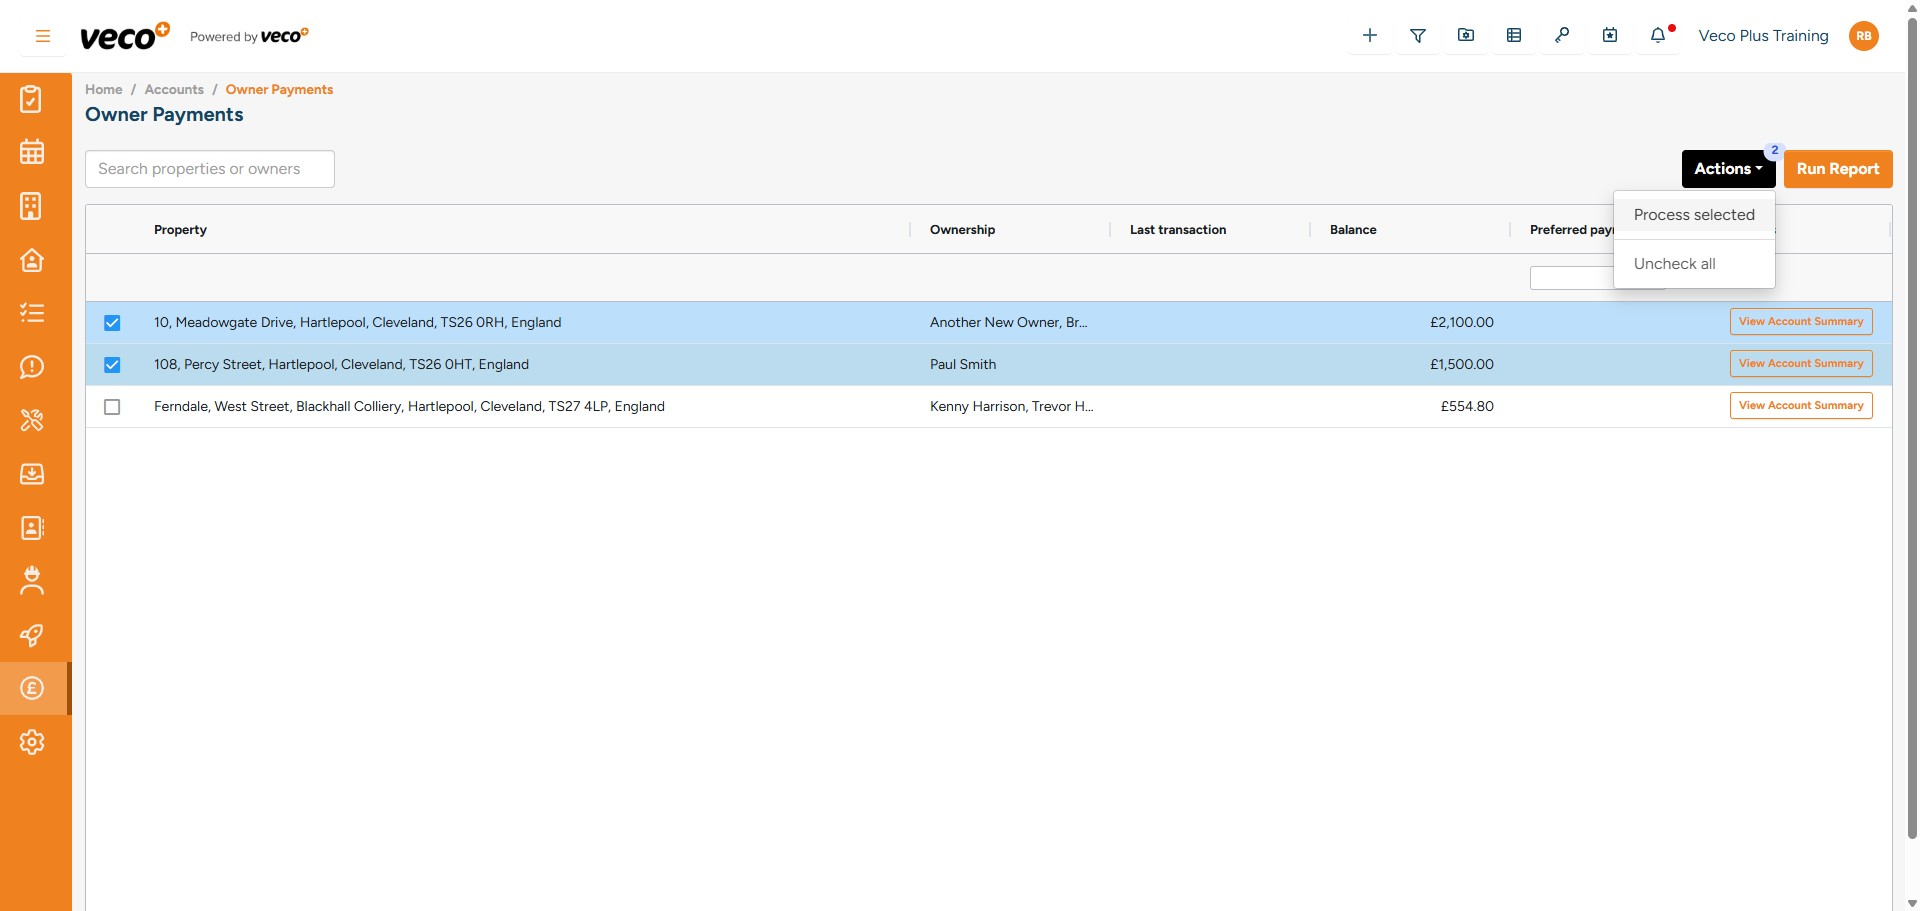
This will list any owner payments, these are the available funds on the owner's account. You can search by the owner or the property. You can also select which payments you wish to be processed
Then select 'Actions' and 'Process Selected'. This process will run in the background and notify you in the notication centre once it has been completed
Select 'E-Payments Run'

You can view, remove and process payments here. You can select a different payment method to process from various bank accounts. Once the report has been generated, the system will assign the transactions a banking reference and produce an export file, which can be uploaded to your bank

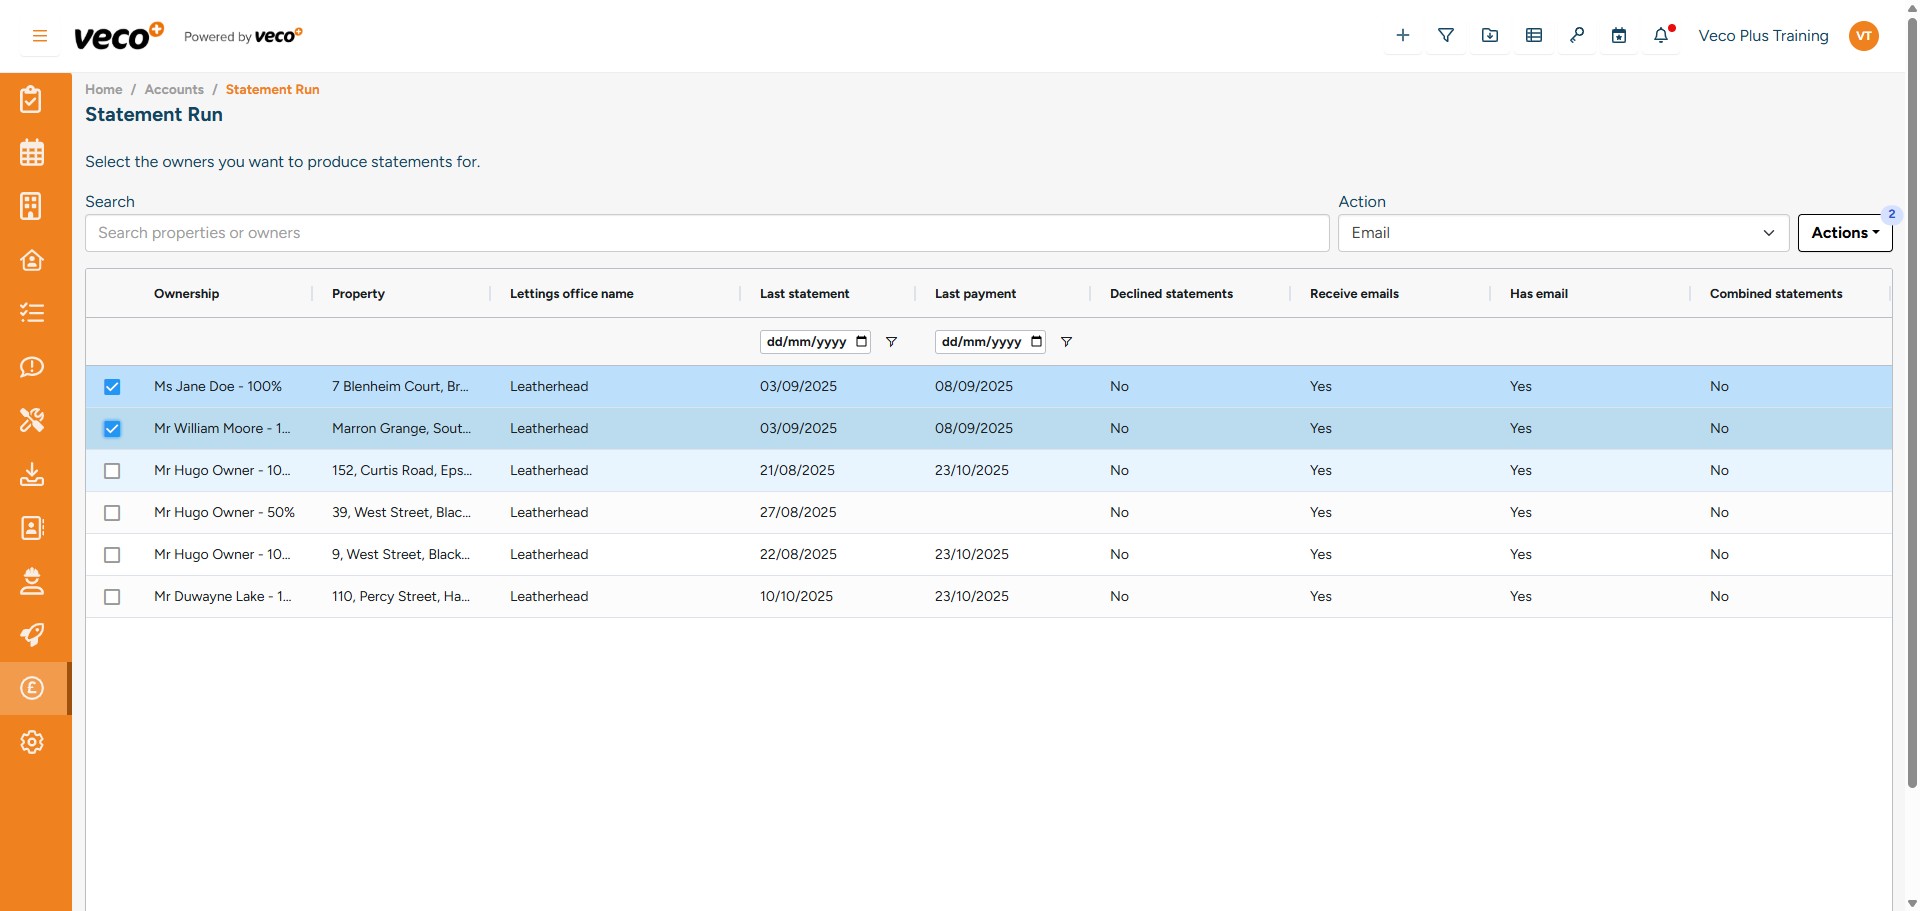
Select 'Statement Run'

You can then select which Statements you would like to process or select all. You can then either email the statement or you can print. Select 'Actions' to either preview or generate the statement selected
Select 'End of Period Routine'

Select 'Start', and this process will be initiated in the background to close the accounting period you are currently in

Select ' Quarterly Tax Return'

Select 'Start' and this process will be initiated in the background. This process calculates any tax due for the quarter and creates the tax transactions

Select 'Bank Reconciliation'
Select 'New Bank Reconciliation', then add your closing balance for the previous day. Any imported transactions will be ticked off for you. If a transaction in the system was not imported you can tick them off manually to finalise
