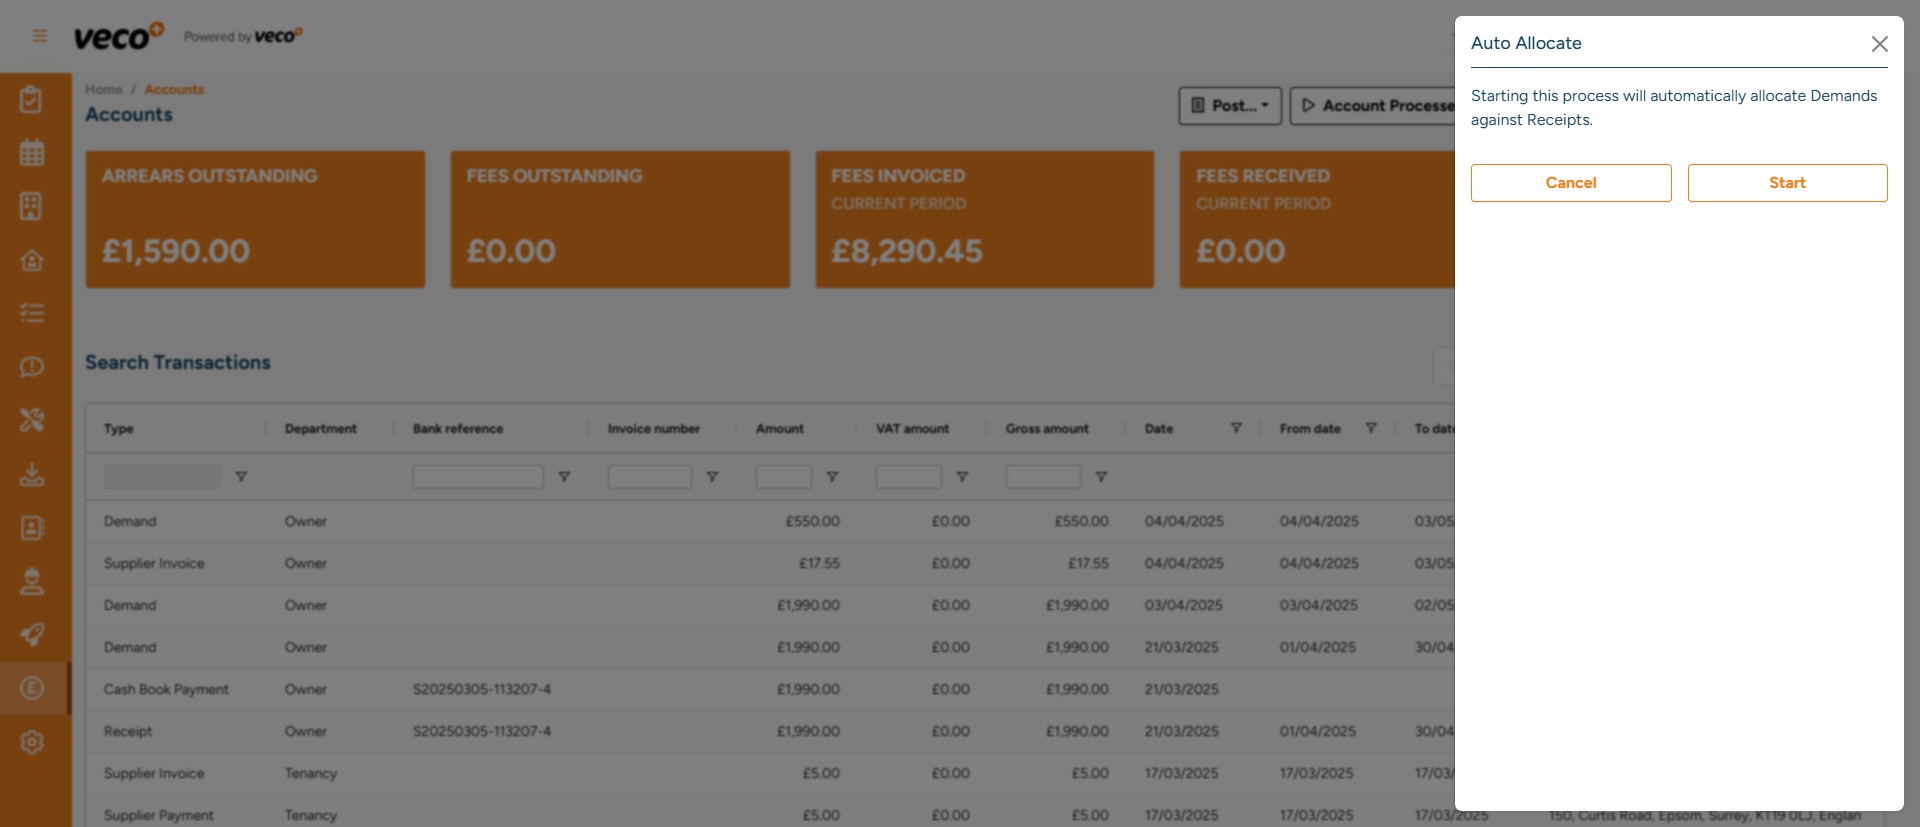
Auto Allocate (Receipts)
May 22, 2026●
1
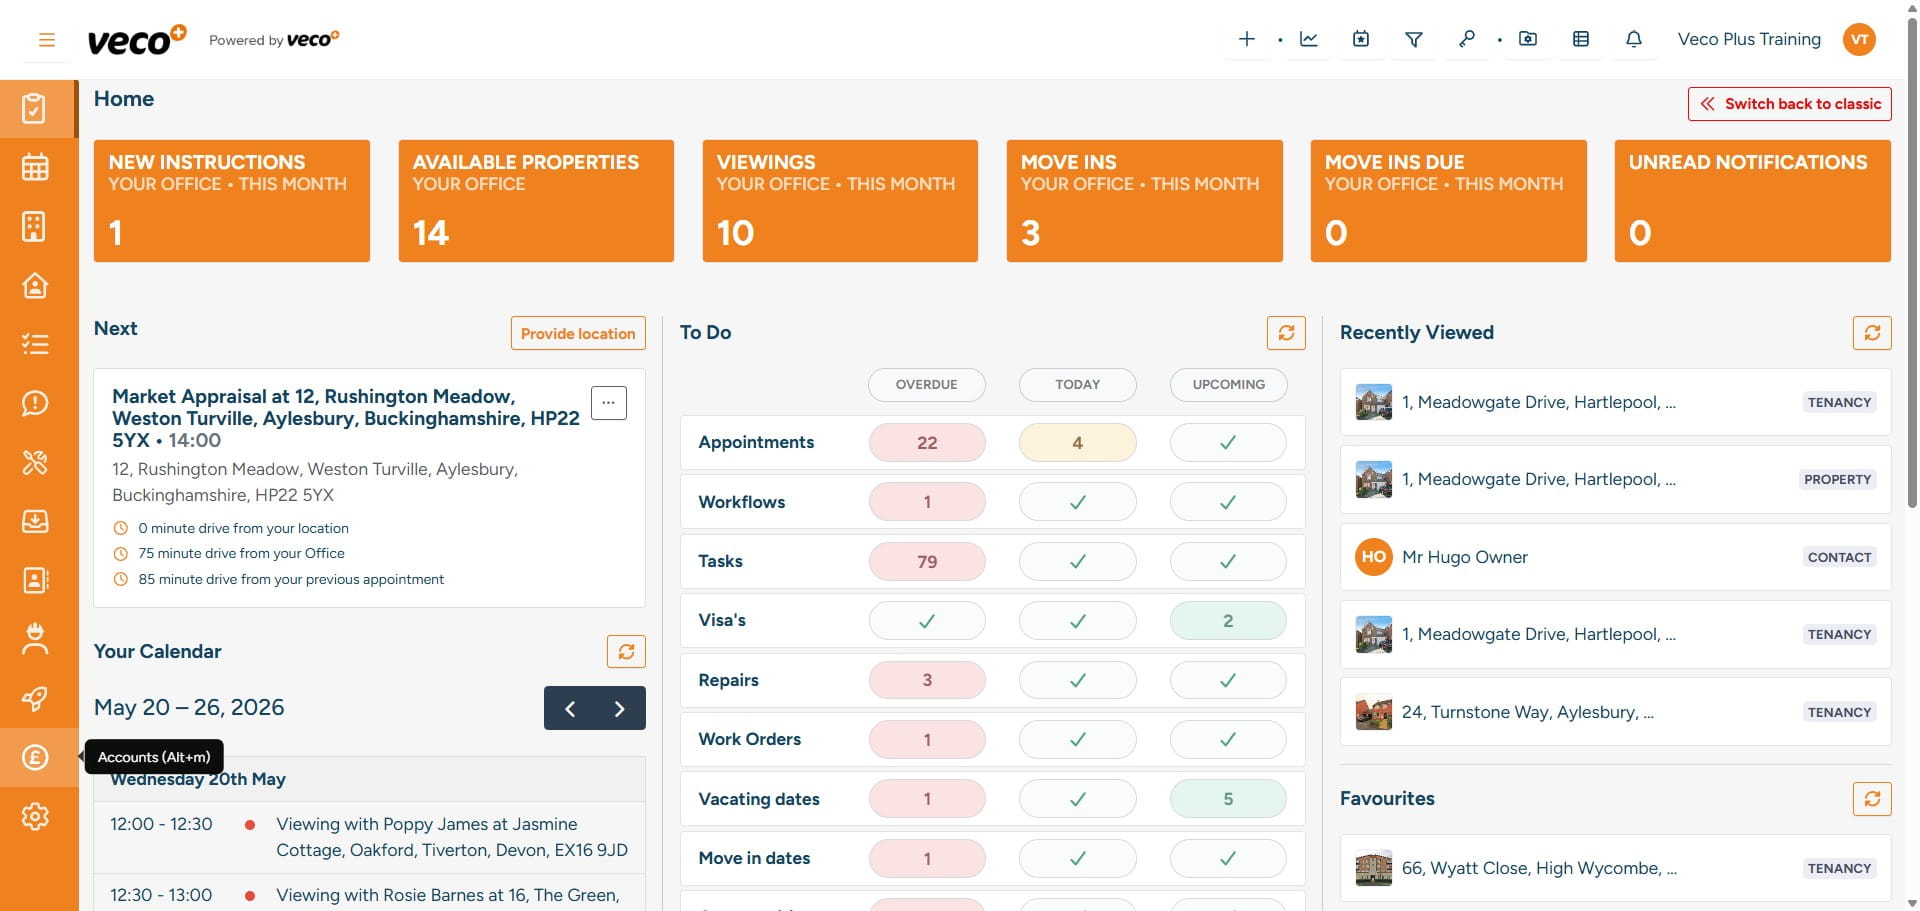
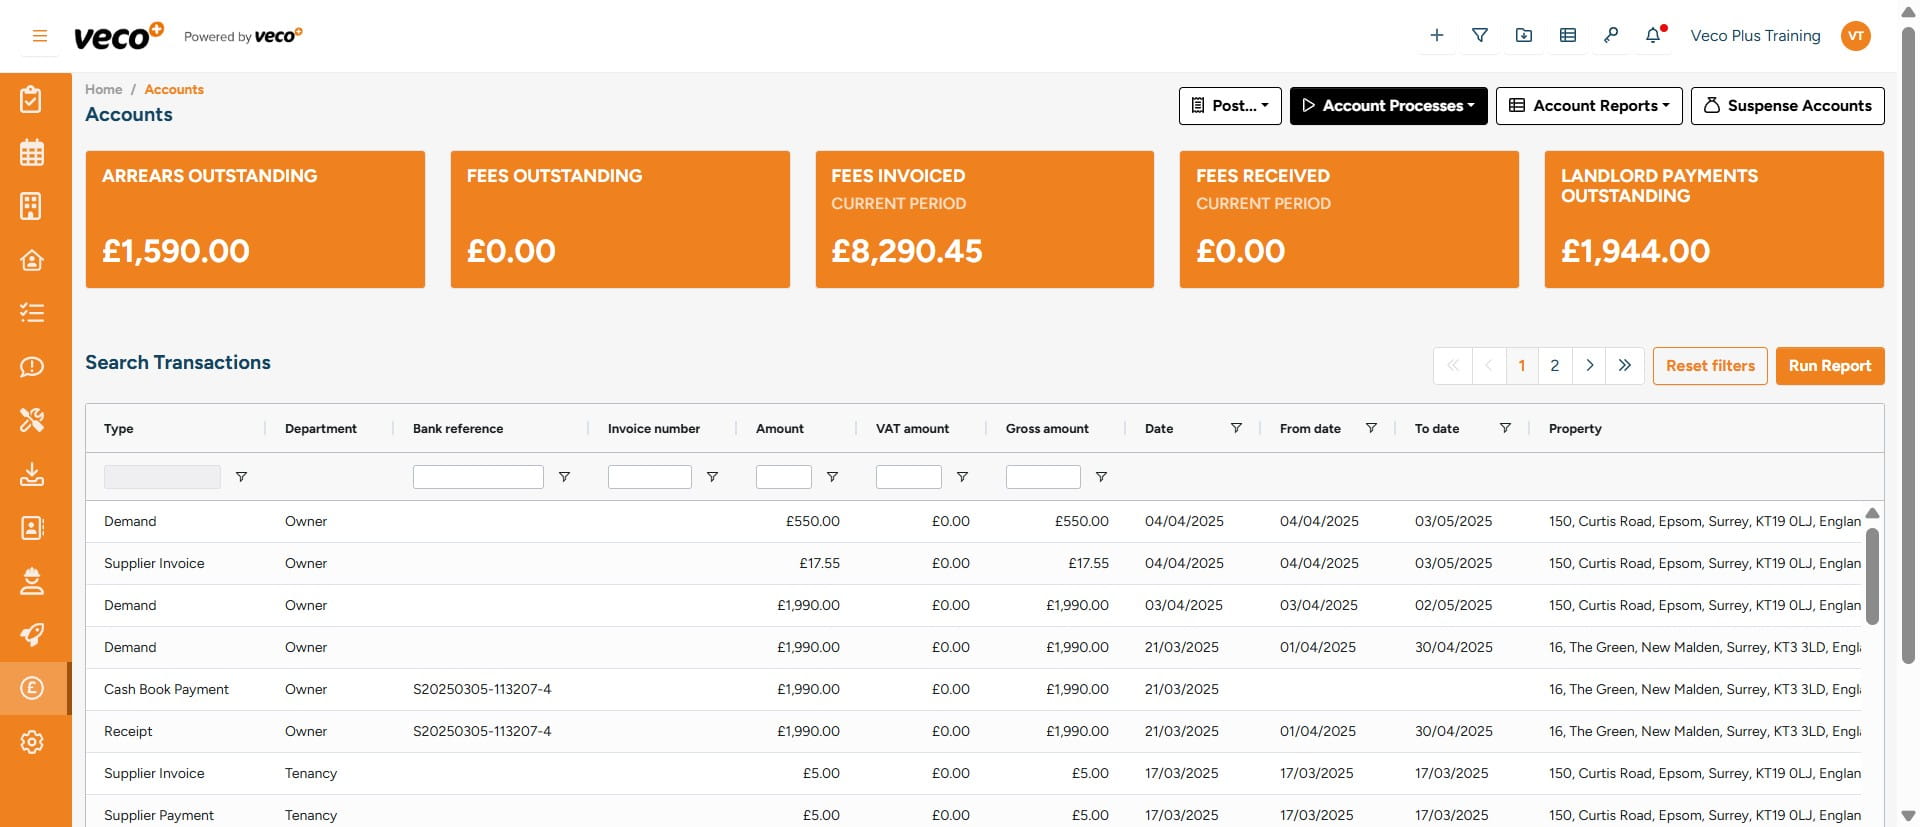
Select 'Accounts' on the navigation bar
2
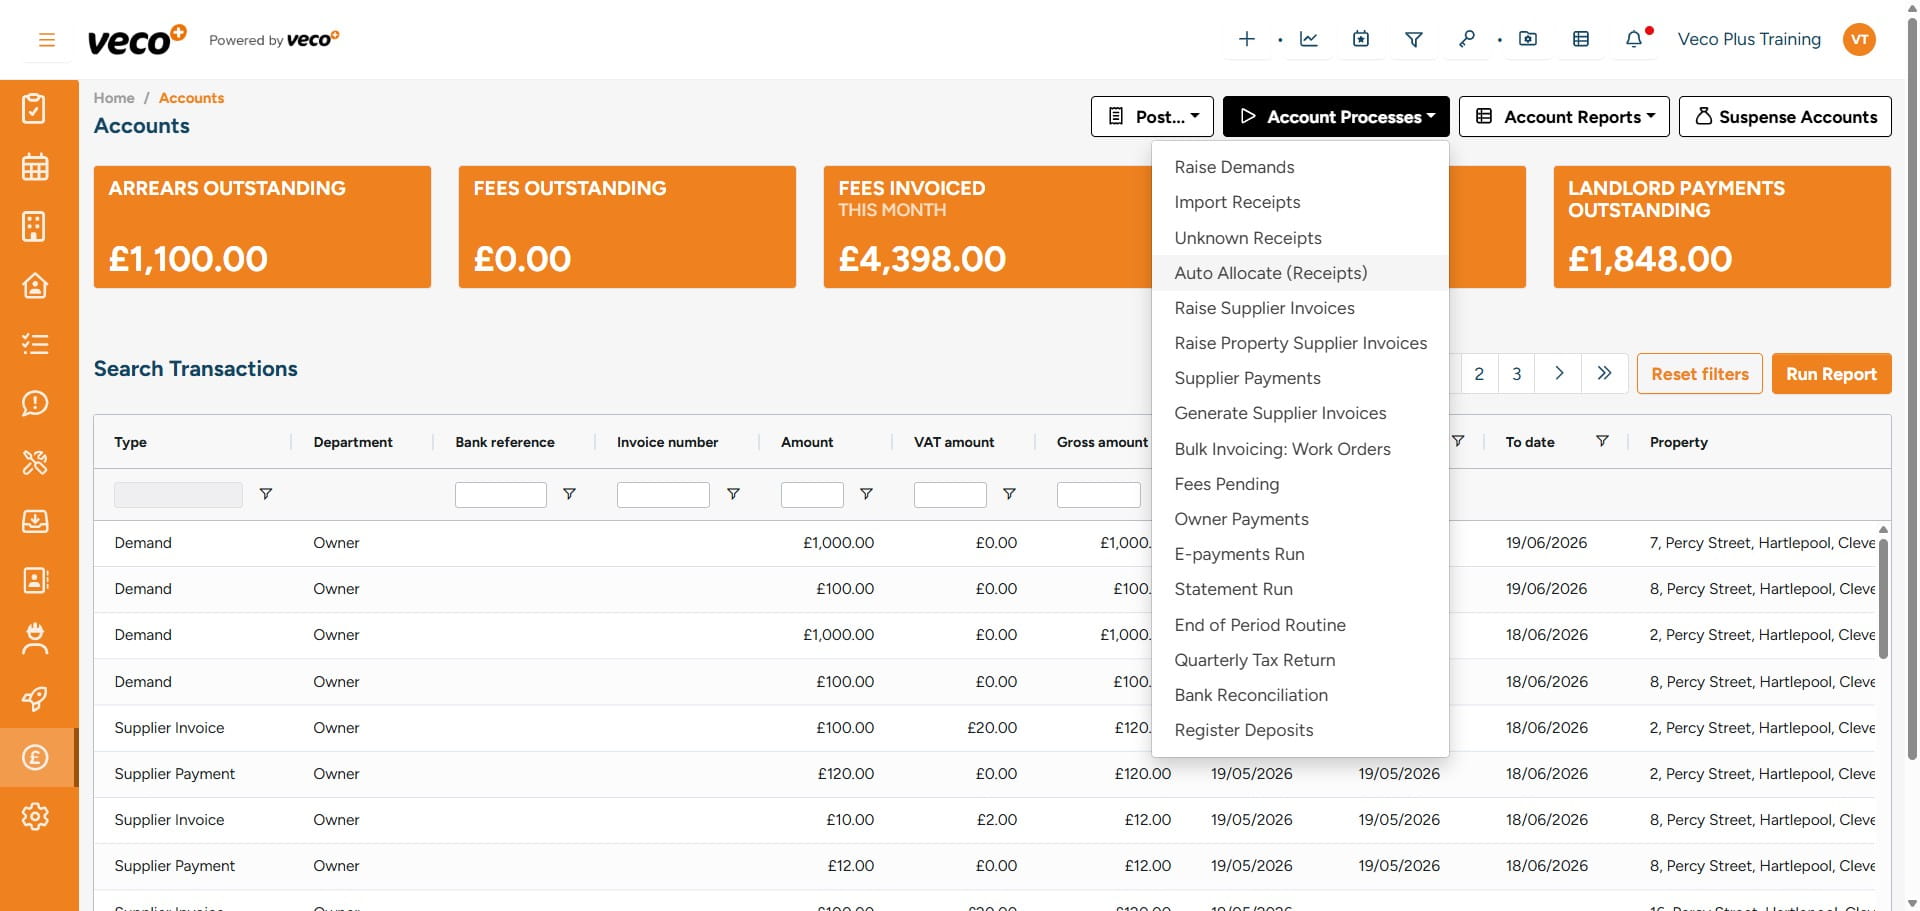
Select 'Account Processes'
3
Select 'Auto Allocate (Receipts)'
4
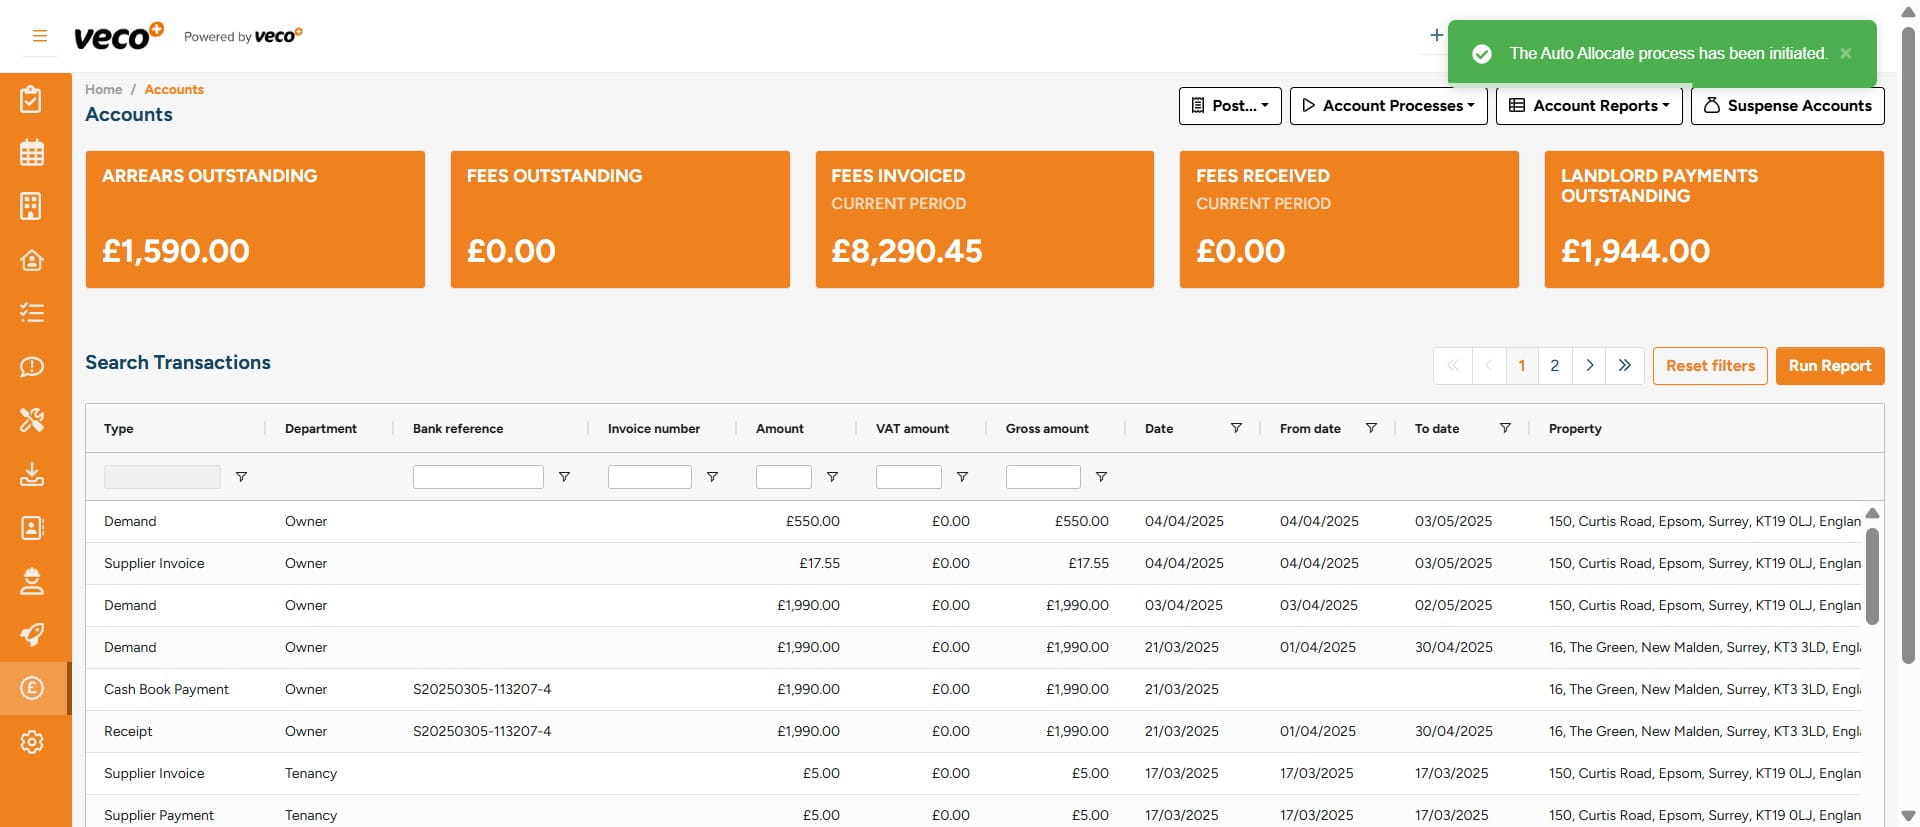
Select 'Start' to initiate the background process
5
The system will then check for any unallocated Receipts and allocate them to any outstanding Demands that relate to the same Tenancy. It will always be allocated to the oldest outstanding Demand
6
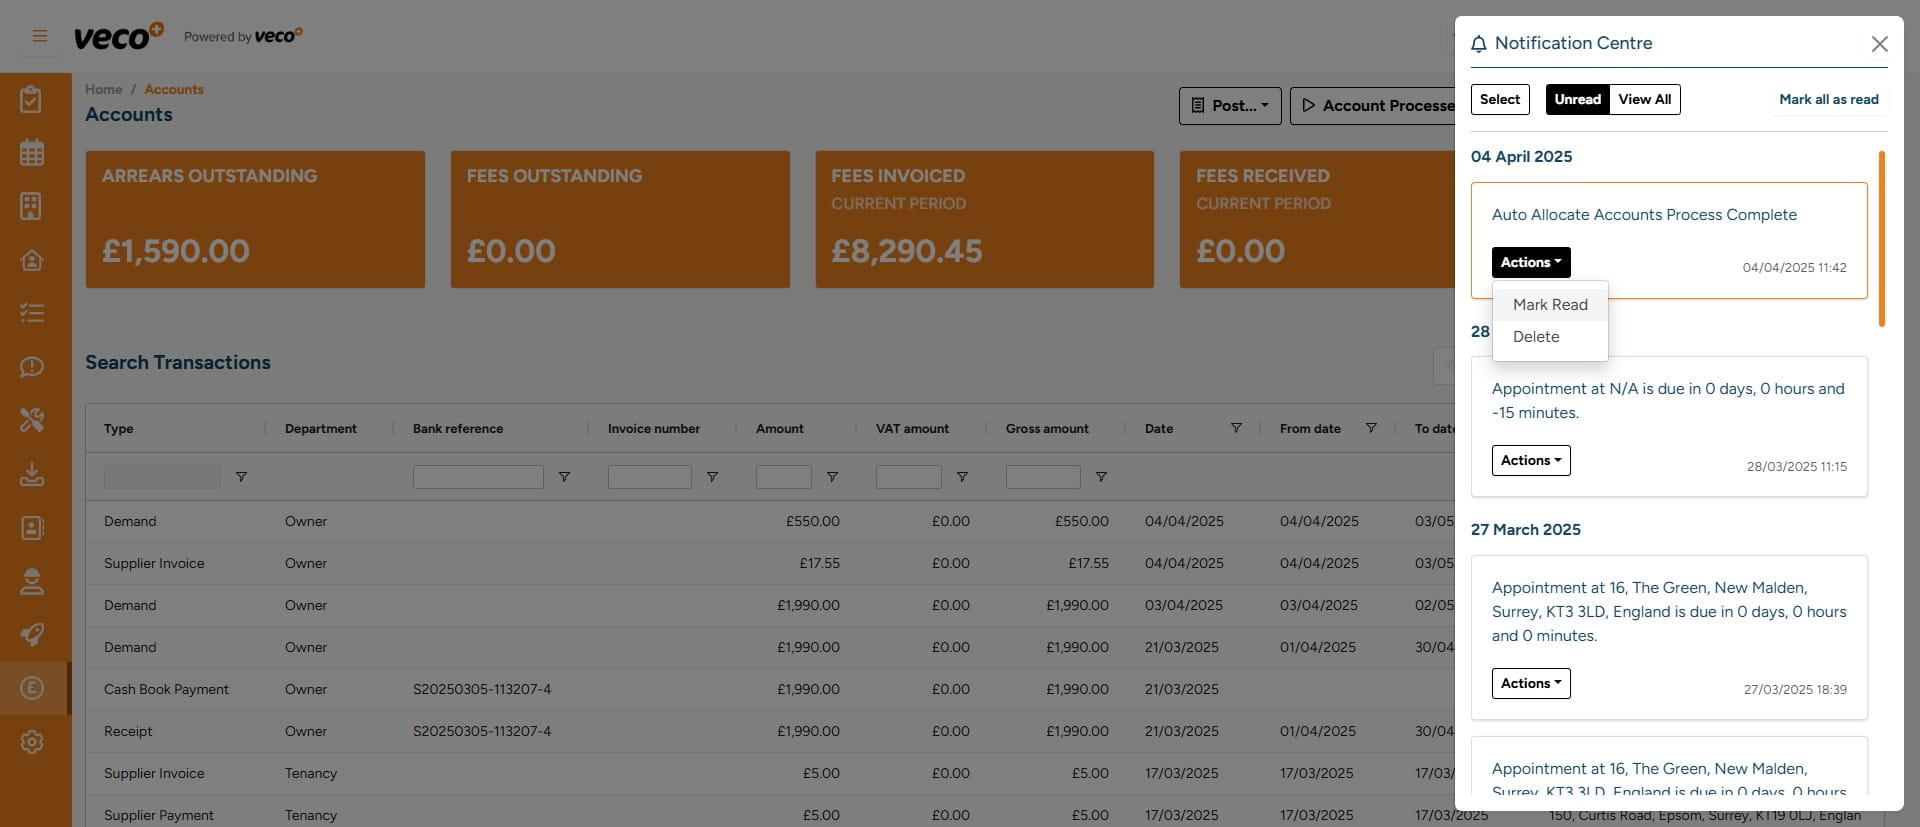
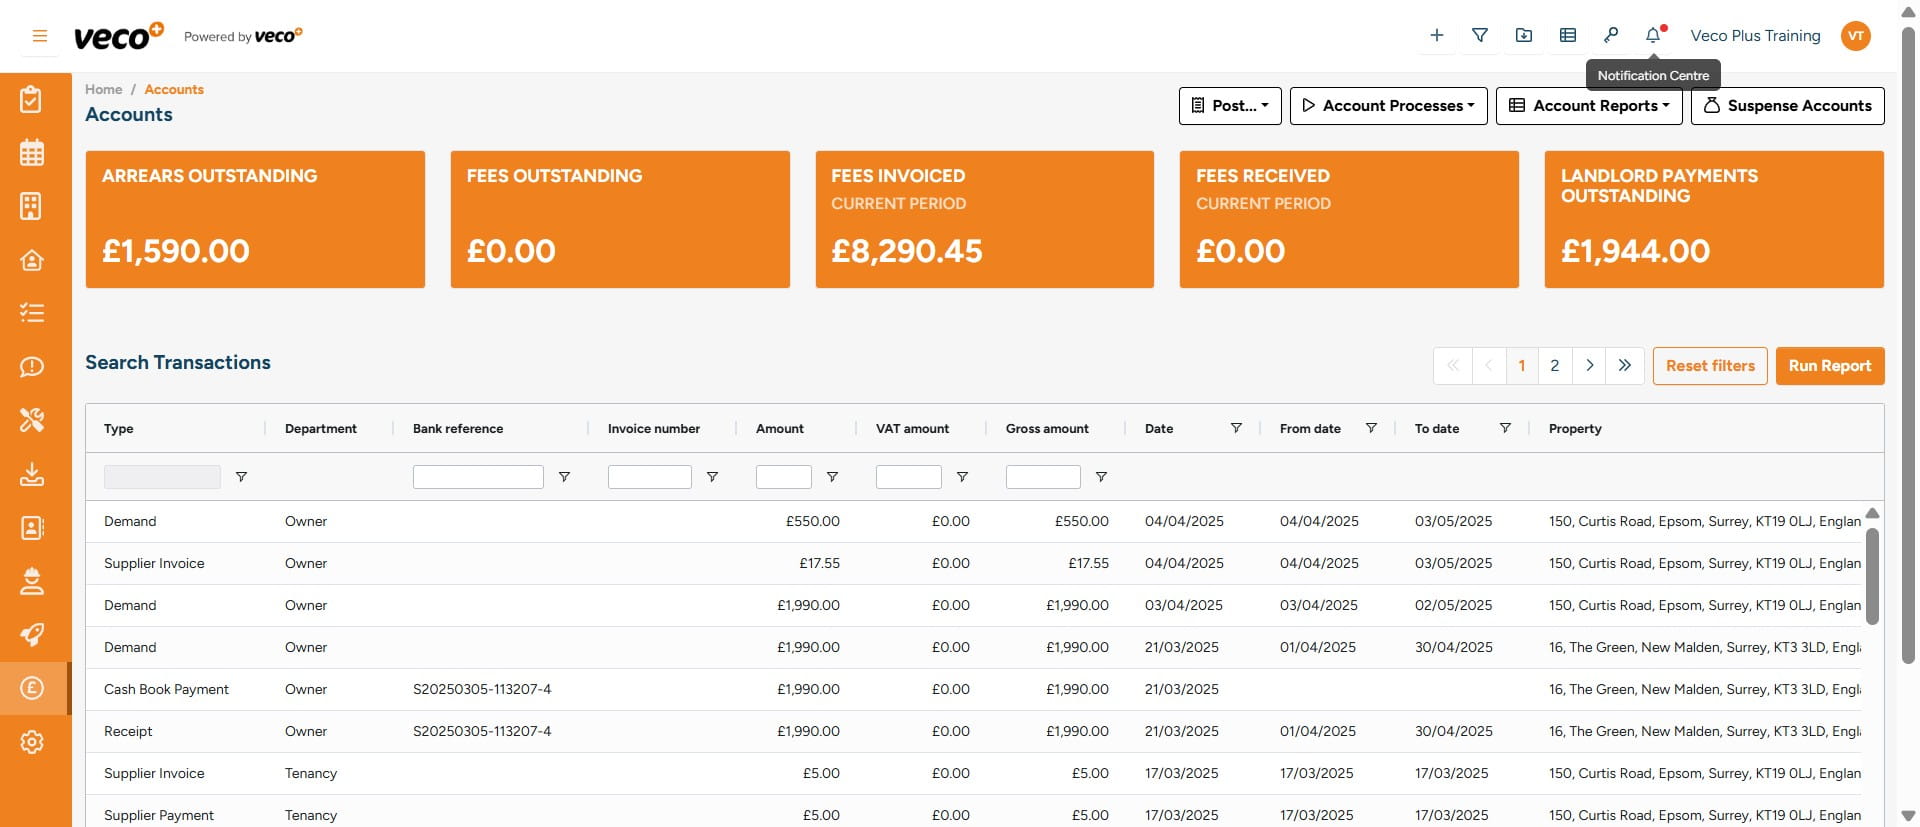
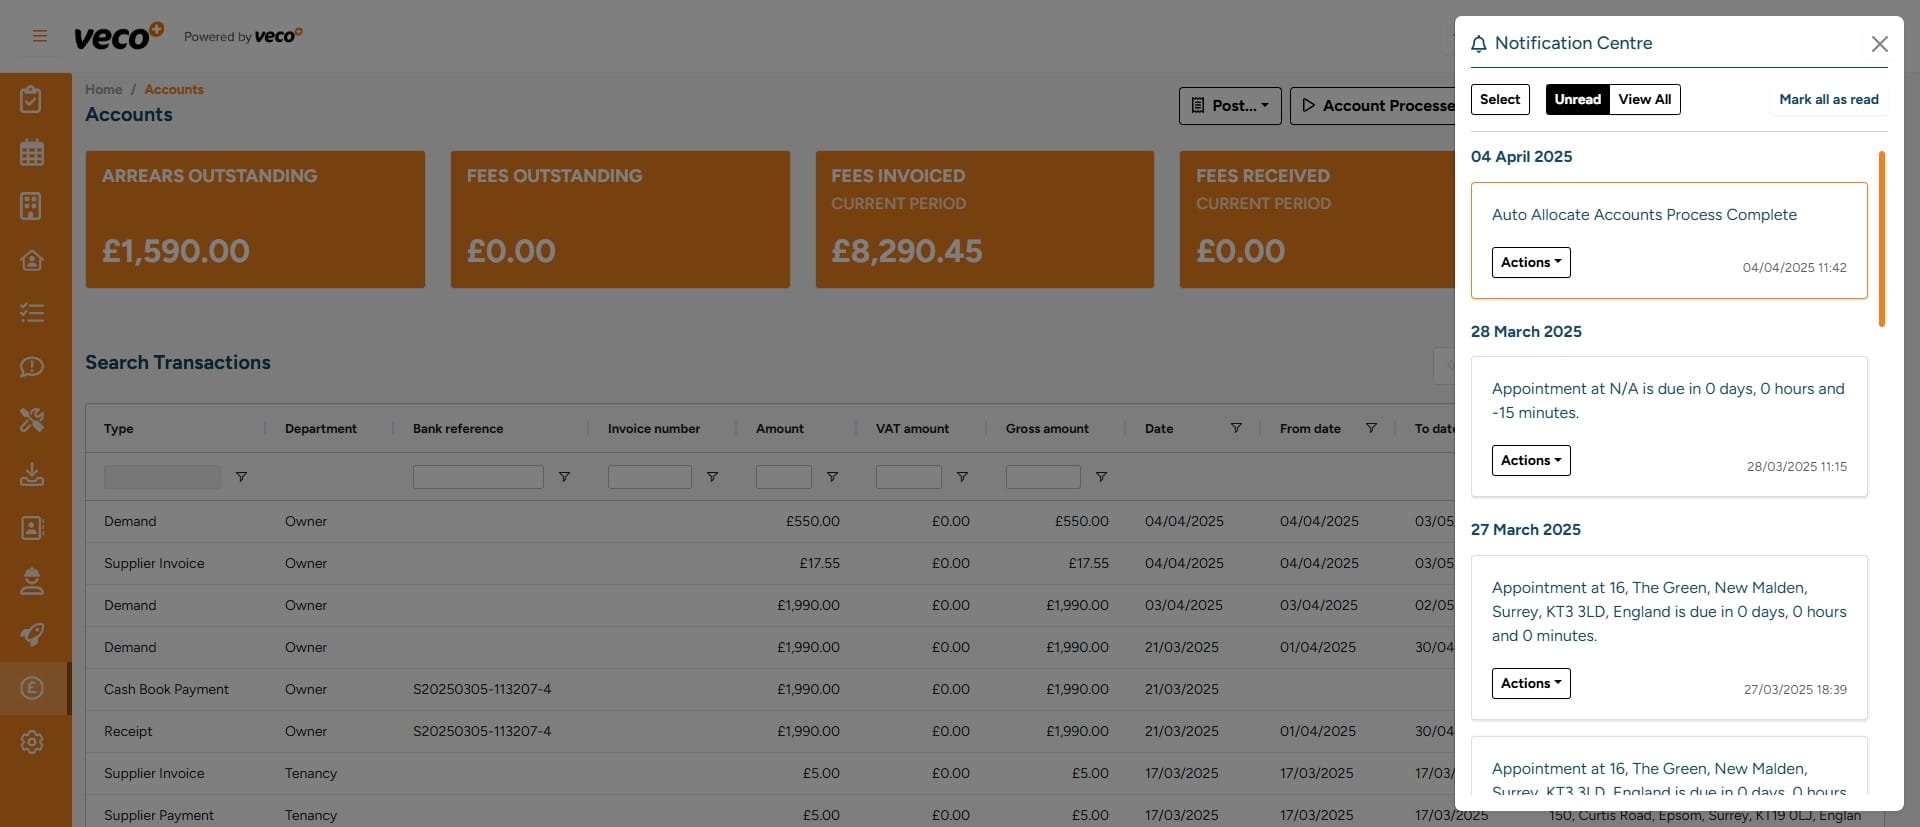
Once the background process has been completed, you will get a notification in the 'Notification Centre'
7
Once you have seen the notification select ' Actions'
8
To either 'Mark As Read' or 'Delete'