Adding a Repair
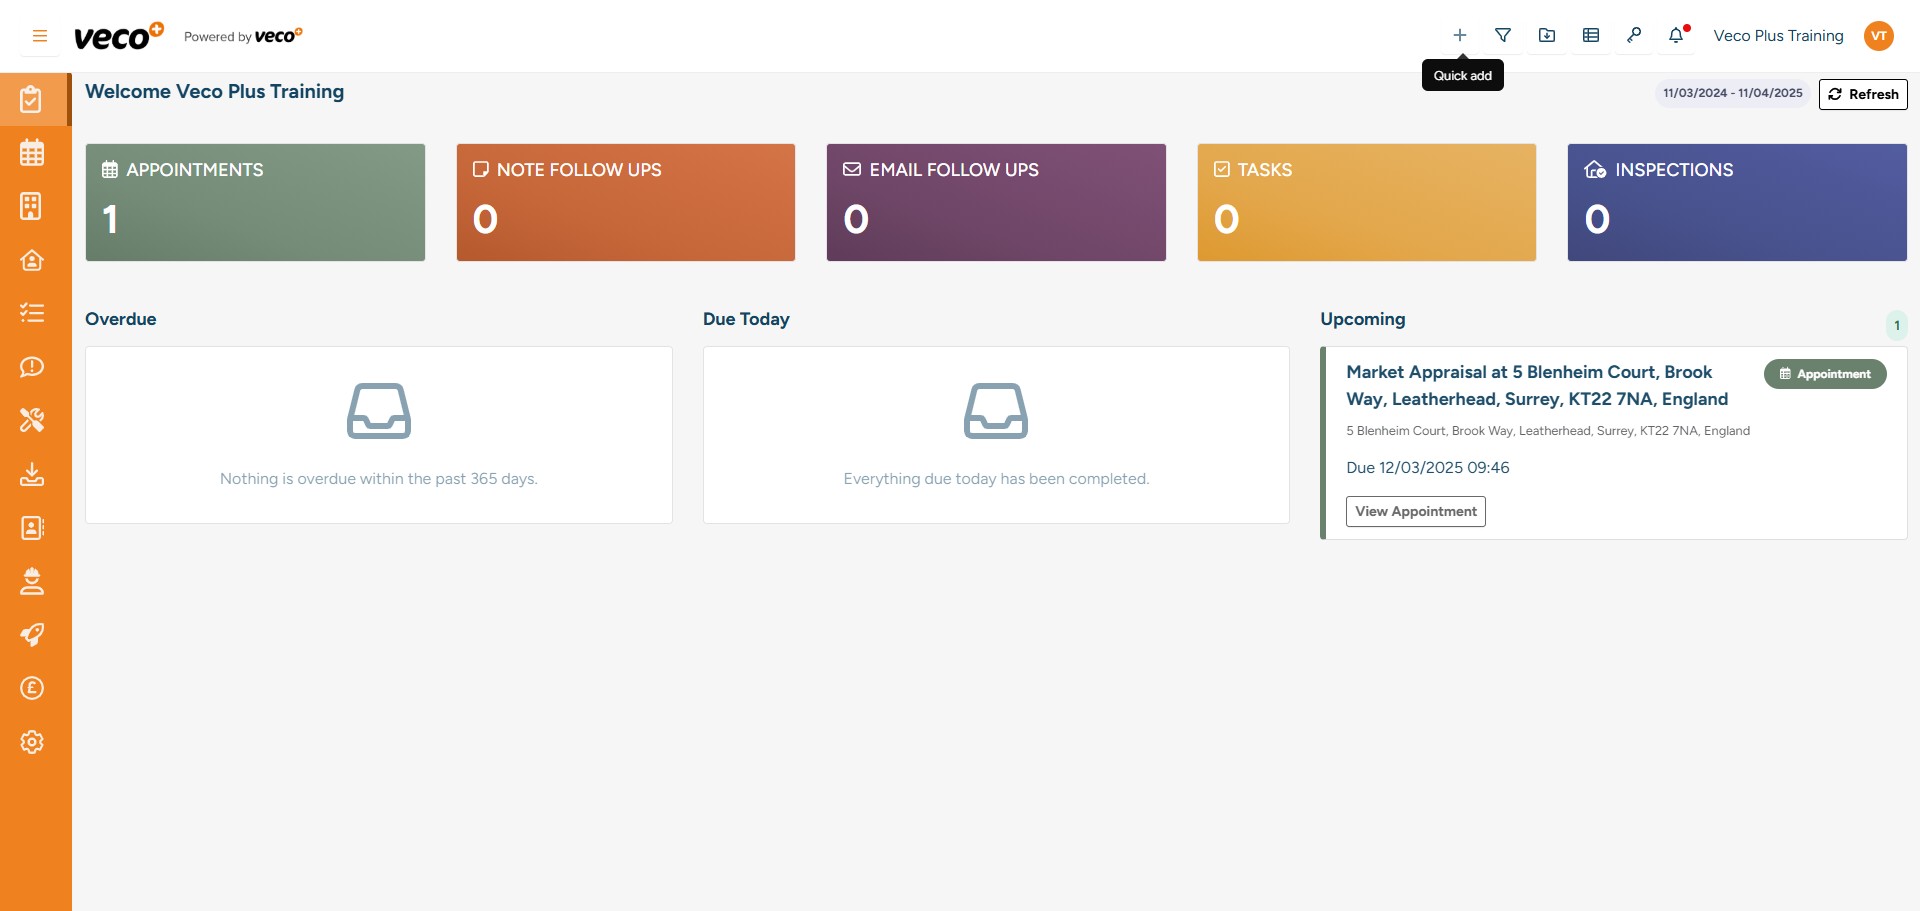
To add a Repair, select the ‘+’ in the upper right corner
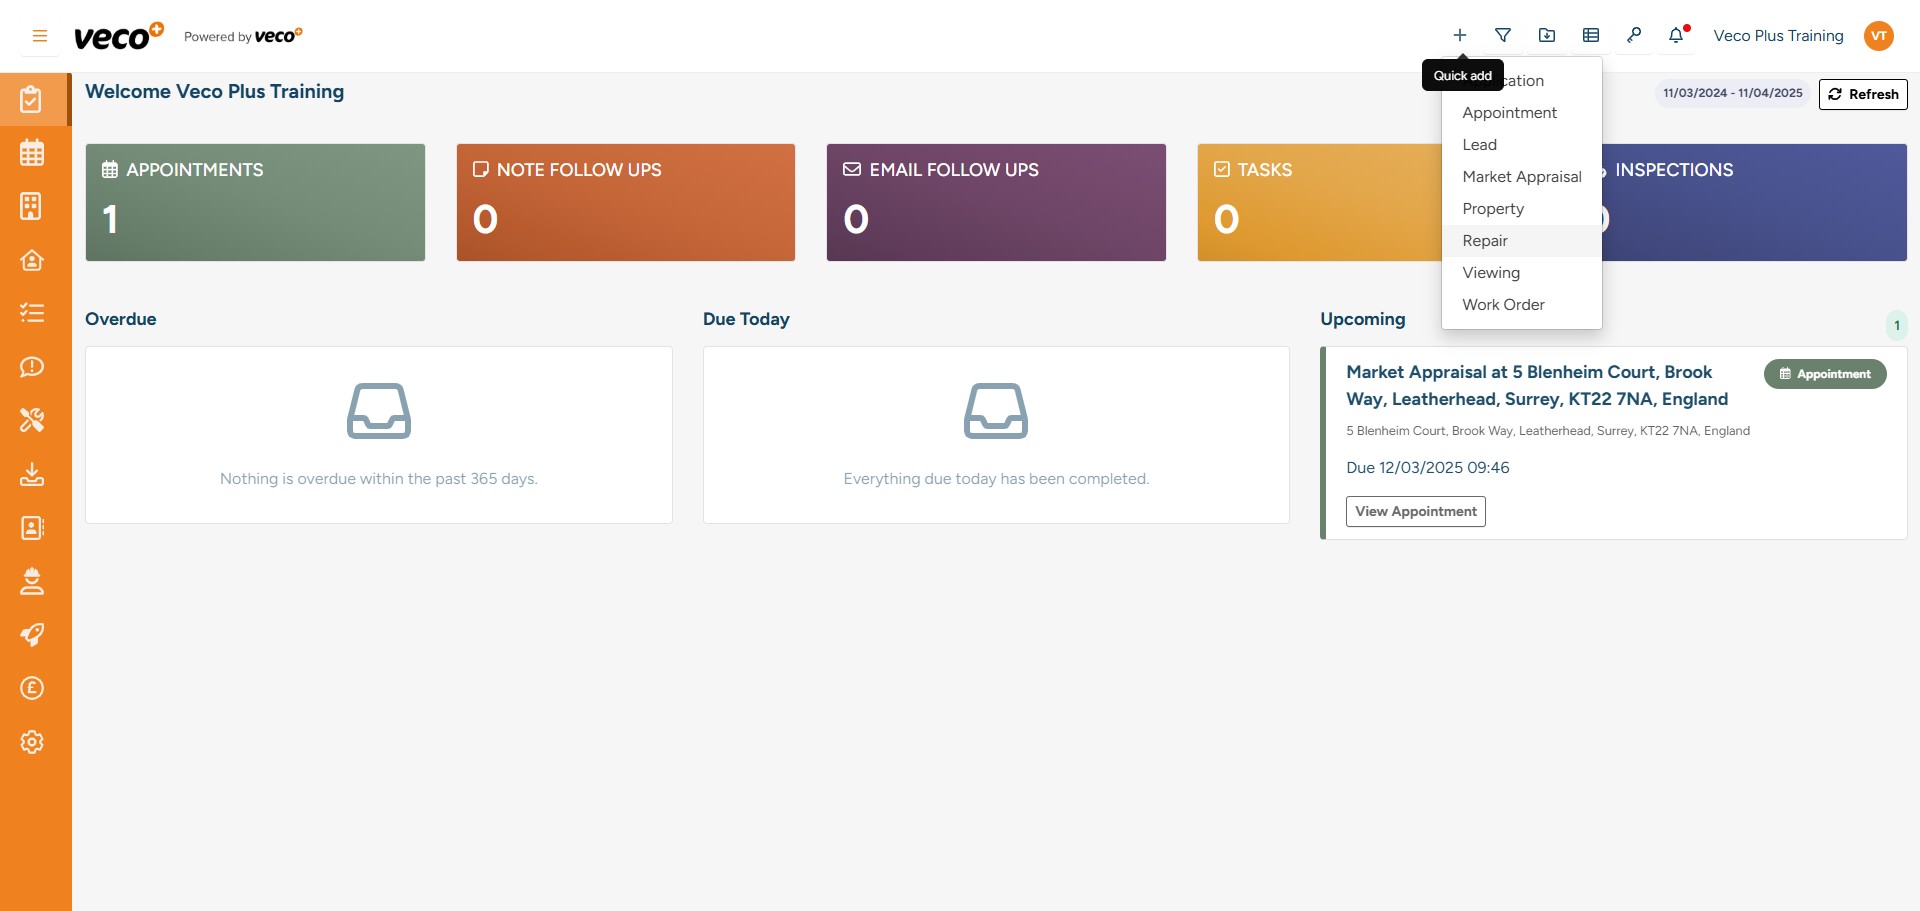
Select ‘Repair’ from the menu and a window will appear on the right side to enable you to add the Repair information
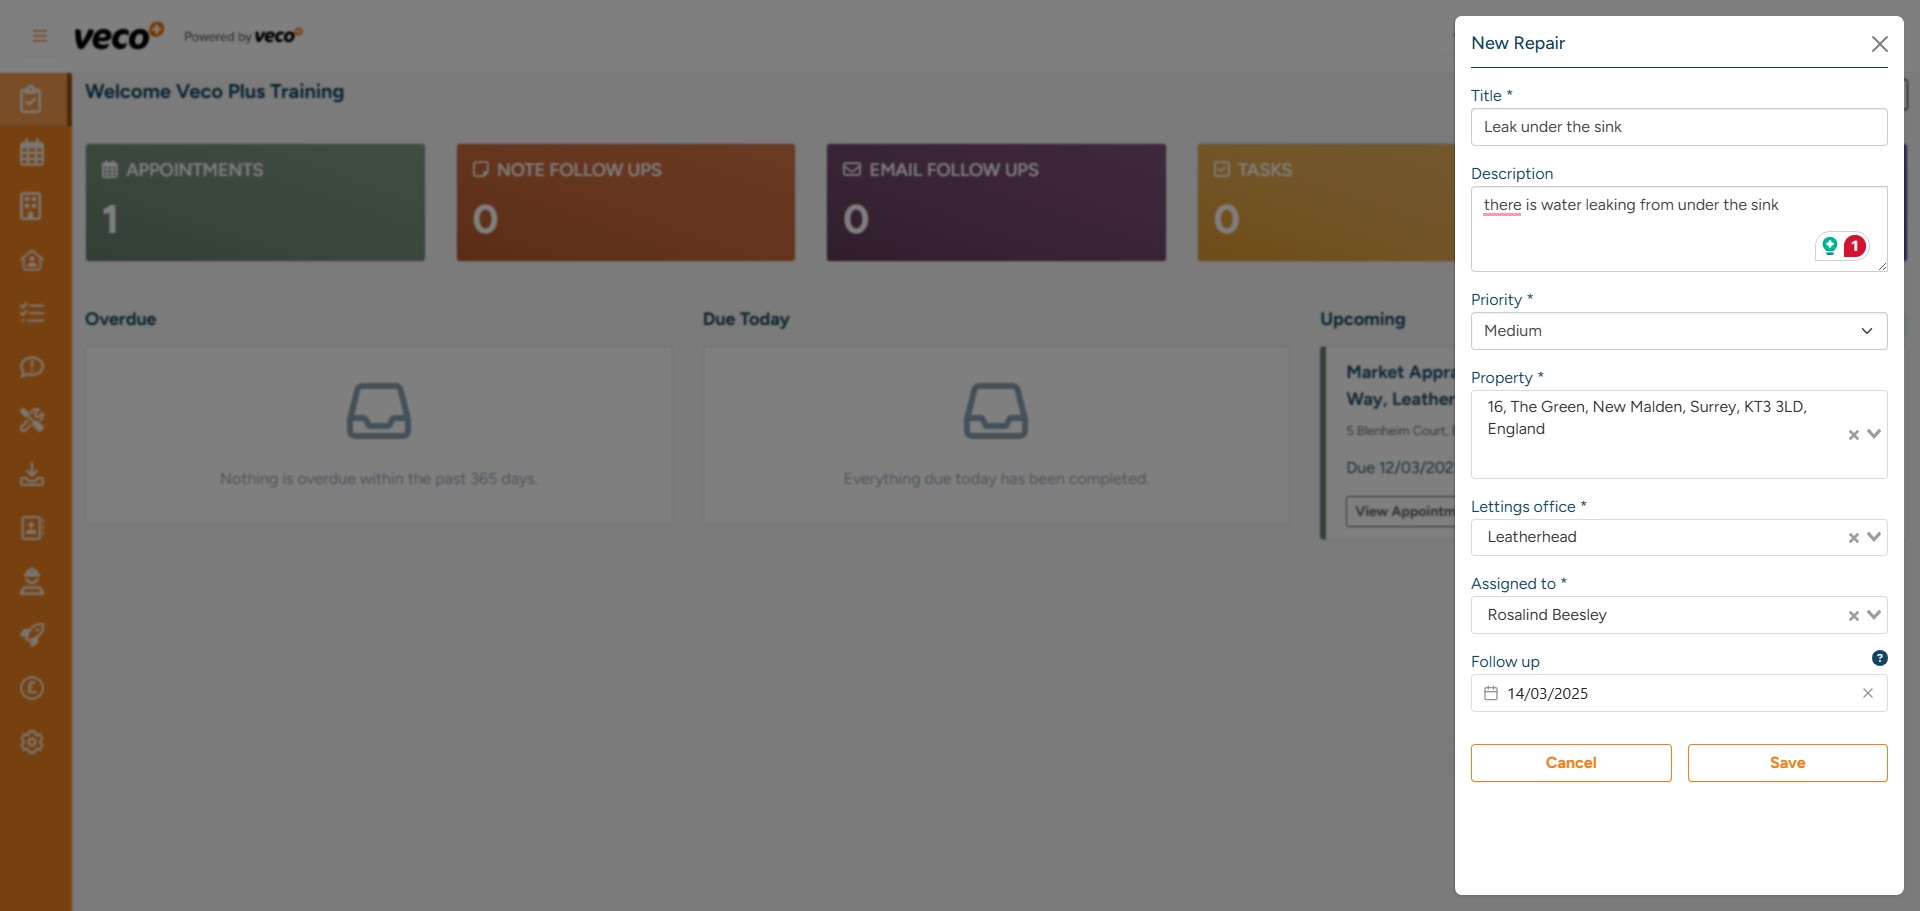
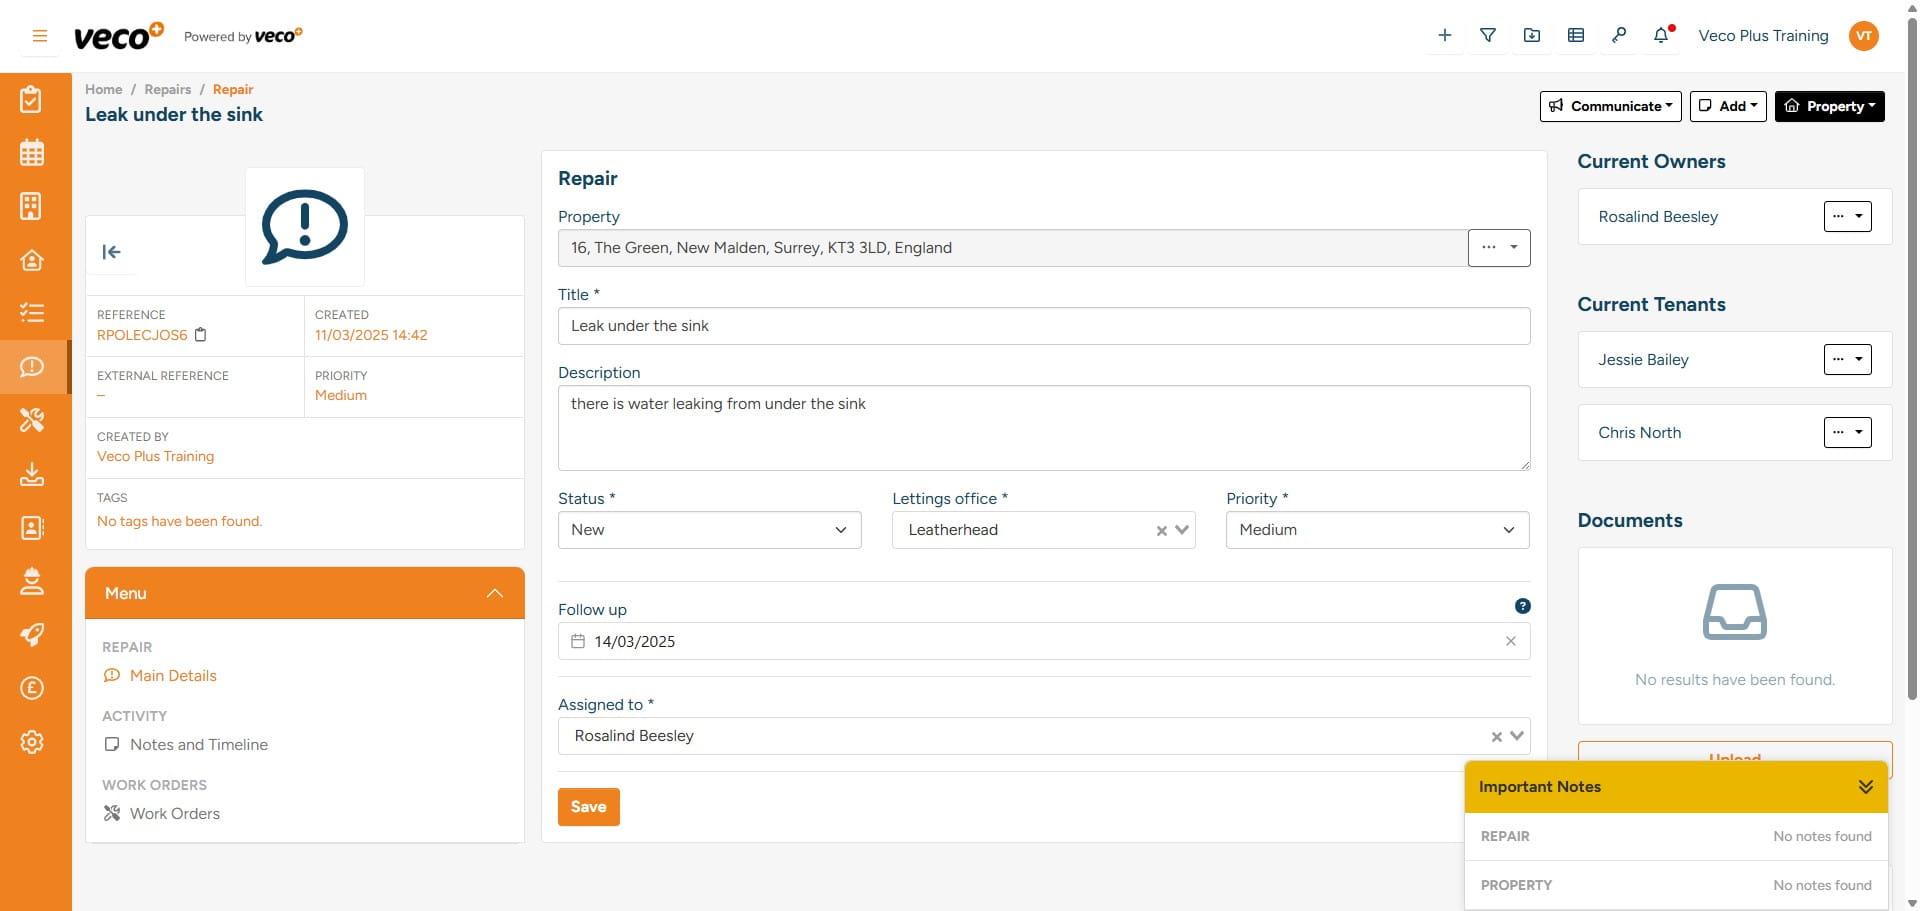
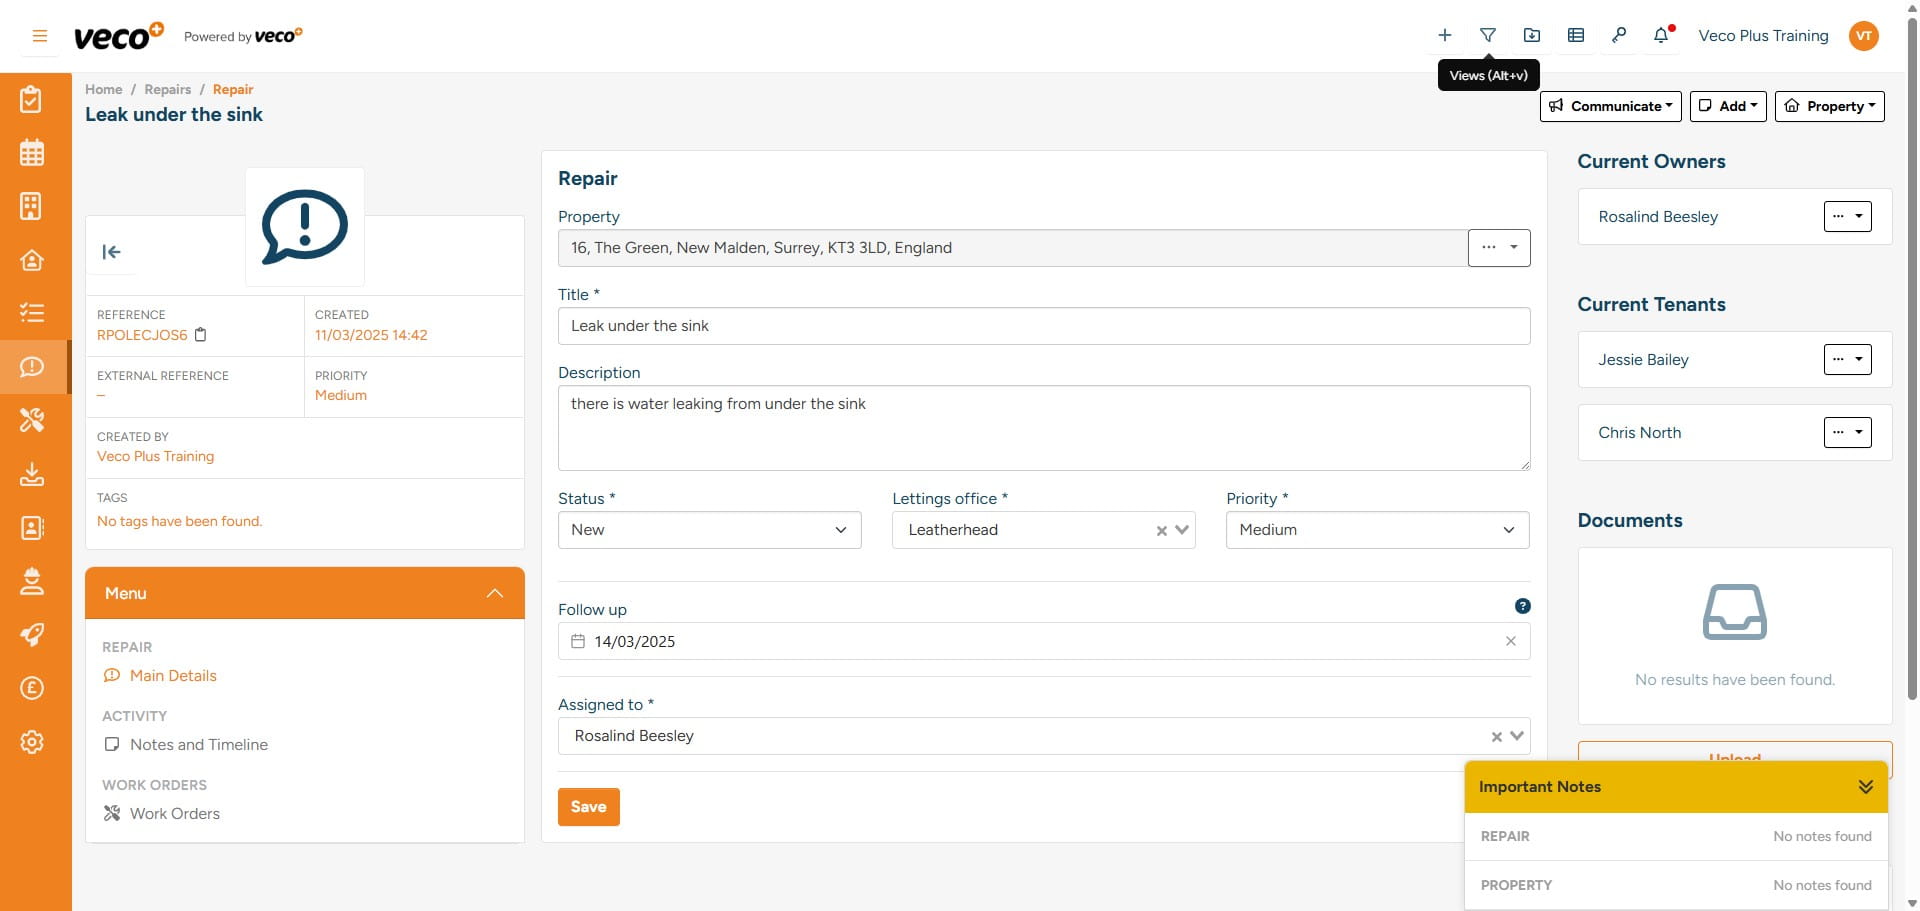
Add a title for the Repair and complete the relevant information – this will include a description of the Repair, the priority, the property address the Repair relates to and who the assigned staff user dealing with the Repair is. A ‘Follow up’ can also be added – this follow up date will appear in the repairs ‘View’ shown later in this manual. Select ‘Save’
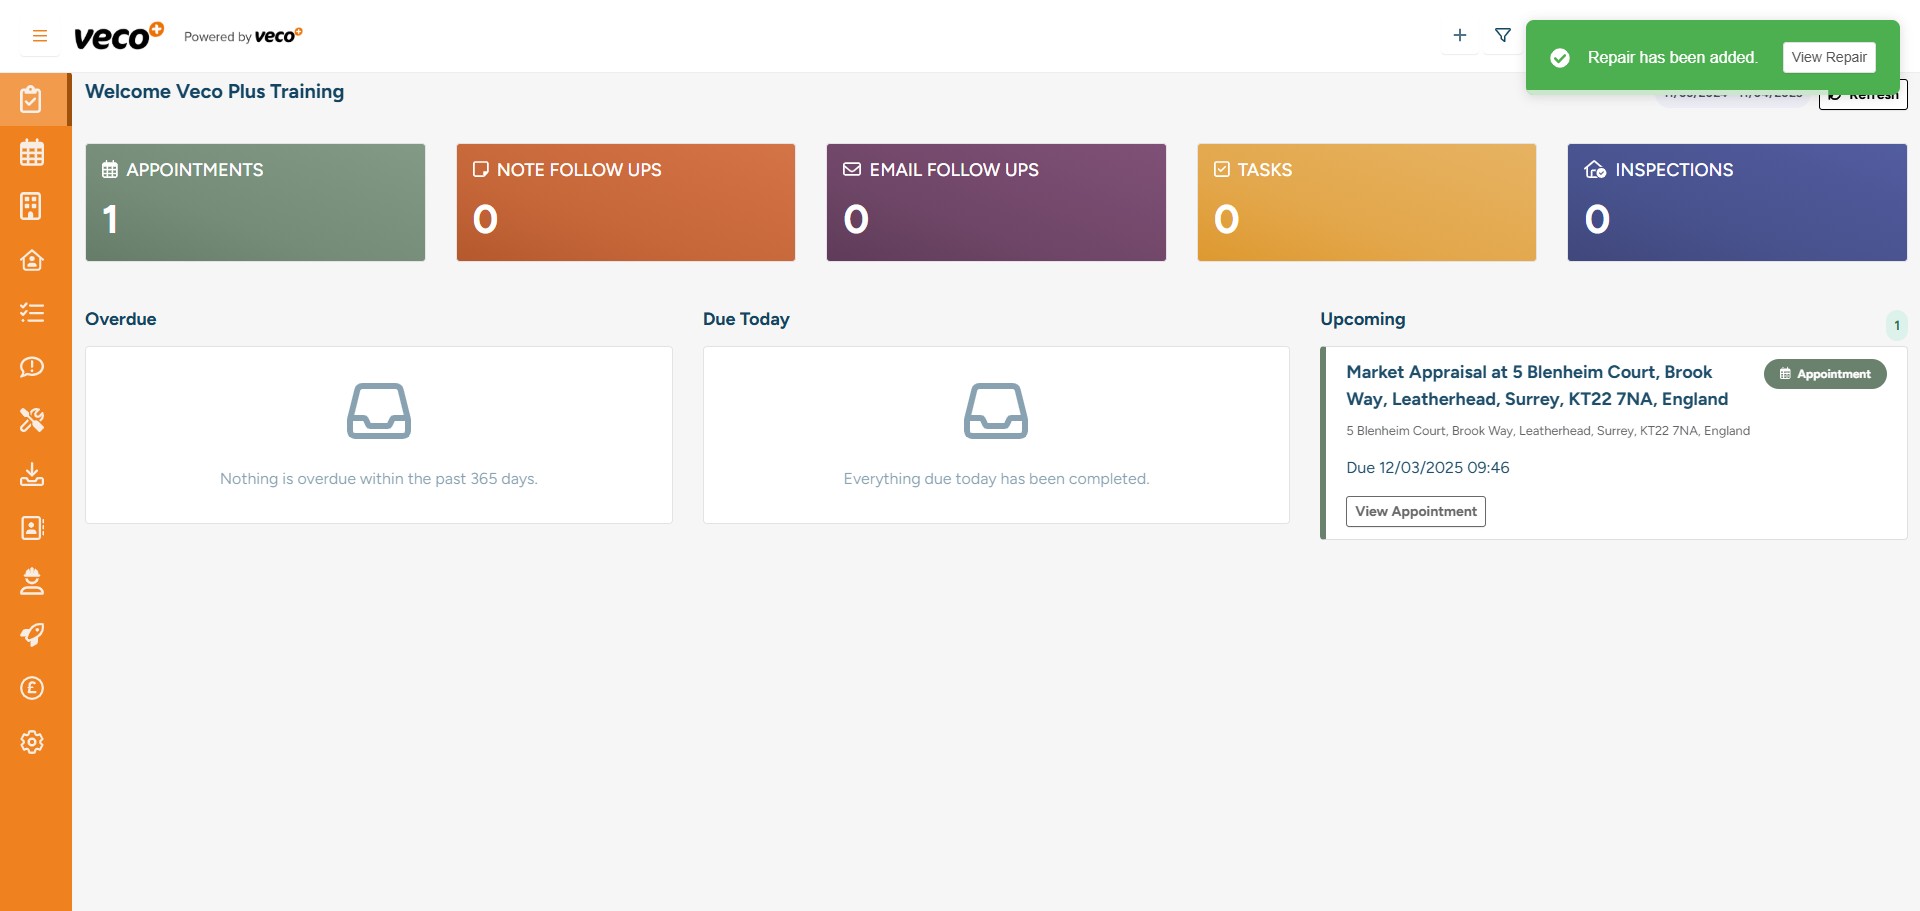
A notification will then appear where you can open the Repair. You can also find it from 'Repairs' on the navigation bar
When in the Repair, you can add photos, emails, or documents
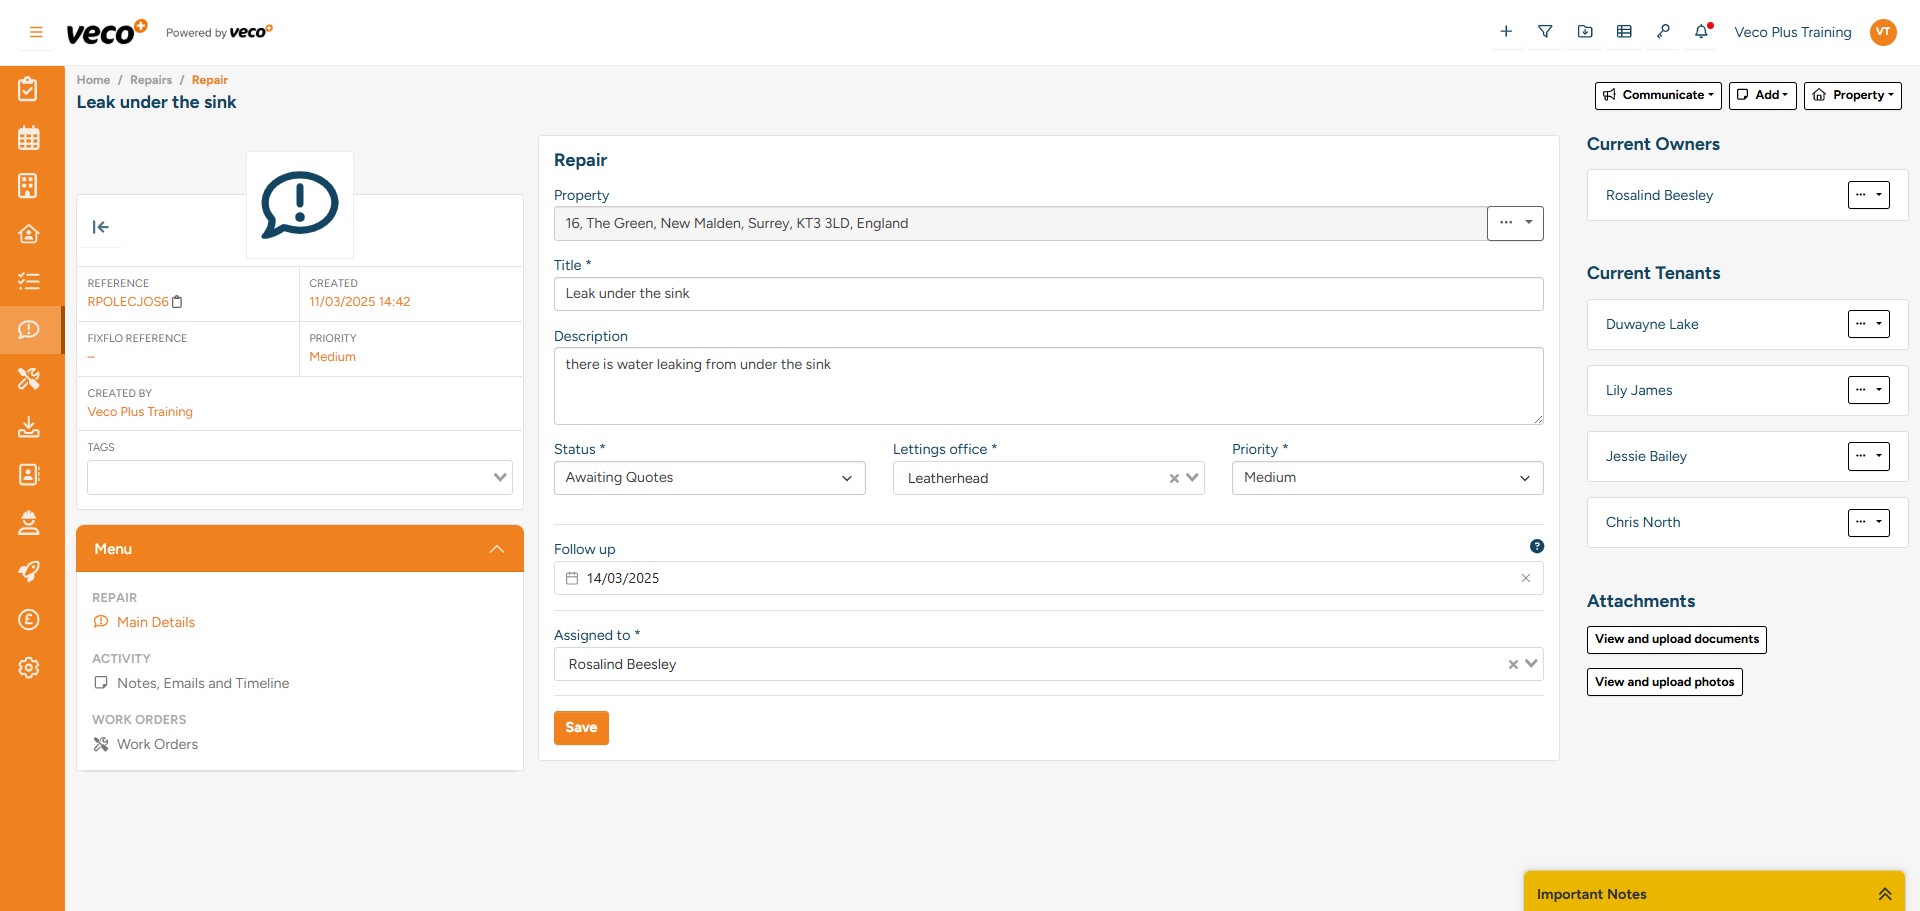
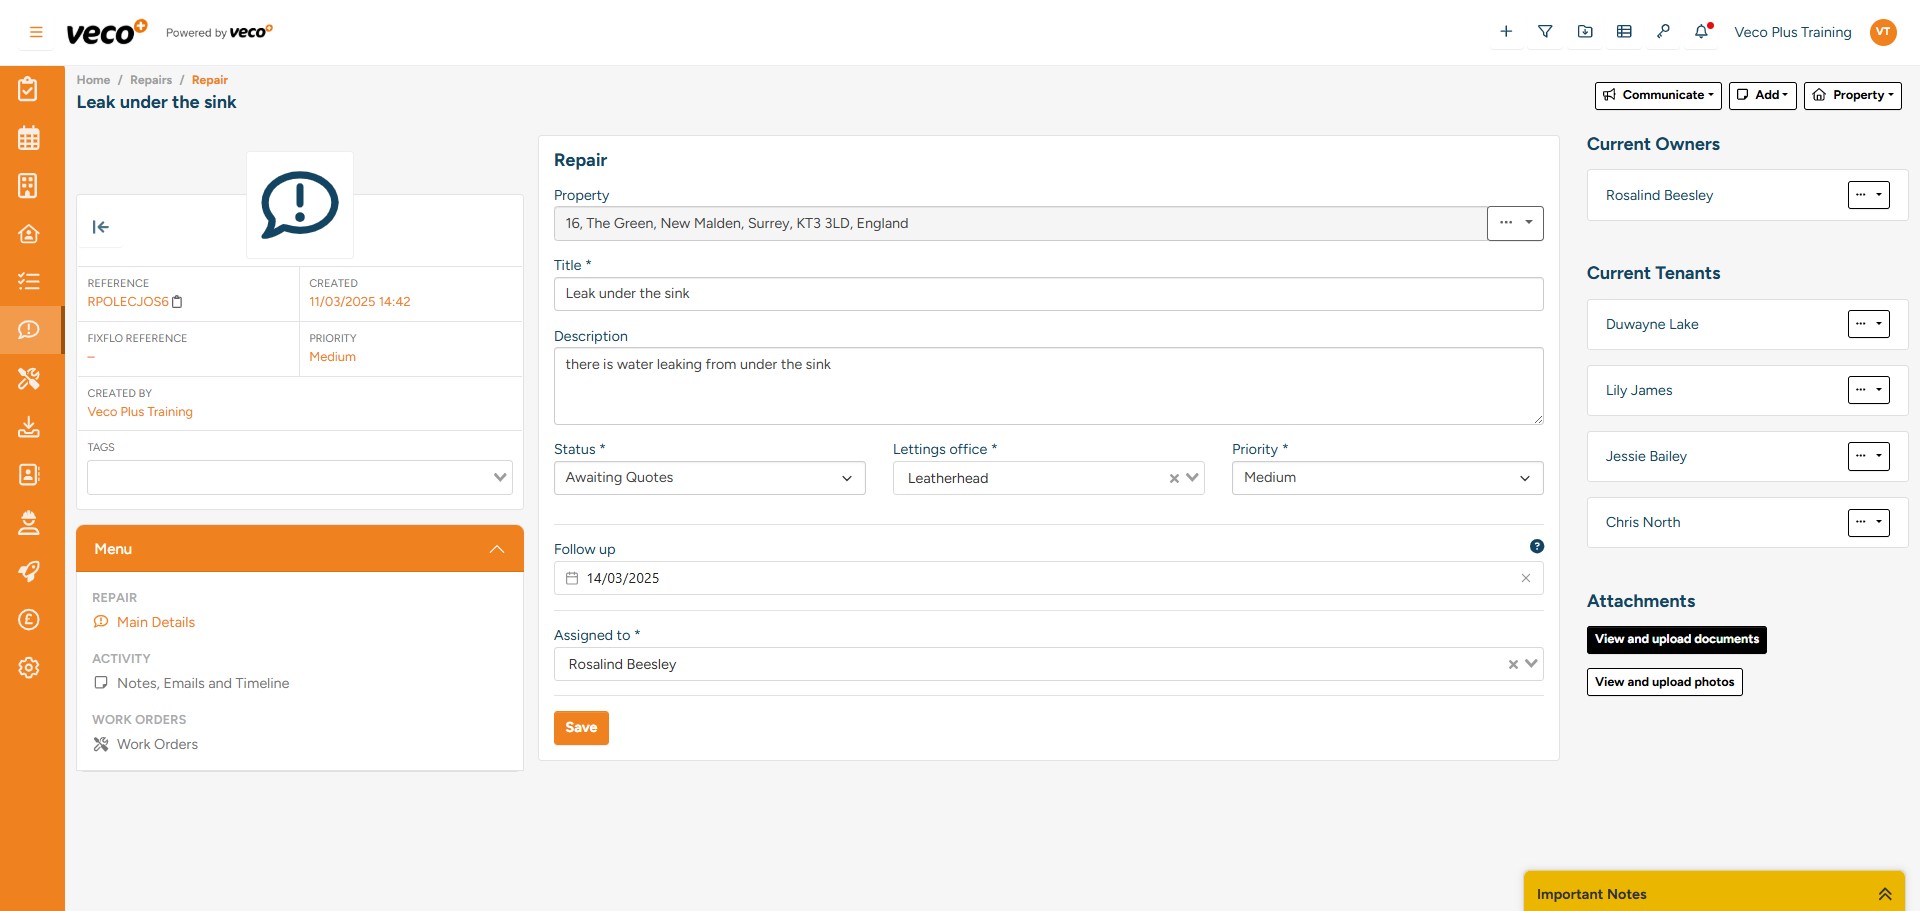
To add documents or photos, select ‘View and upload documents’ or 'View and upload photos' on the right side of the Repair page
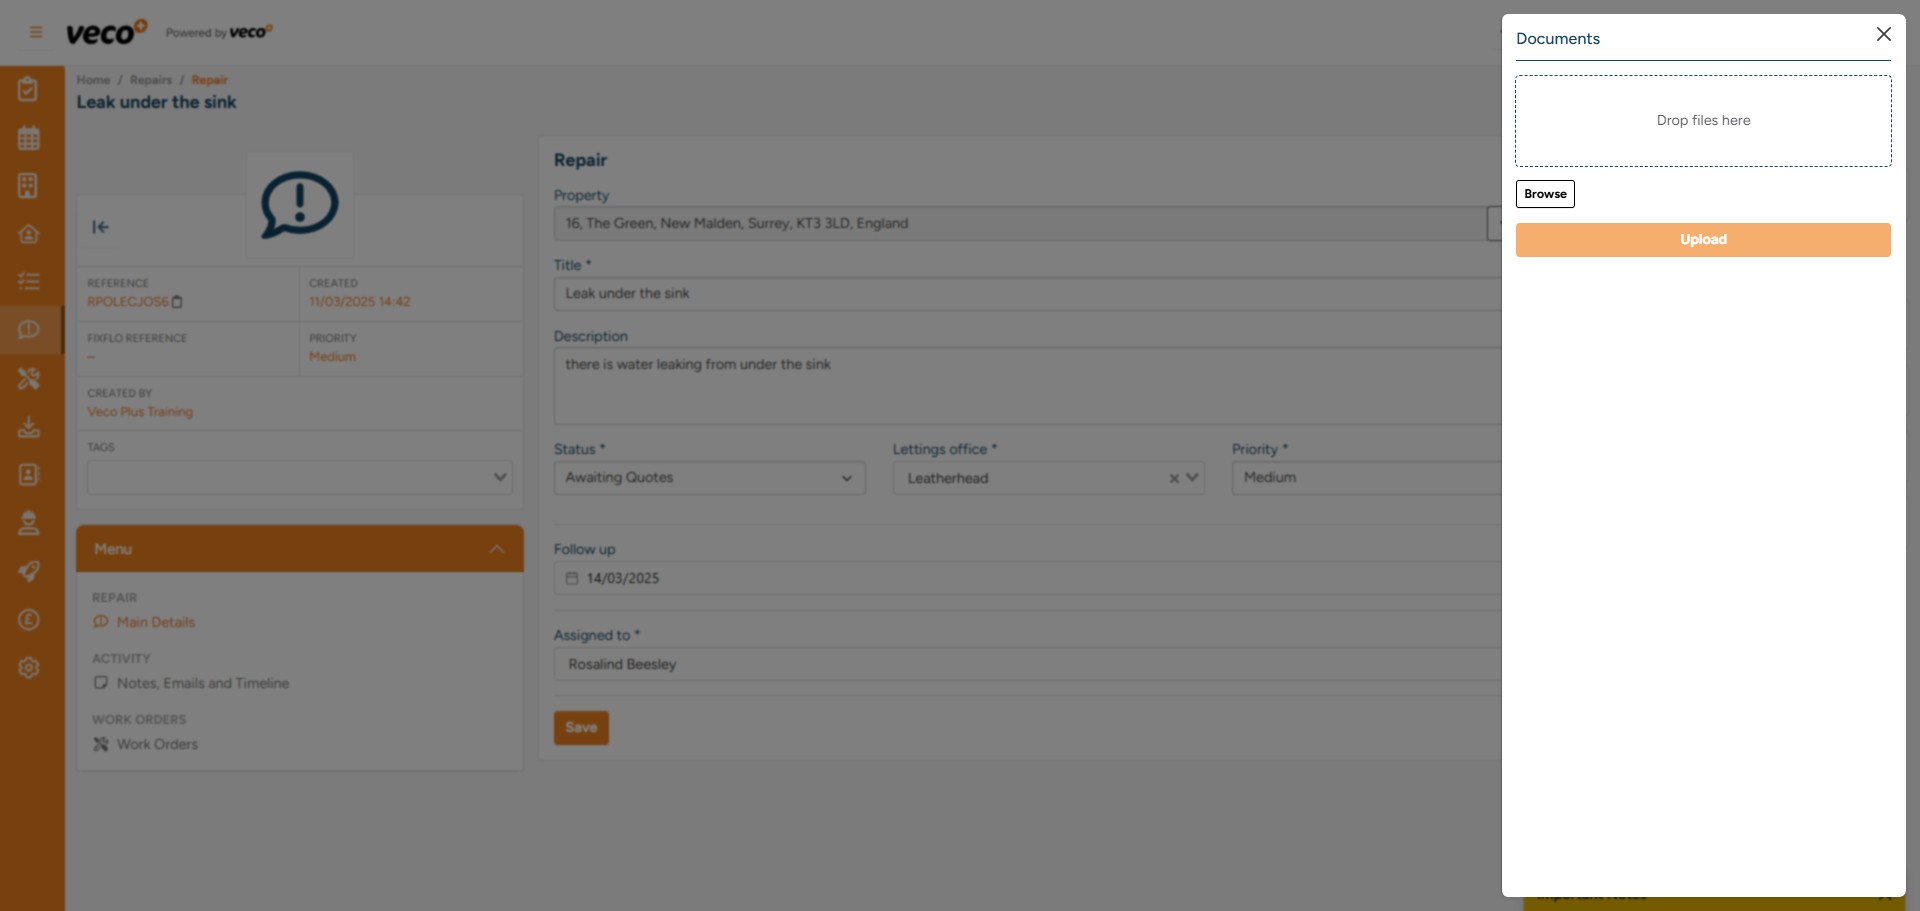
Then, select ‘Browse’ or drag and drop files into the drop box and select ‘Upload’
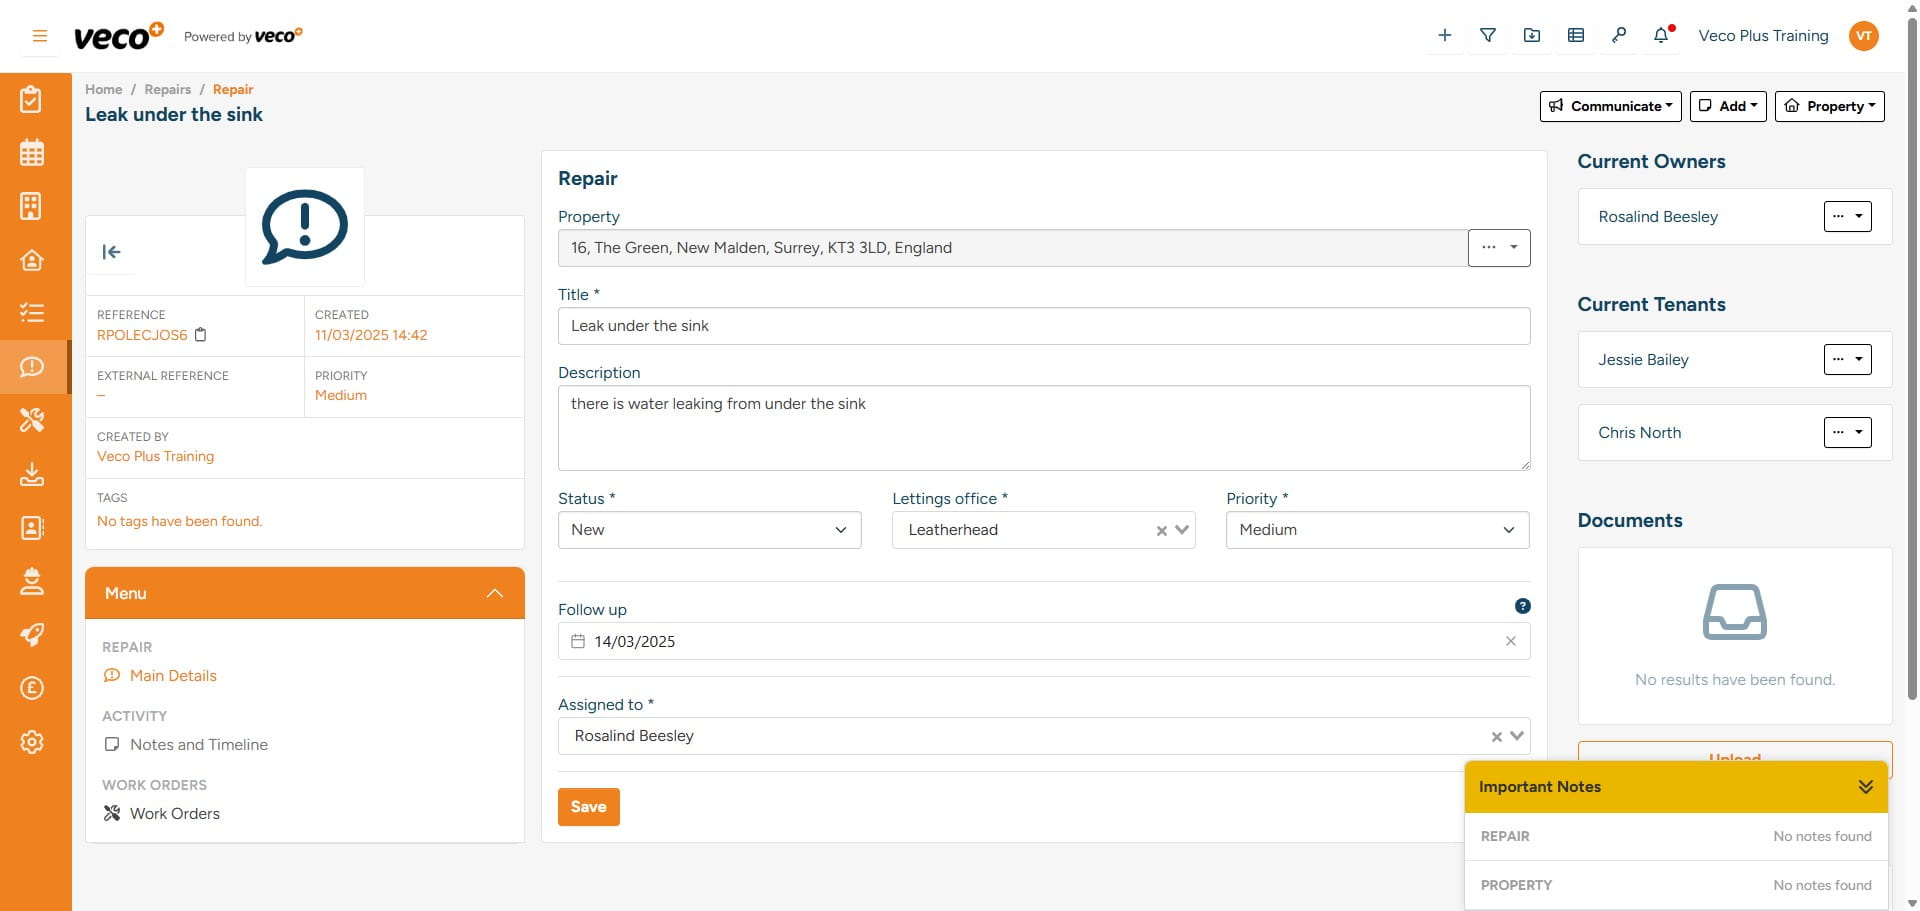
You can view the property relating to the Repair by clicking on ‘Property’ in the upper right corner and then 'View Property'
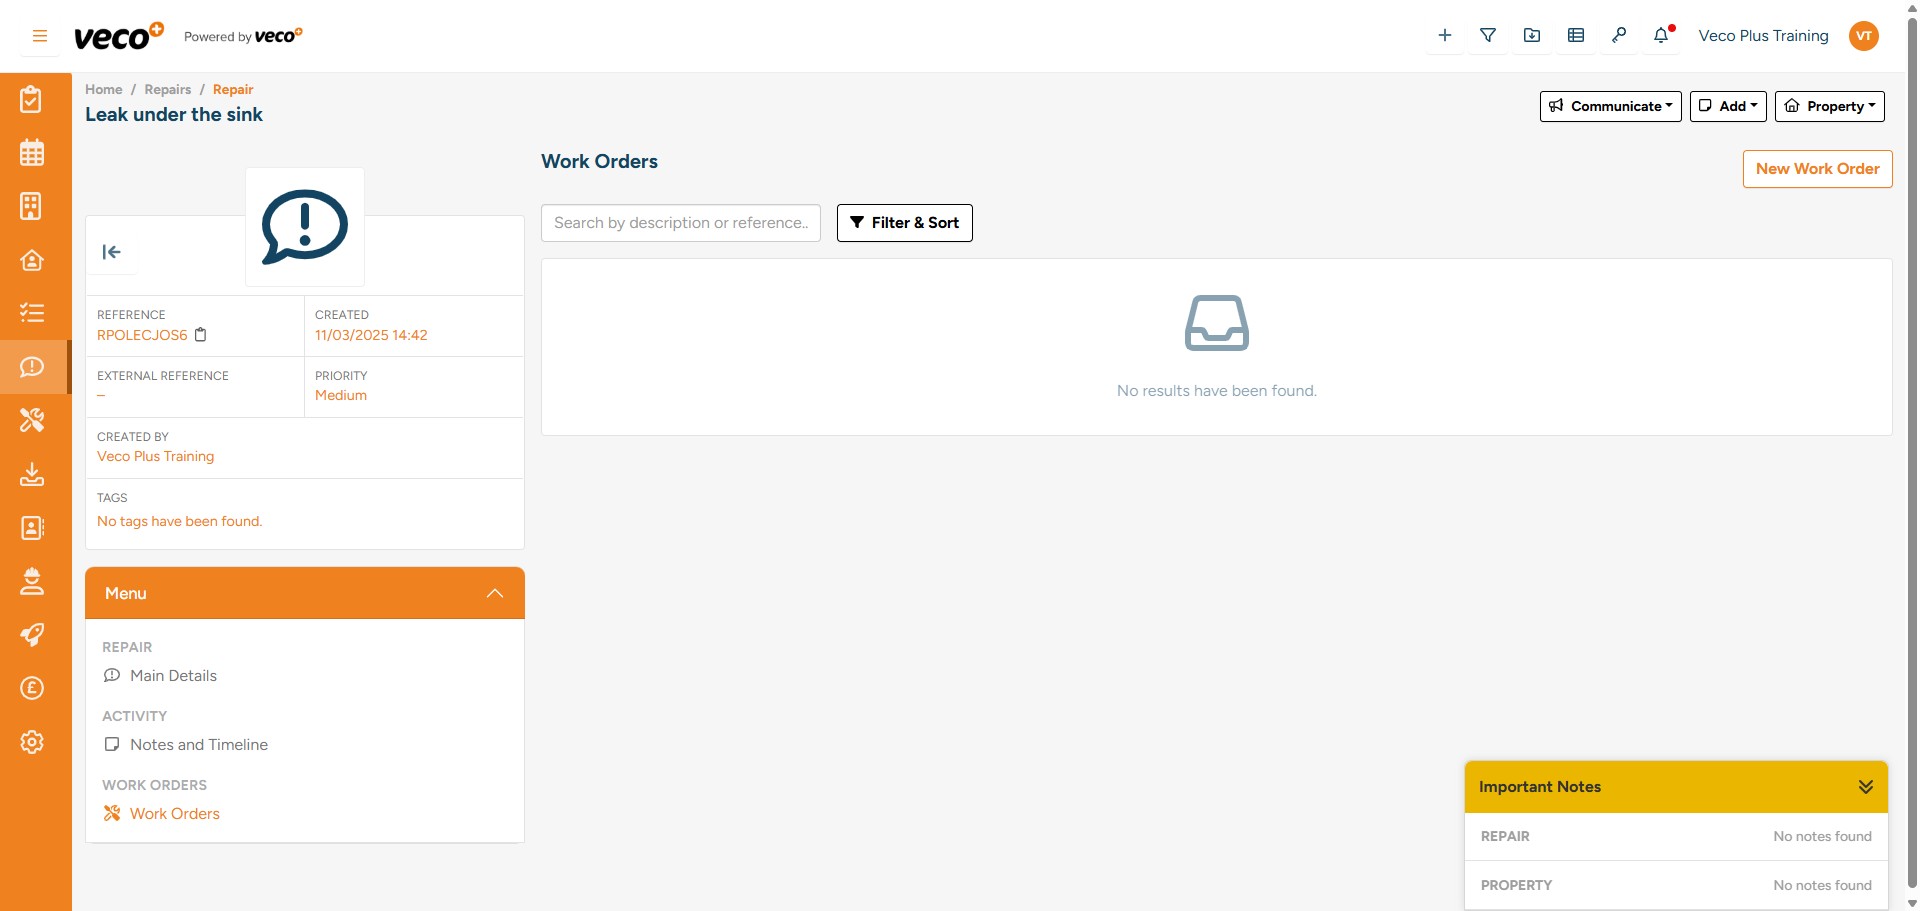
In the Repair, Work Orders can be raised for any work that needs to be carried out
On the left side menu, select ‘Work Orders’, then select ‘ New Work Order’ on the right side. You can also view and monitor all Work Orders relating to this Repair from this area
You can add notes to the repair by selecting ‘Notes and Timeline’

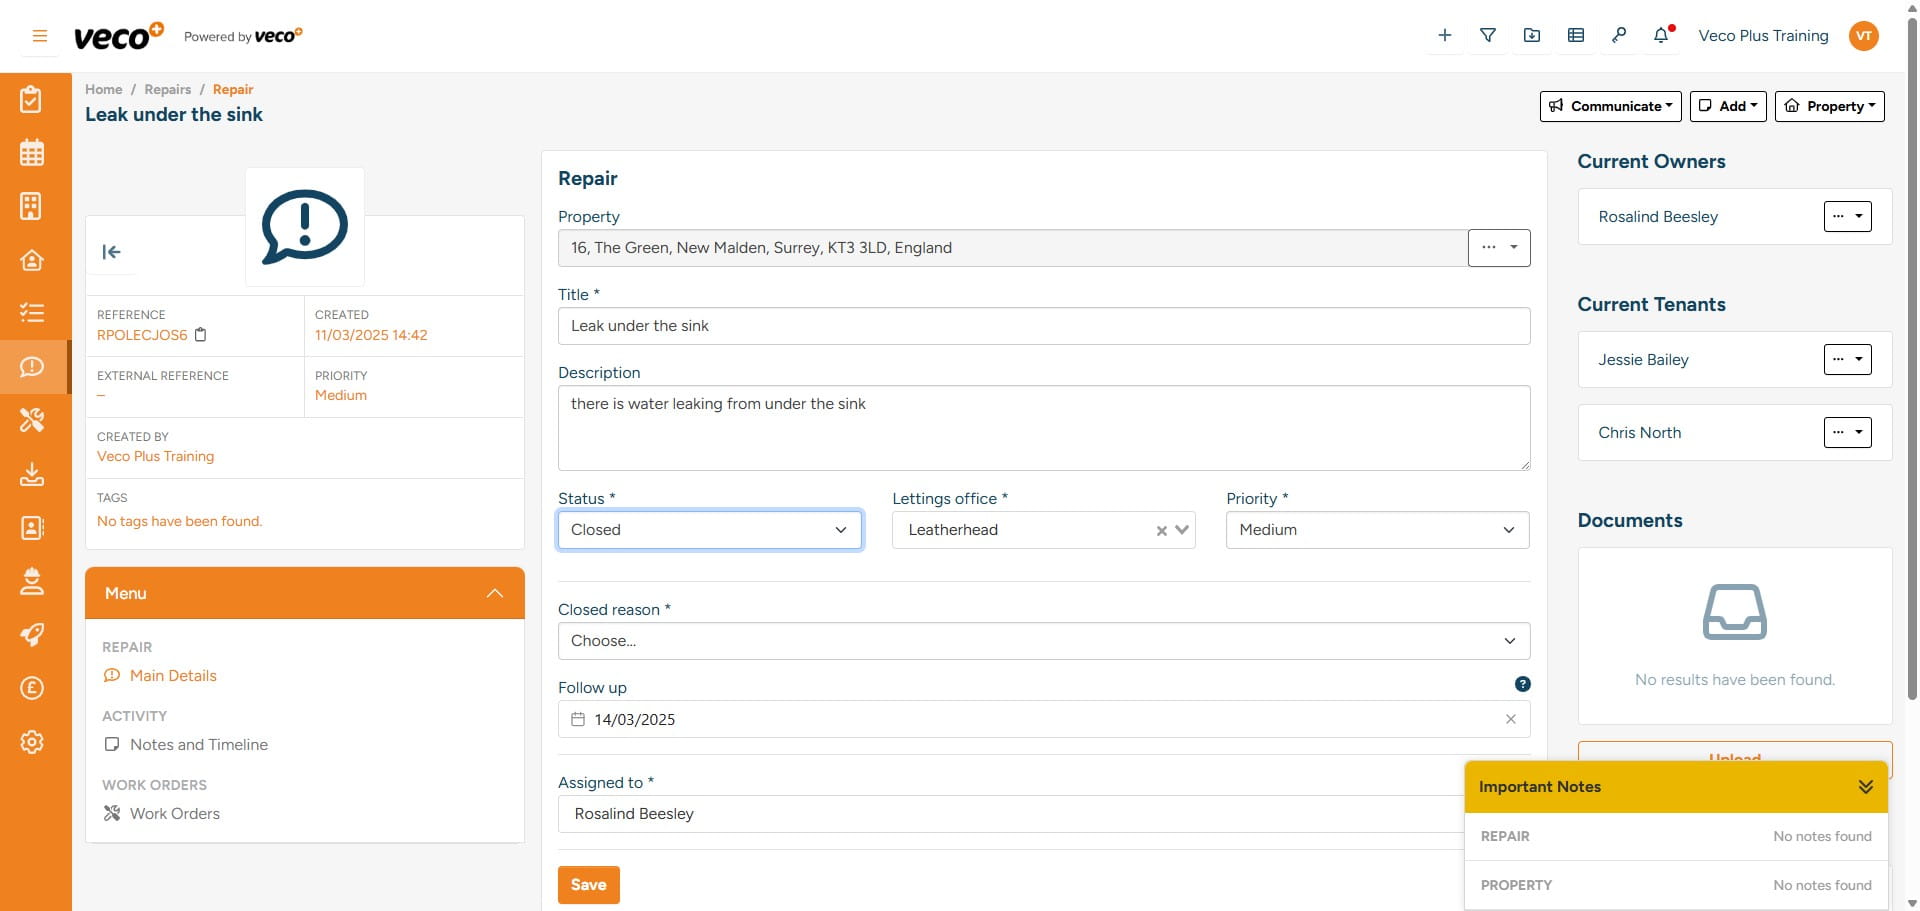
The Status of the Repair can be changed using the ‘Status’ drop down. Once the work has been completed, change the ‘Status’ to ‘Closed’. Once the Repair is Closed, it will remain visible, along with the history in the Property record
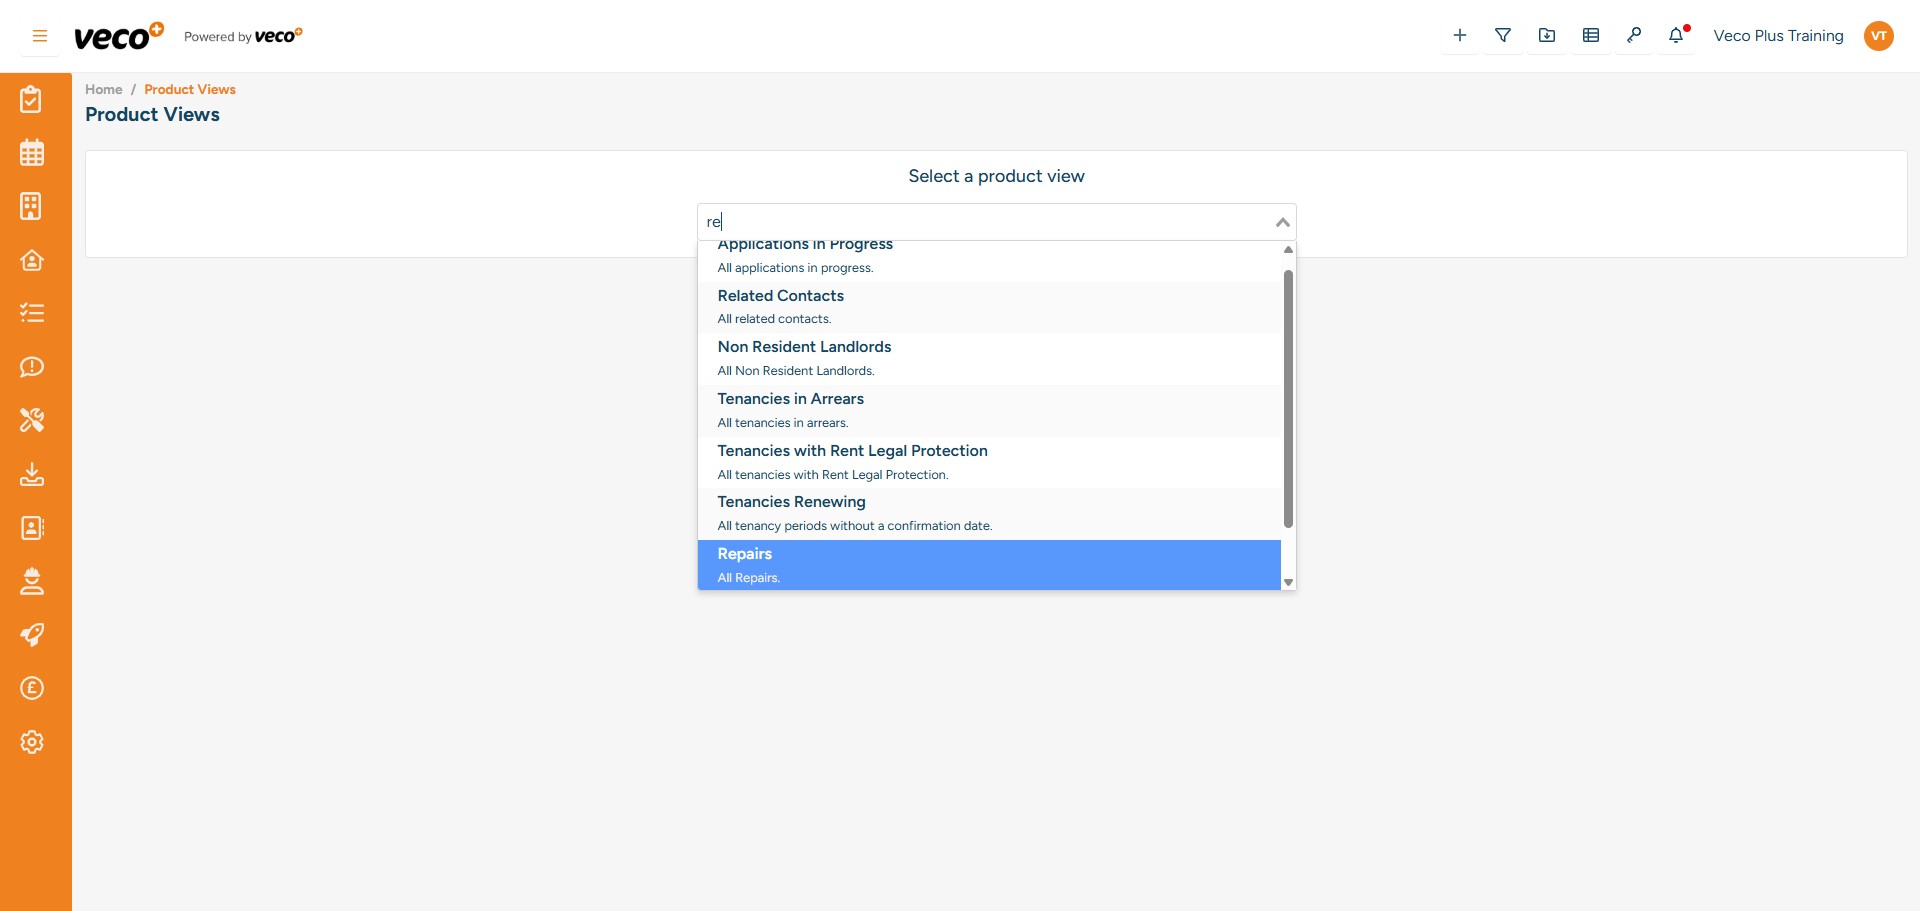
To open a Repairs ‘View’, select the filter icon in the upper right corner
Seach and select 'Repairs'
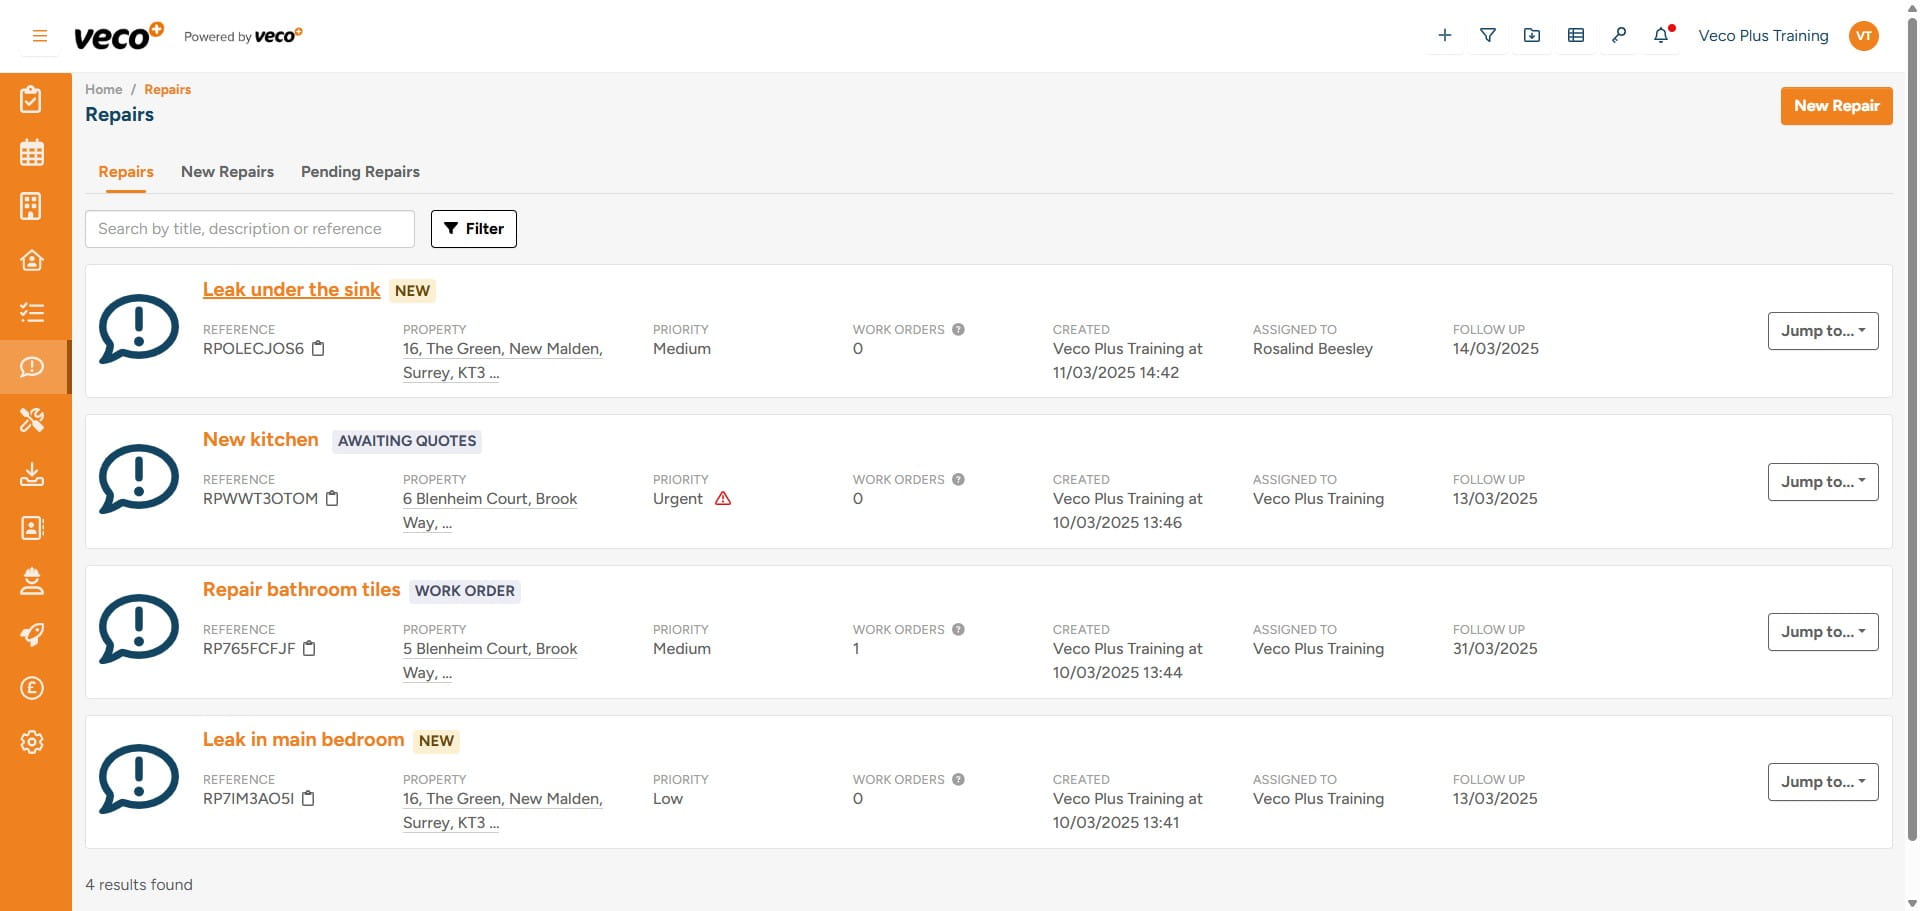
You can view and monitor all repairs from the ‘Repairs’ view. The view will also display the follow up date added to the Repair, and this column can be filtered by date. You can also open any Repair from this View from the 'Actions' column

The Repairs can also be accessed using the navigation bar. This will display the current Repairs in a list which can be searched and filtered by Status, Priority, and which user it is assigned to