Adding a Supplier
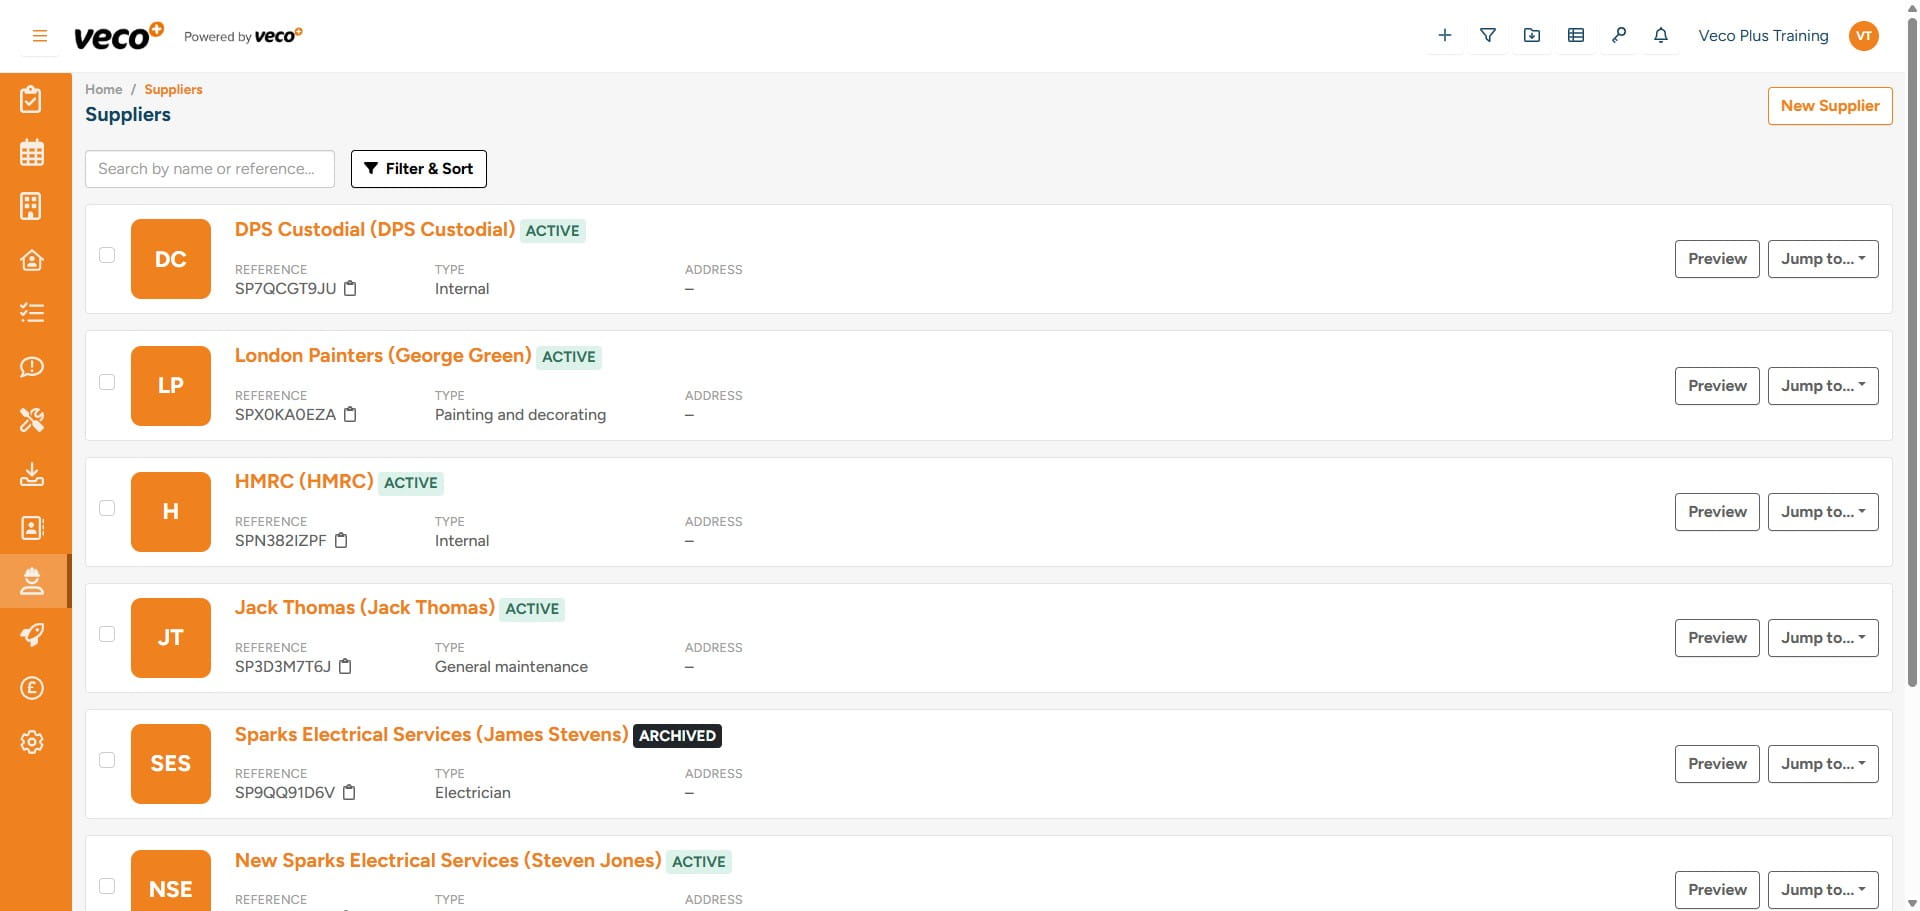
To add a new supplier, select ‘Suppliers' from the navigation bar
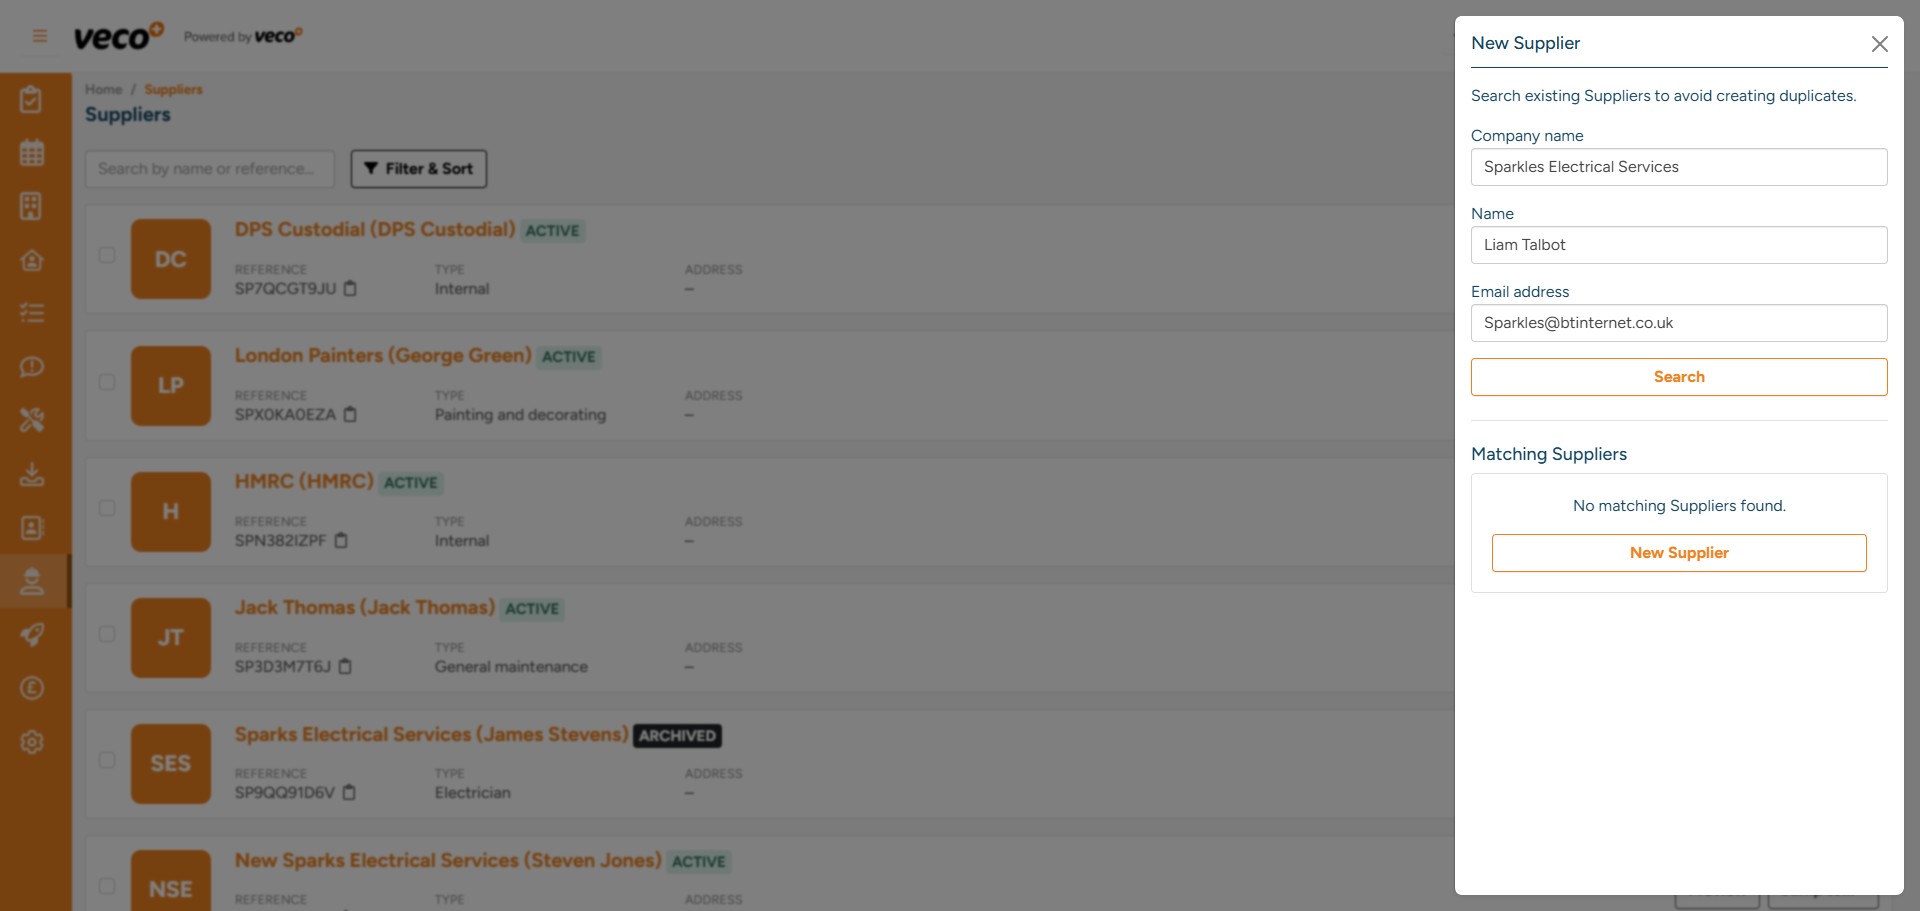
Select ‘New Supplier’ in the upper right corner
Enter the required information for the supplier. Select ‘Search’ – this will check if the supplier already exists. If the supplier already exists, Veco Plus will give you the option to ‘View’ the existing supplier
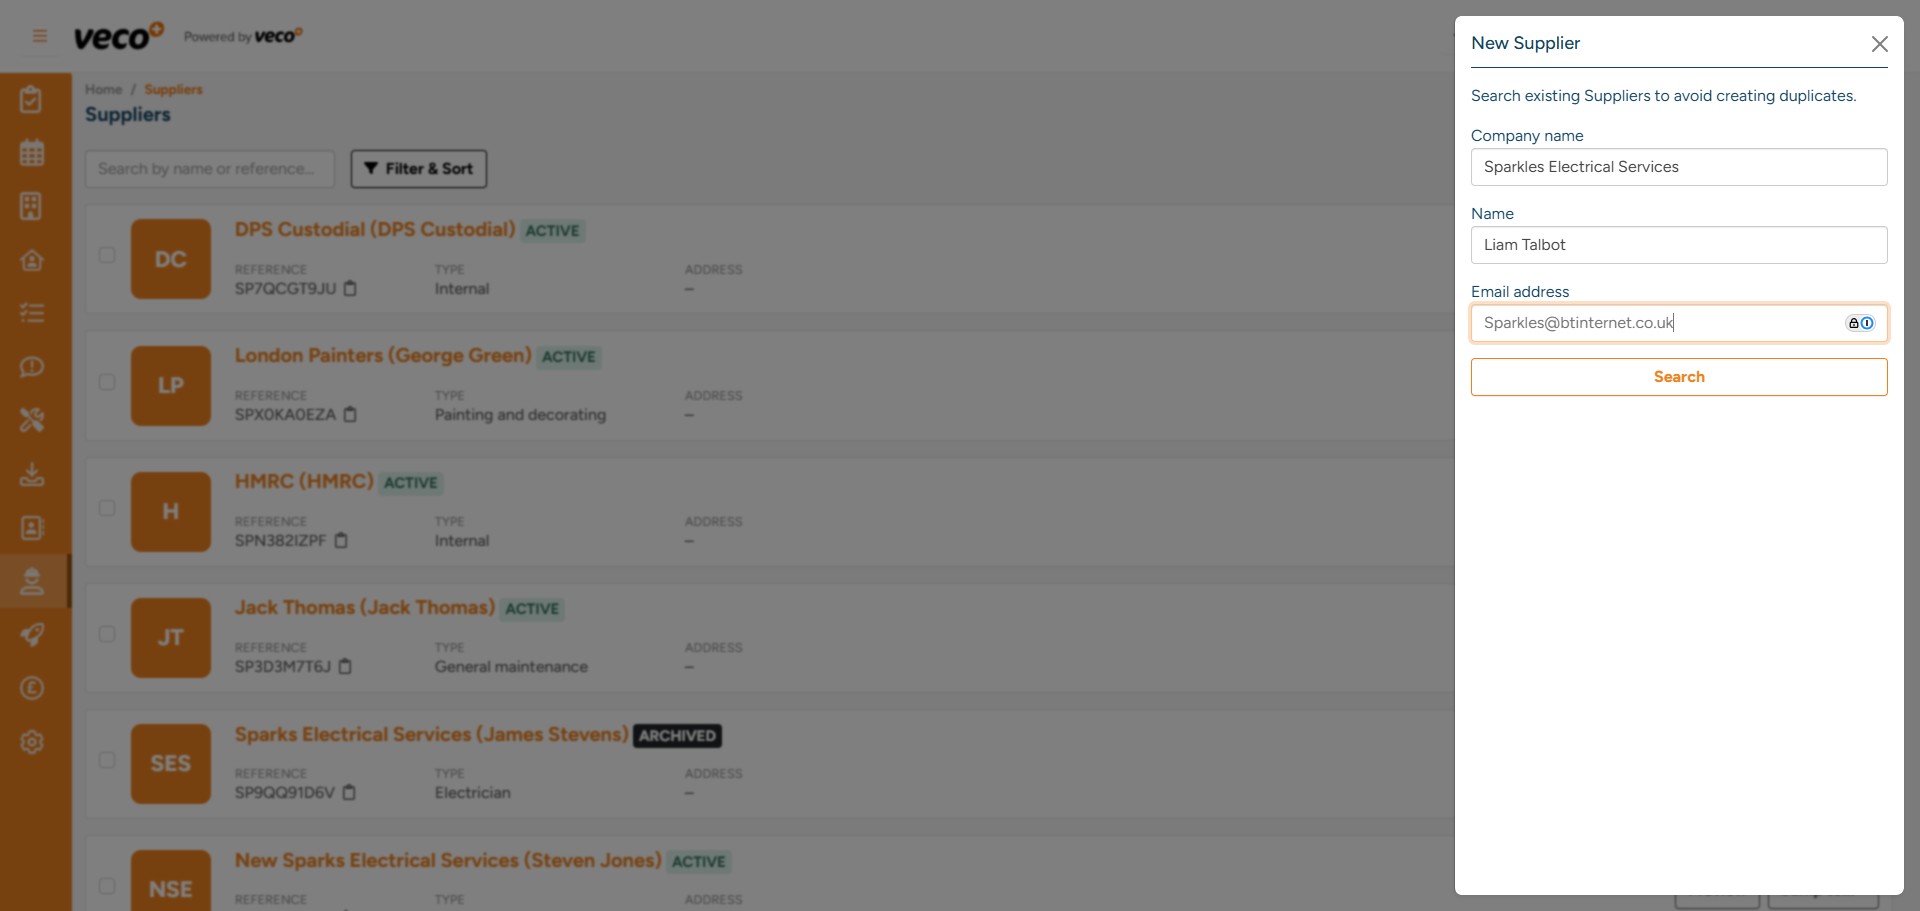
If the supplier does not already exist, select ‘New Supplier’
Add the ‘Status’ – if you are waiting for additional information from the supplier, the status can be set to ‘Pending’. This will prevent all users from using this supplier until the Status is changed to 'Active'. Then Choose the ‘Type’ of supplier, the office will default to the user’s office
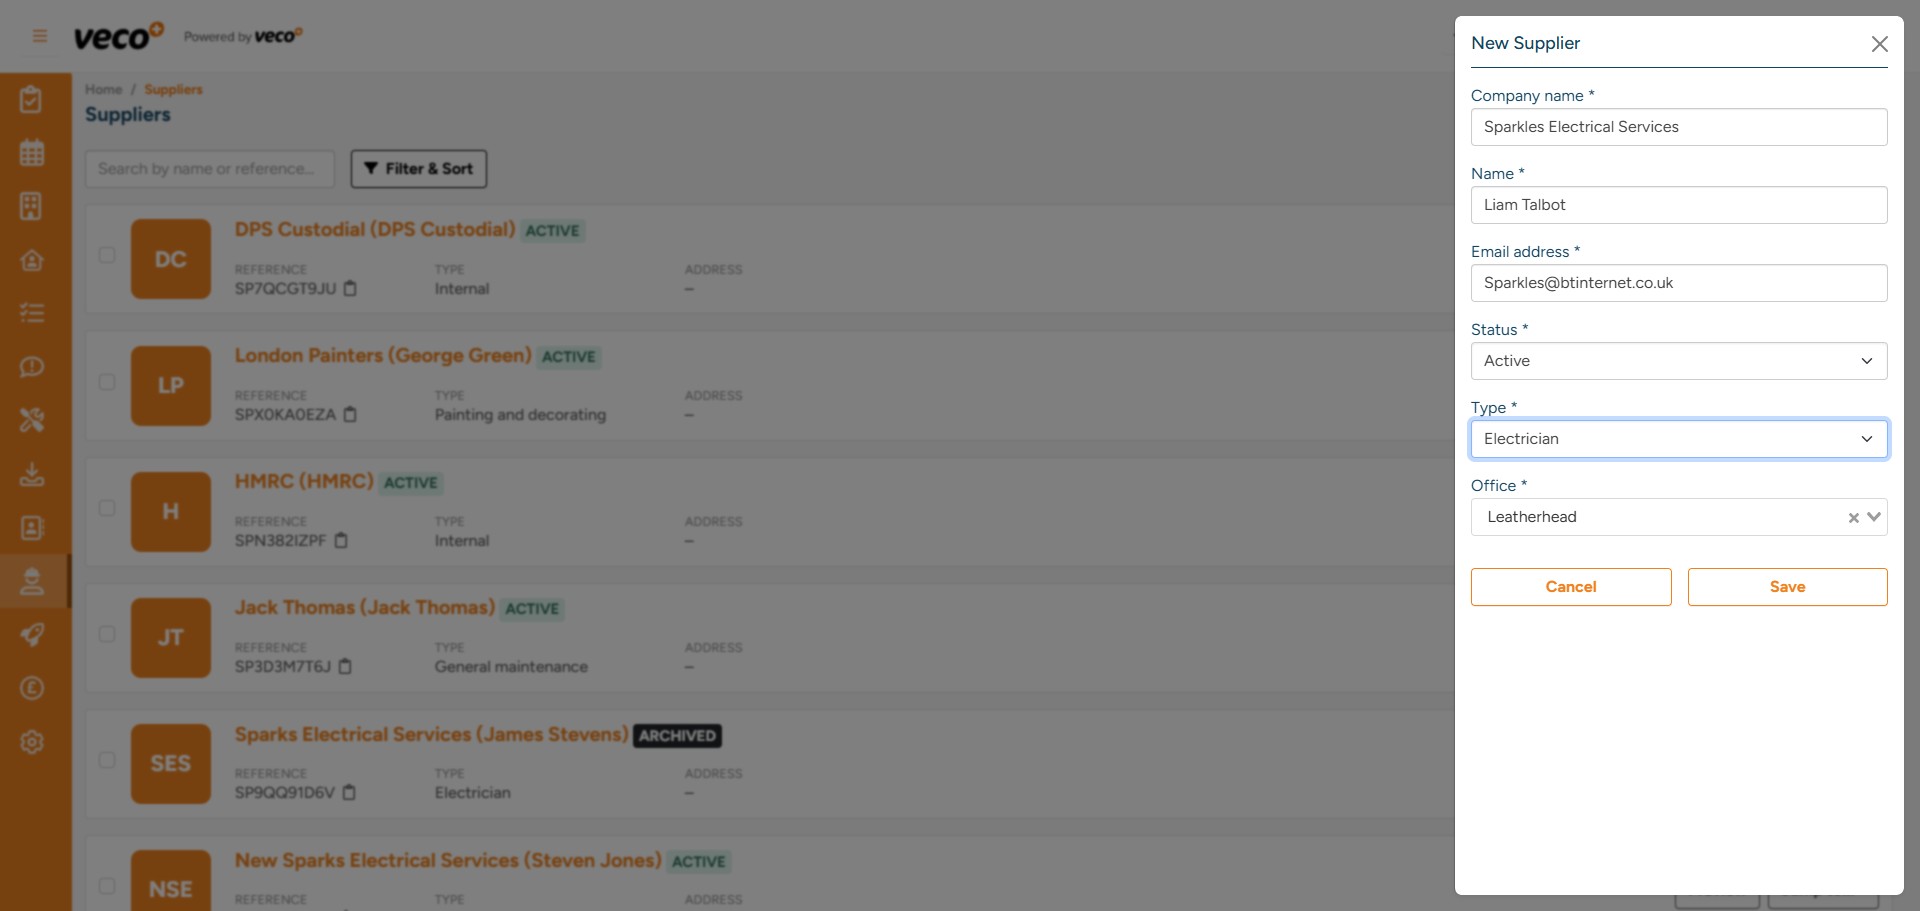
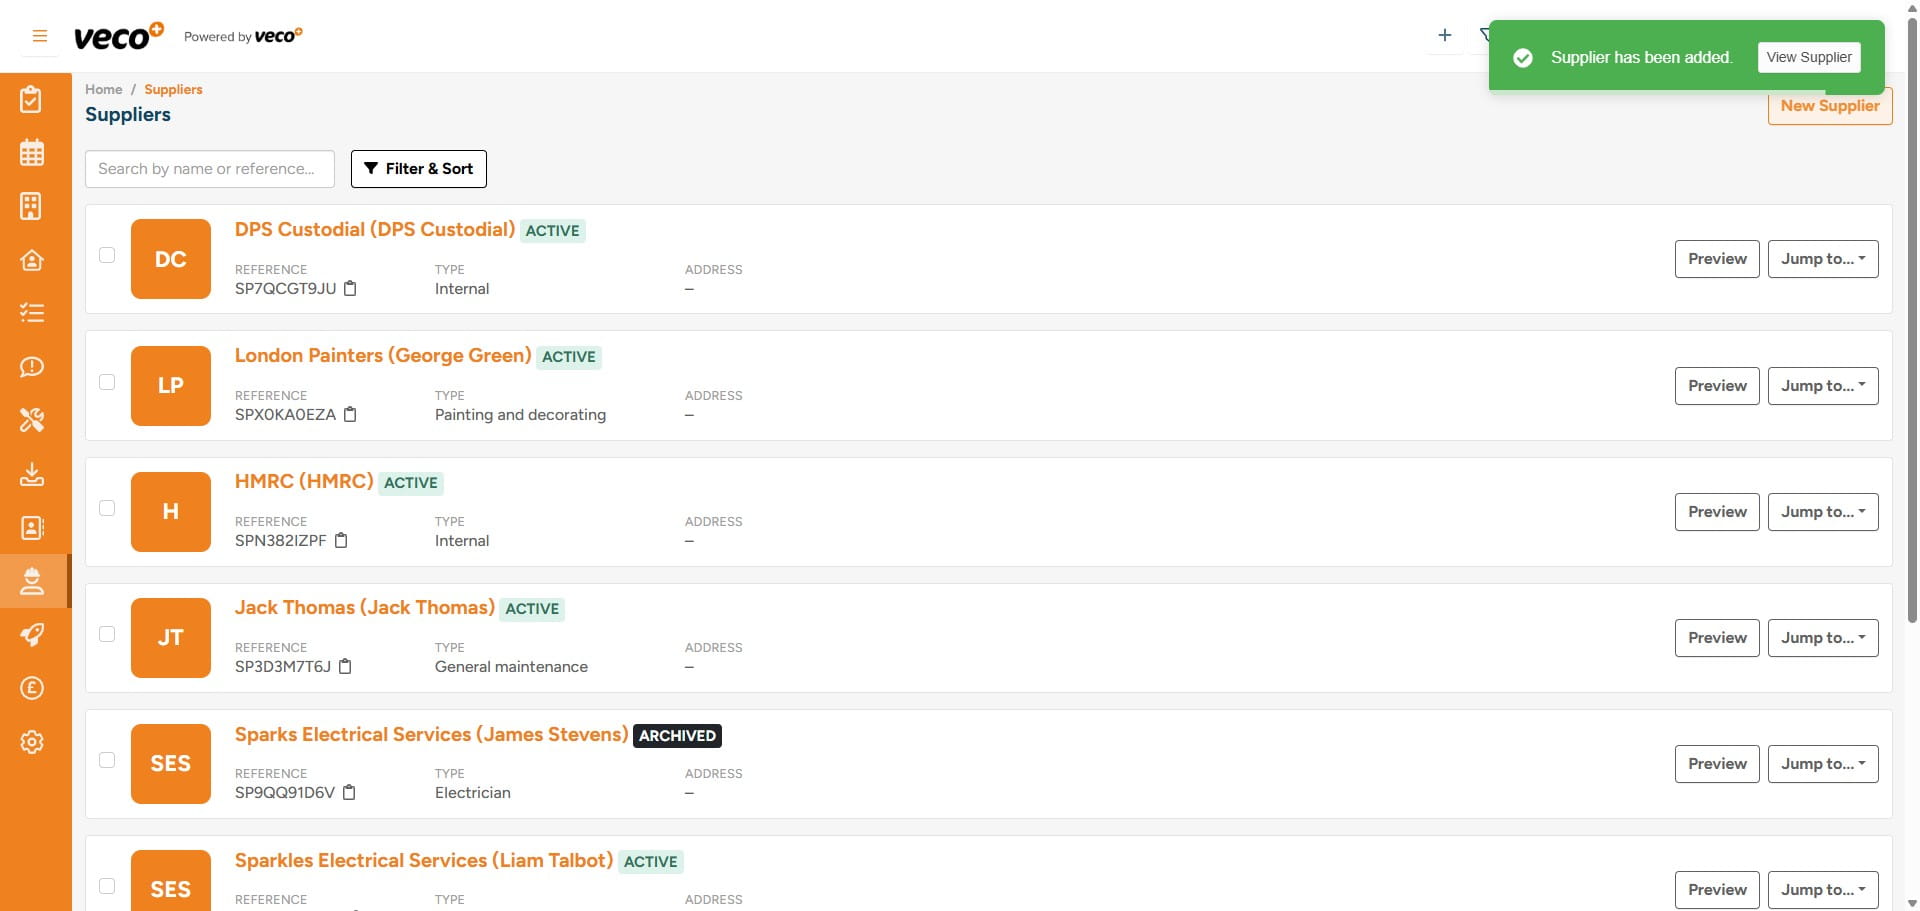
Select 'View Supplier' to open the Supplier record. You can also access the record via 'Suppliers' in the navigation bar
Please enter the required information – this includes the ‘Invoice Status’

and ‘VAT Rate’
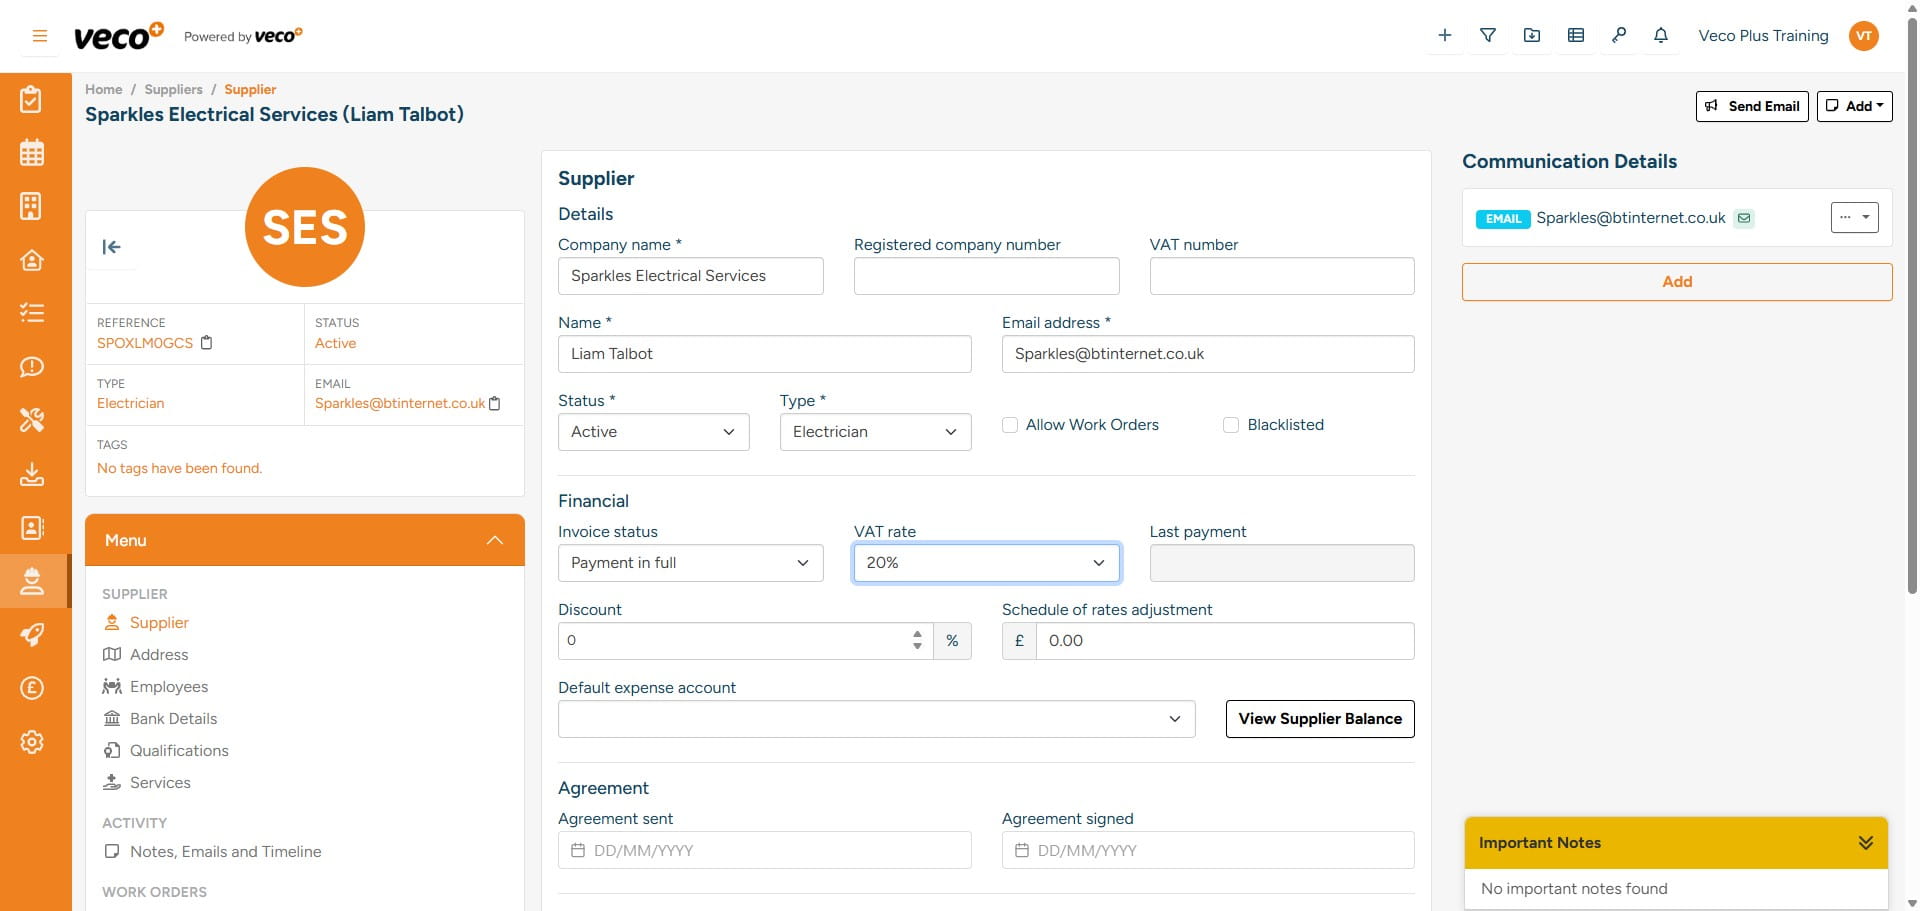
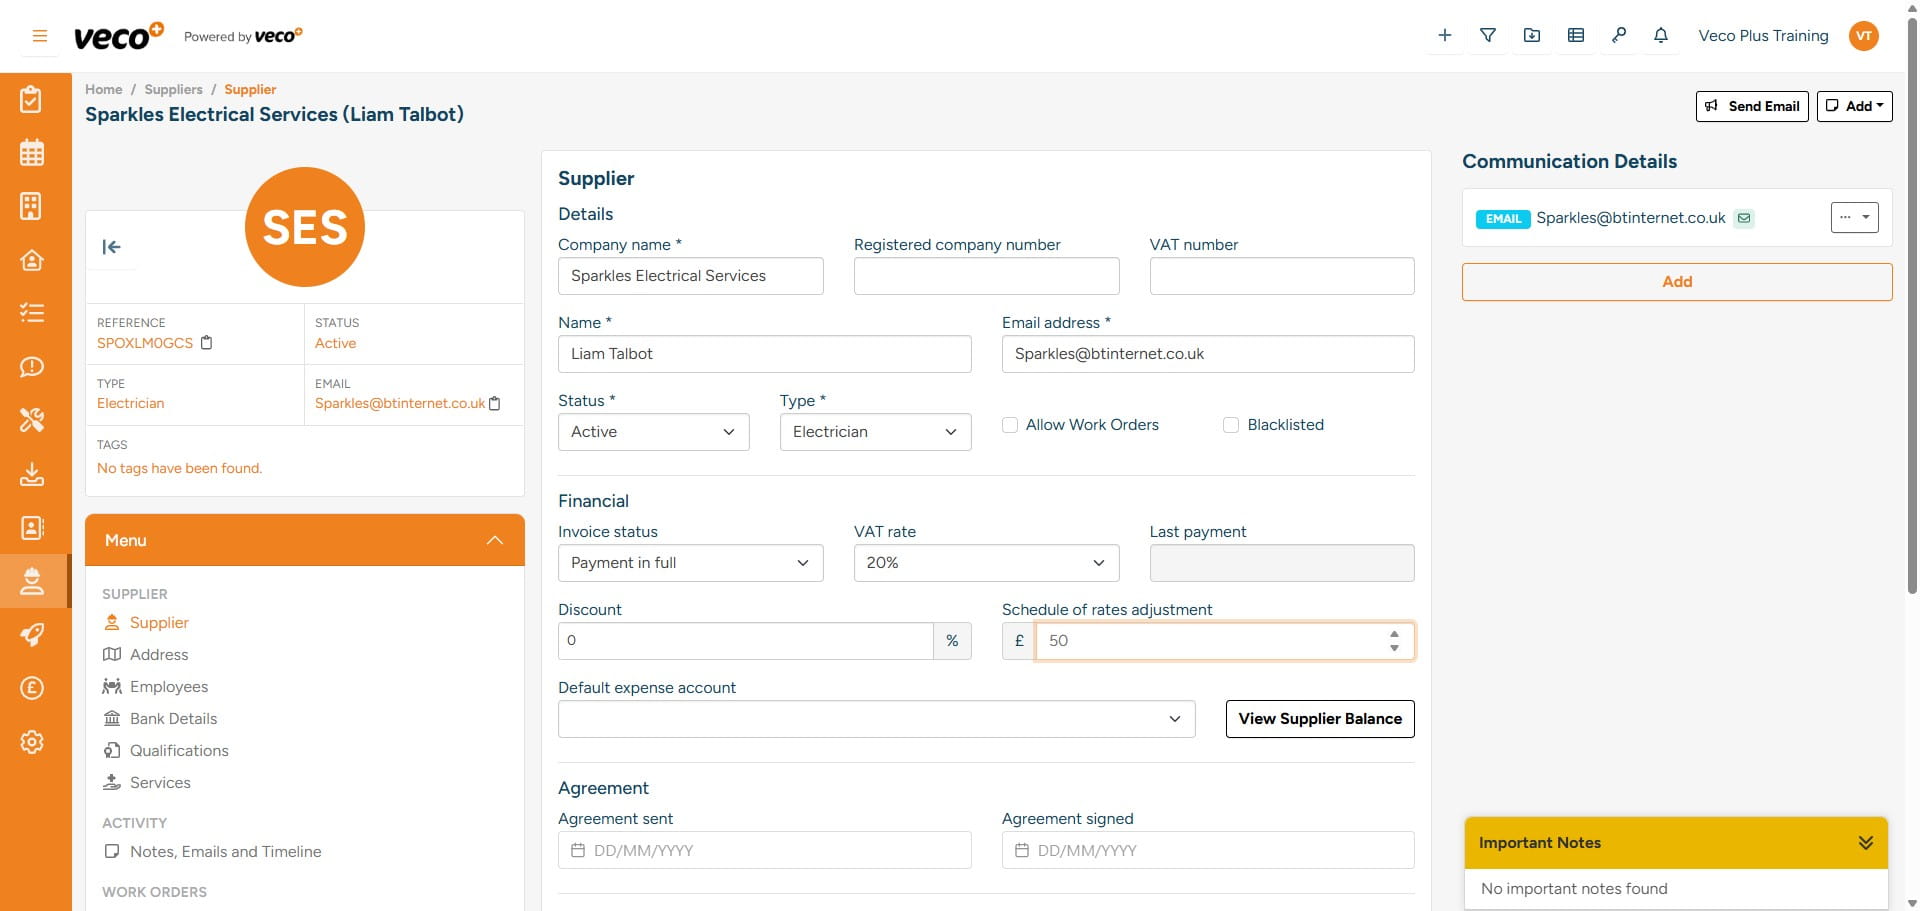
The ‘Discount’ and ‘Schedule of rates adjustment’ will also need to be entered where applicable, this will allow for a discount to be charged on any invoice for the supplier. Discount – This will apply a discount based on the percentage added to any value invoiced for the supplier
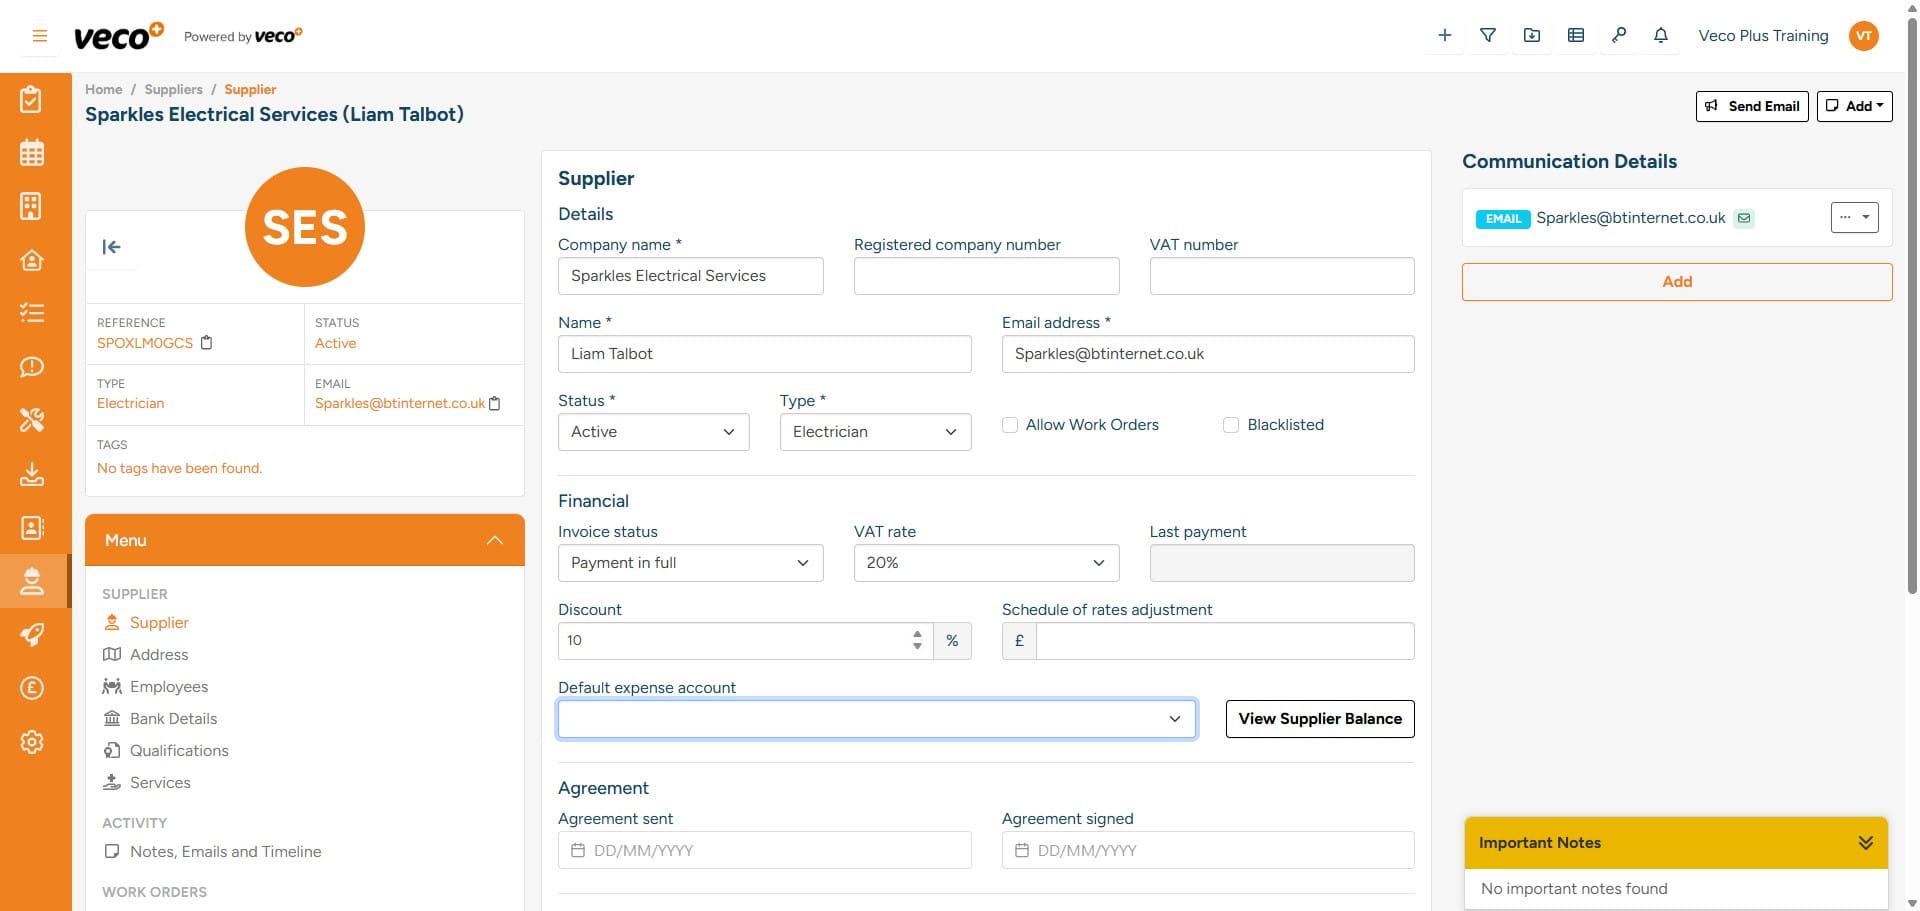
Schedule of rates adjustment – This will apply a discount based on a fixed amount added to any value invoiced for the supplier
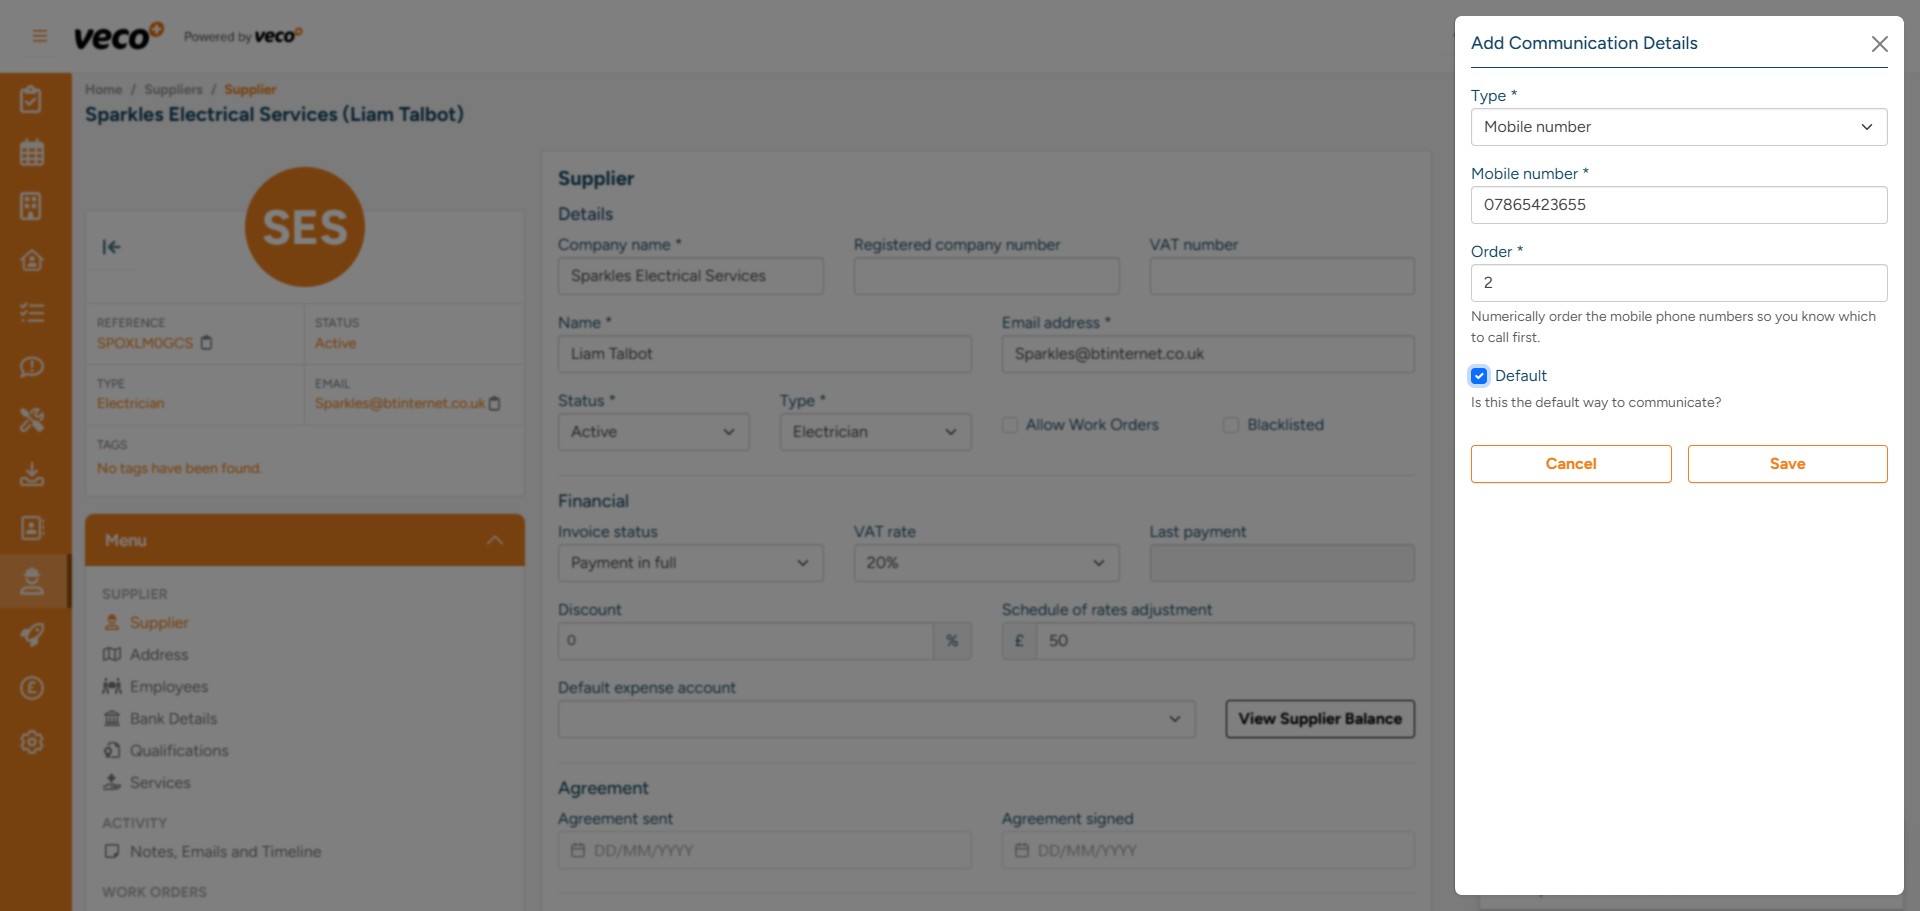
Additional communication details can be added by selecting the ‘Add’ button
Each communication can be assigned an order number corresponding with its level of importance
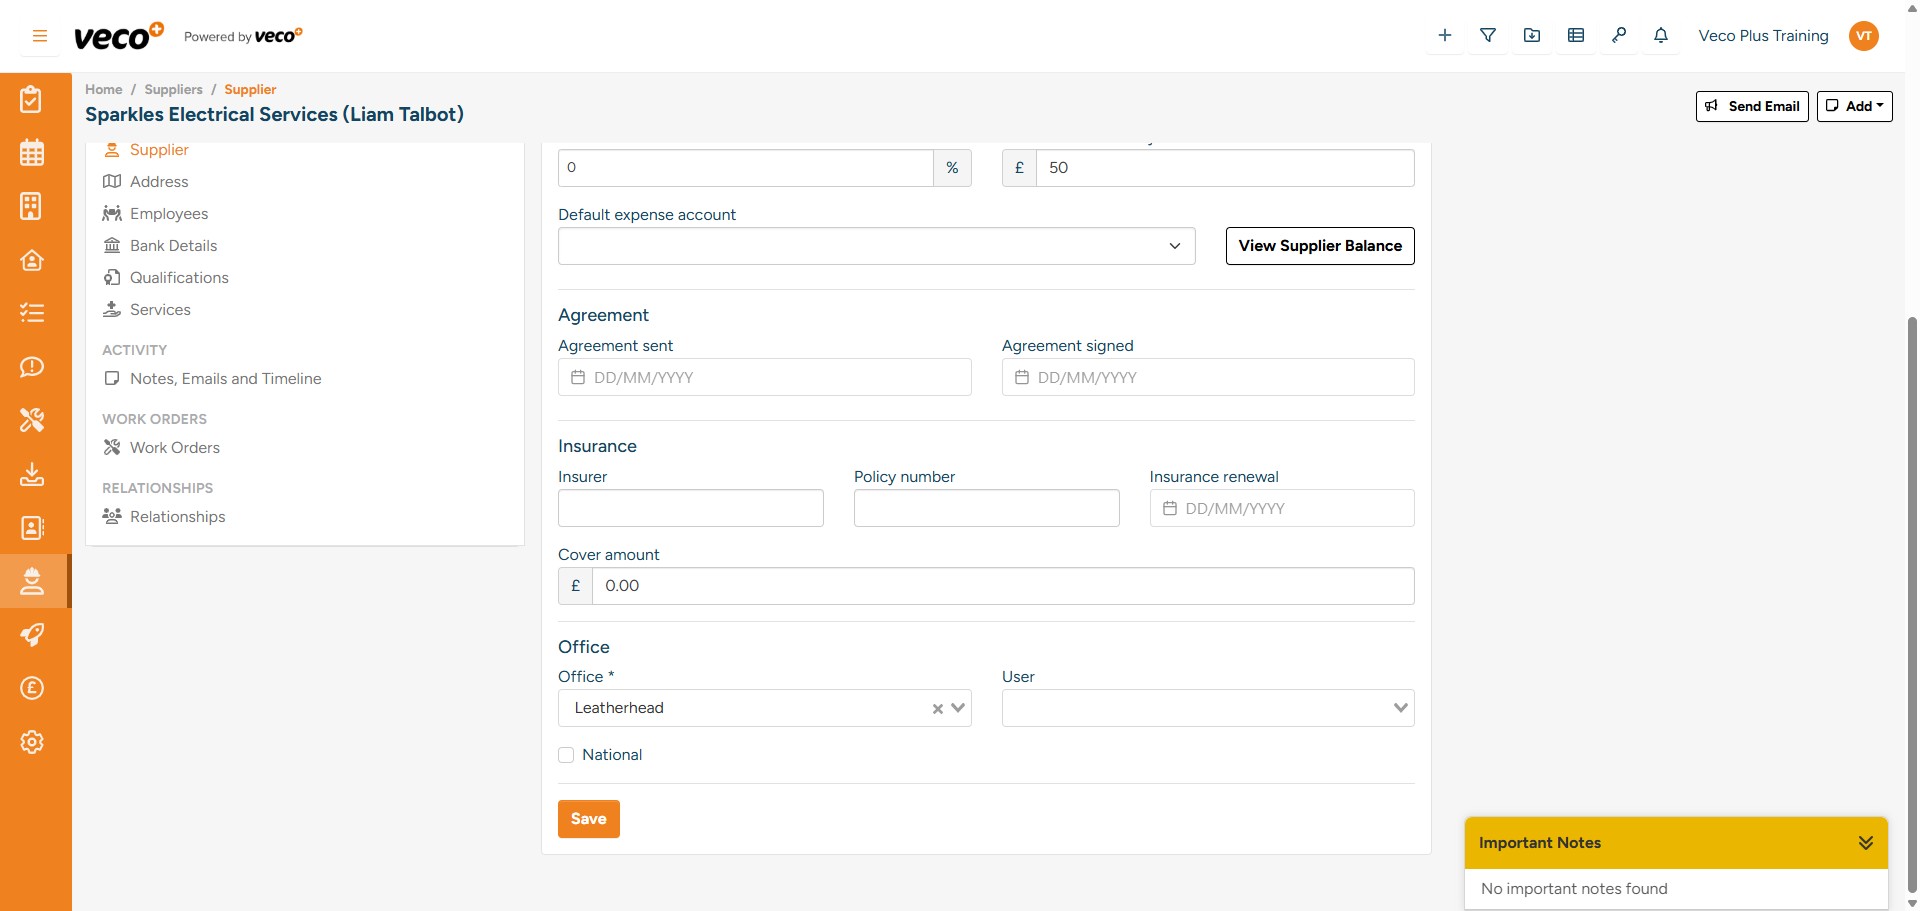
The Supplier’s Public Liability Insurance can also be added with a renewal date and the amount of cover they have in place. You will be able to choose which Office this supplier is associated with (where applicable). The ‘National’ tick box will also allow all offices within any region to use this supplier
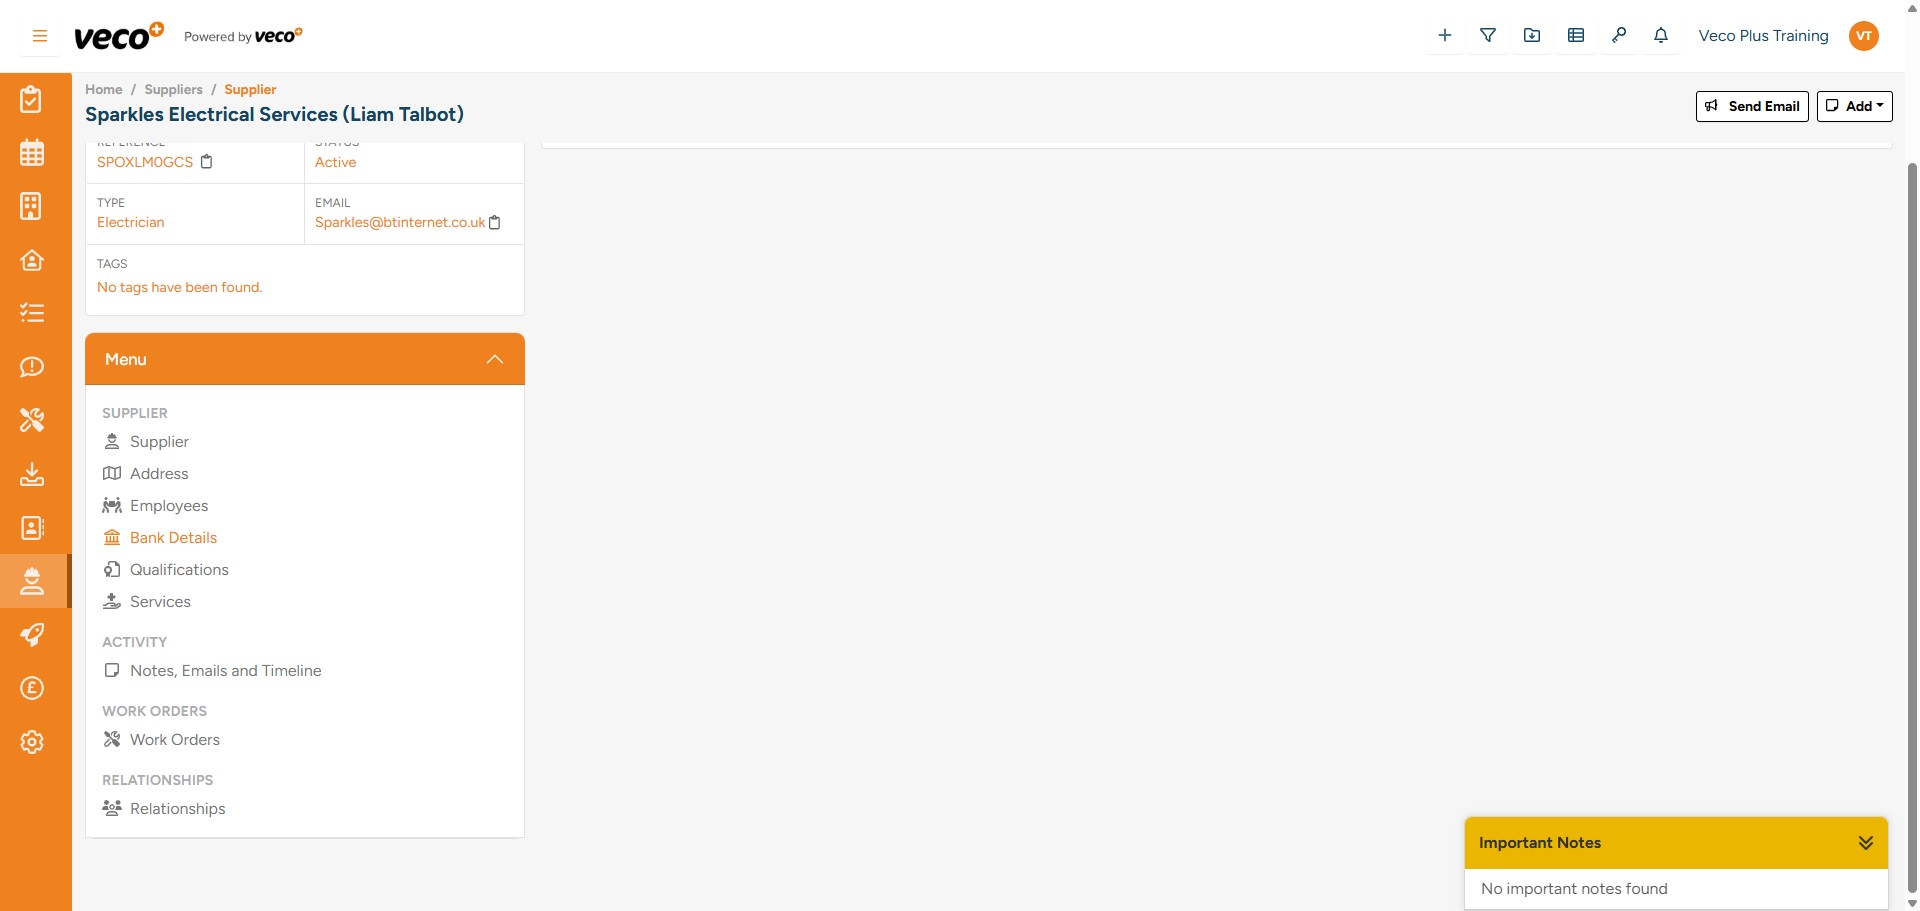
In the ‘Menu’ on the supplier record, additional information can be added – including the supplier’s address and trade qualifications held.
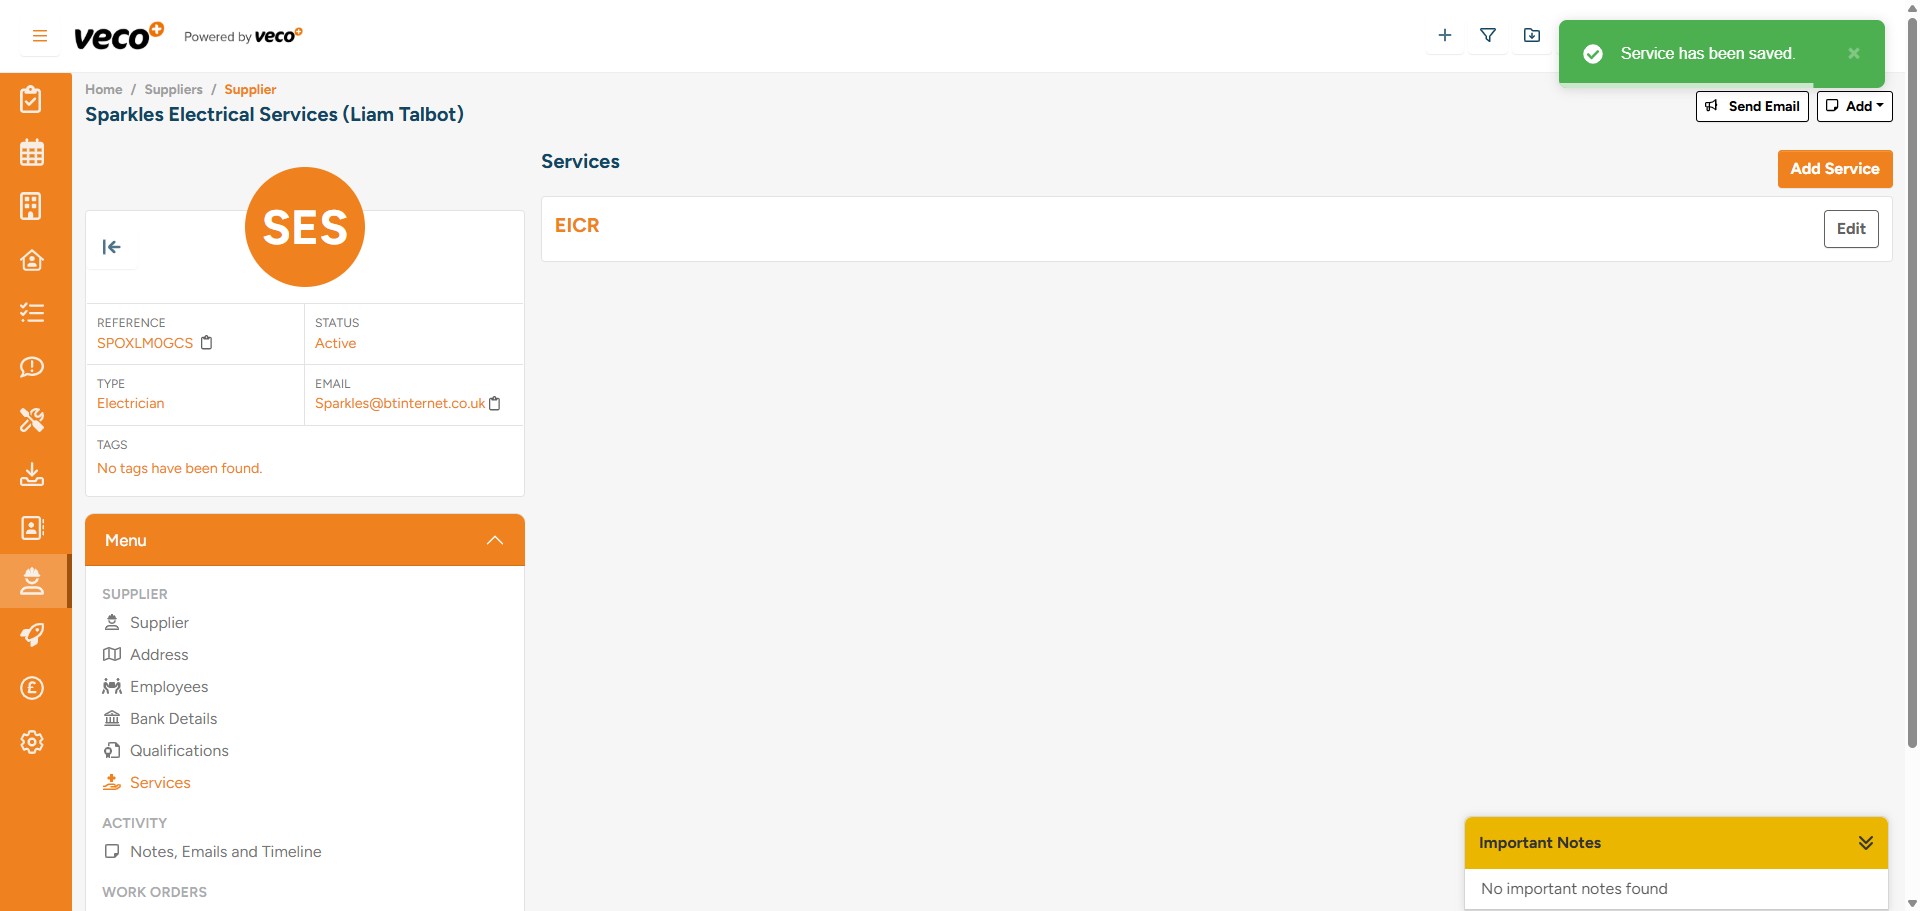
Also, in the ‘Menu’ is an area called ‘Services’. This will allow the user to add all the individual services that the supplier provides where the price is a fixed amount. This will be beneficial when invoicing for the work via the Work Order

To add a new Service, click on ‘Add Service’ in the upper right corner and complete the details

As an example, if EICR tests are always invoiced at £120 +VAT, this would be how you would add it as a service
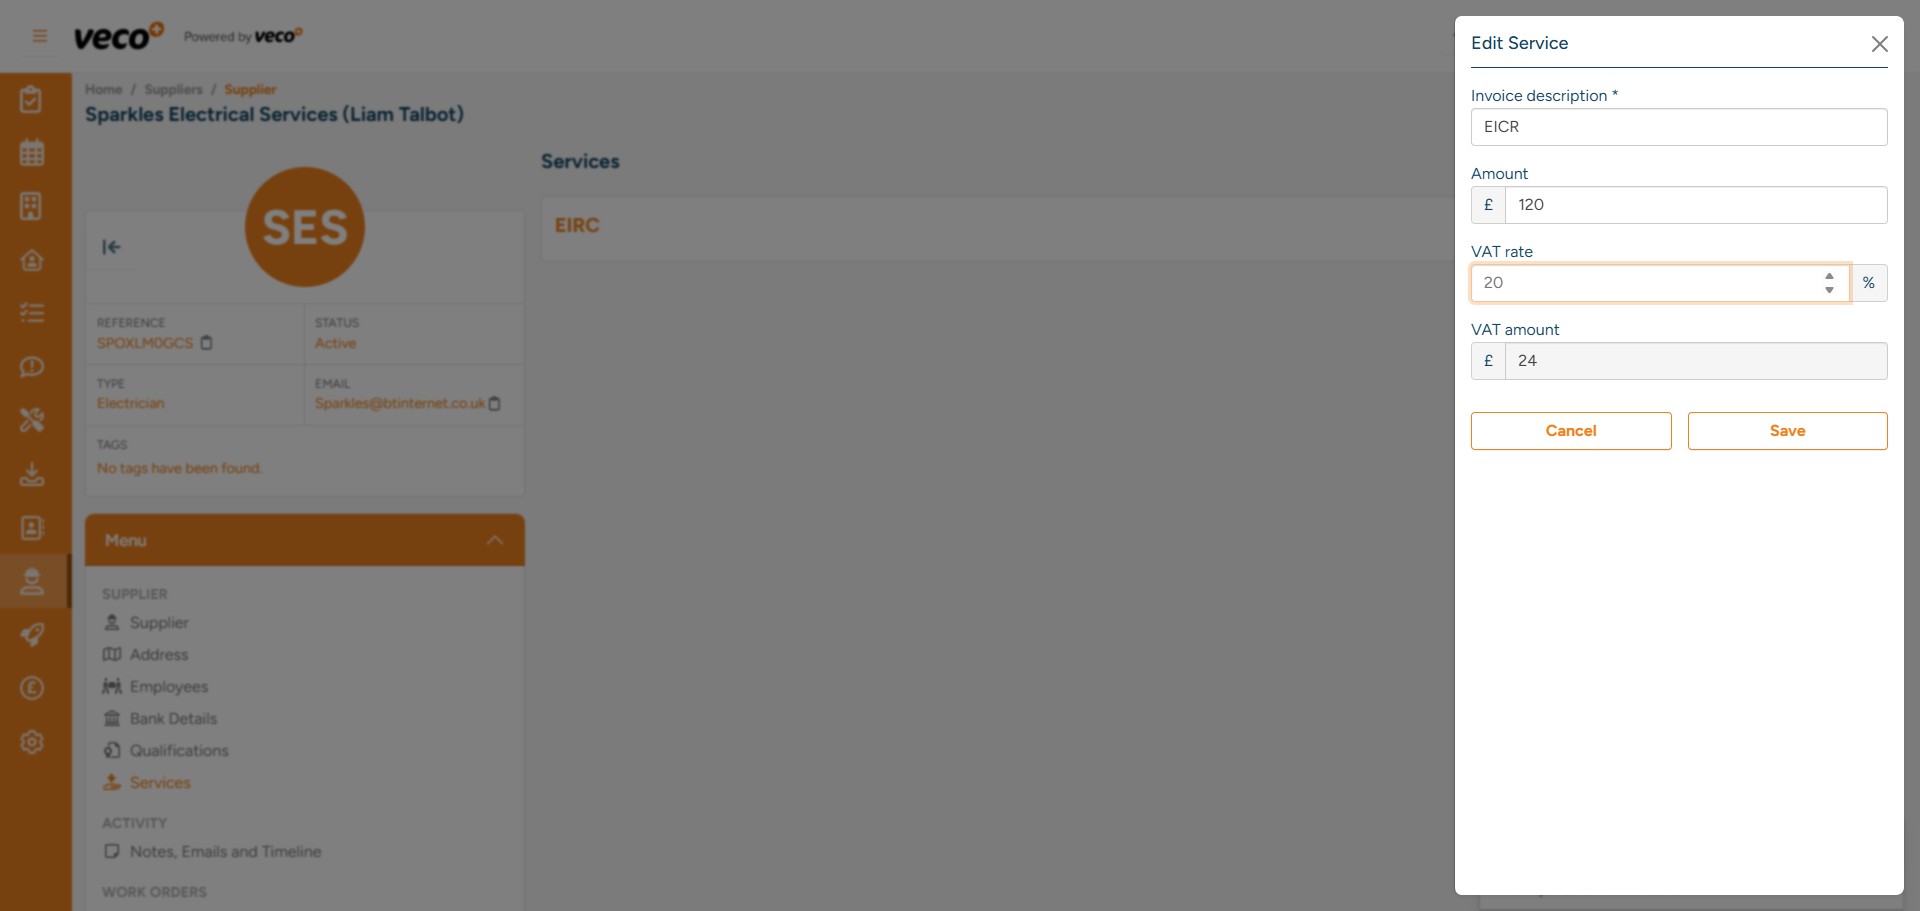
You can add multiple services to a supplier
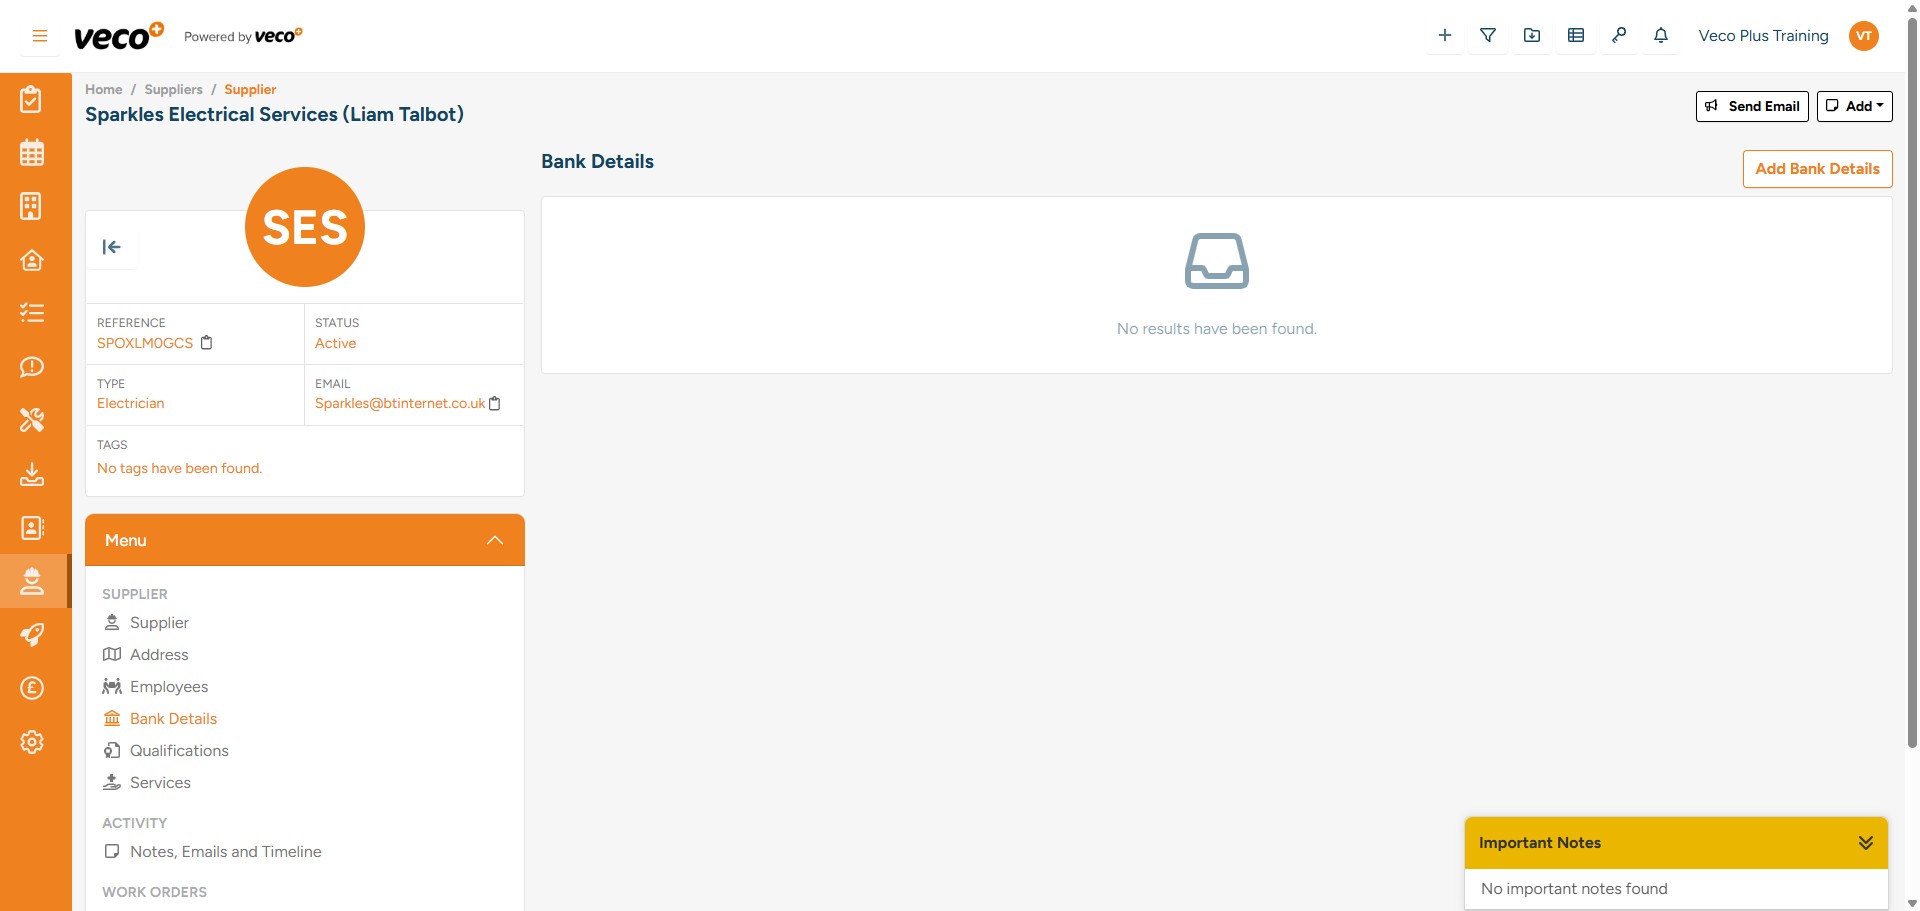
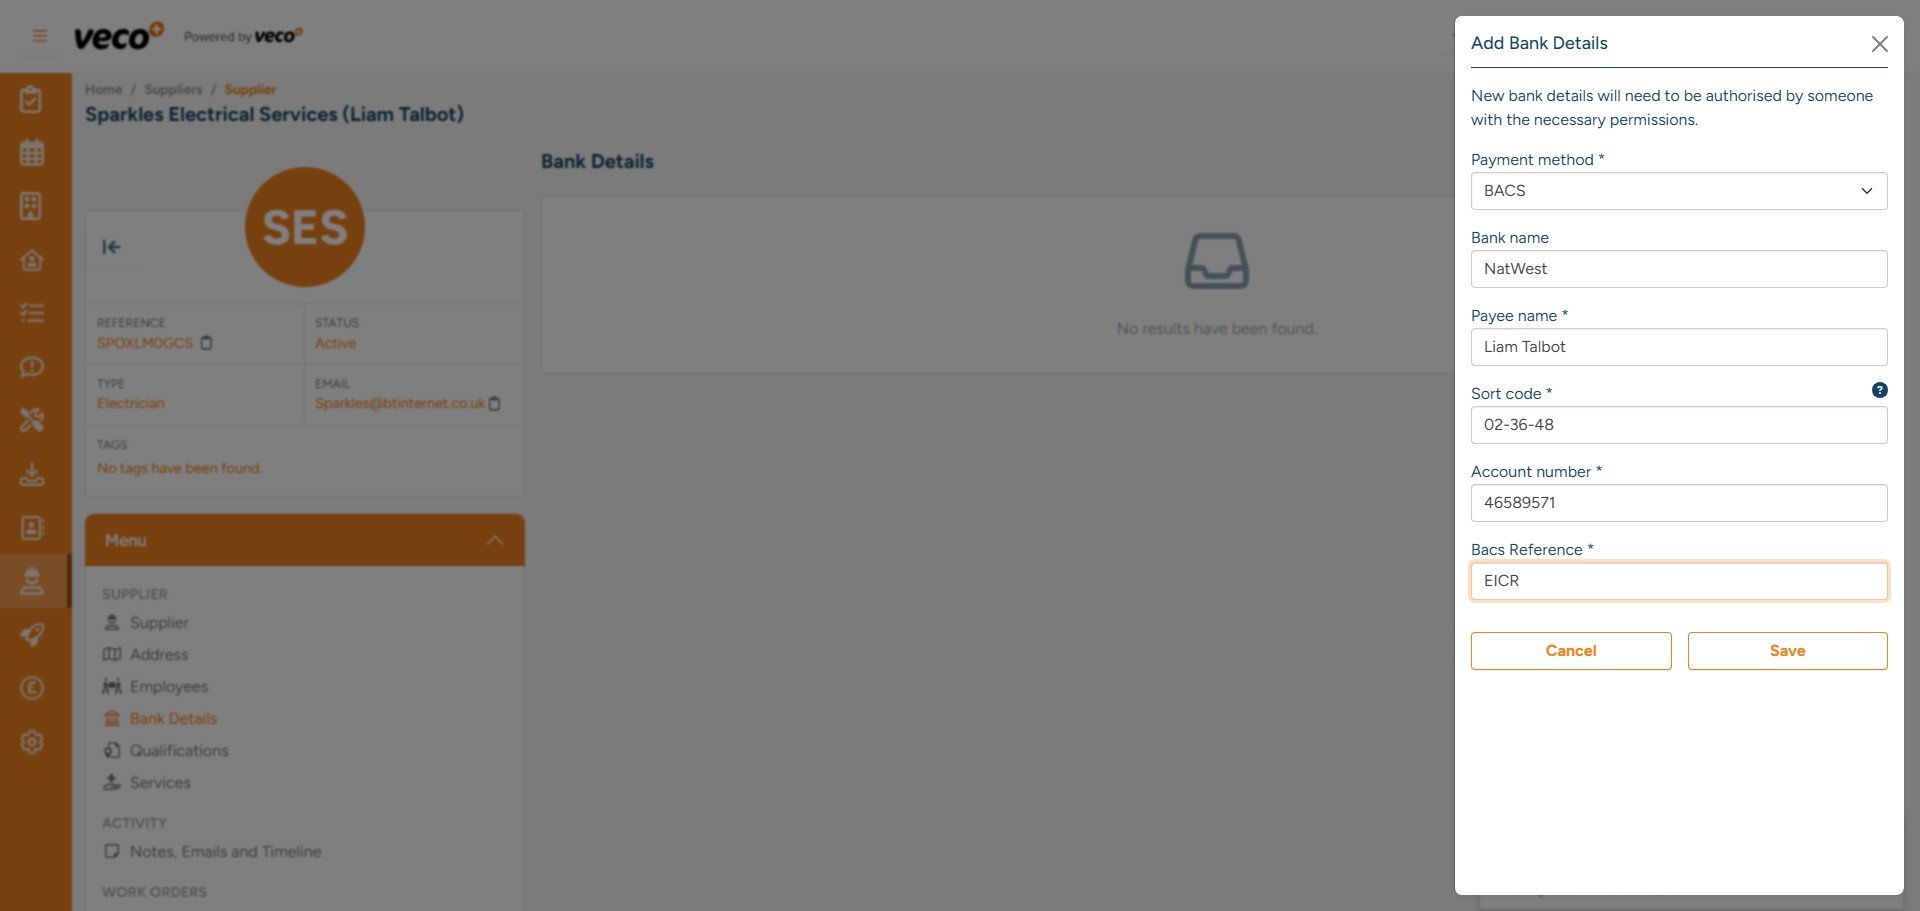
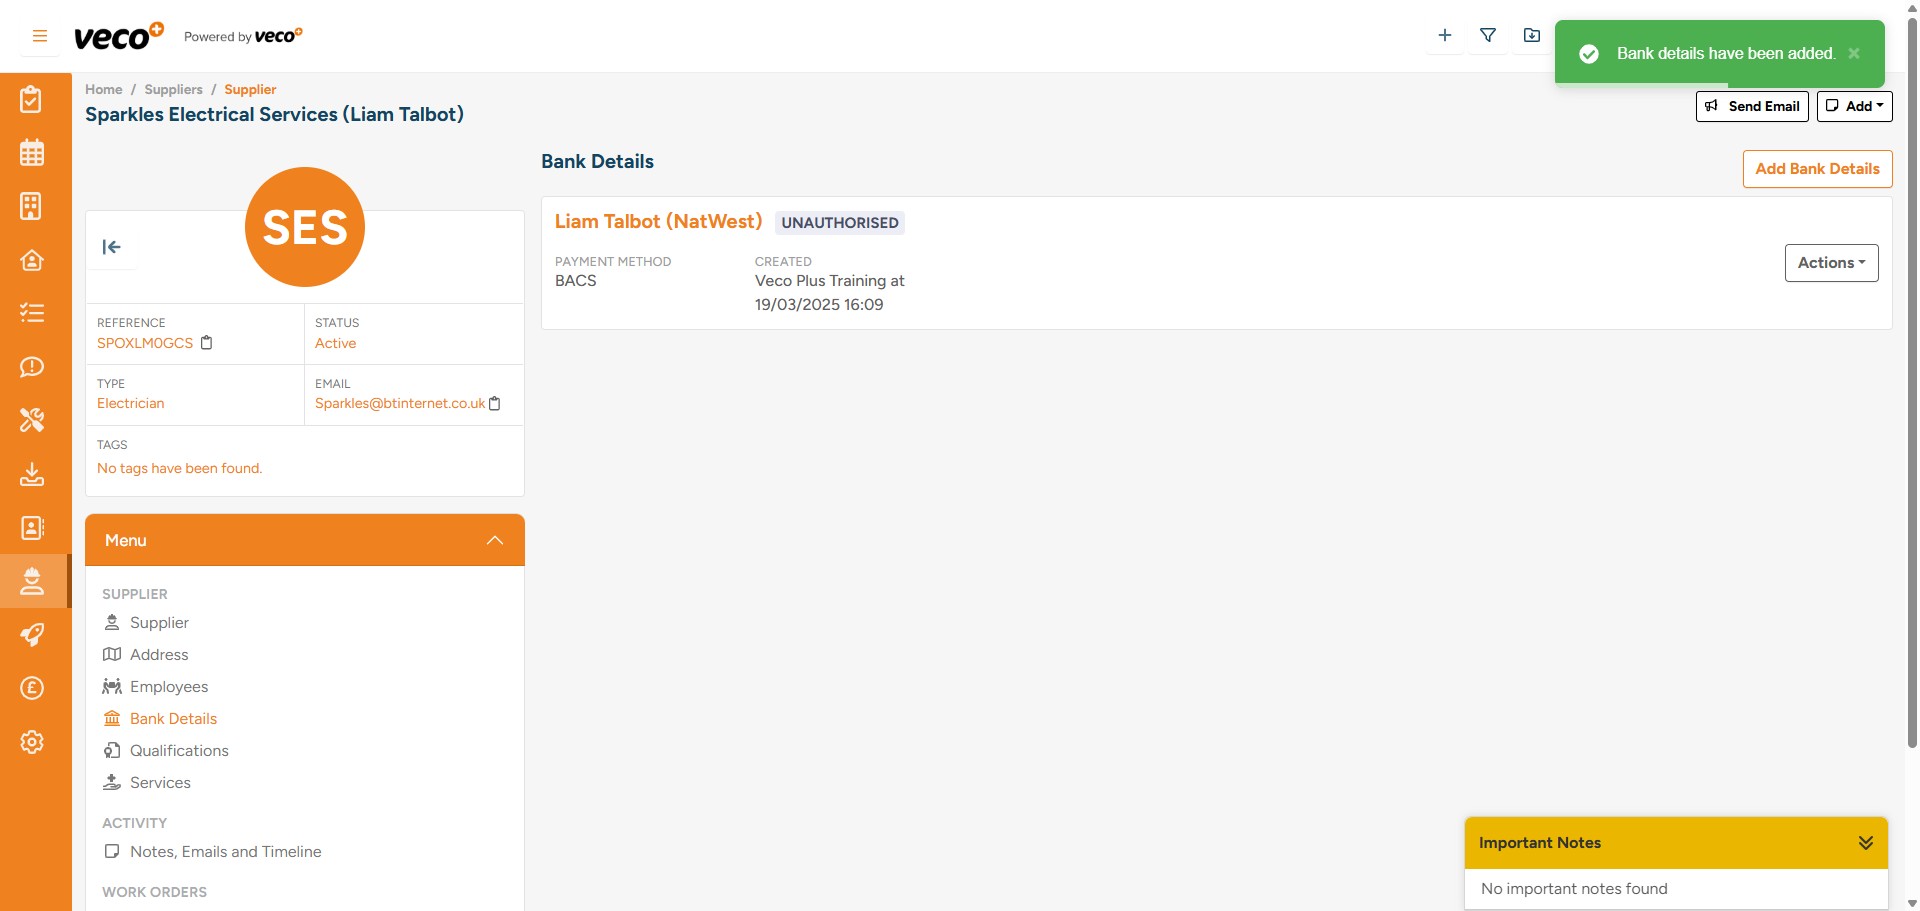
The supplier's bank details for payment can also be added by selecting 'Bank Details' from the menu

Select 'Add Bank Details' in the upper right corner
Once added, bank details will need to be authorised by a staff member that has the user permission ‘Authorised Supplier Bank Accounts’
The user with the correct permissions can authorise bank details by selecting 'Actions' then 'Authorise'
Any Work Orders related to the supplier can also be found here by selecting ‘Work Orders’