Adding a Lead and Opportunities
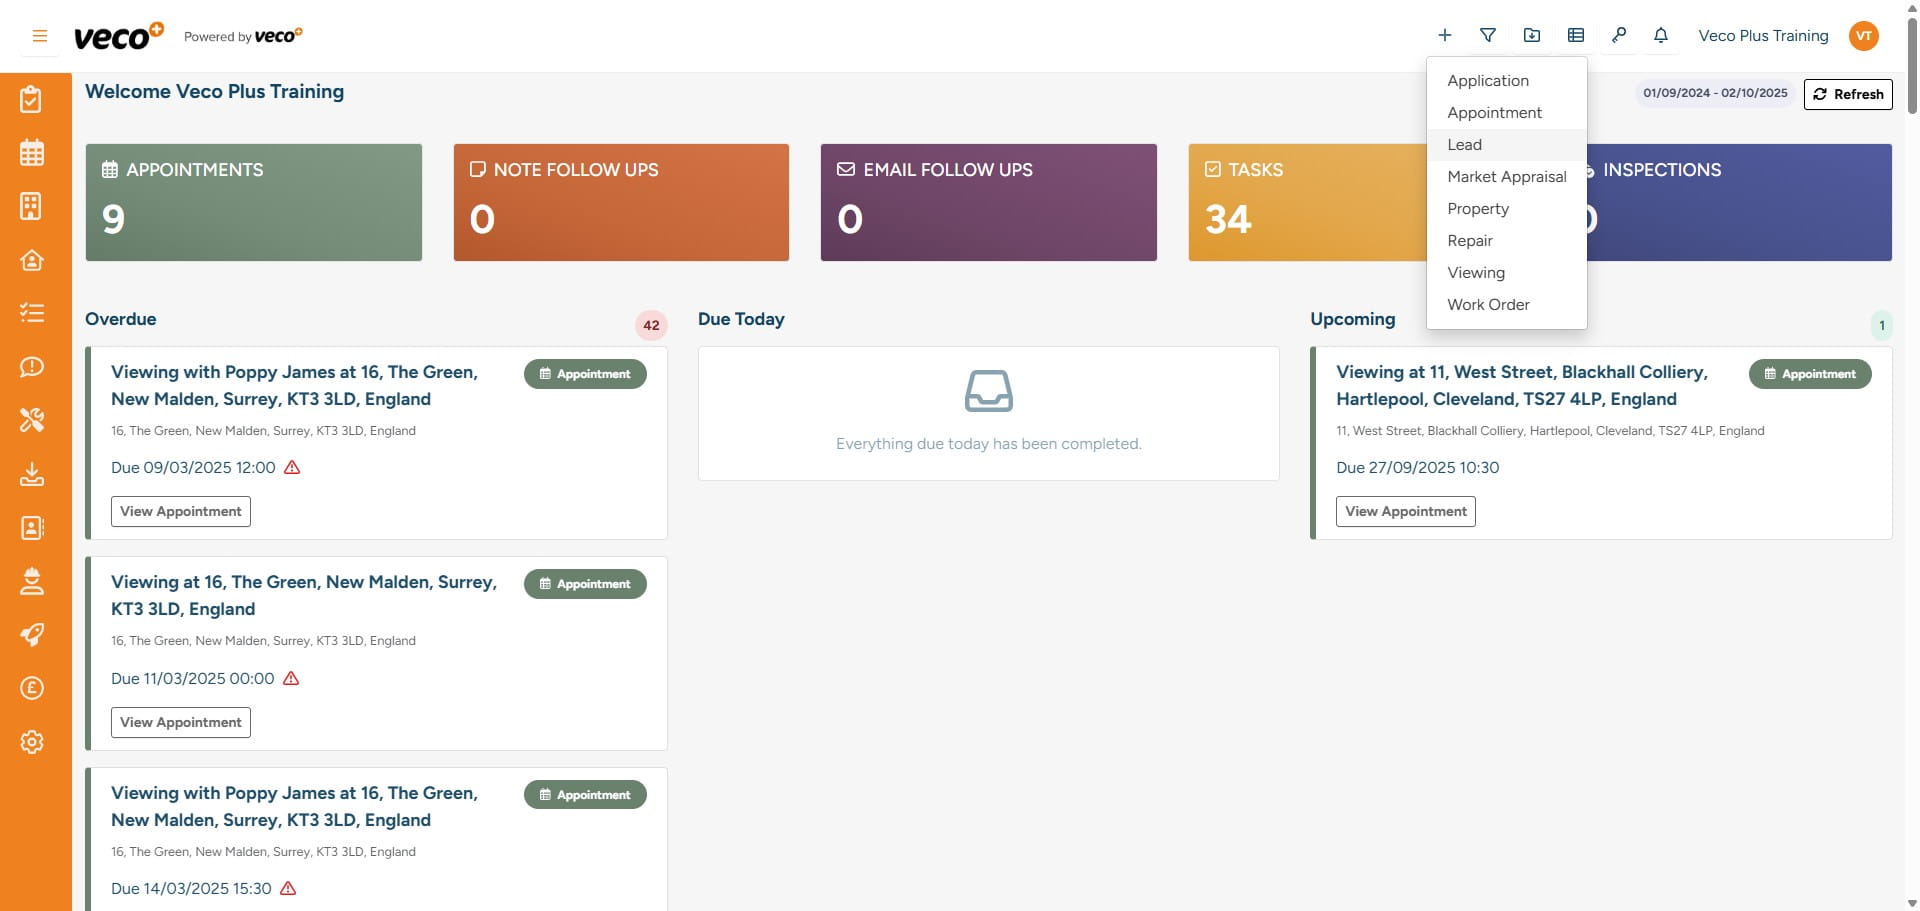
To create a Lead, click the ‘+’ icon located in the upper right corner

Next, select ‘Lead’ from the options
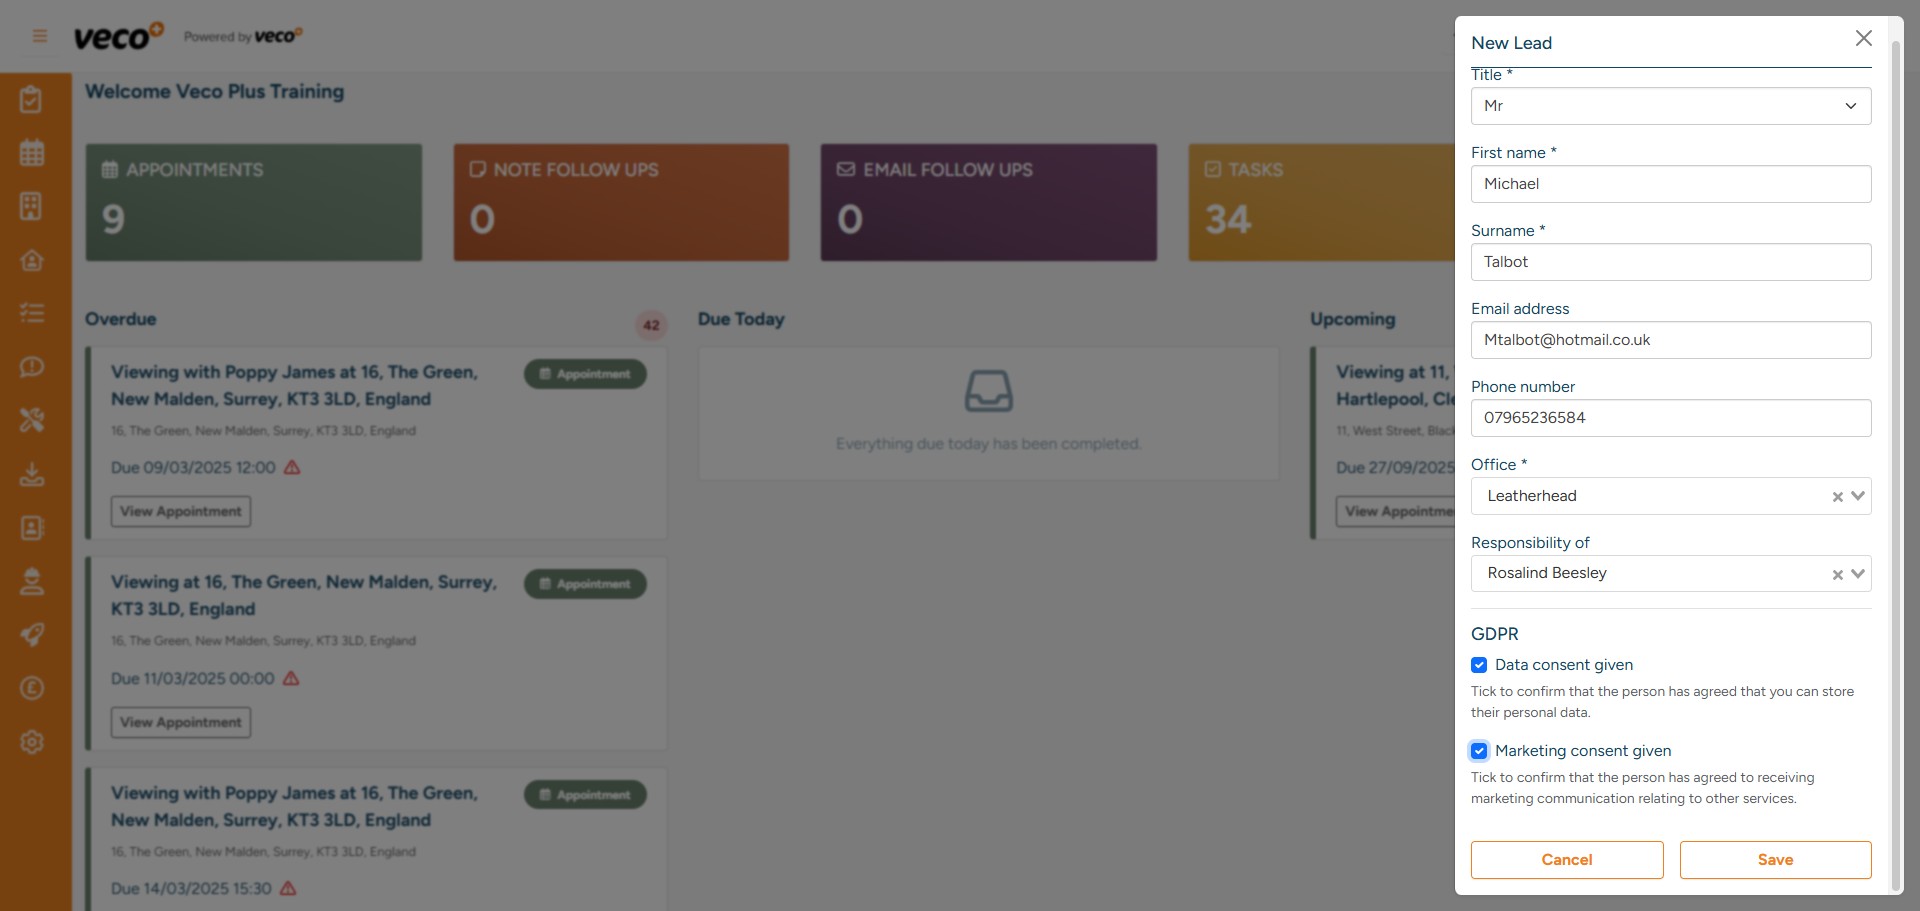
Please enter the required information and select ‘Save’
You can then open the Lead record from the notification. You can also search and find it from 'Leads' in the navigation bar

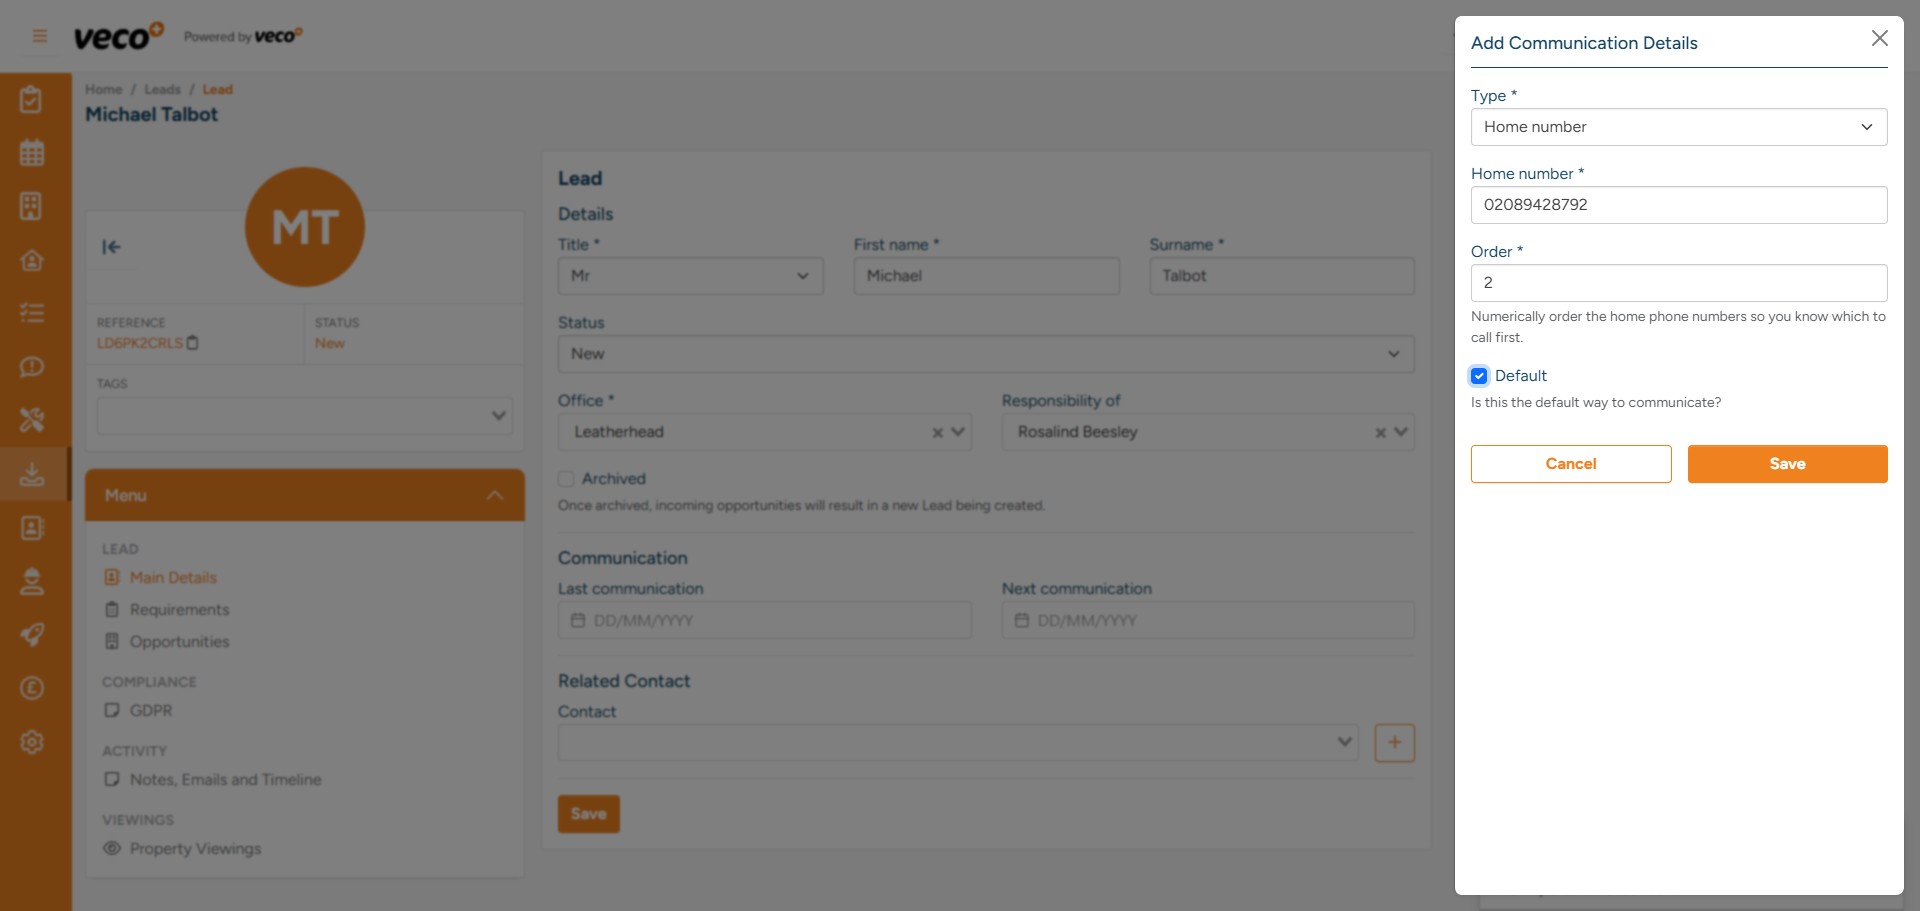
Under the contact details you can select 'Add'
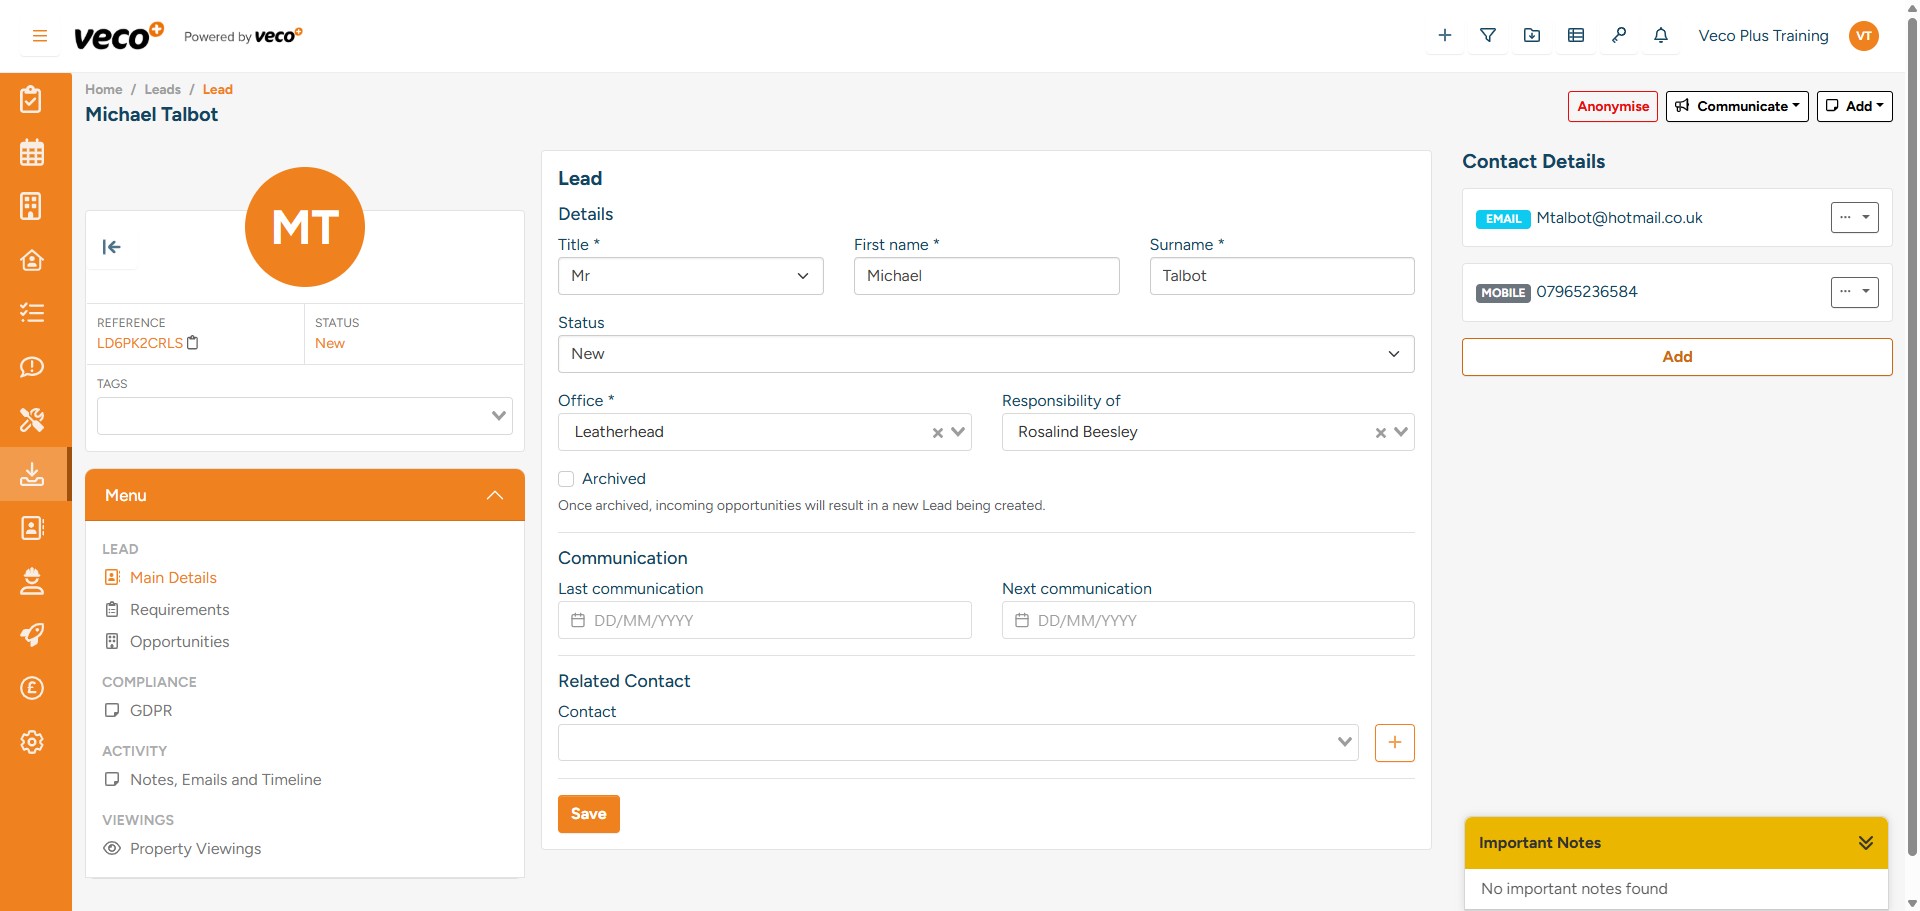
This will allow you to add additional communications for the Lead as well as adding a priority order and default option
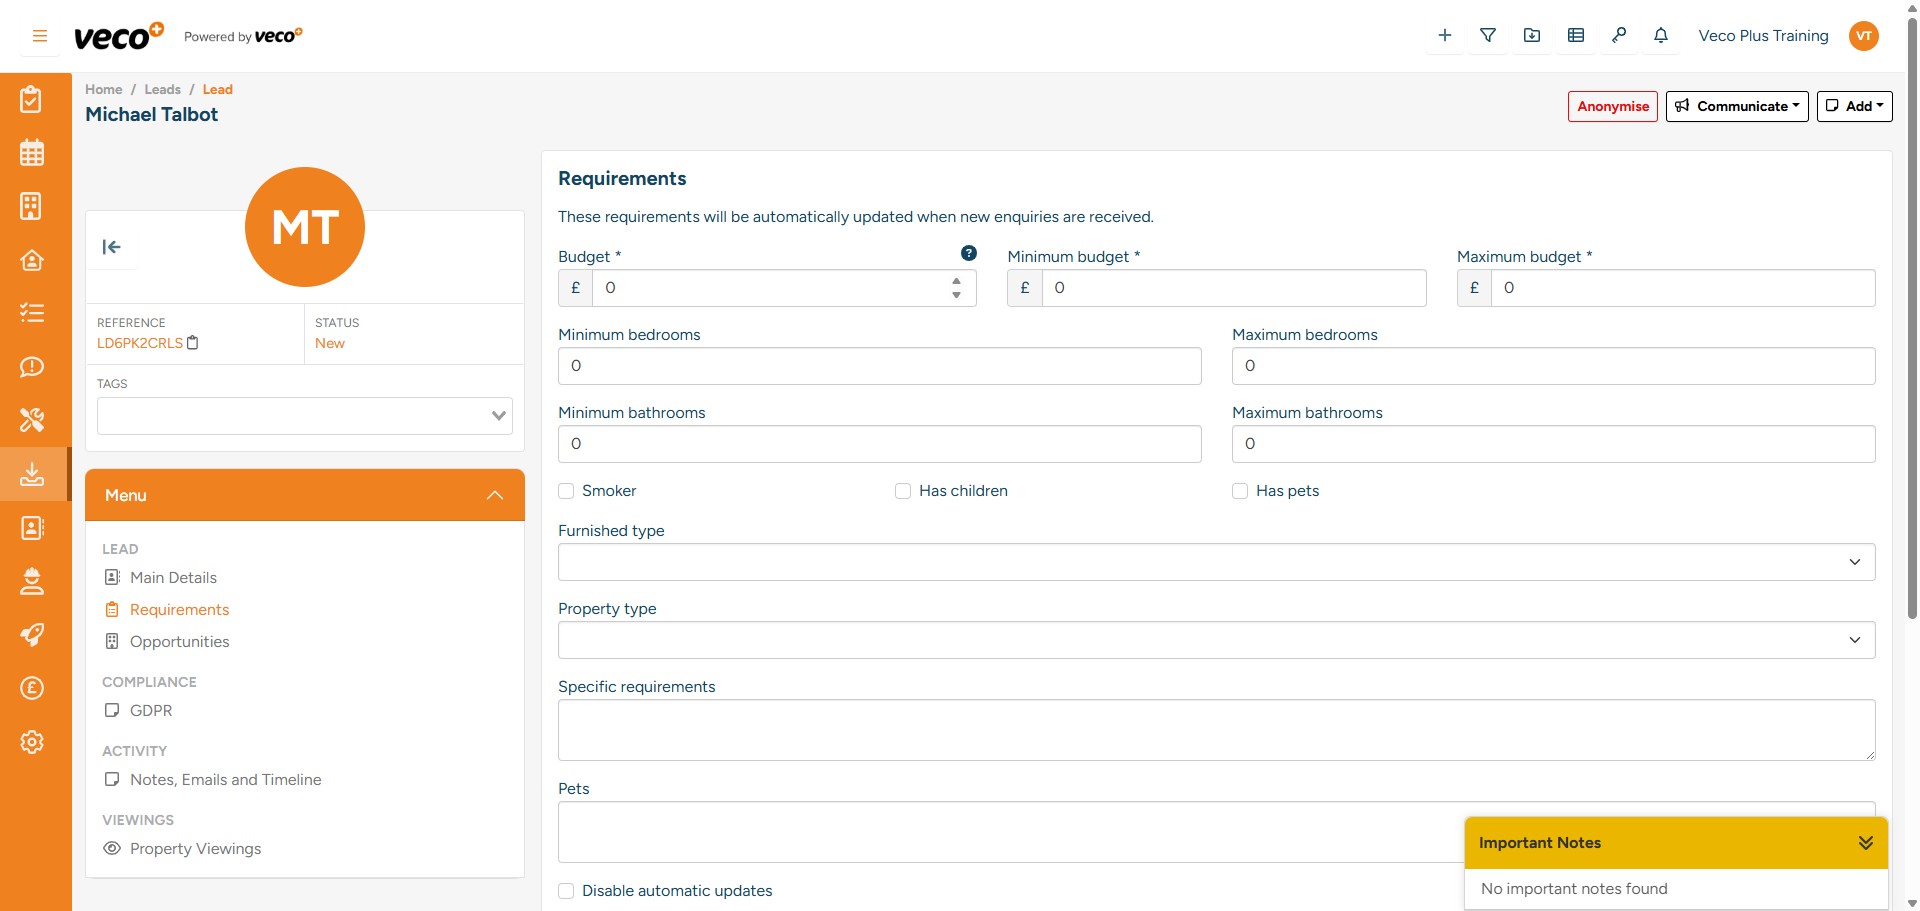
Following that, you should input the Lead's 'Requirements,' accessible from the ‘Menu’ located in the lower left corner of the record. The matching process looks at properties registered to the same office as the Lead, as well as their budget and the number of rooms. After entering the requirements, select ‘Save'
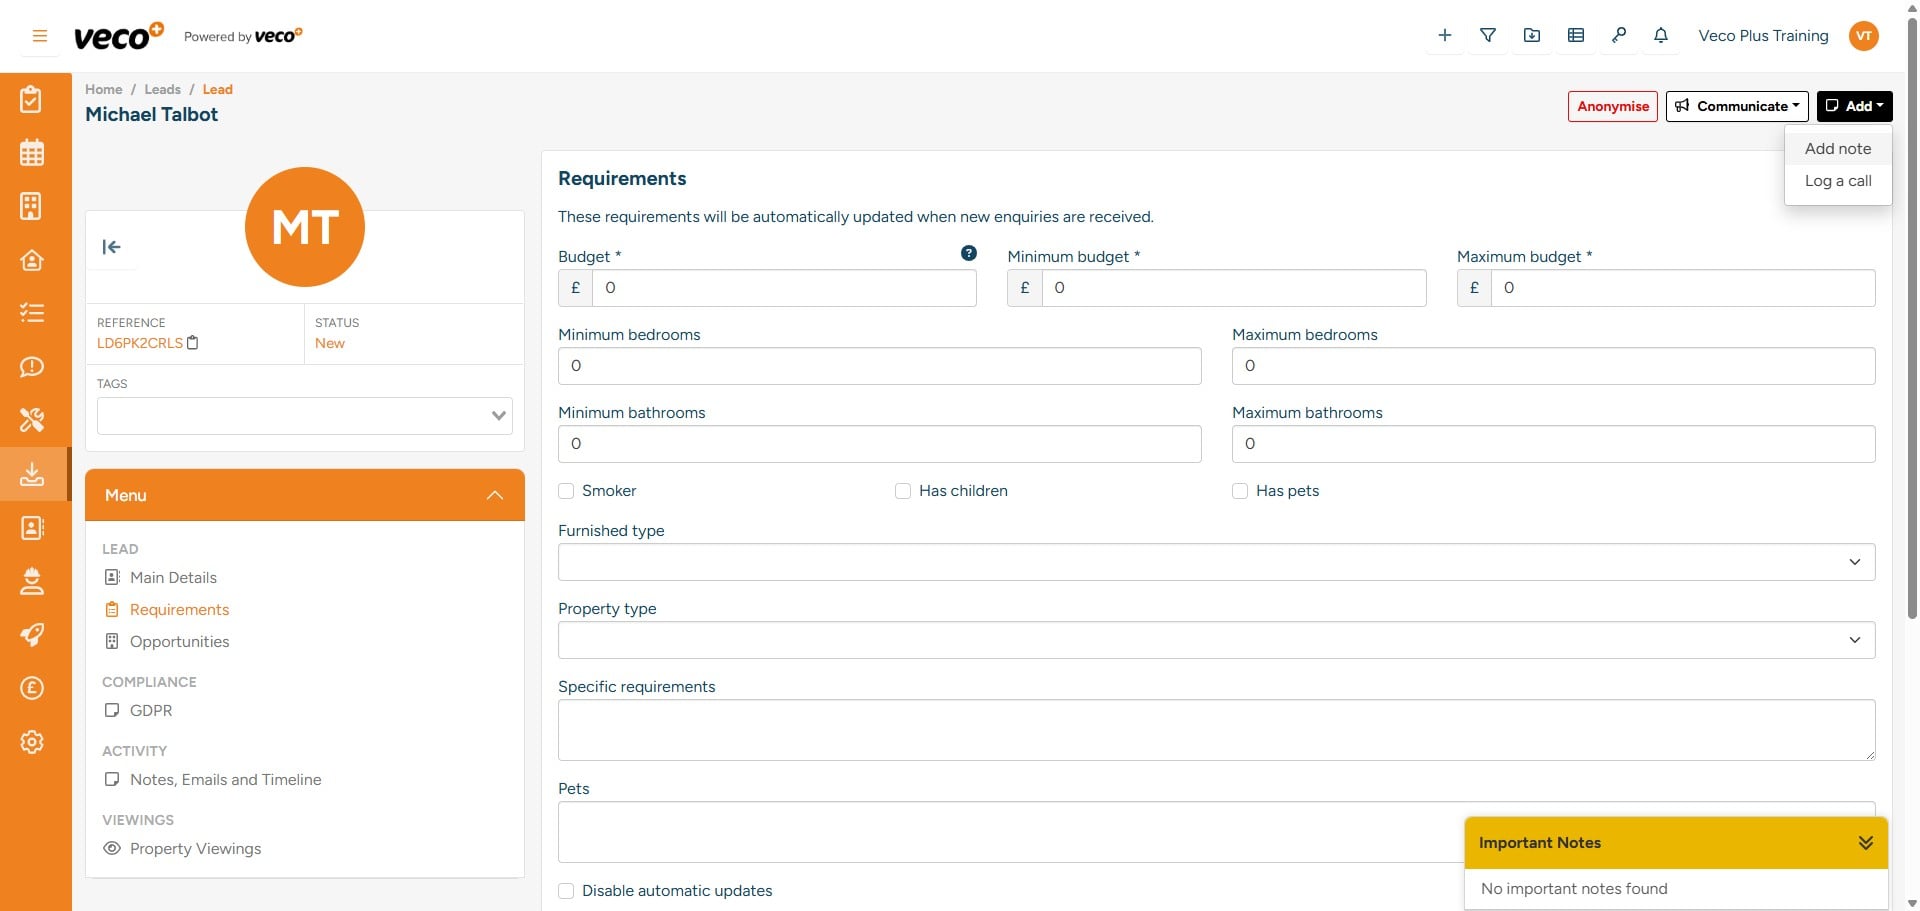
If you would like to include additional information about the Lead, you can add a note using the 'Add' button and then selecting 'Add note'
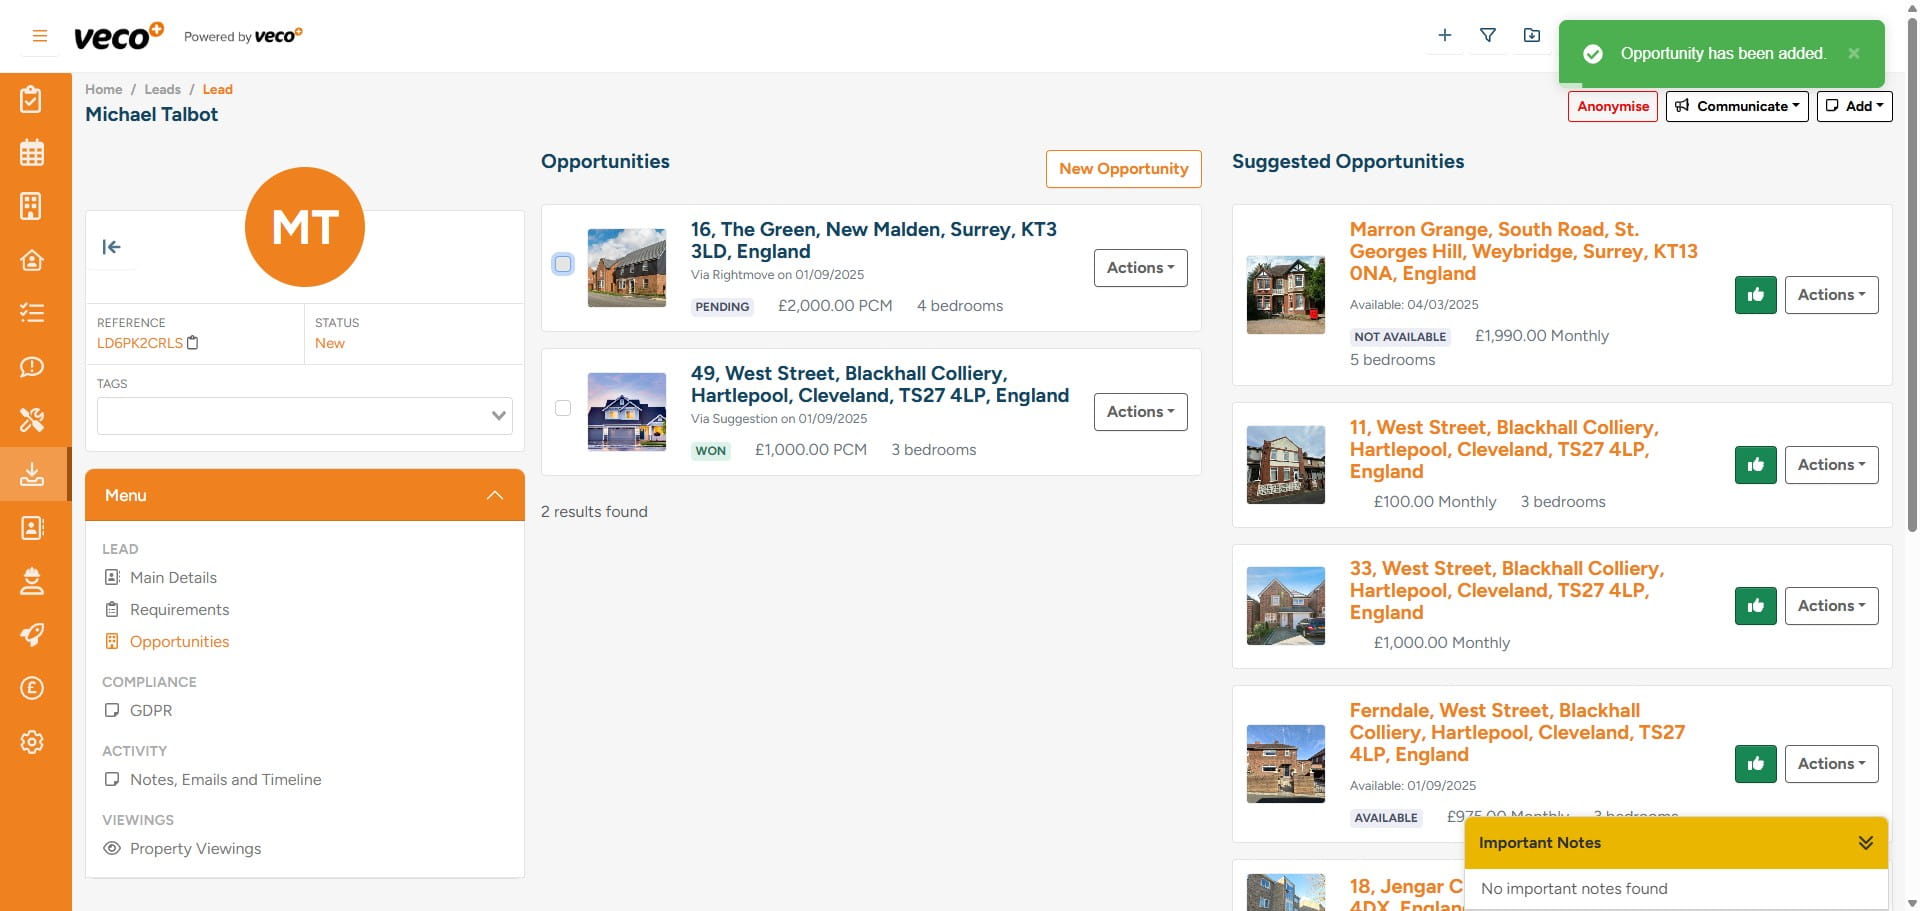
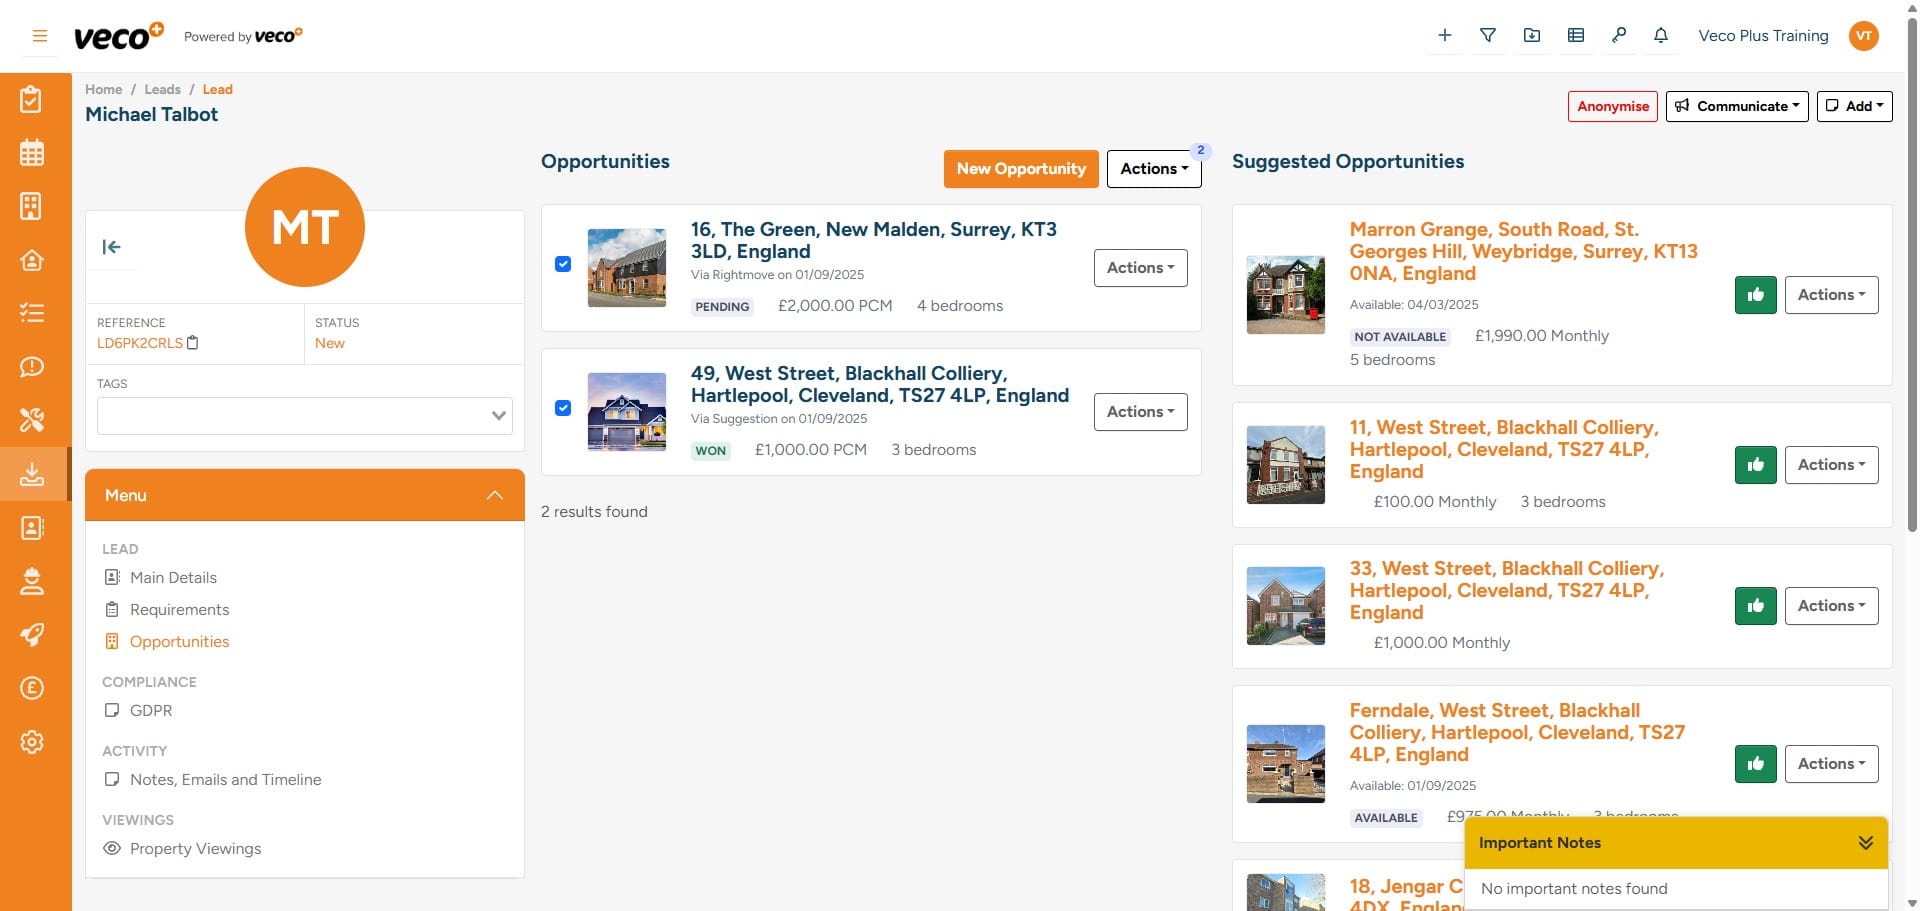
Within the same 'Menu' you will see ‘Opportunities'

In Opportunities, 'Suggested Opportunities' will list properties that have matched to the Lead's requirements. The matching looks at properties registered to the same office as the Lead, as well as their budget and the number of rooms. You can then select the green 'thumbs up' icon if the Lead has shown interest in a property
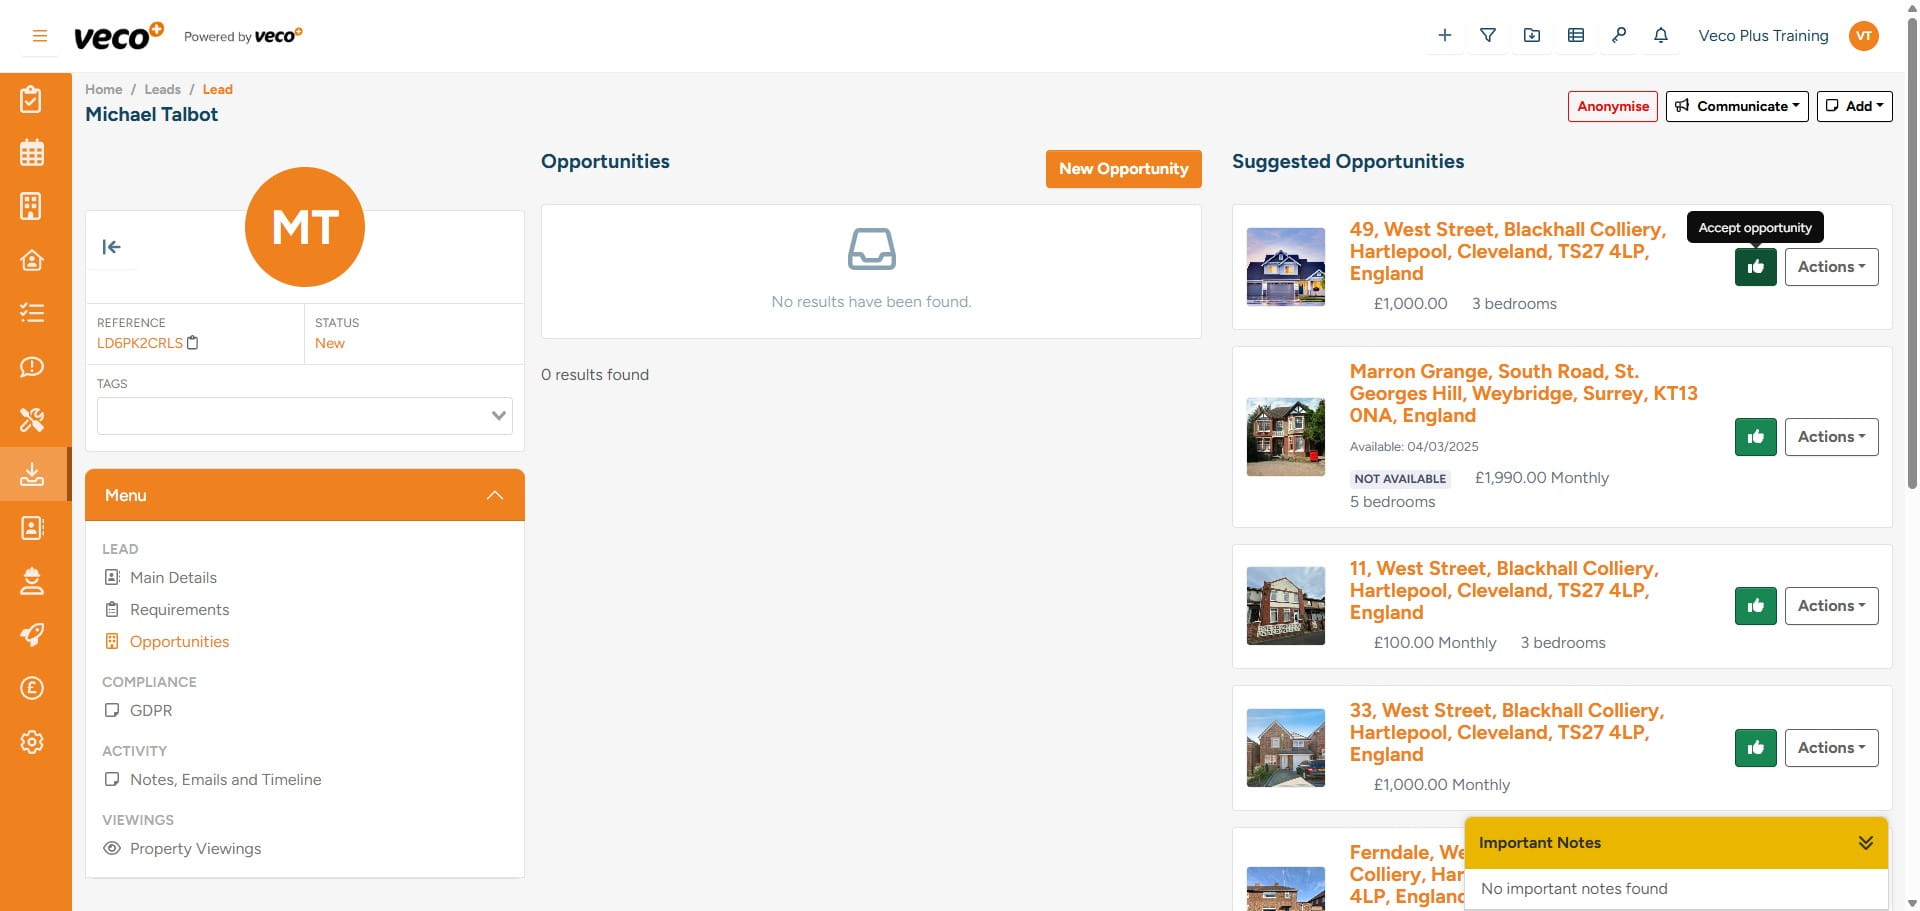
This will move the property from 'Suggested Opportunities' to 'Opportunities'
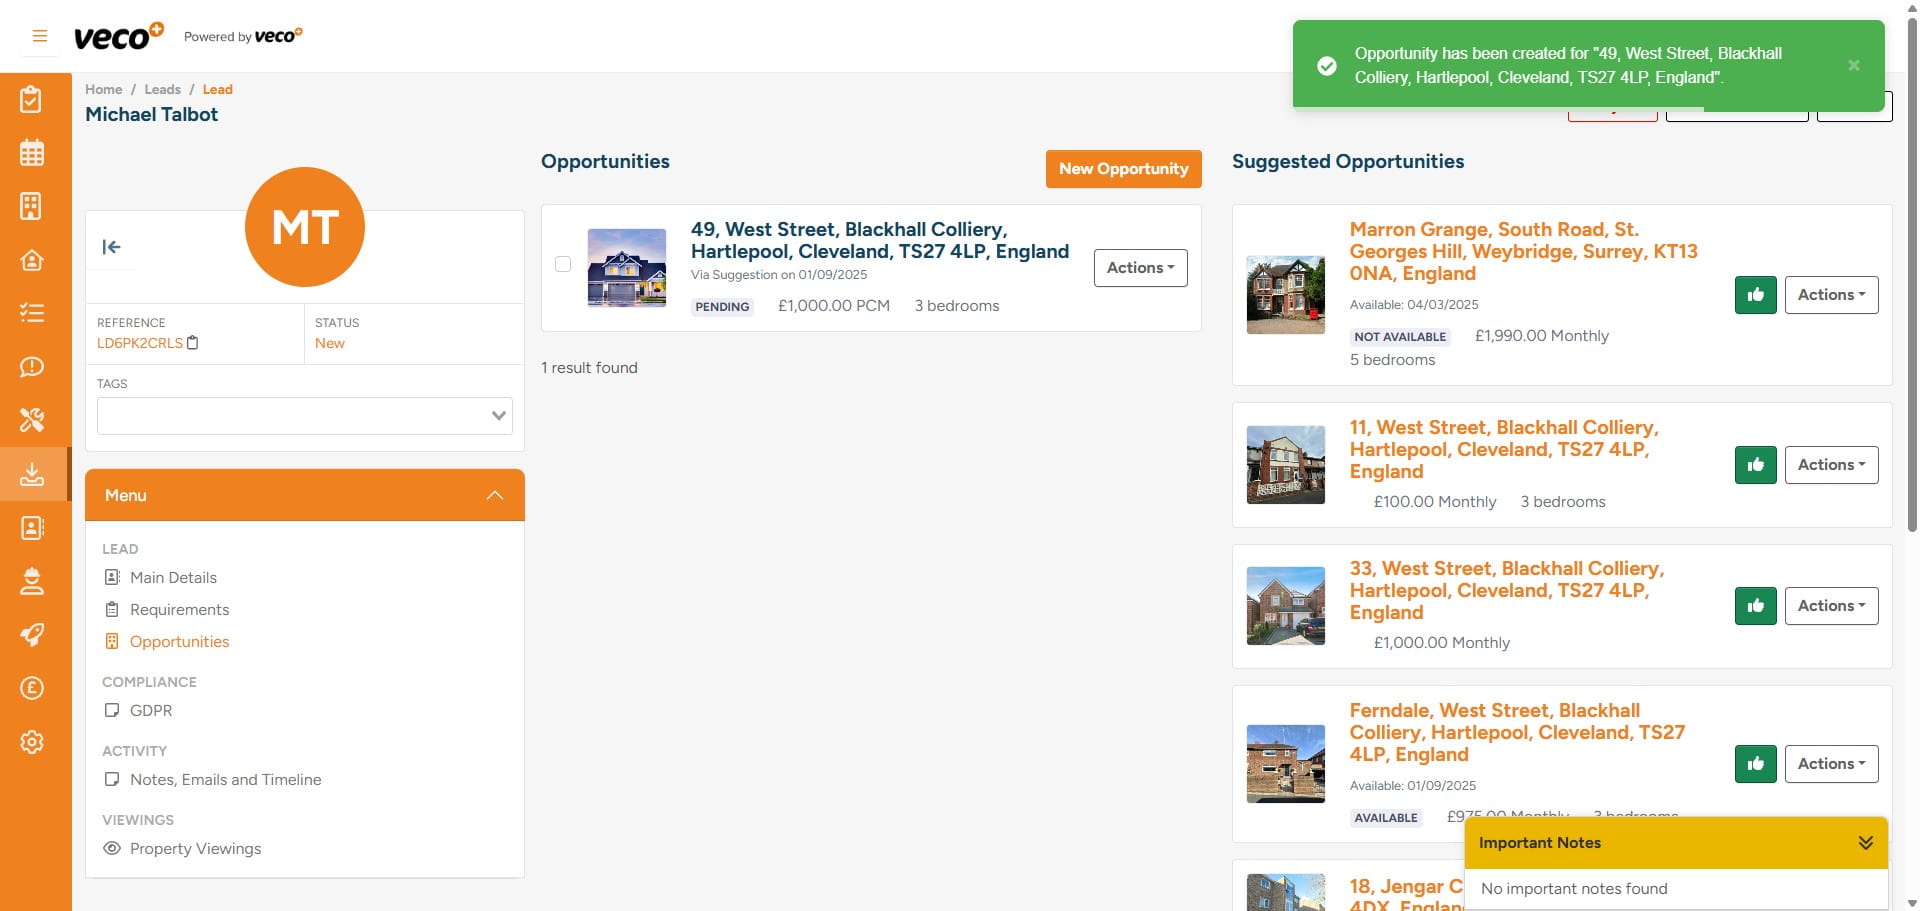
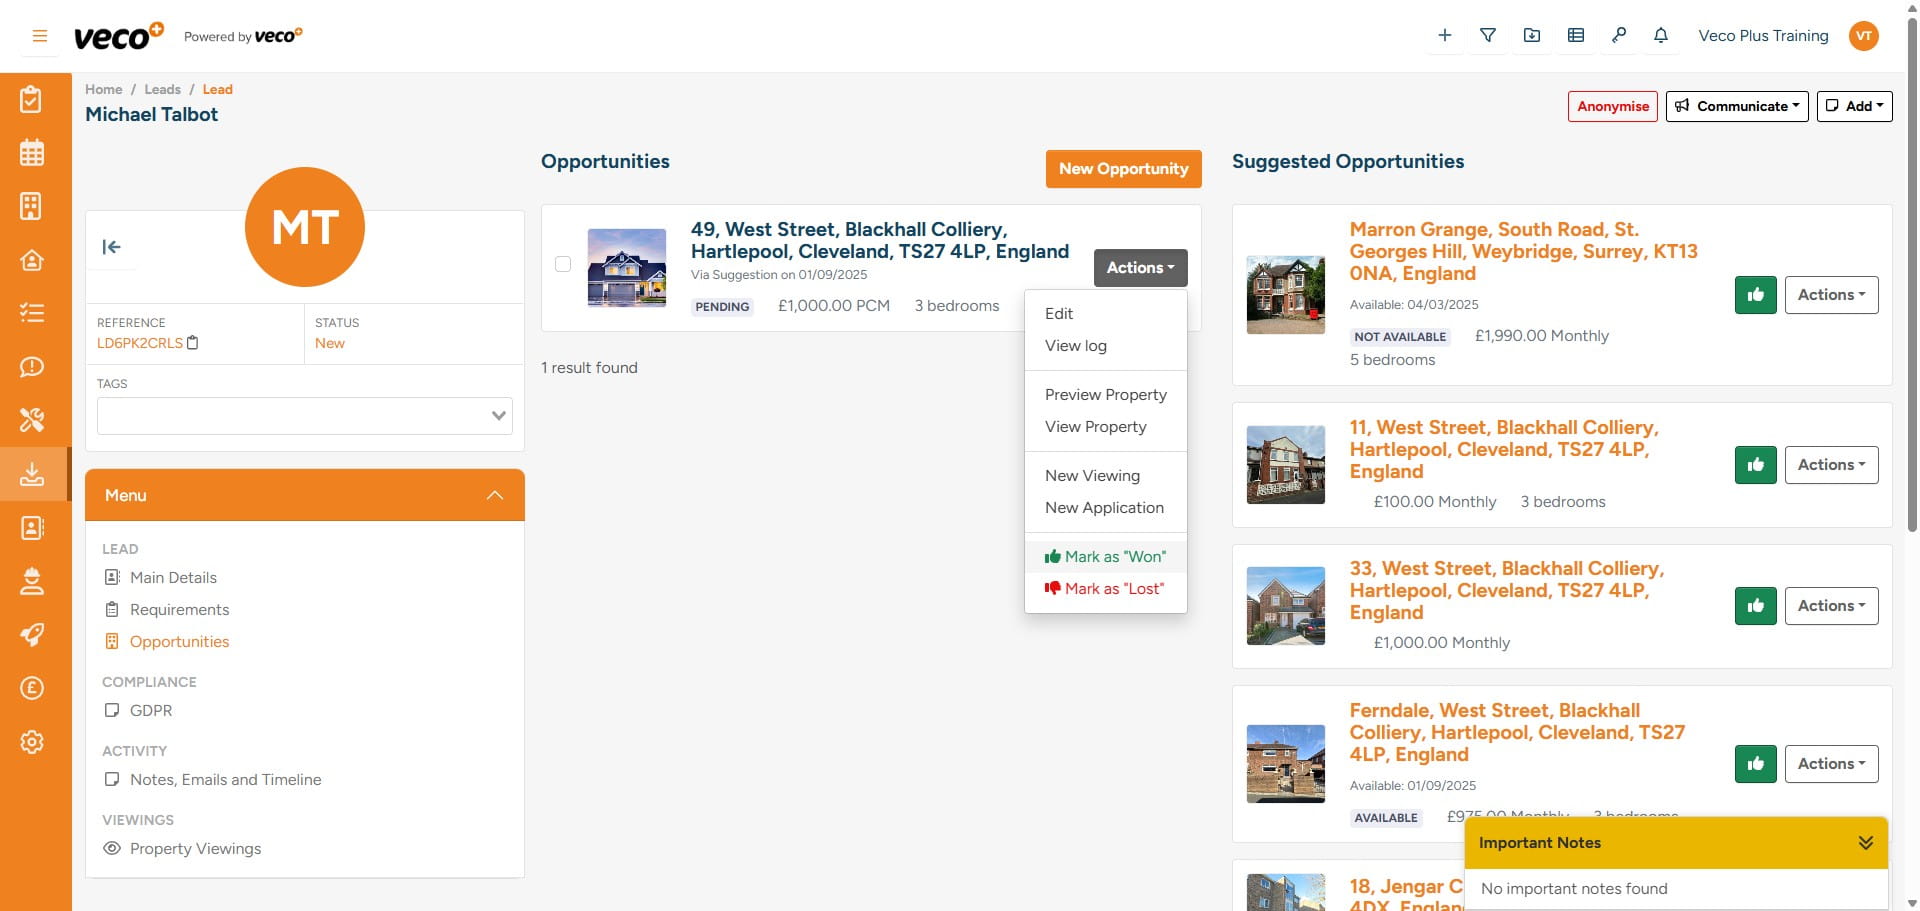
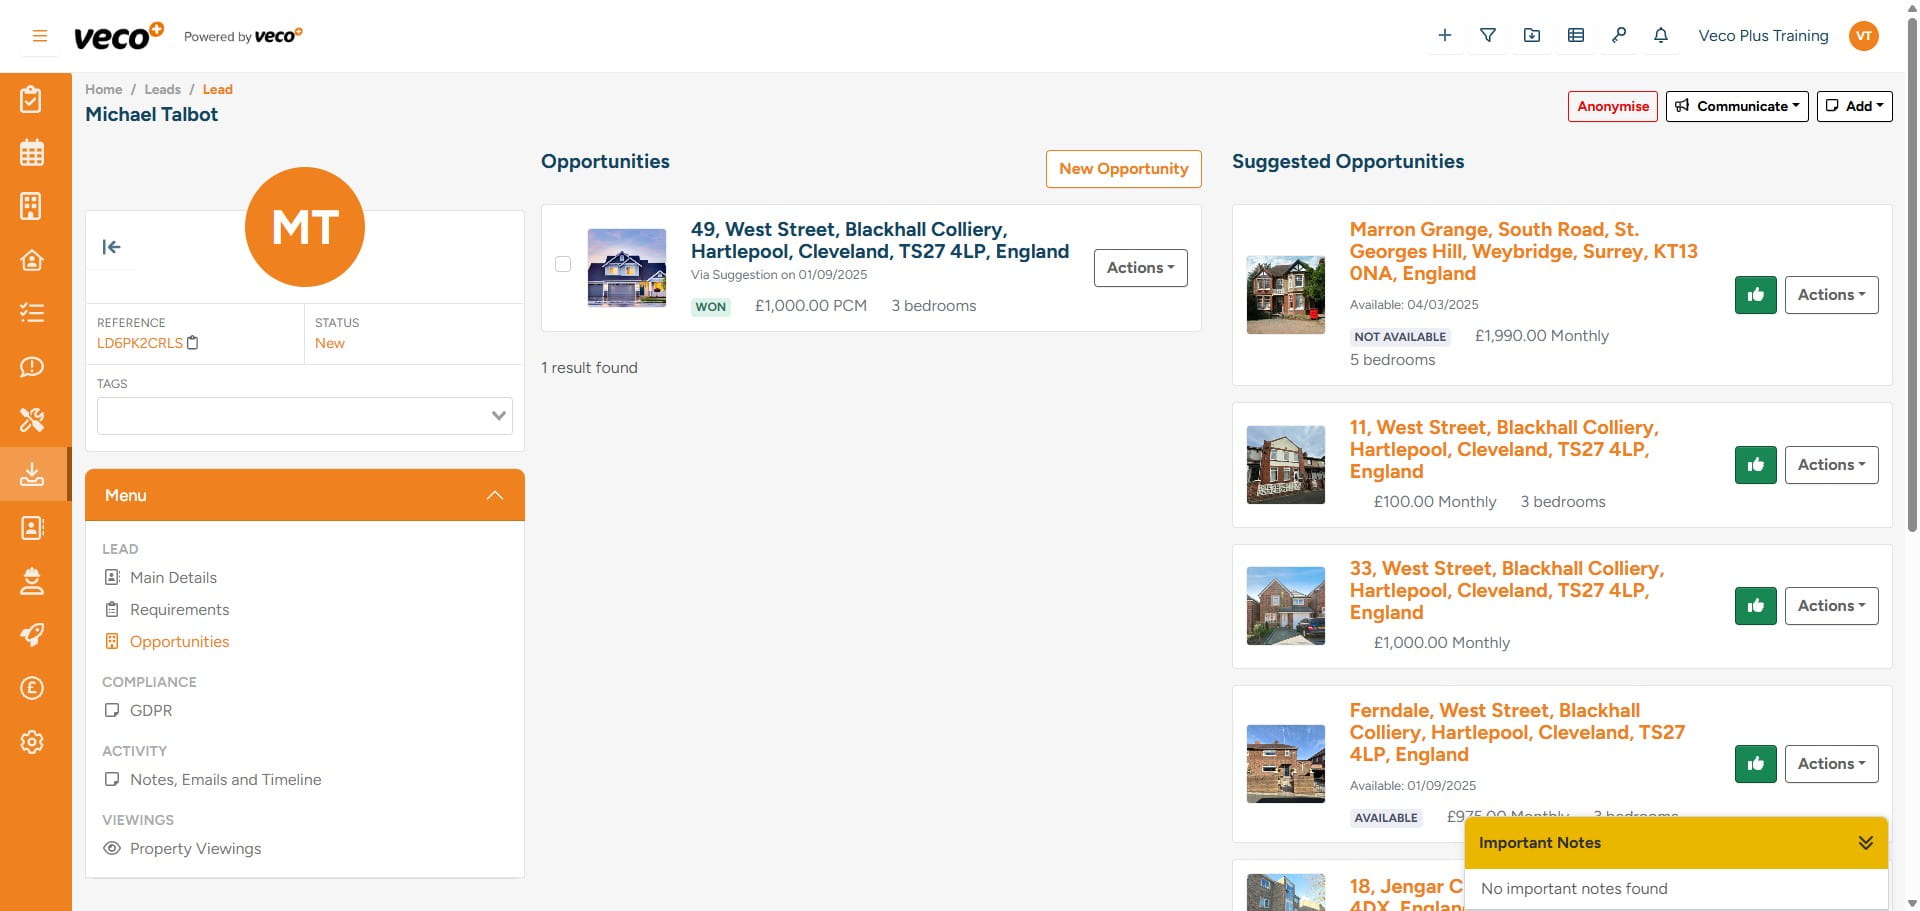
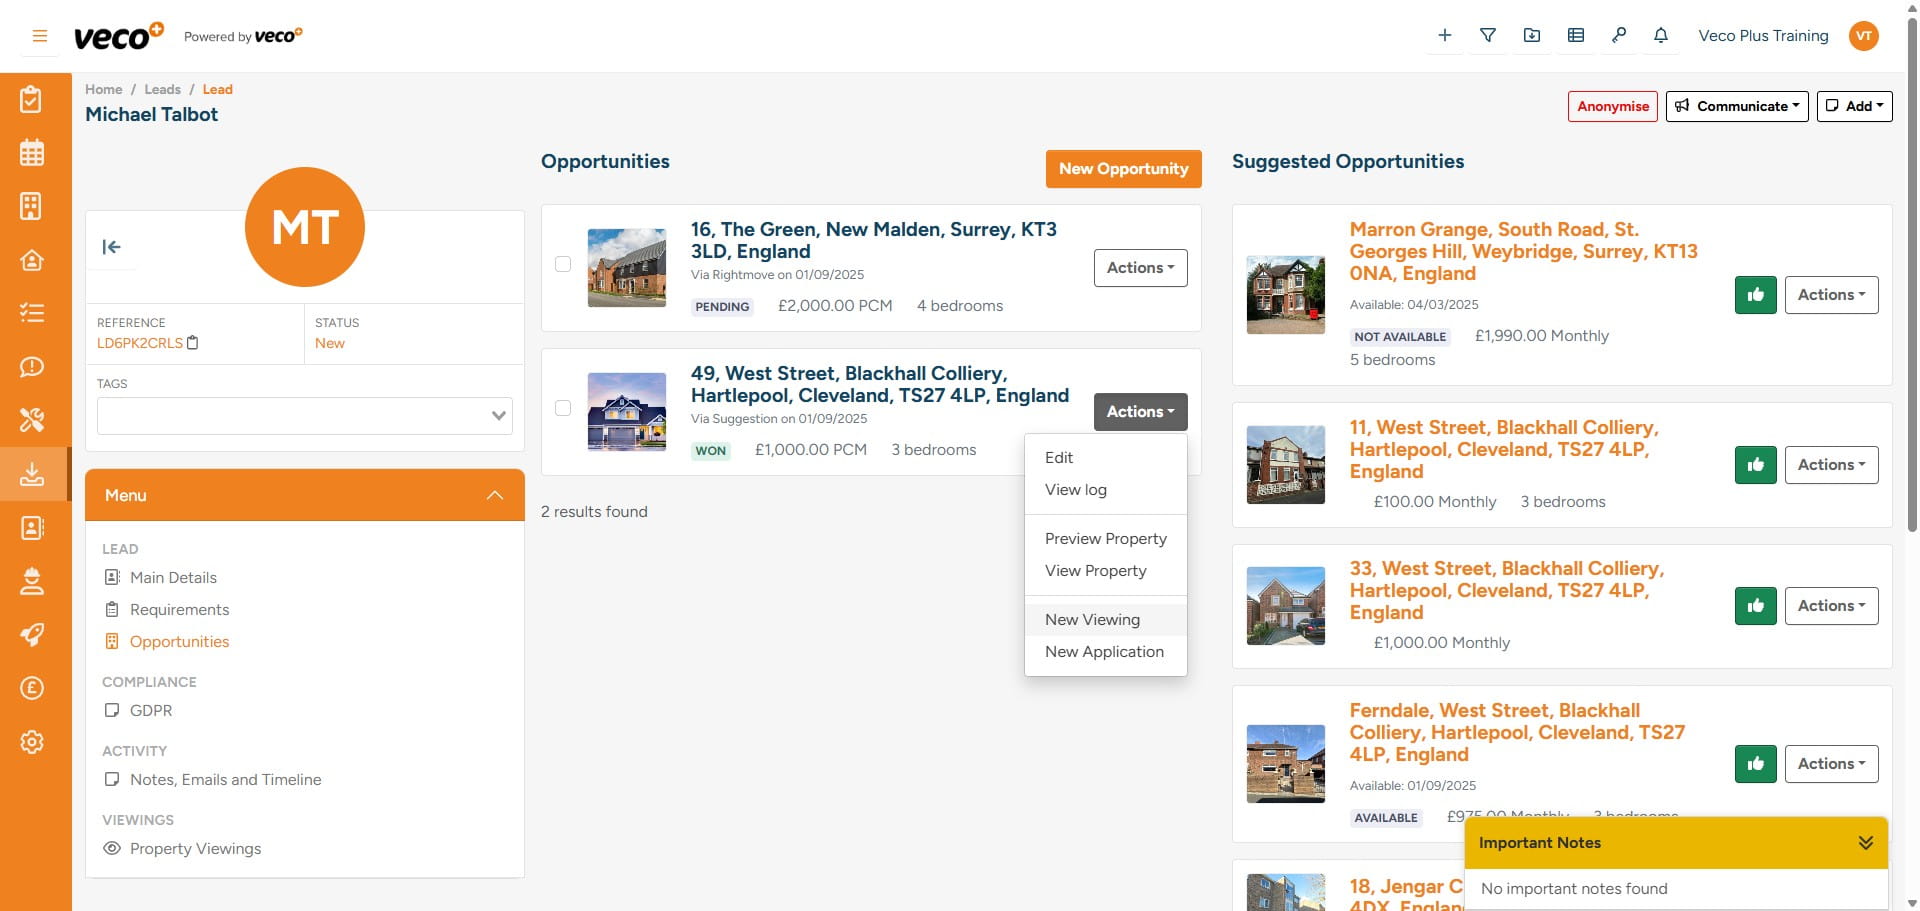
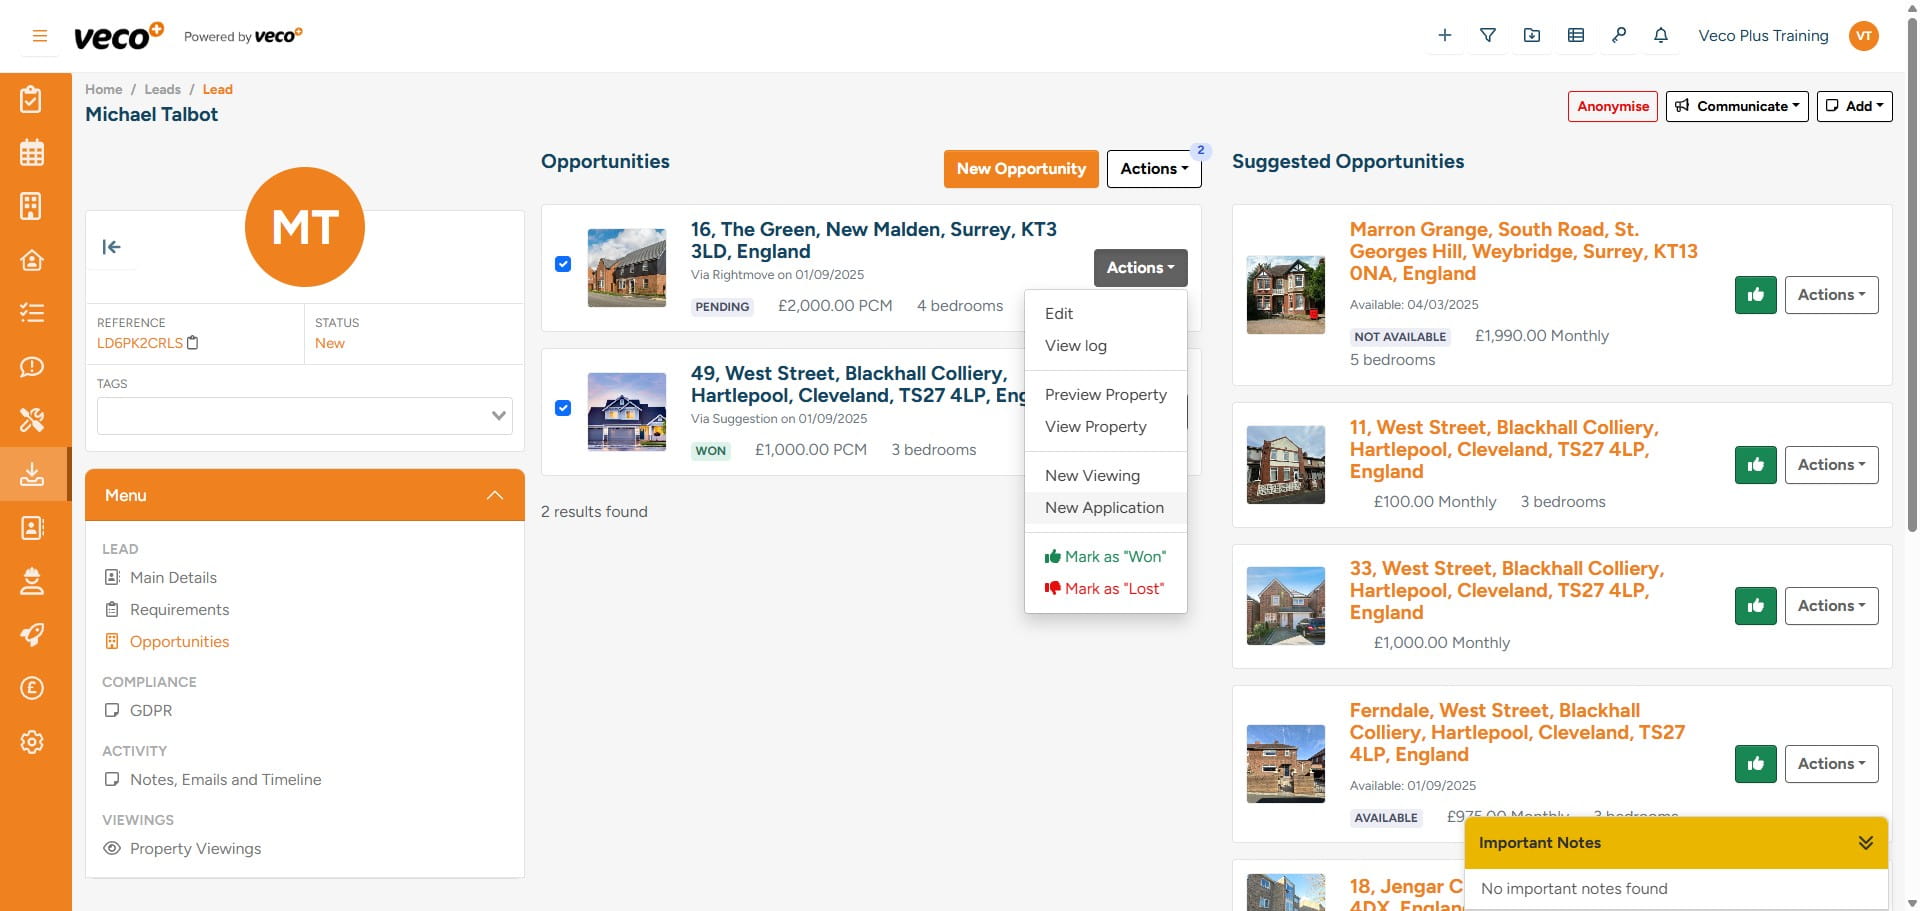
When you select 'Actions' a list of further actions will appear that can be selected, including marking the Opportunity as 'Won' or 'Lost'
If there is a property that you would like to present to this Lead that does not match in the 'Suggested Opportunities', you can select 'New Opportunity'
Then you can search for the address and select 'Save'
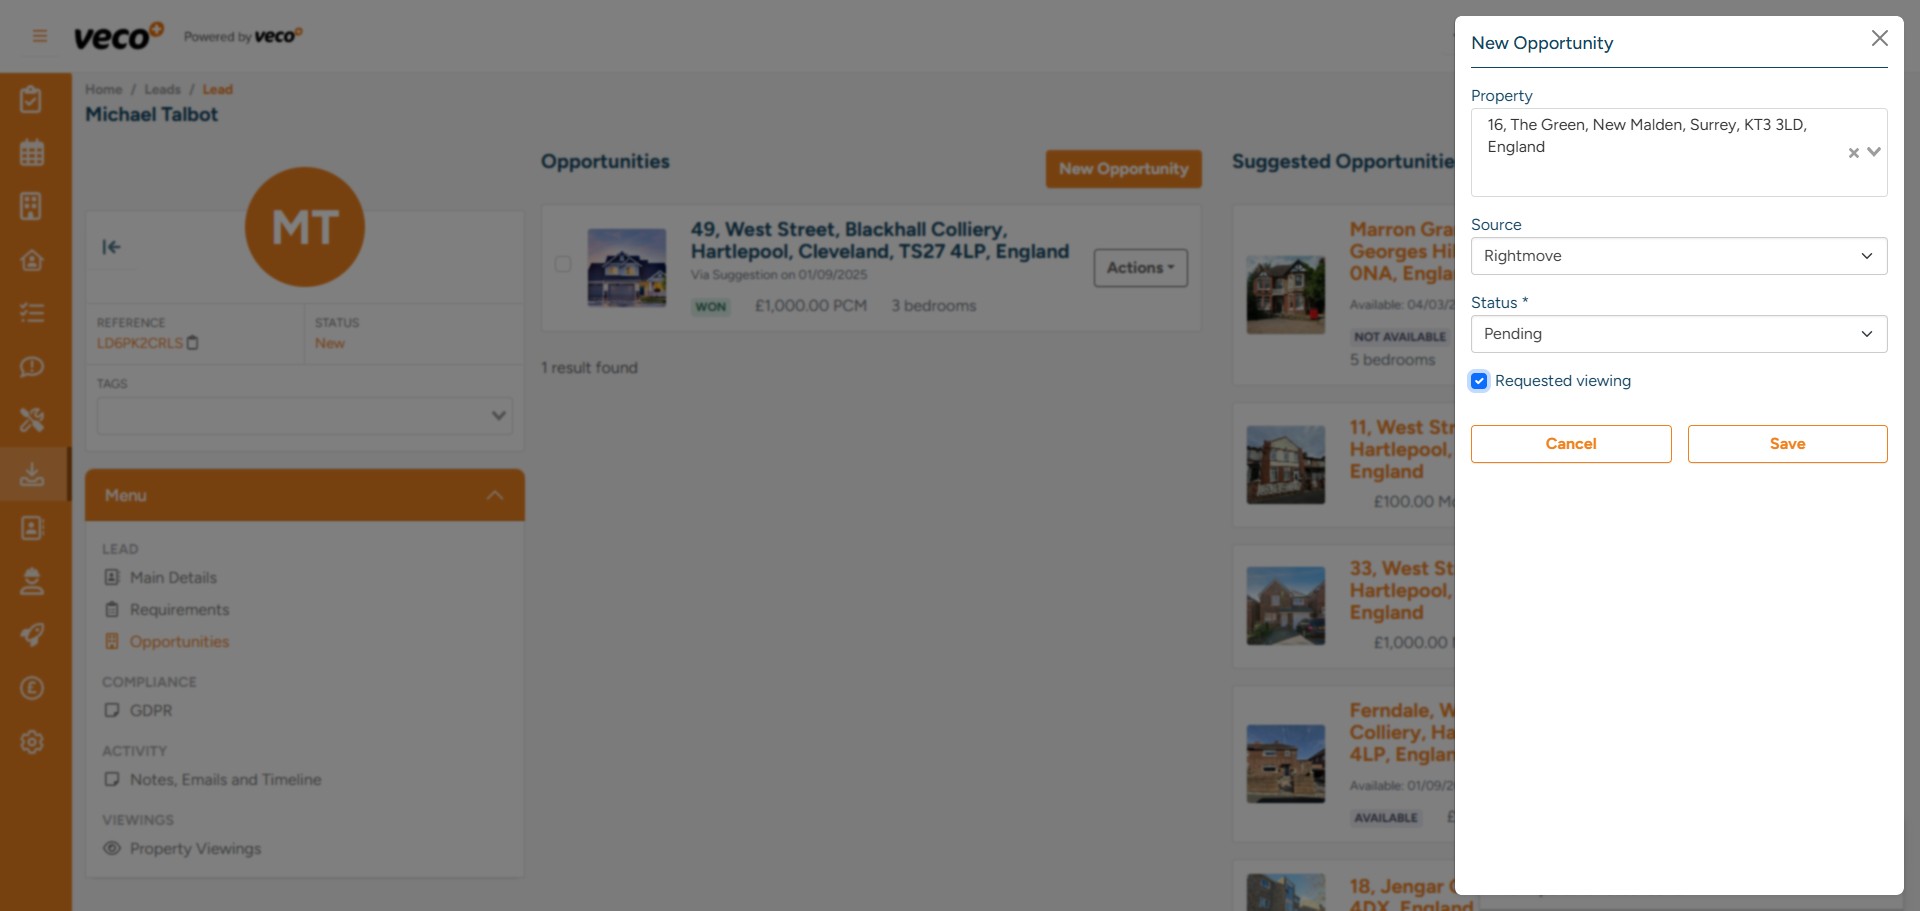
This property will then show on the Lead's 'Opportunities'
If you would like to book a viewing for a property, select ' Actions' then 'New viewing'. From here, you can view your calendar and book the viewing
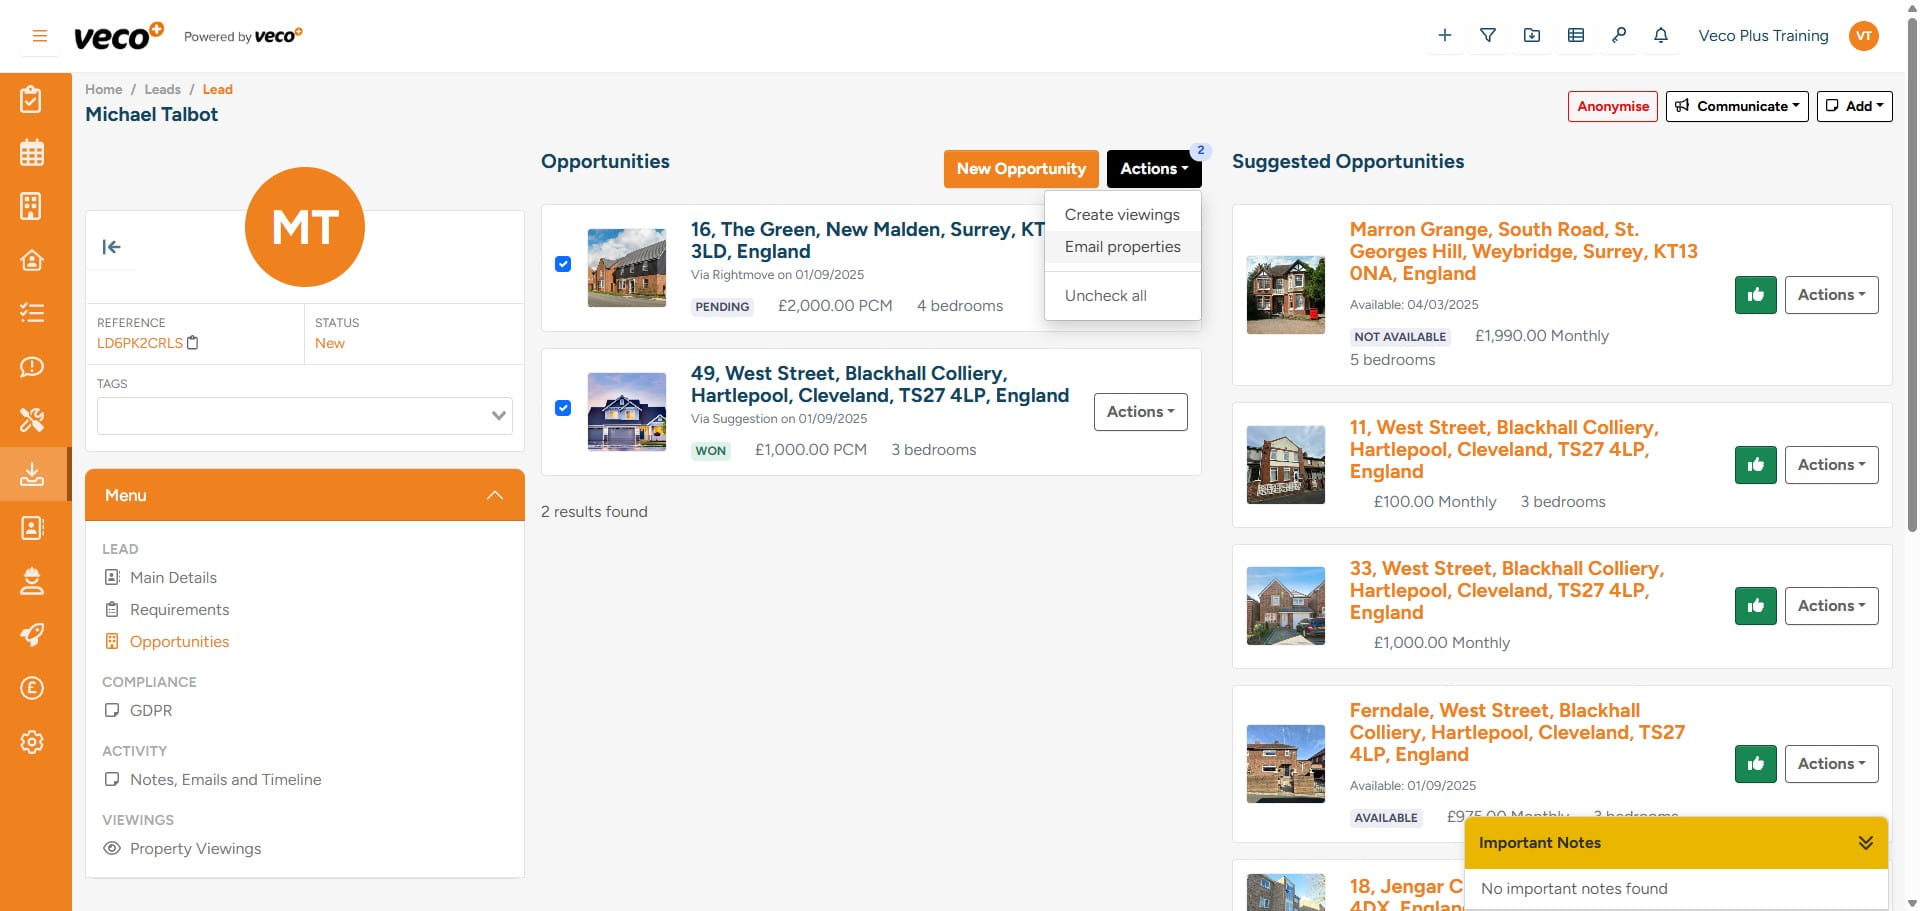
If you would like to book multiple viewings or send a bulk embedded marketing email, you will need to select the required properties

Then select 'Actions' at the top, which will also give you a count on the button of how many have been selected

You can either select 'Create viewings' or 'Email properties' from here
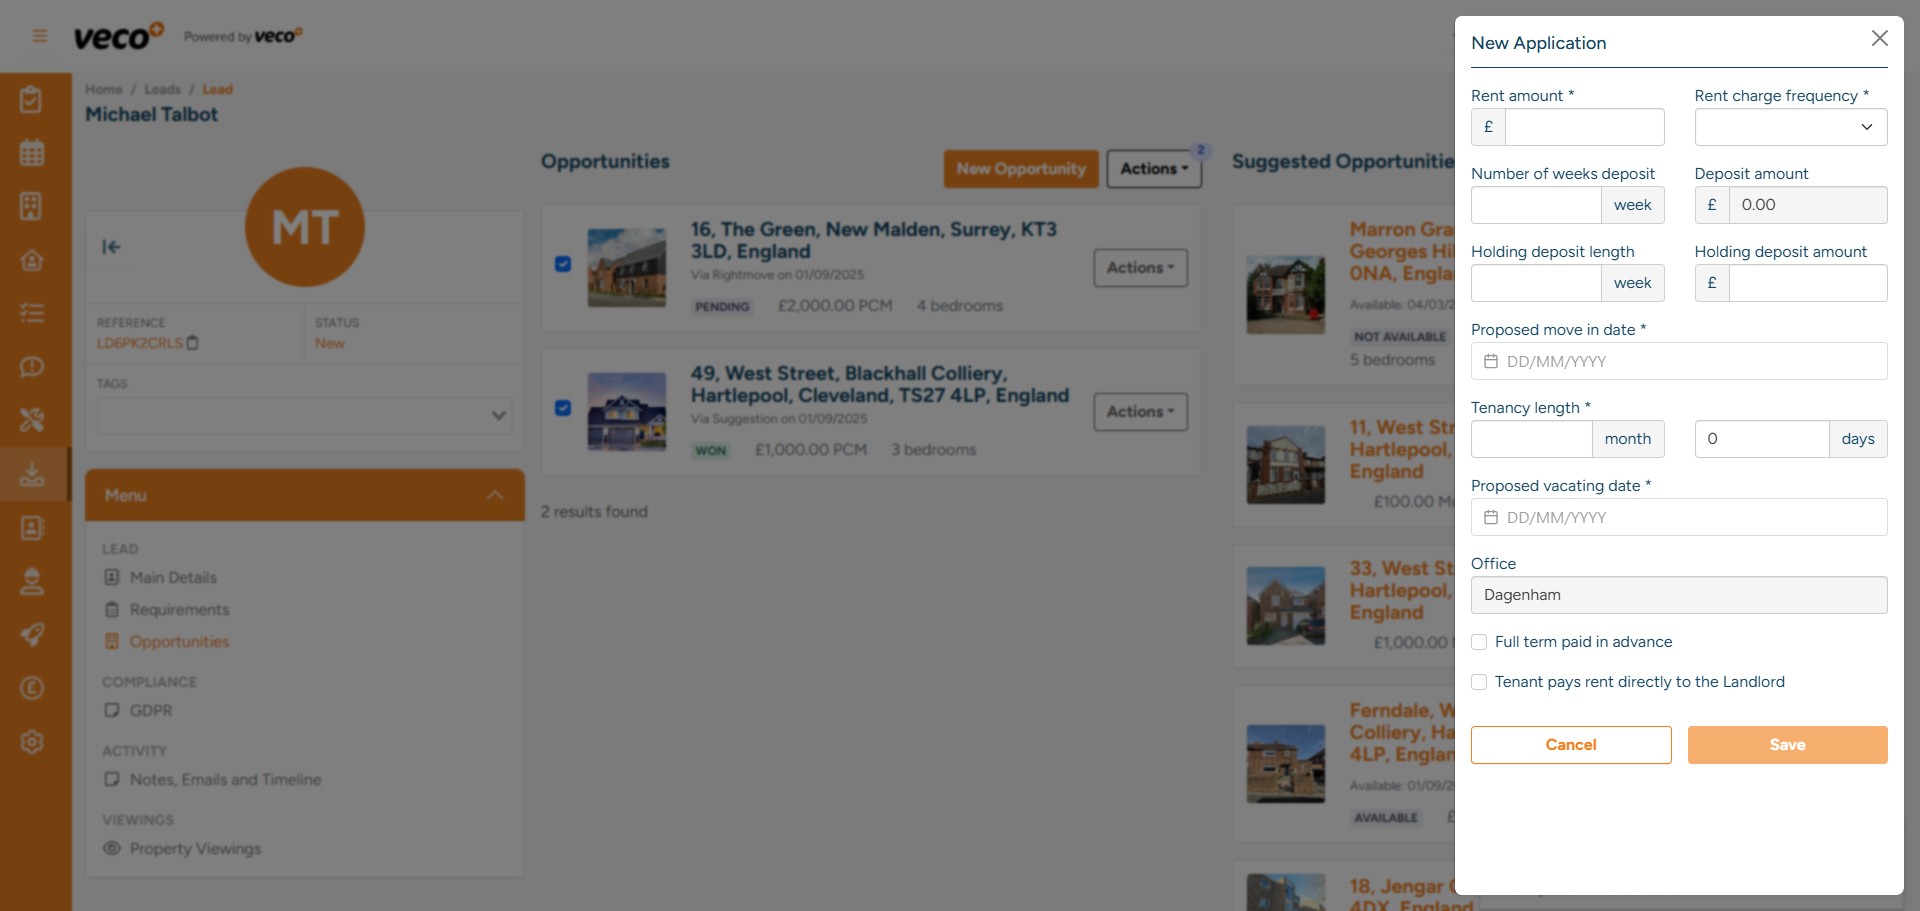
In 'Actions' on a property, you will also have the ability to create a 'New Application'
You will need to populate all relevant information and select 'Save'
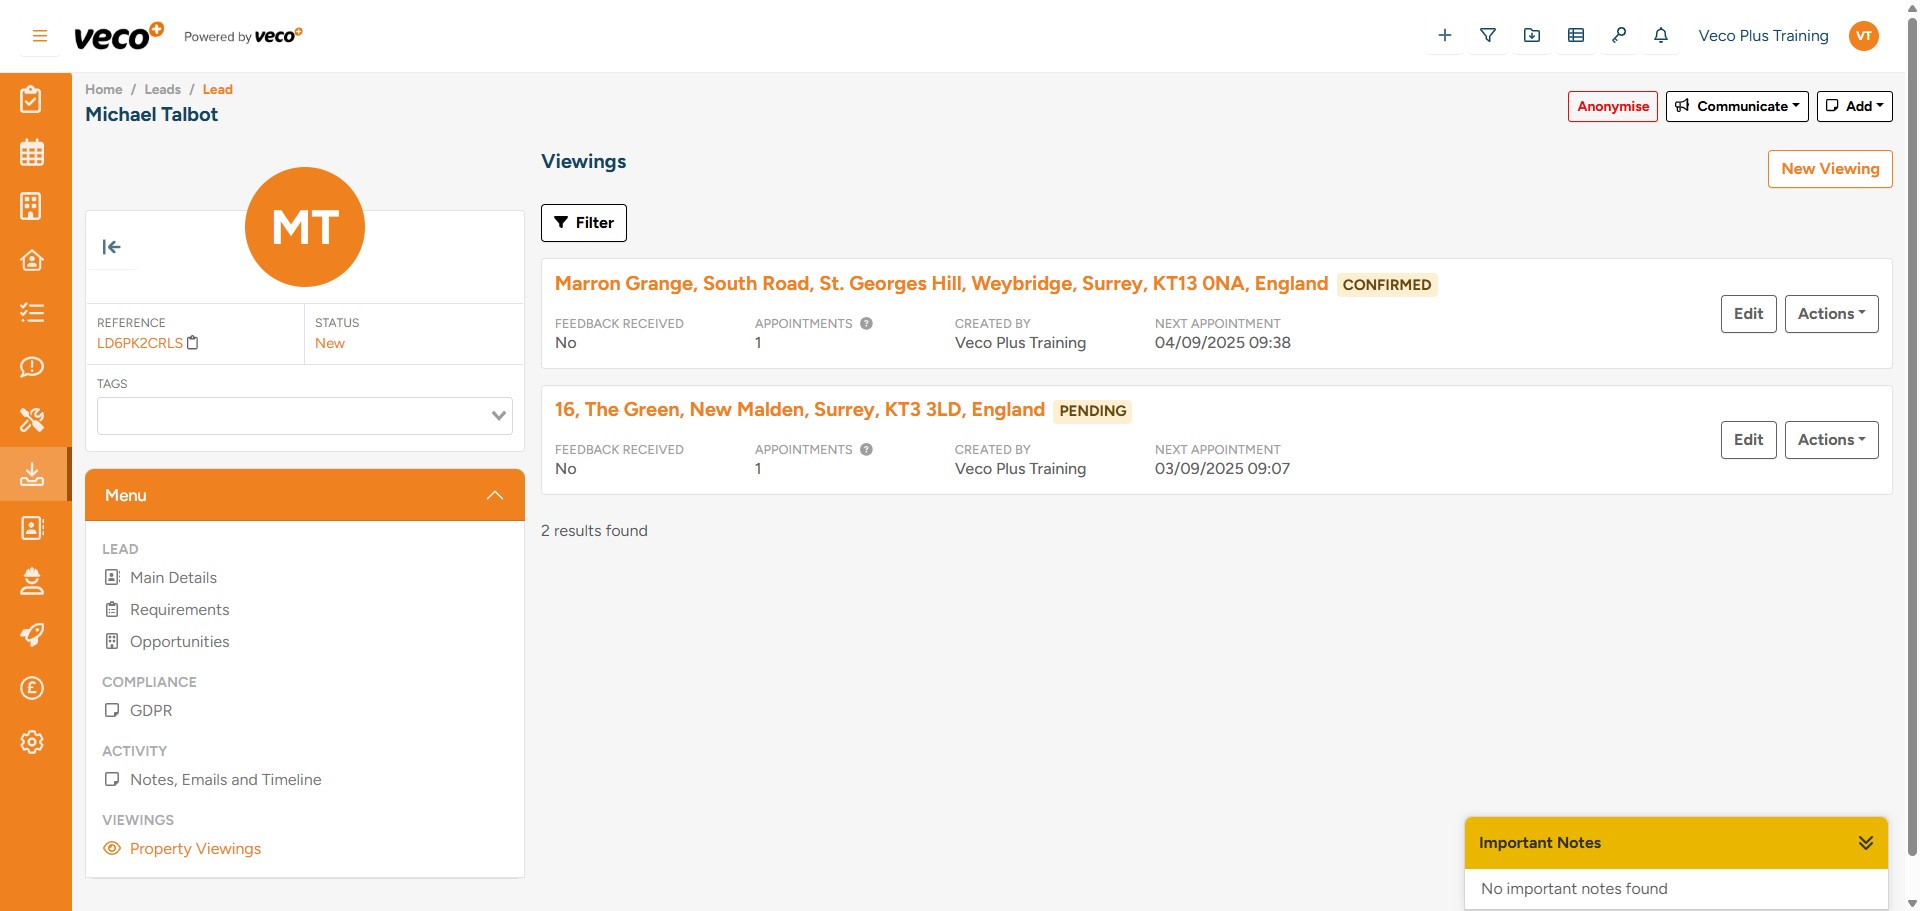
You can view a history of all ‘Viewings’ the Lead has attended by selecting ‘Property Viewings’ in the 'Menu'
The list will appear like this. You can also add a new Viewing from here by selecting ' New Viewing' in the upper right corner
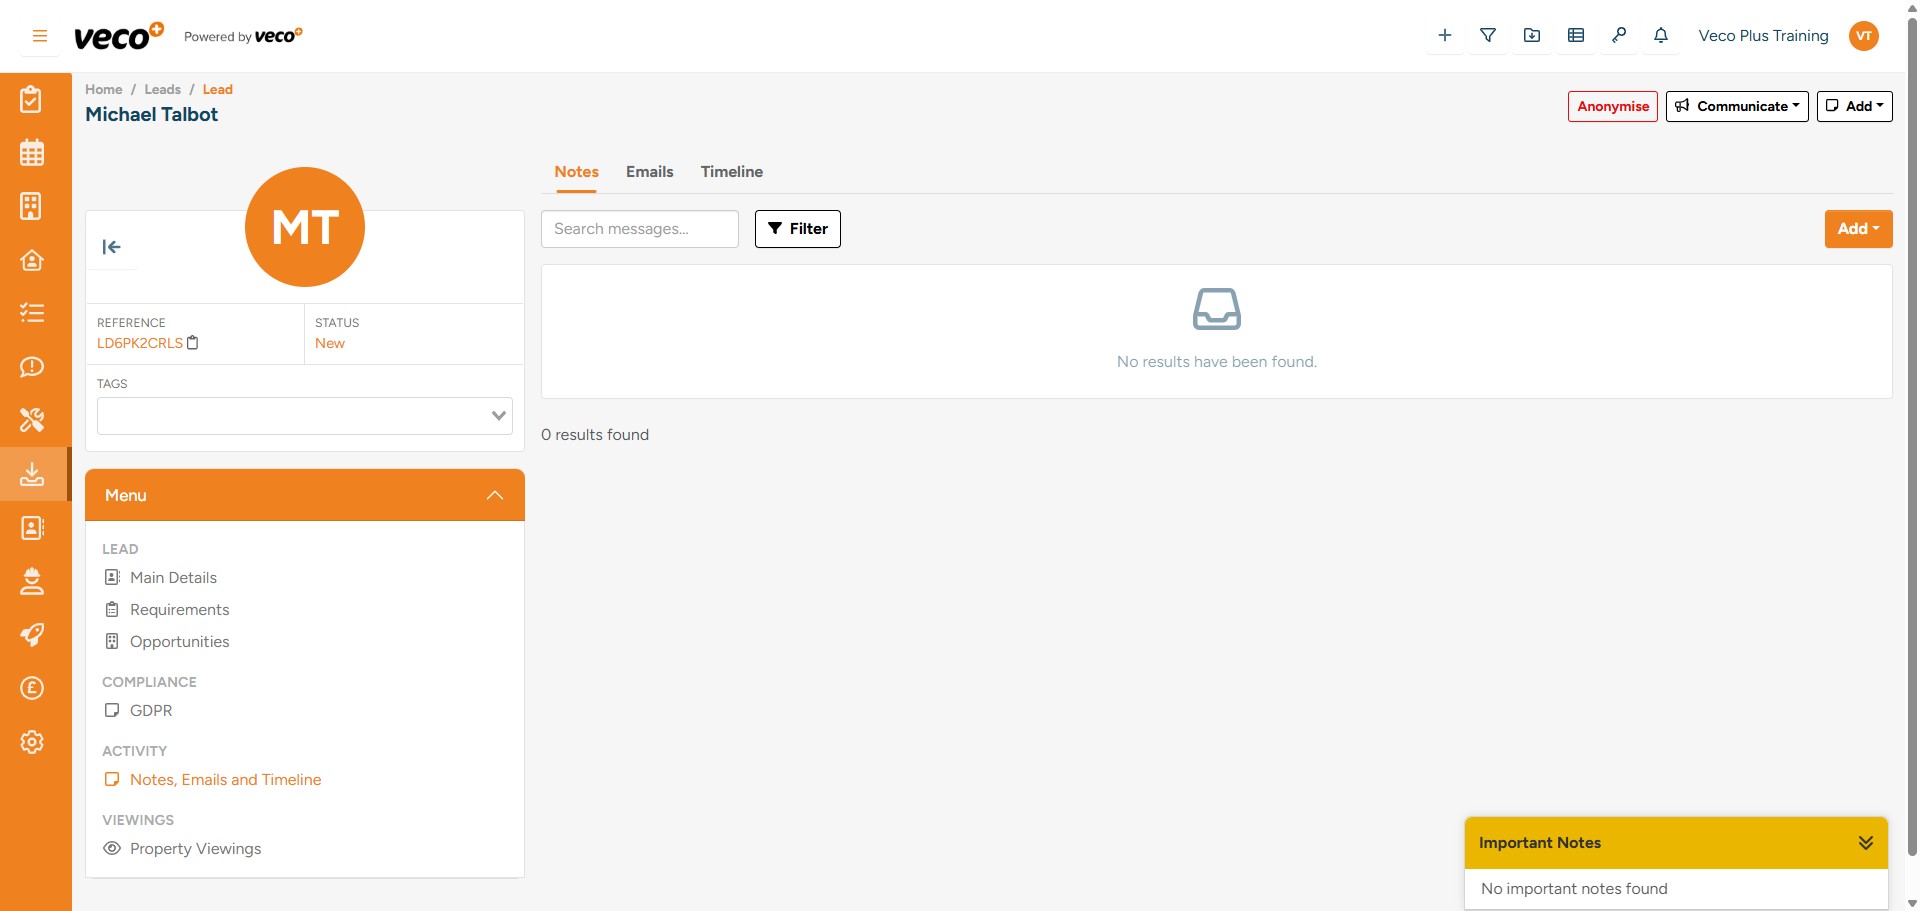
Also in the 'Menu', you can view ‘Notes, Emails and Timeline’ for this Lead record
Then select which category you would like to view