Tenancy Renewals
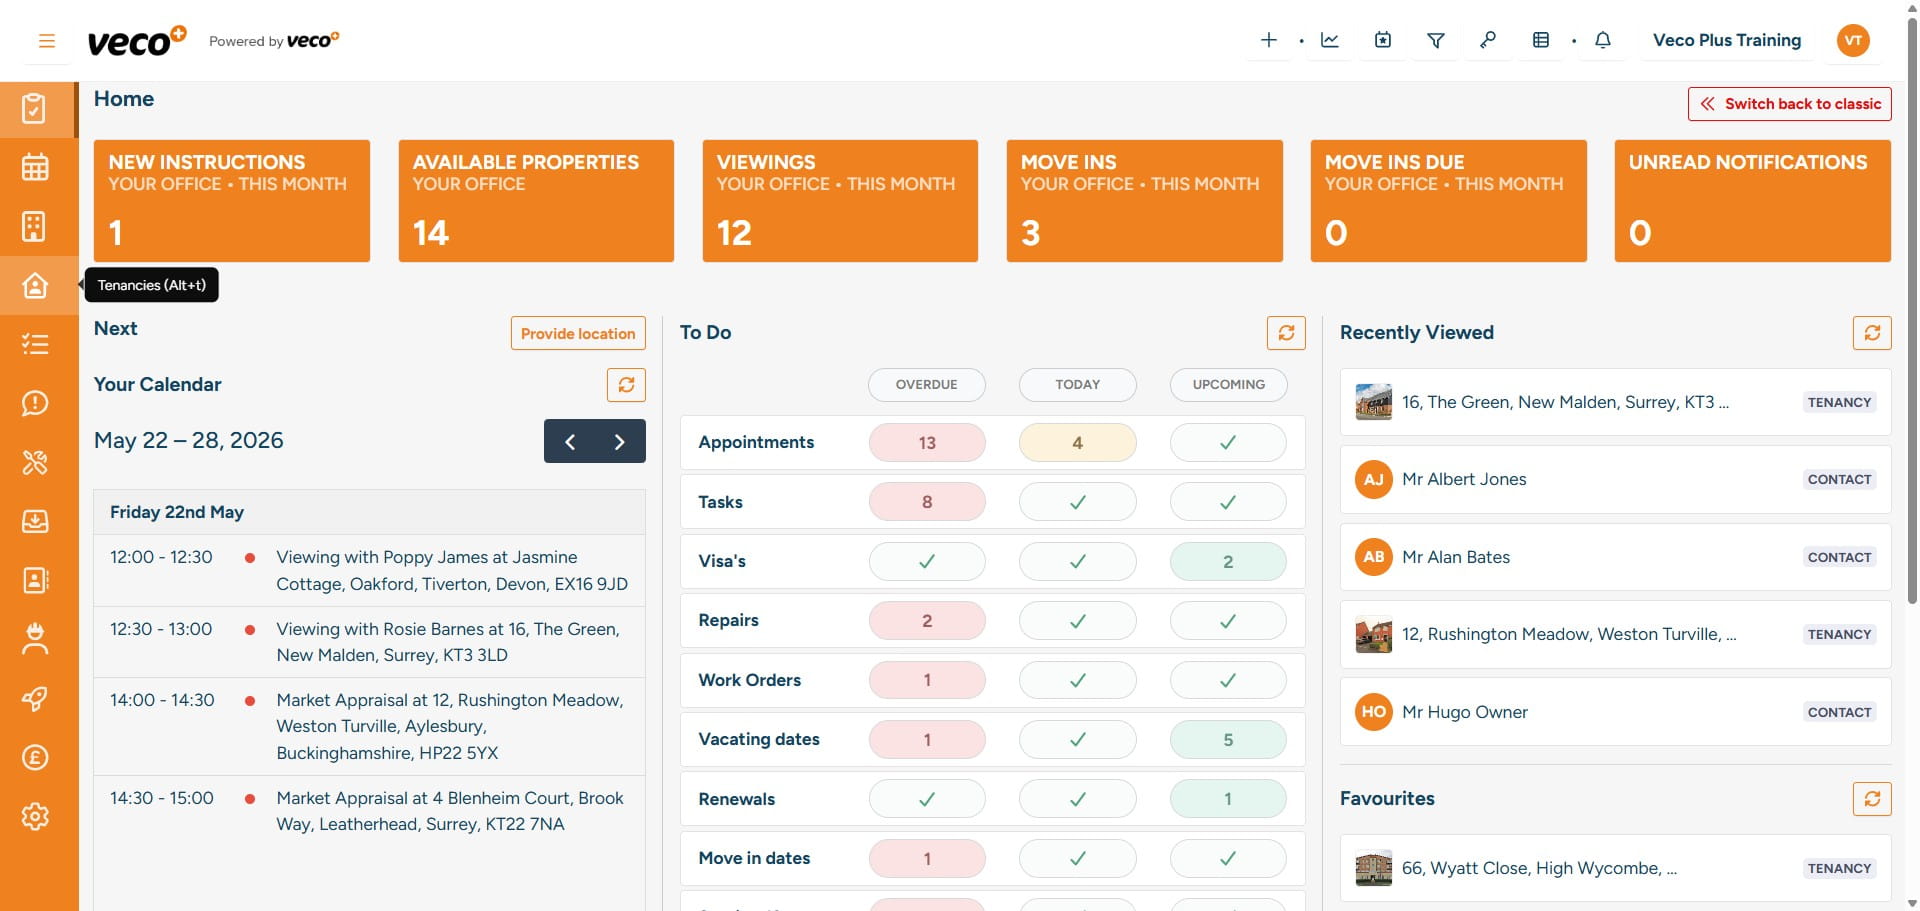
Select 'Tenancies' from the navigation bar
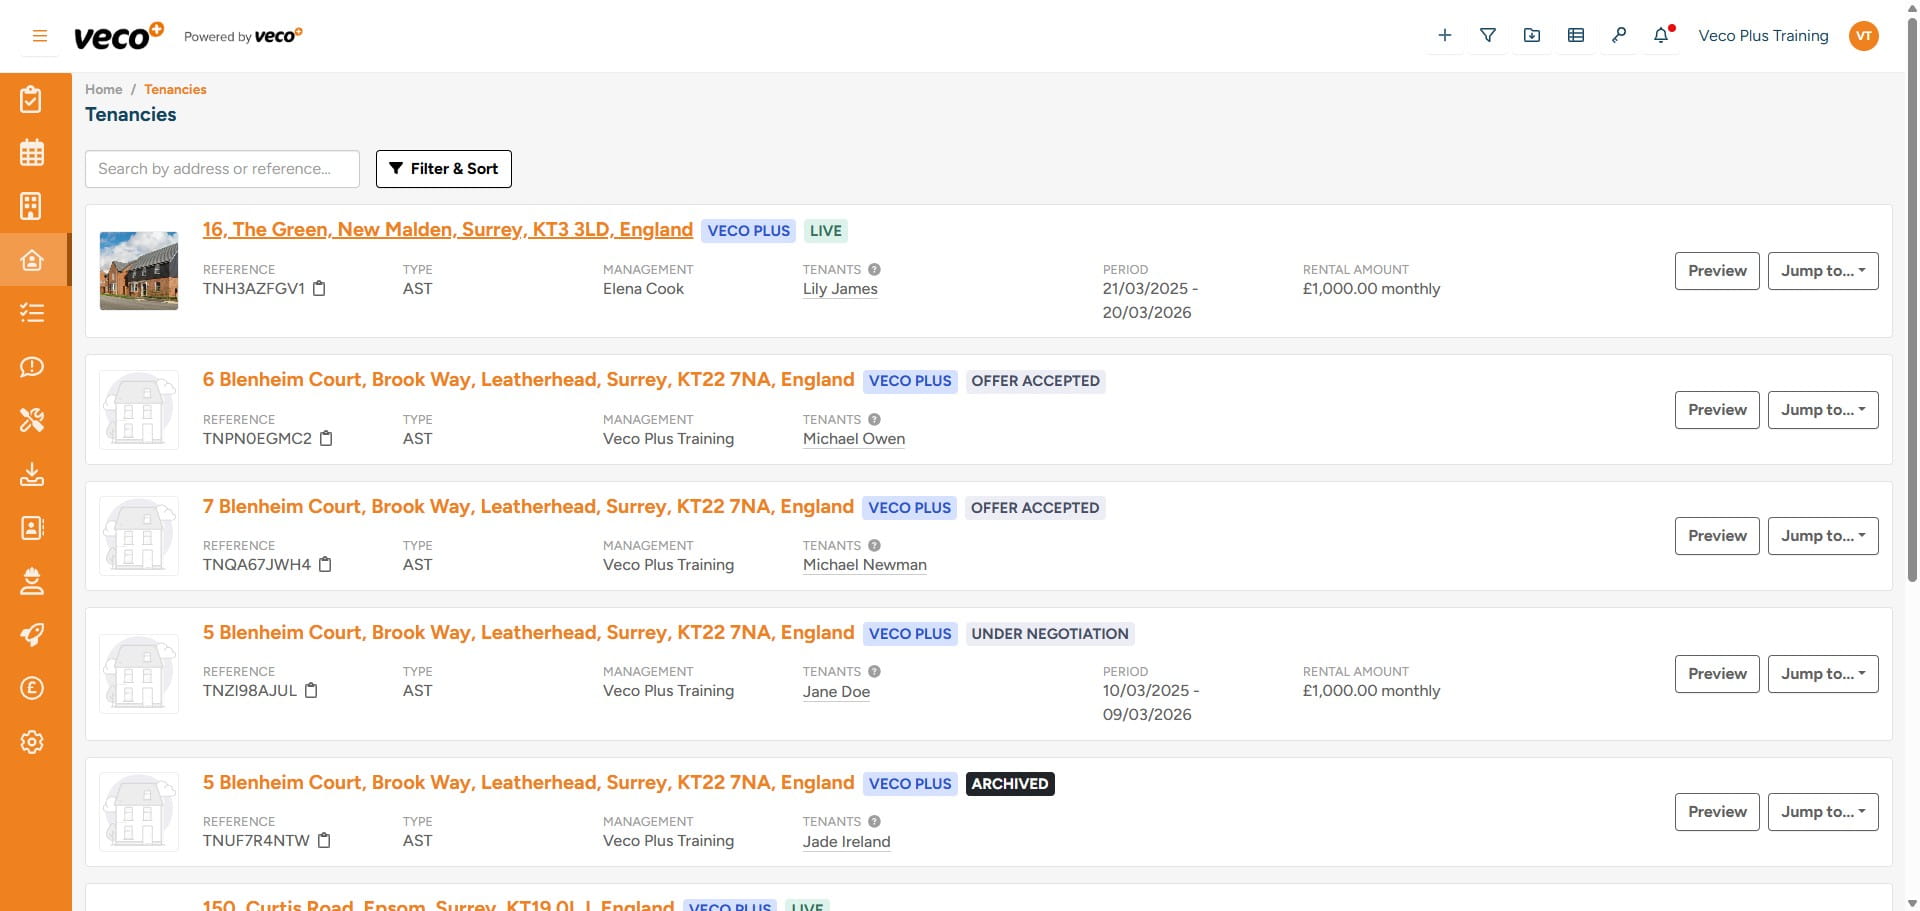
Select the Tenancy you would like to renew
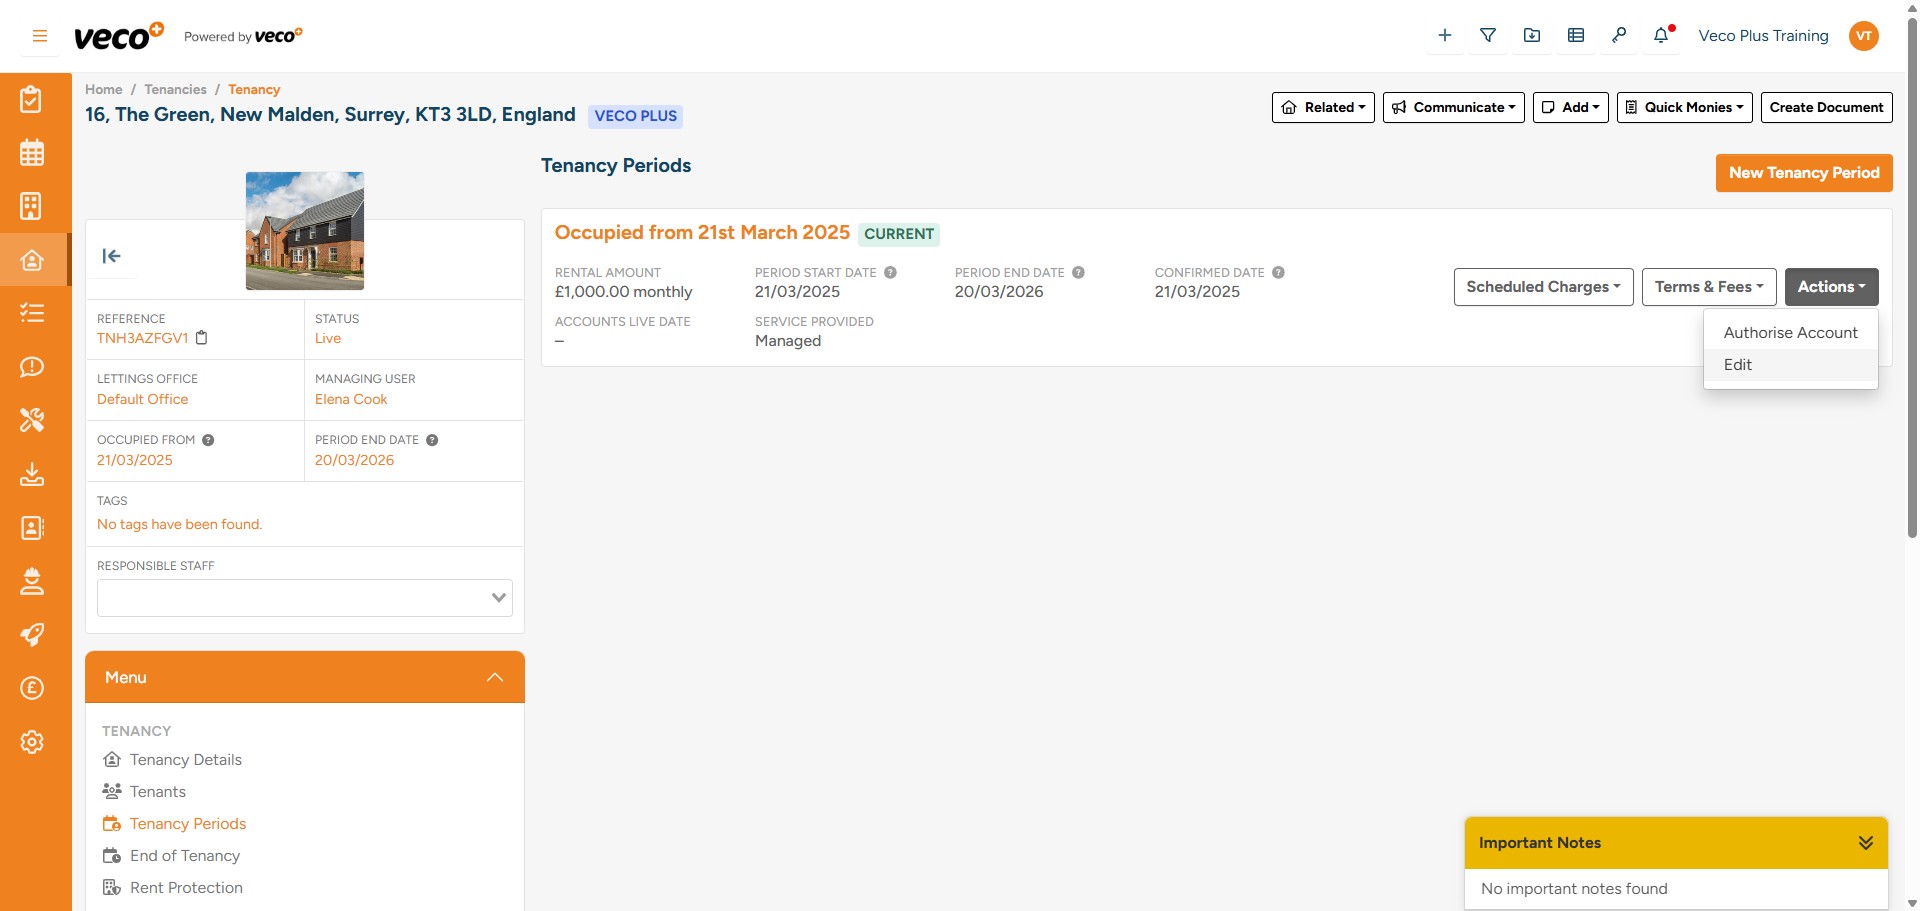
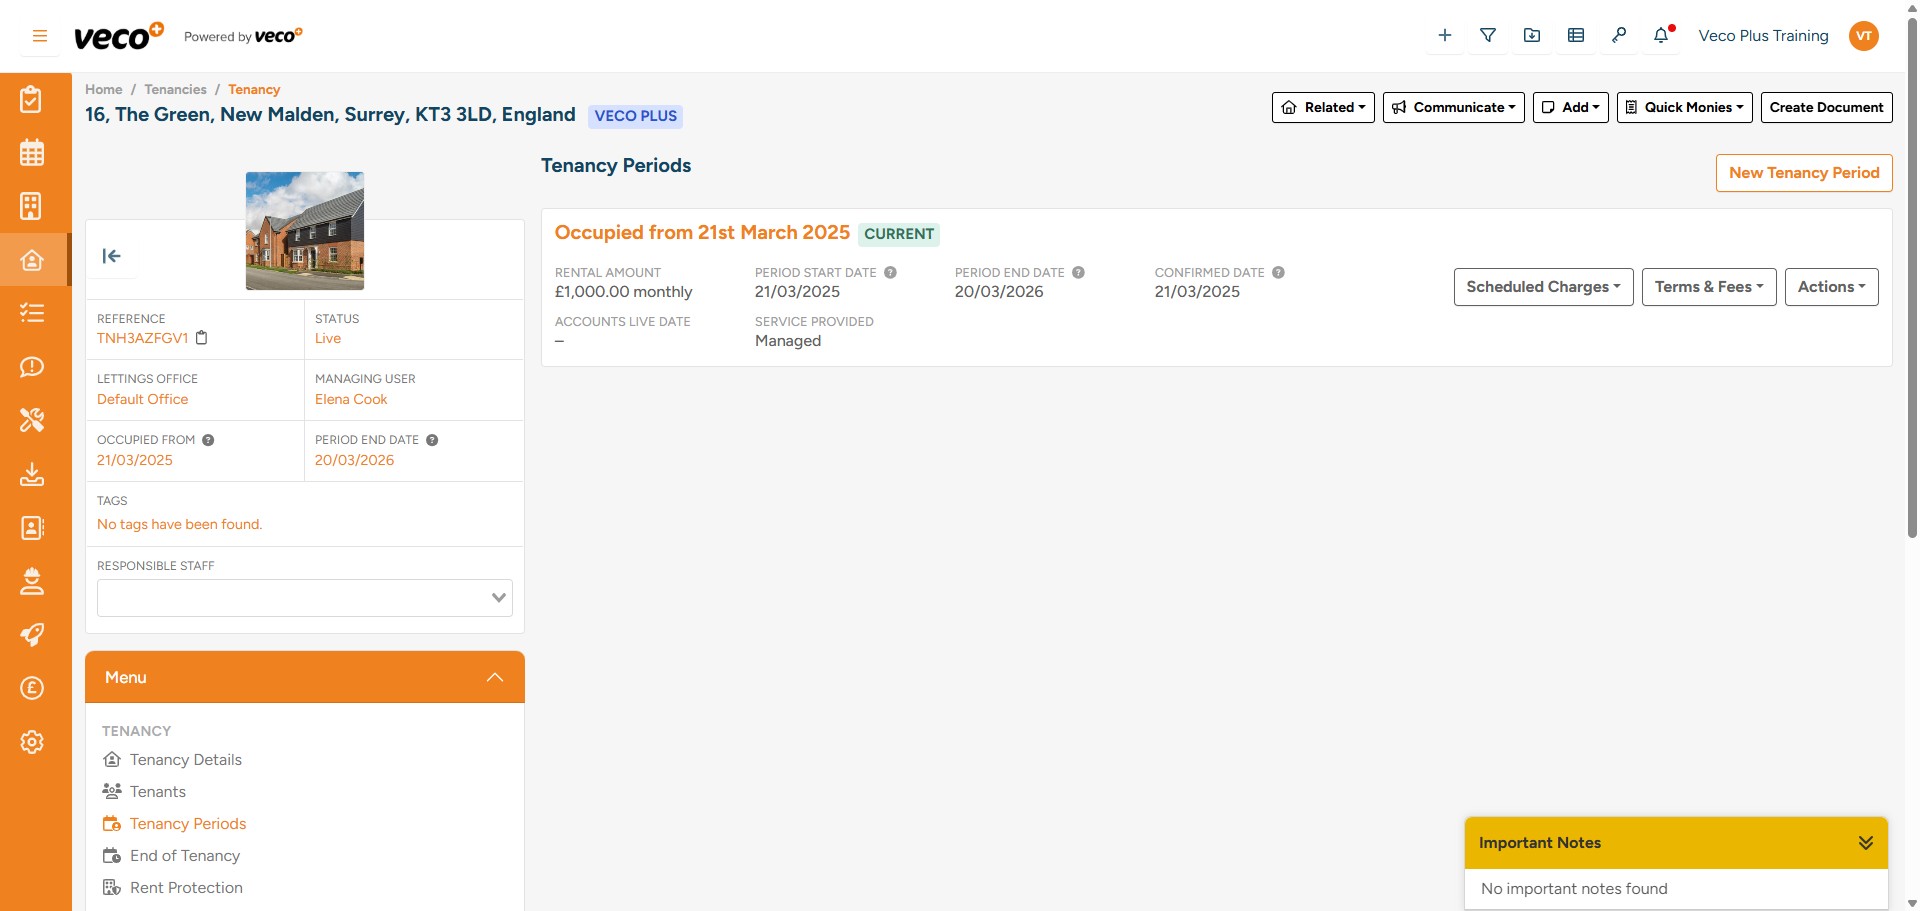
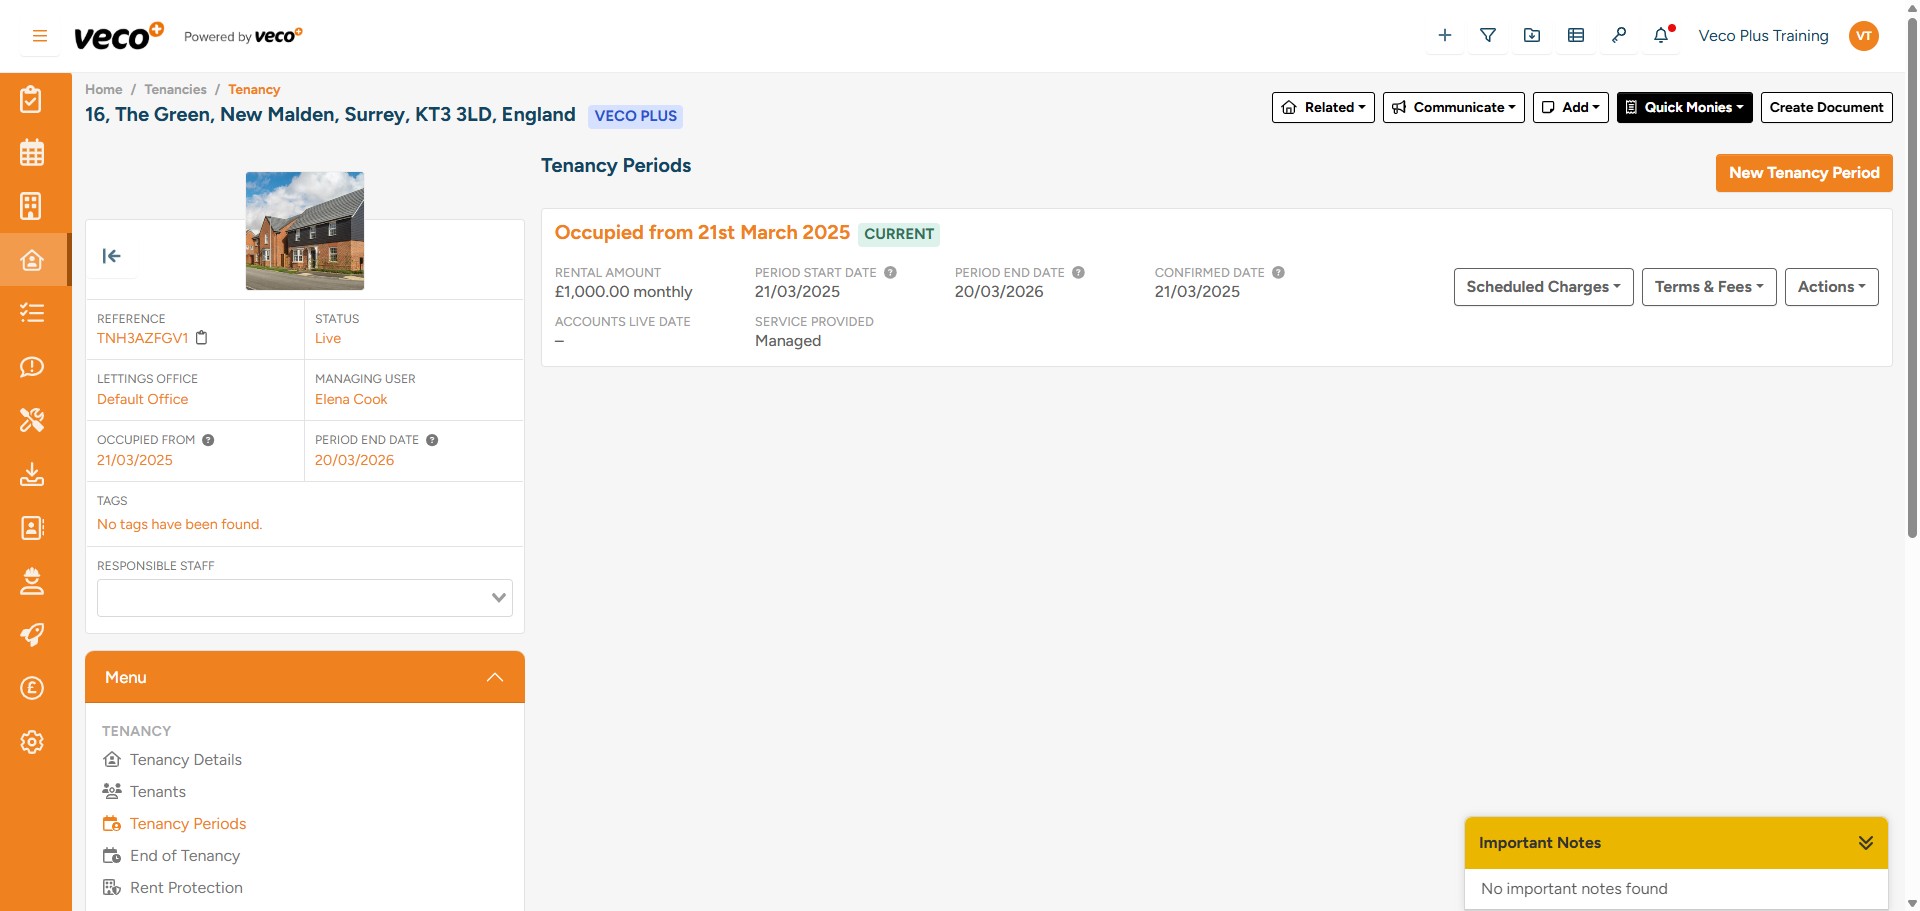
Select 'Tenancy Periods' from the left side menu
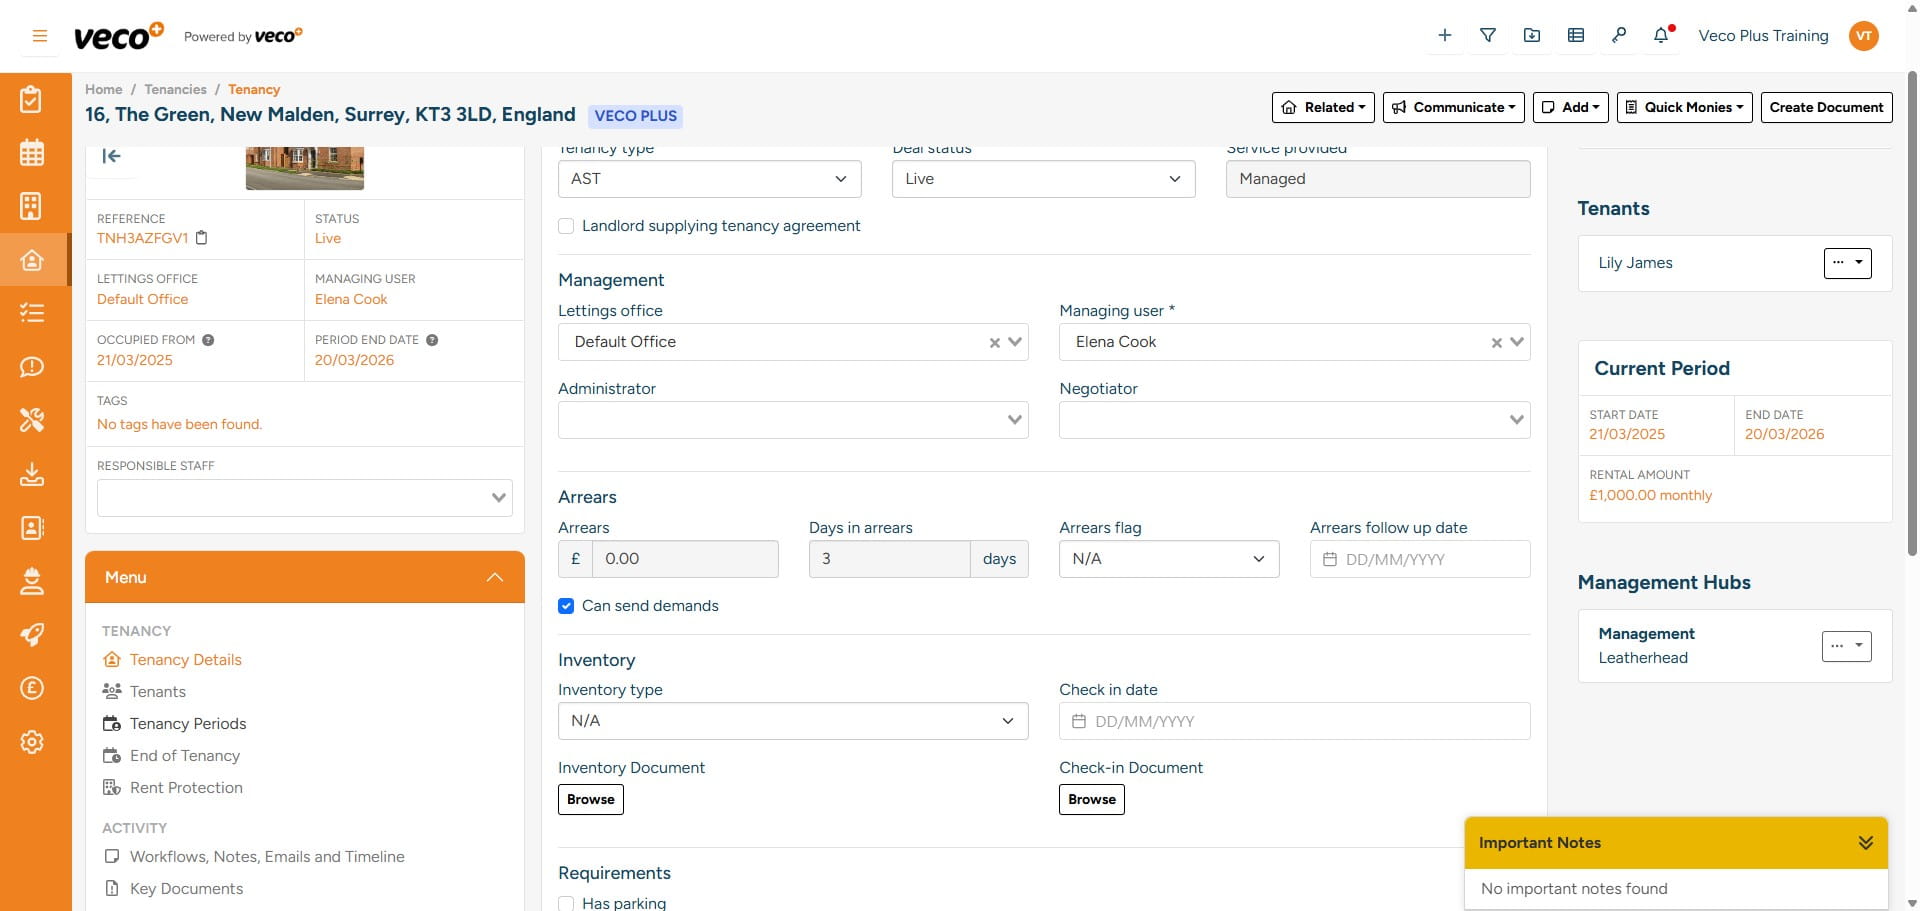
Select the Tenancy Period or 'Actions' and then 'Edit' on the Tenancy Period you would like to renew
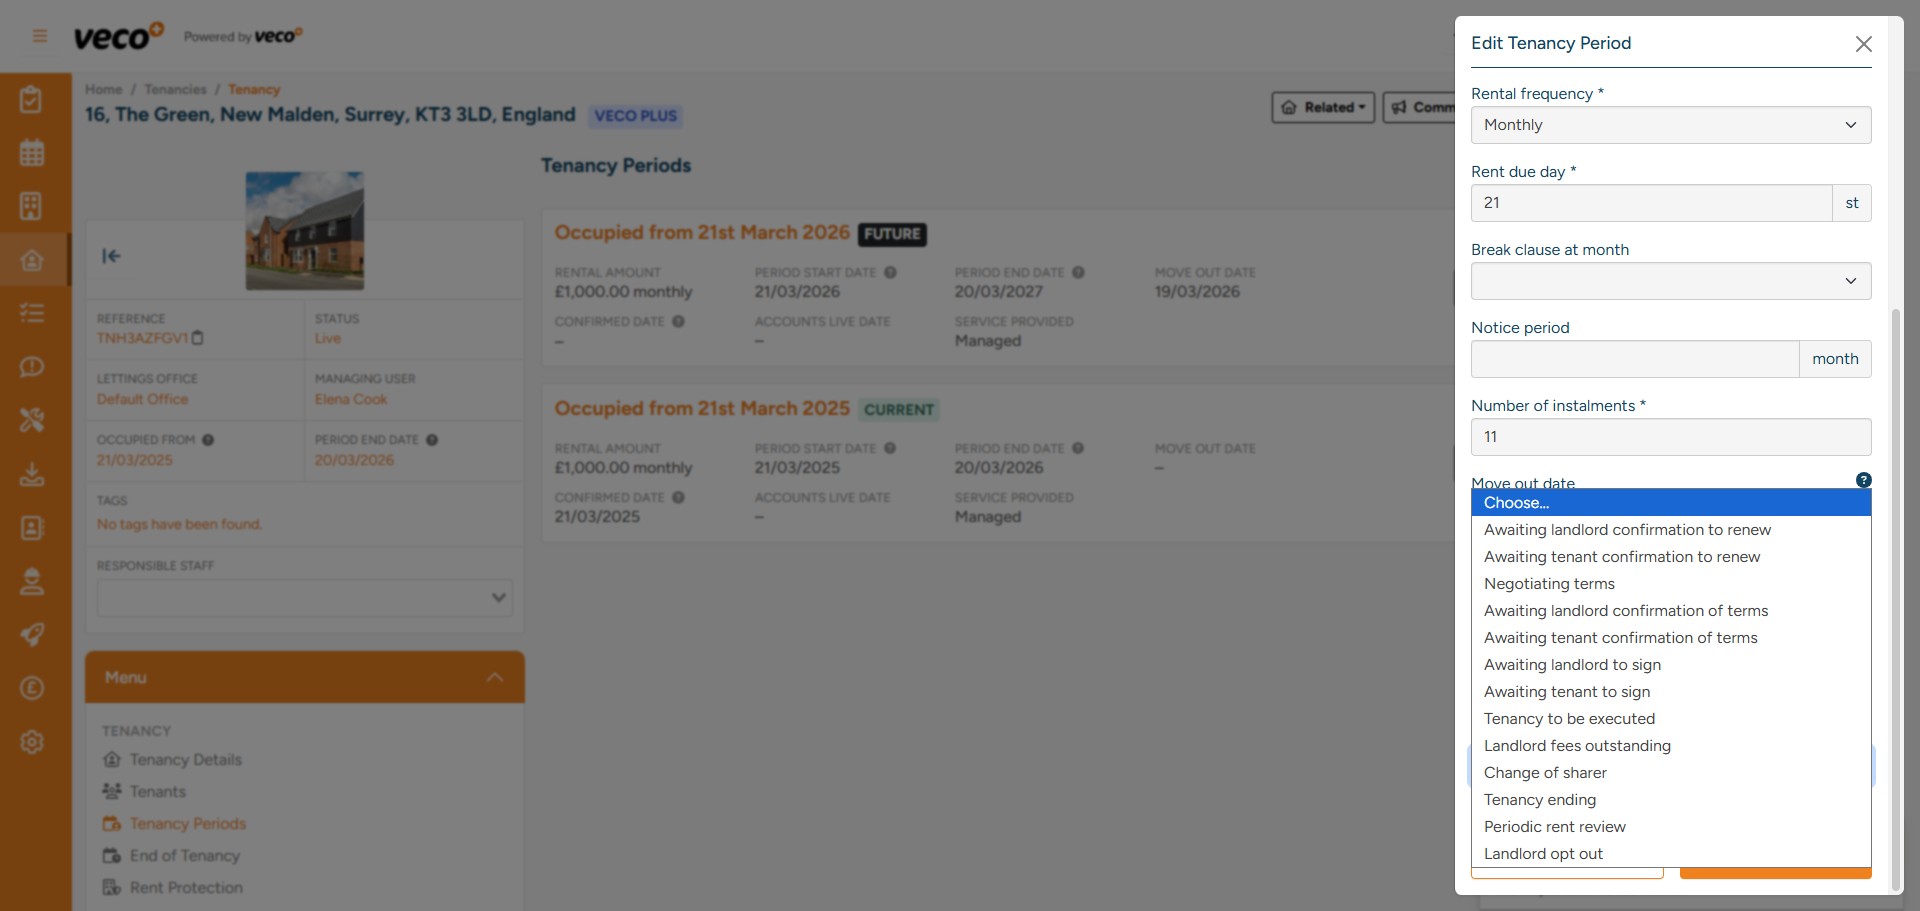
Towards the bottom of the window you can select a Follow up date and Status to help you manage the renewal

Drop down menu showing Status options
You can add specific notes via ‘Notes’ at the top, with any negotiations or conversations being logged against the Tenancy Period

Notes will display here

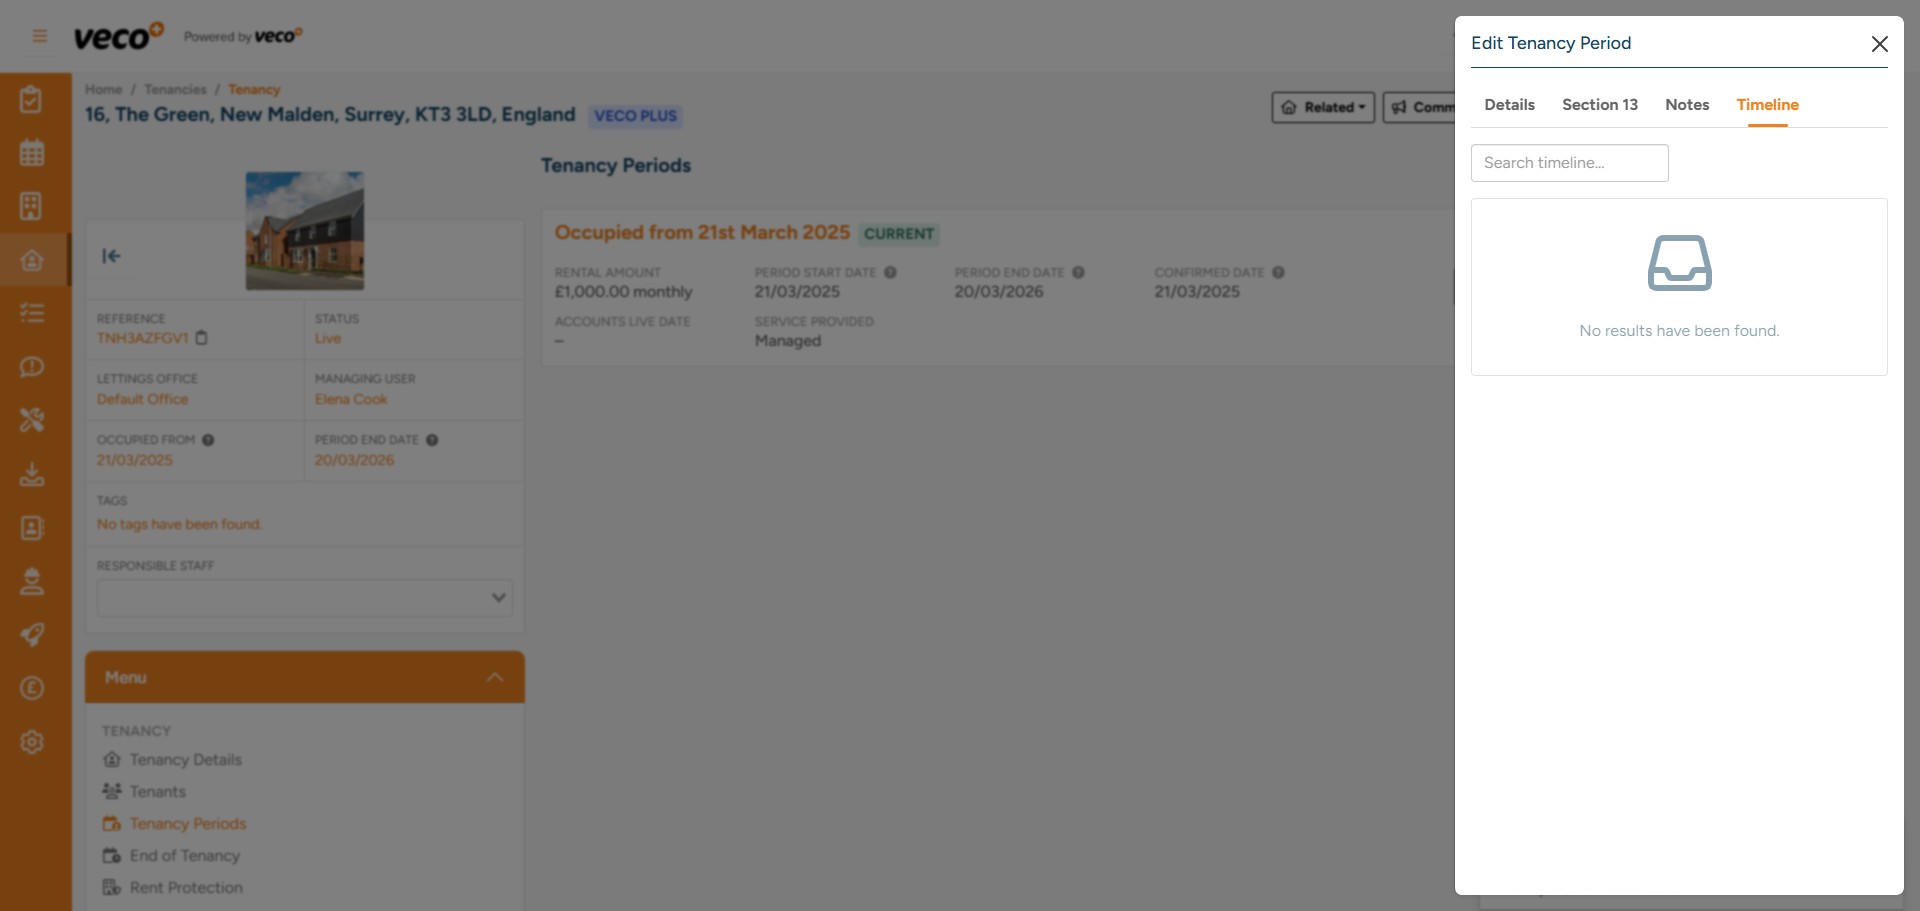
Under 'Timeline' you can view an audit log for the Tenancy Period
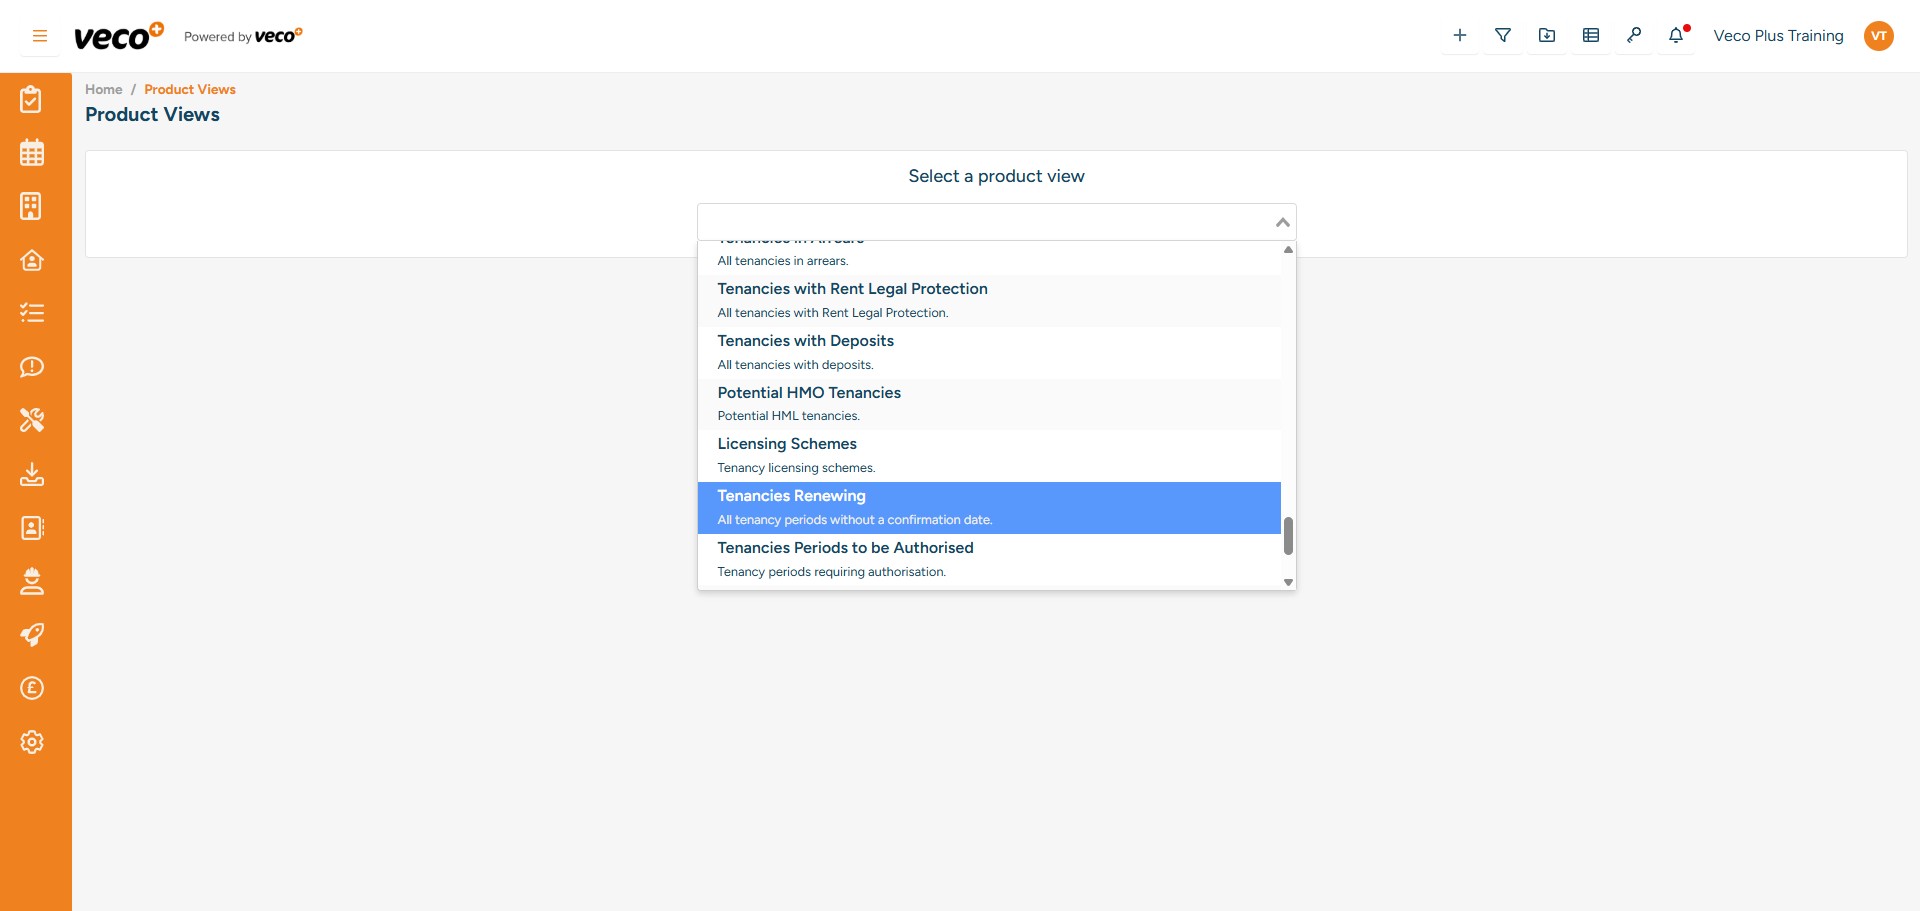
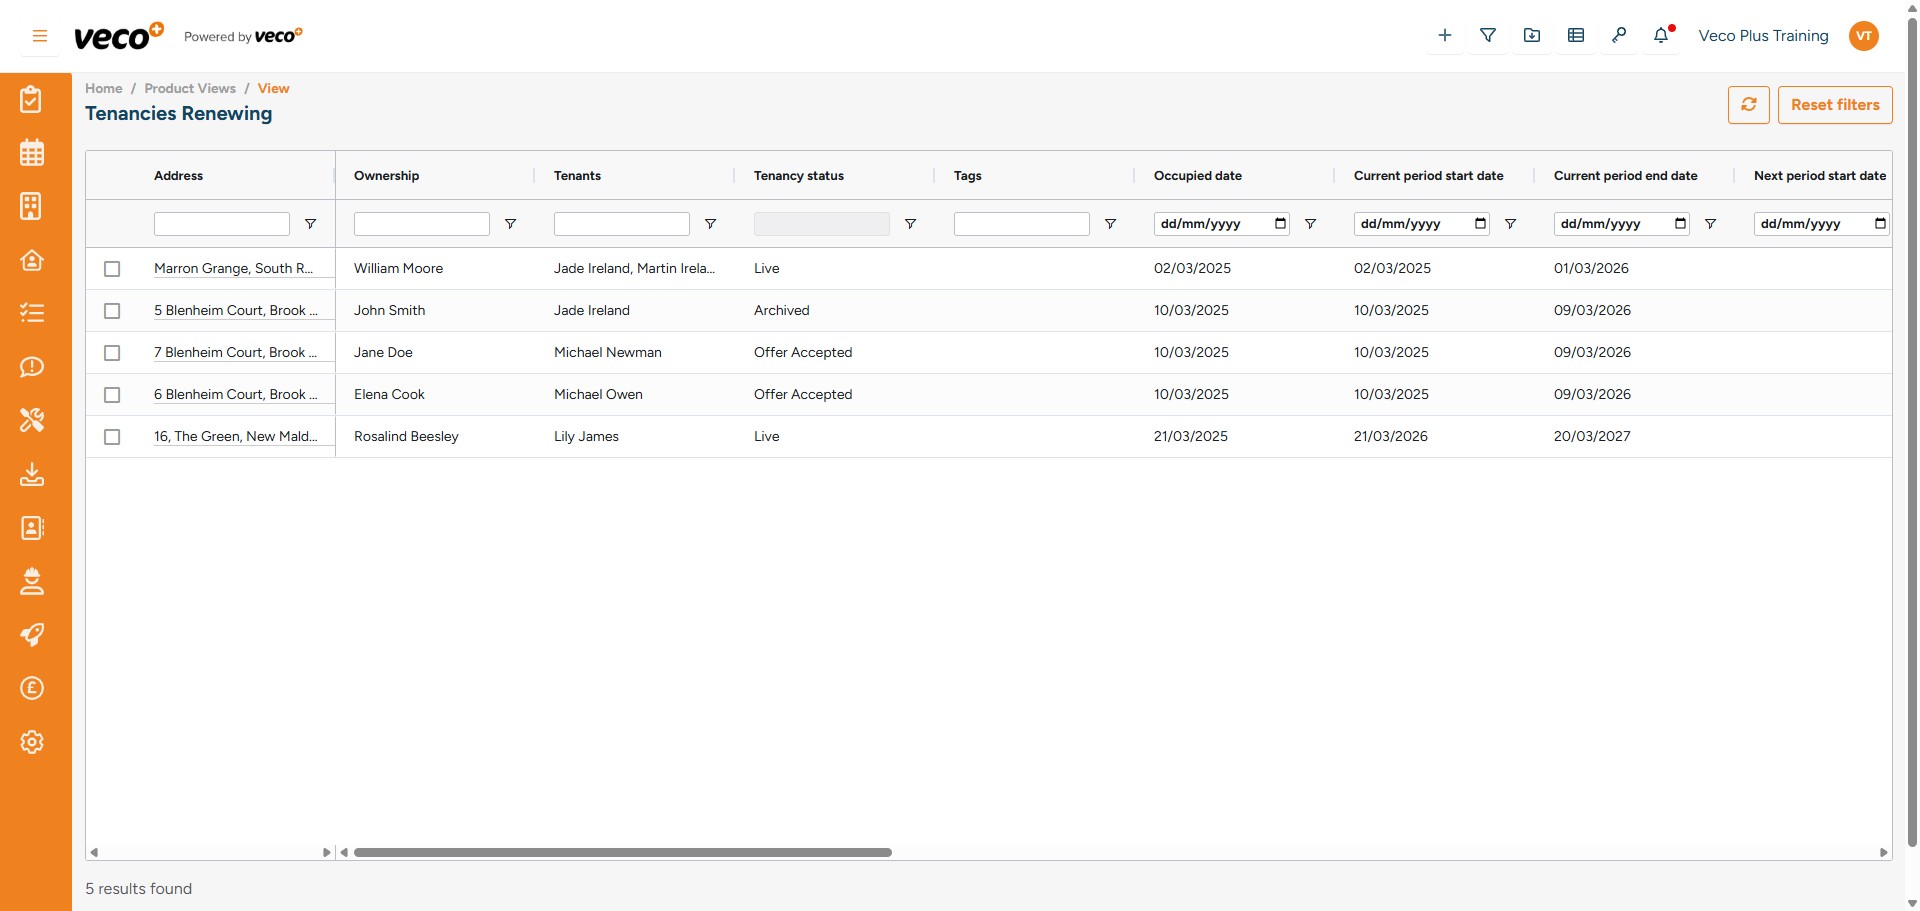
You can see a list of Tenancies that are renewing on the 'Tenancies Renewing' view via the 'Views' symbol

Select the 'Tenancies Renewing' view
You can use filtering and sorting to track Tenancy Renewals from the View
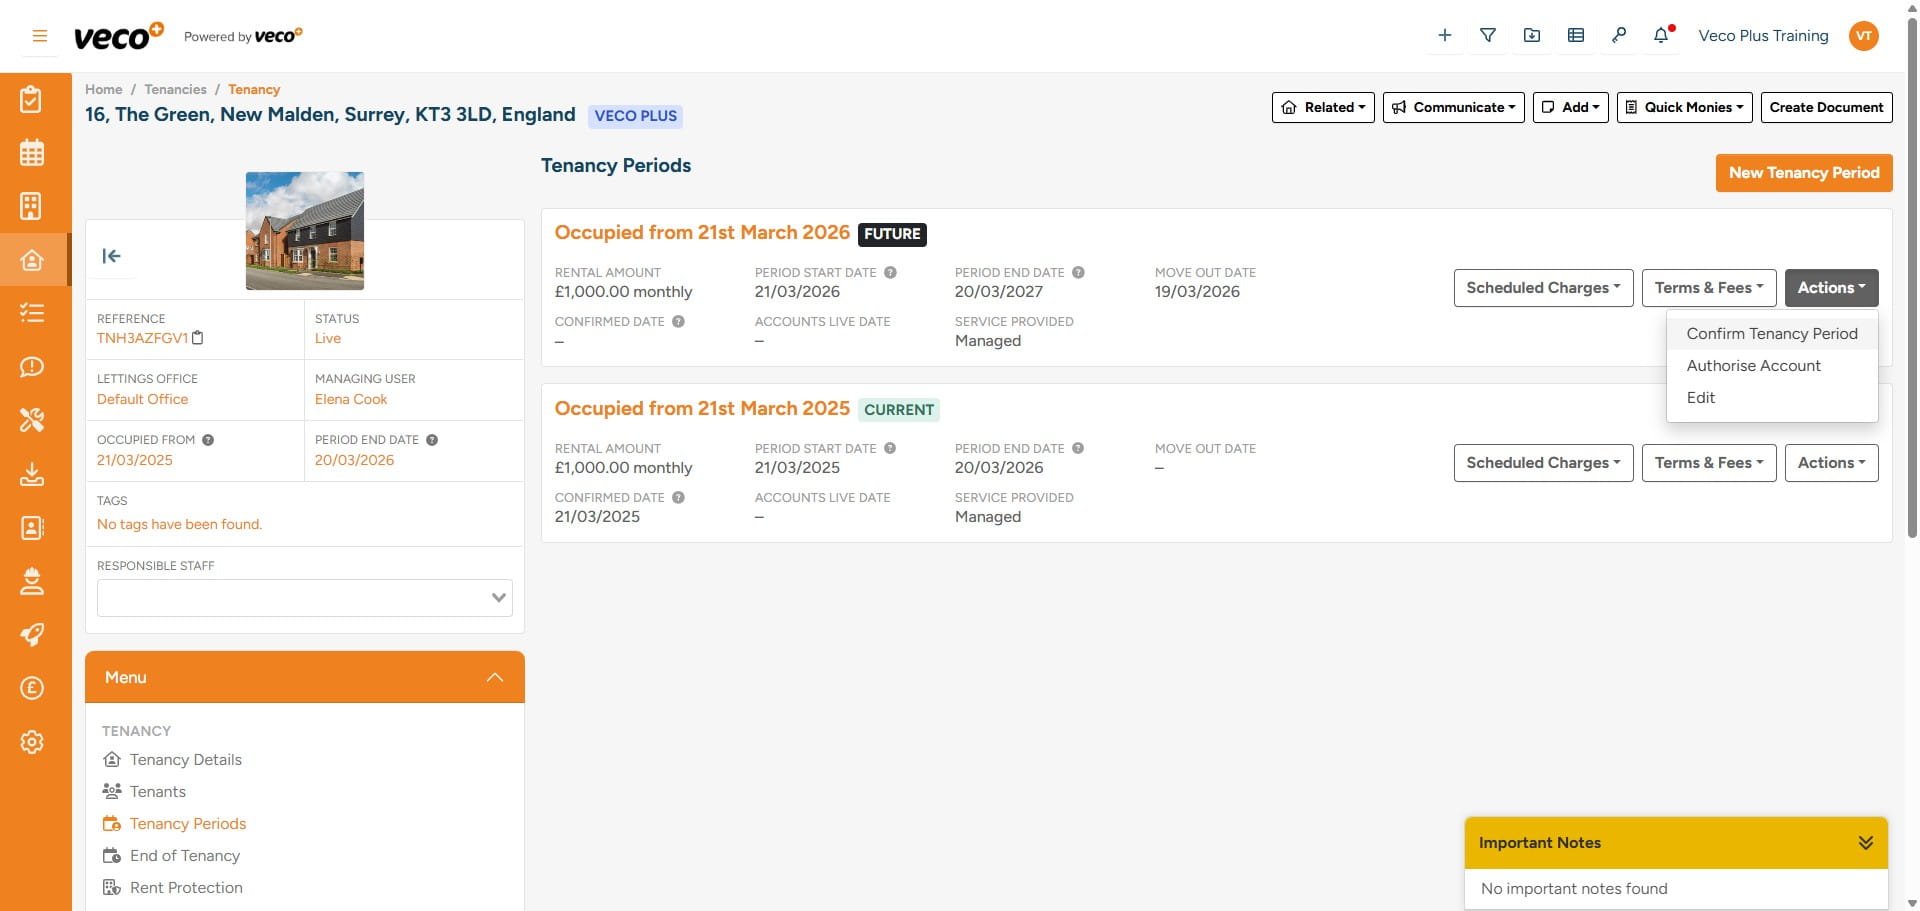
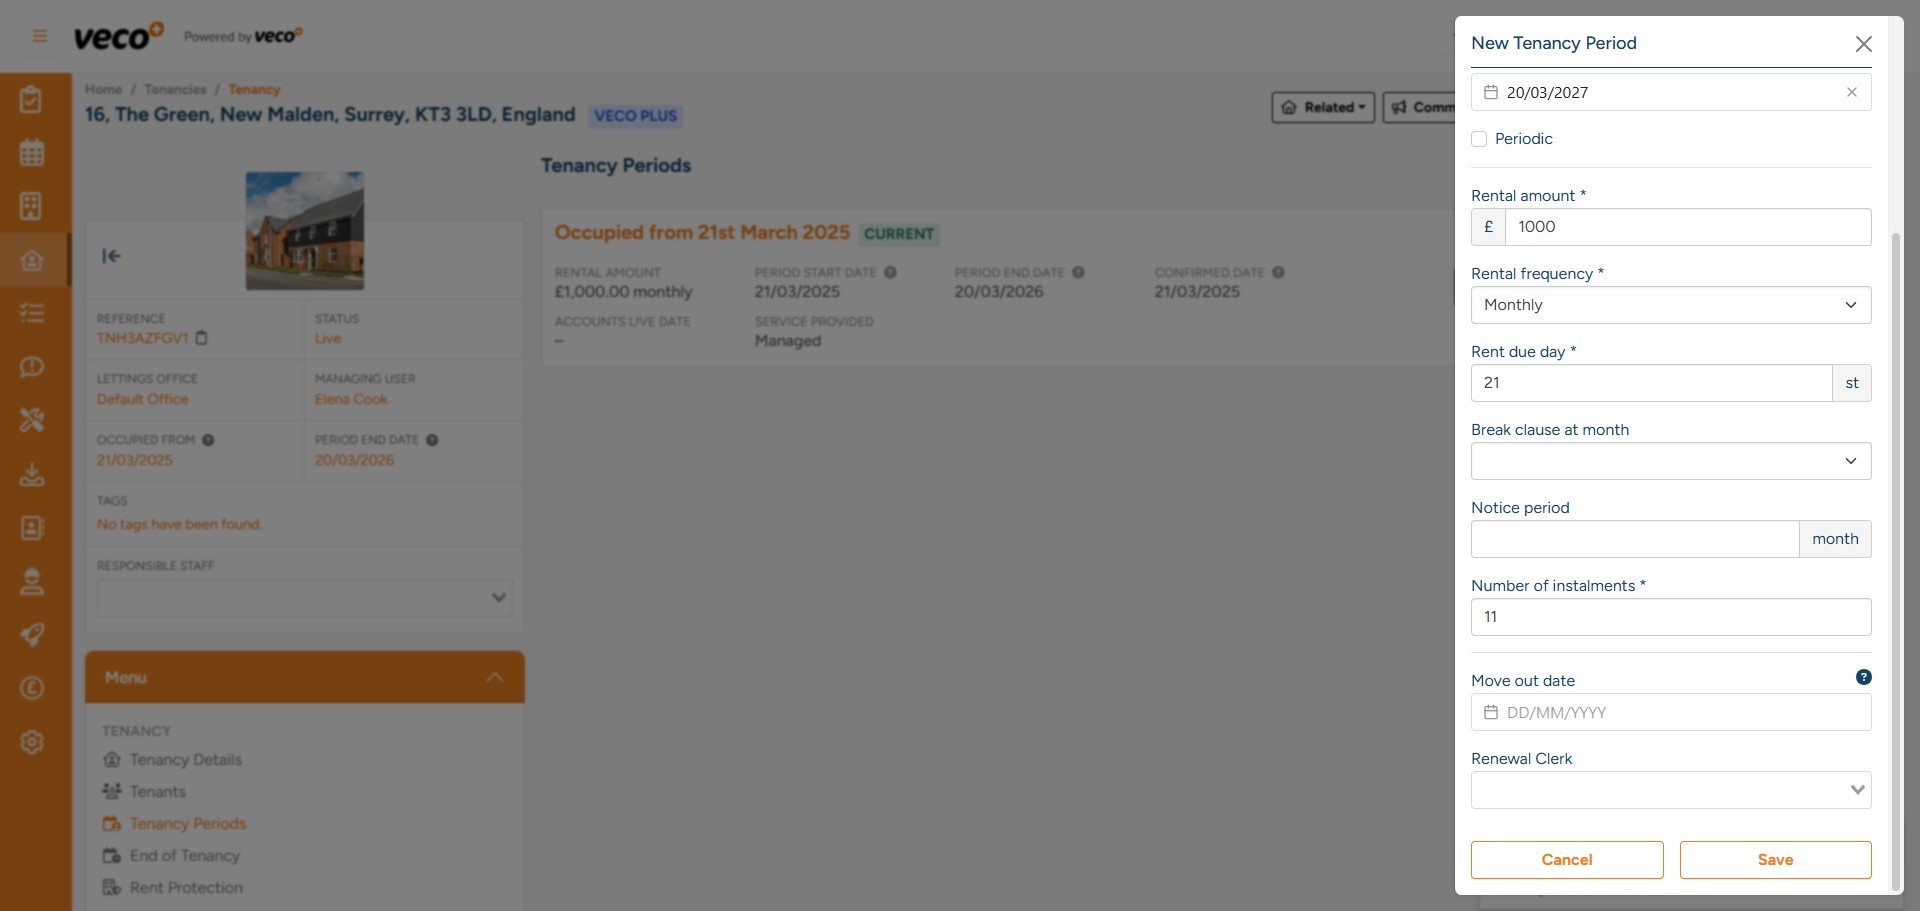
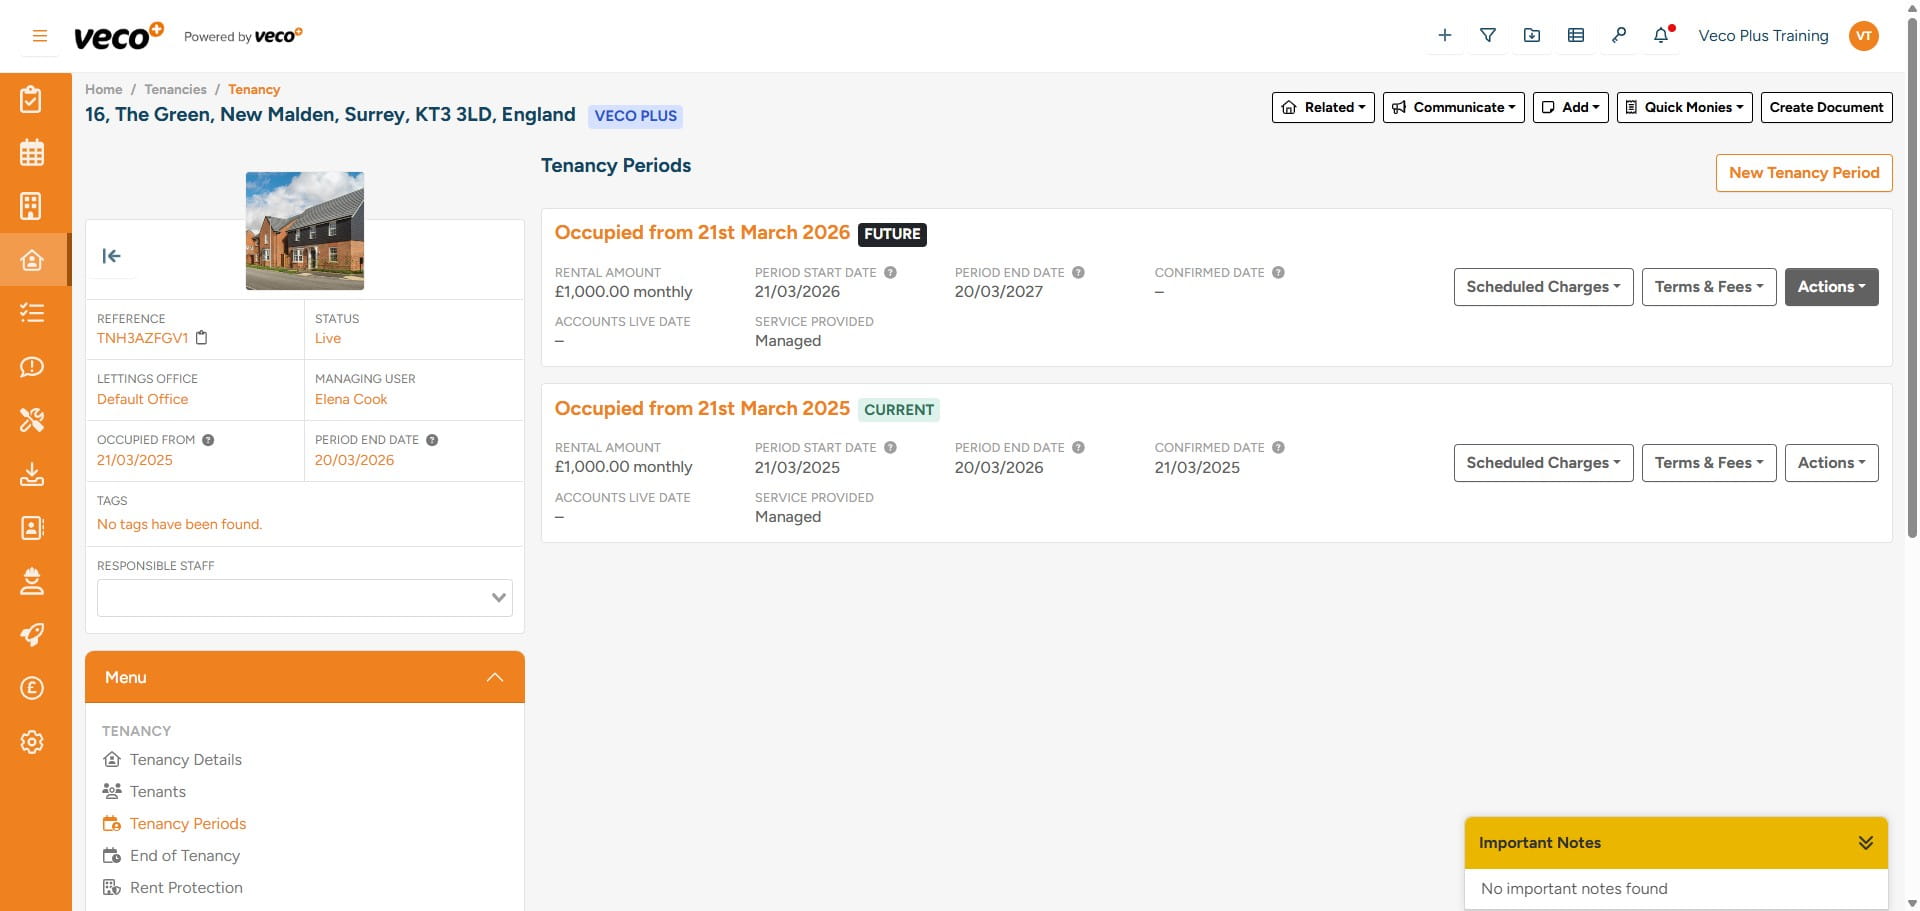
Once a Renewal has been agreed, a new Tenancy Period can be created under the Tenancy via the ‘New Tenancy Period’ button
Complete the new Tenancy Period information and then select 'Save'
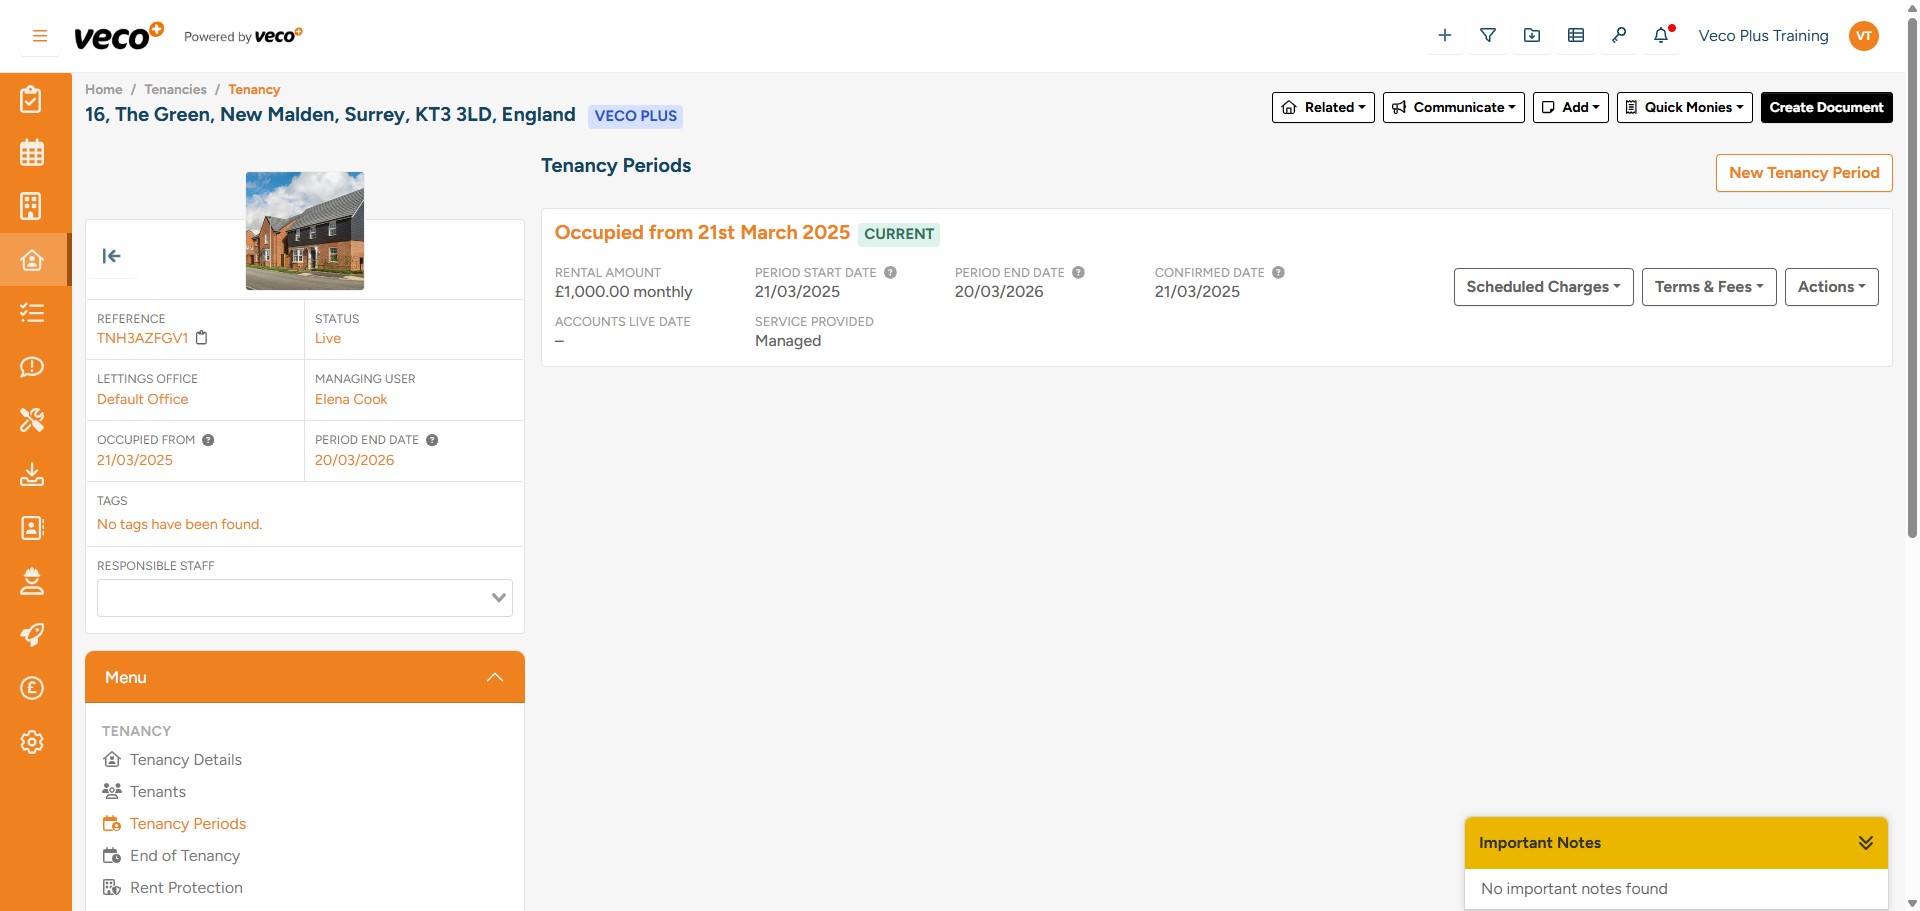
To add a new Tenancy Agreement to the new Tenancy Period, select the 'Create Document' button
Here you can select one of your existing templates

If you have Renewal Fees that need to be processed, this can be done by selecting ‘Quick Monies’
Select 'Renewal Monies'

Once you have saved your new Tenancy Period, you will notice that the Tenancy Period will have a ‘Future’ tag applied until it becomes the 'Current' Tenancy Period
Now that the new Tenancy Period has been added you will need to 'Confirm Tenancy Period' once all parties have signed the agreement, which will then continue the scheduled charges