Adding a Lead
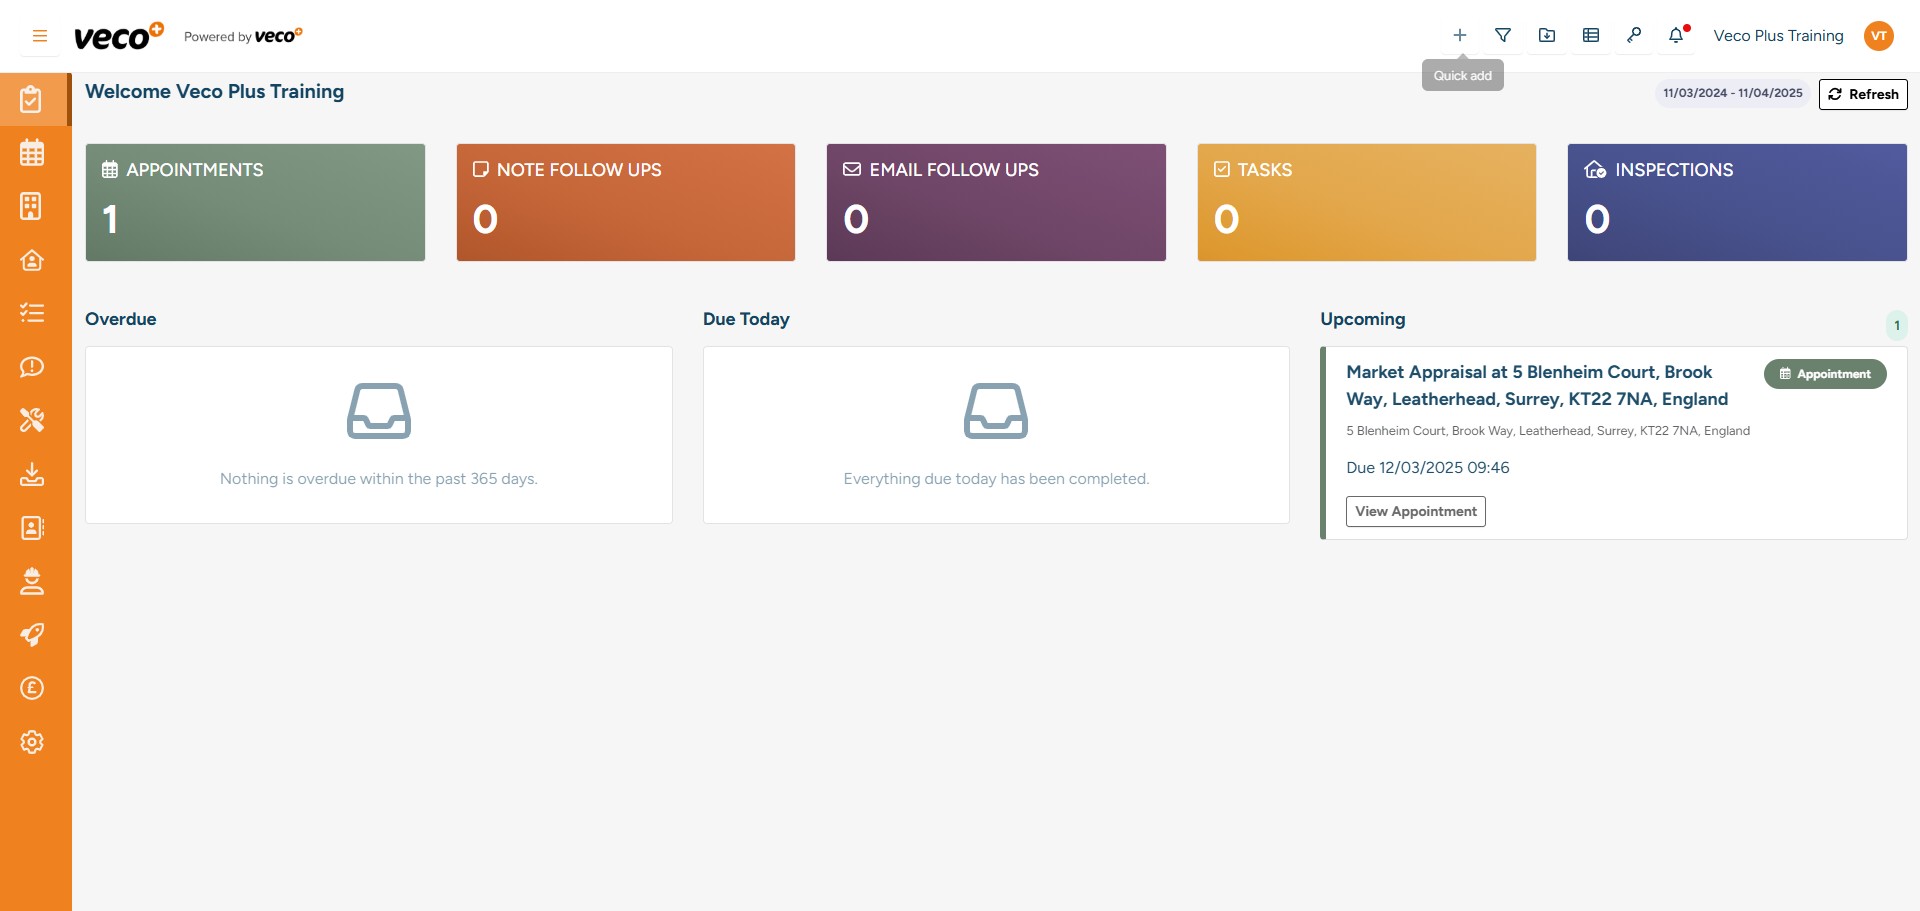
To create a Lead, click the ‘+’ icon located in the upper right corner
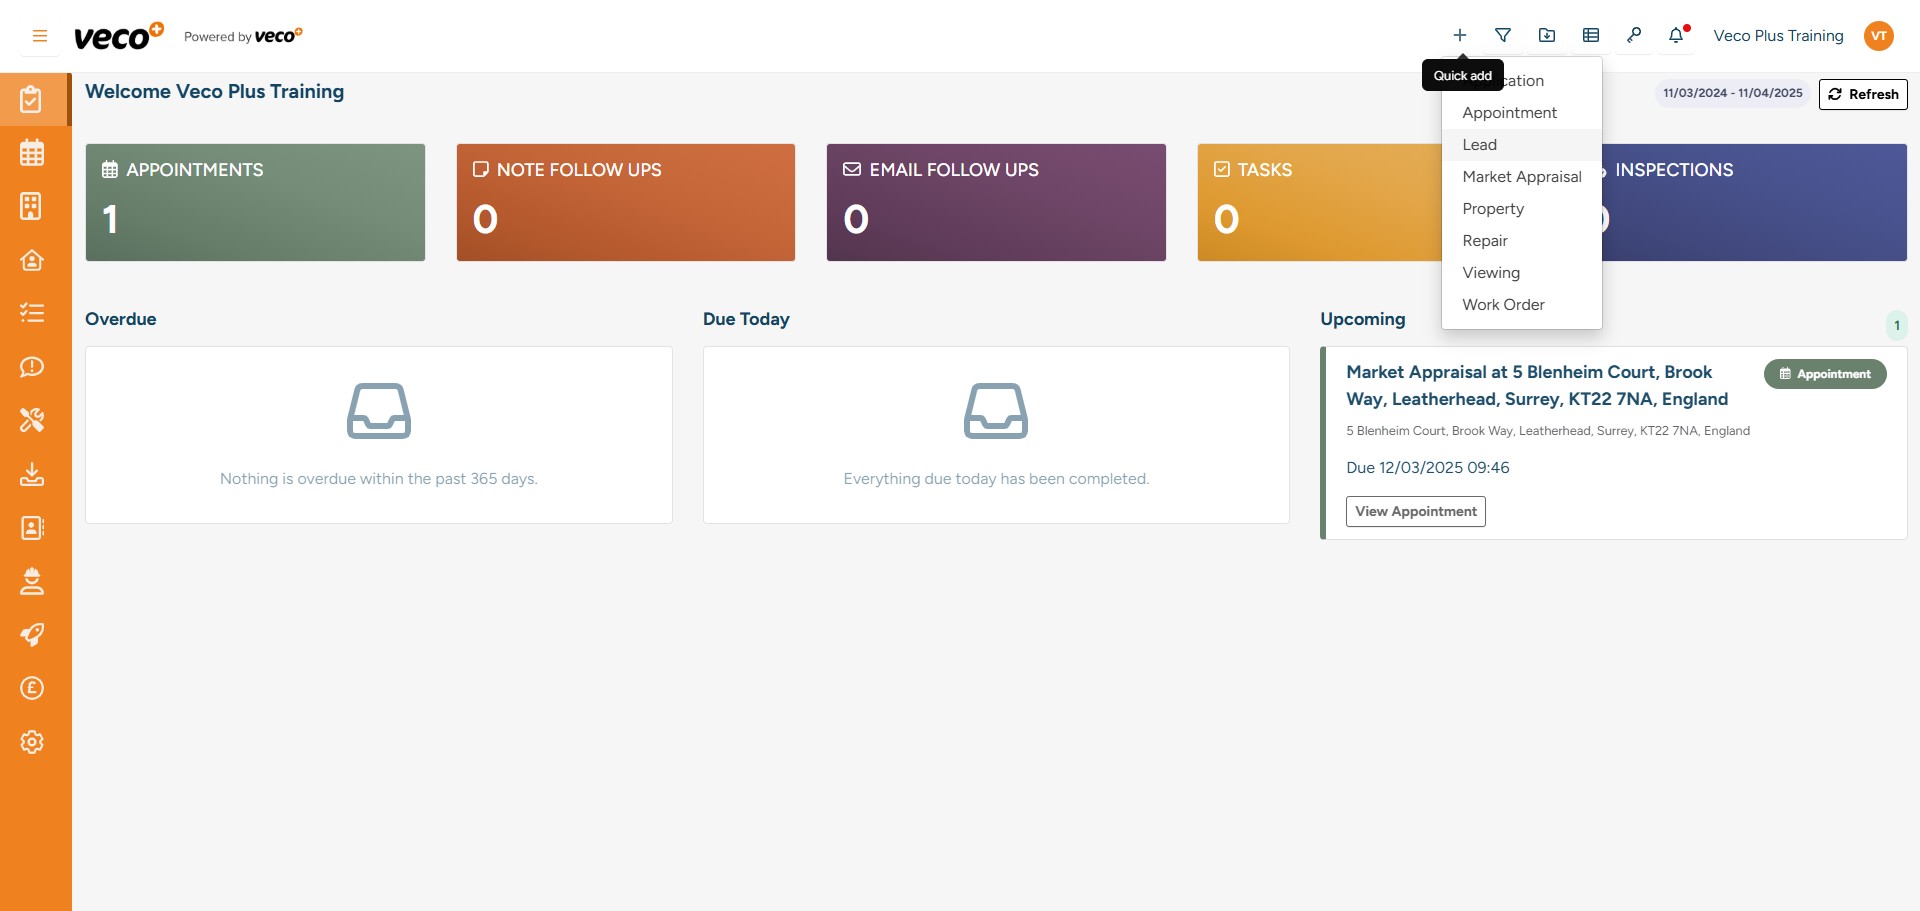
Next, select ‘Lead’ from the options
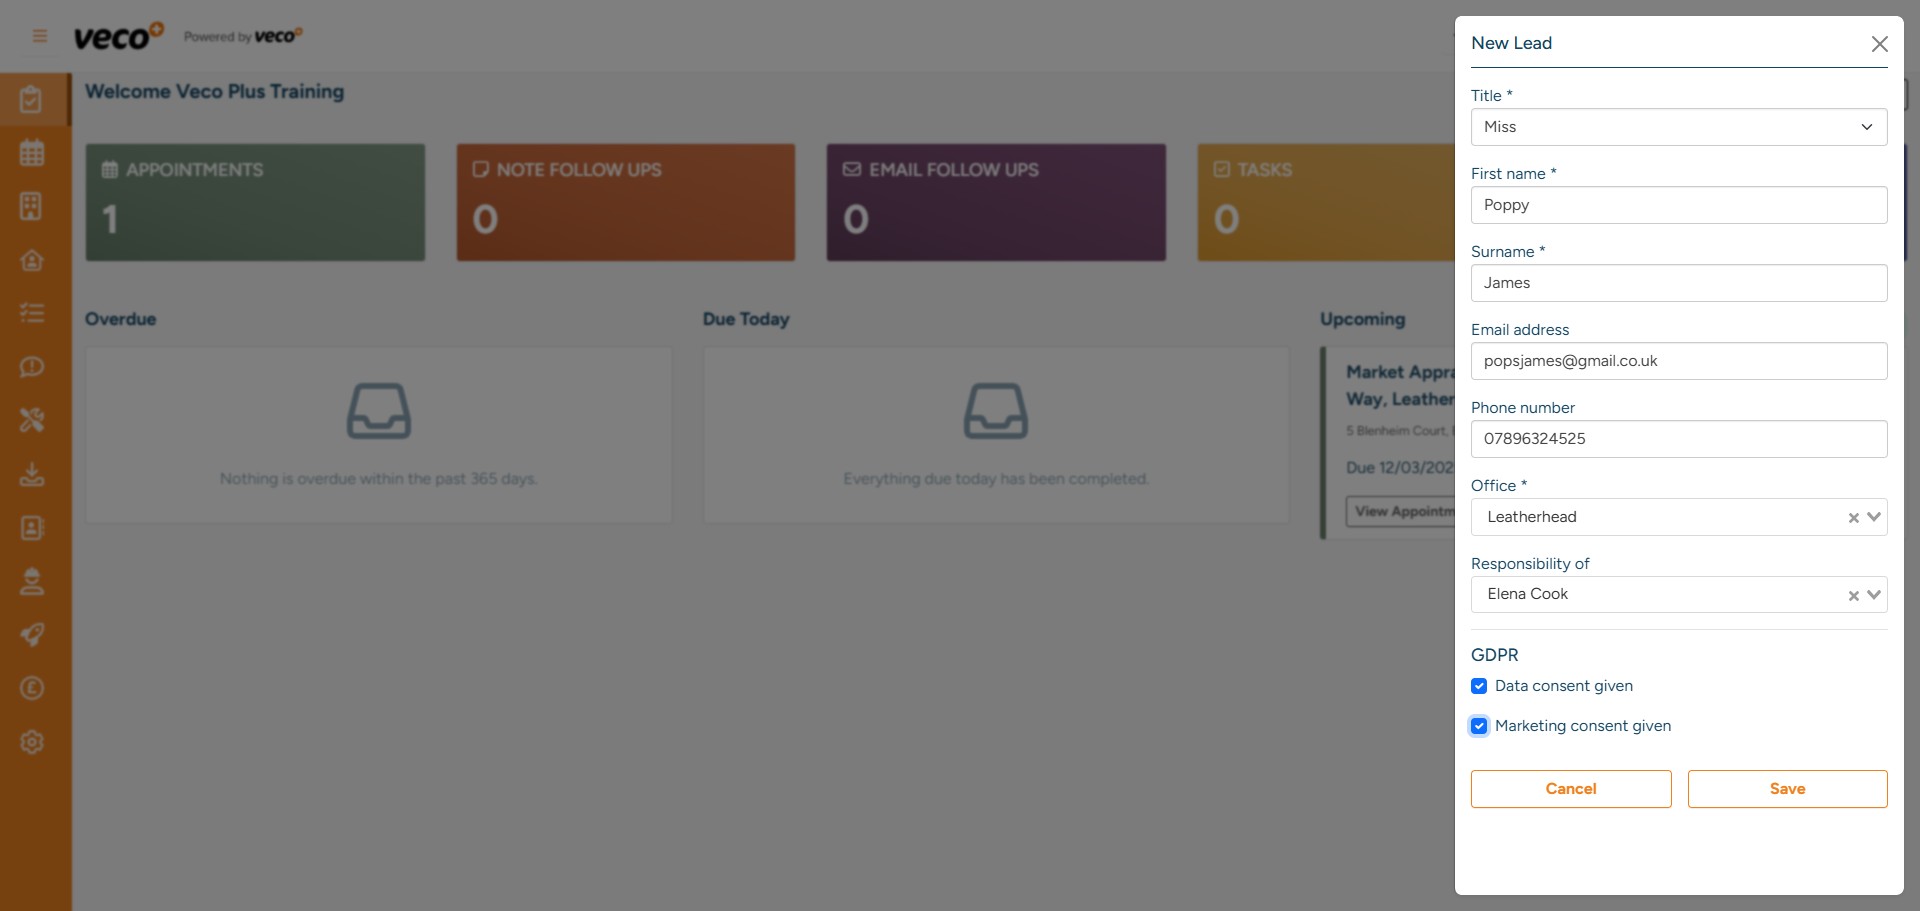
Please enter the required information and select ‘Save’
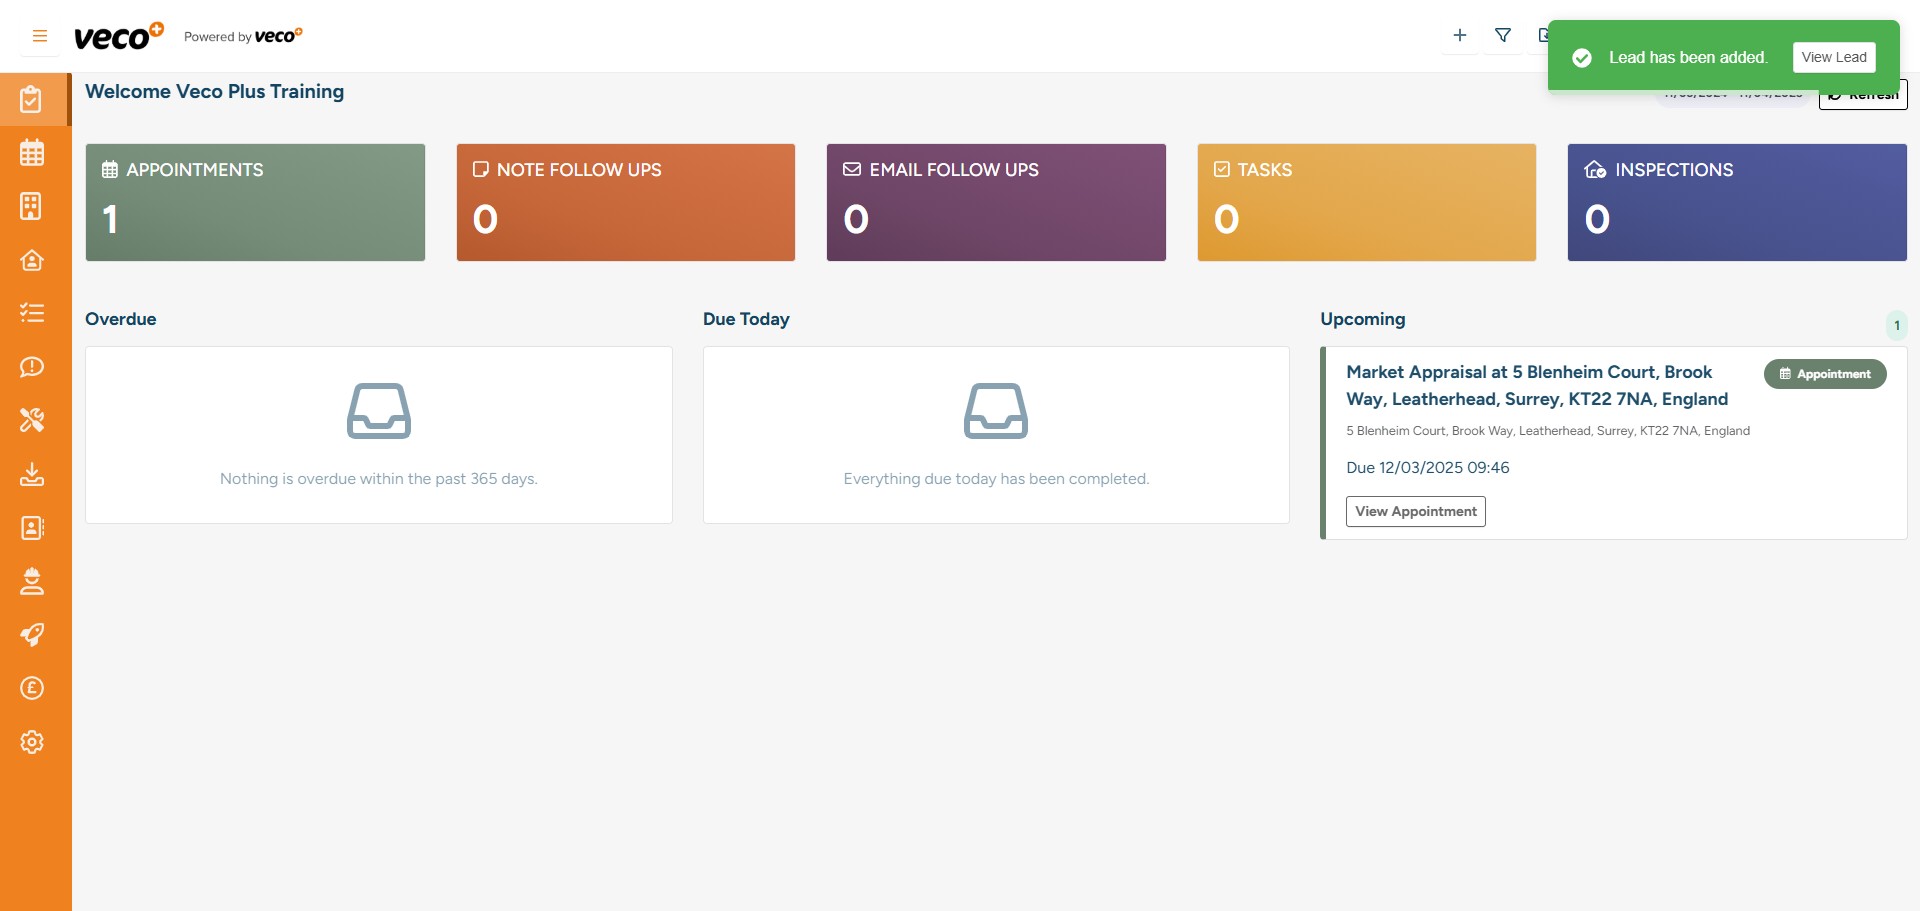
You can then open the Lead record from the notification. You can also search and find it from 'Leads' in the navigation bar
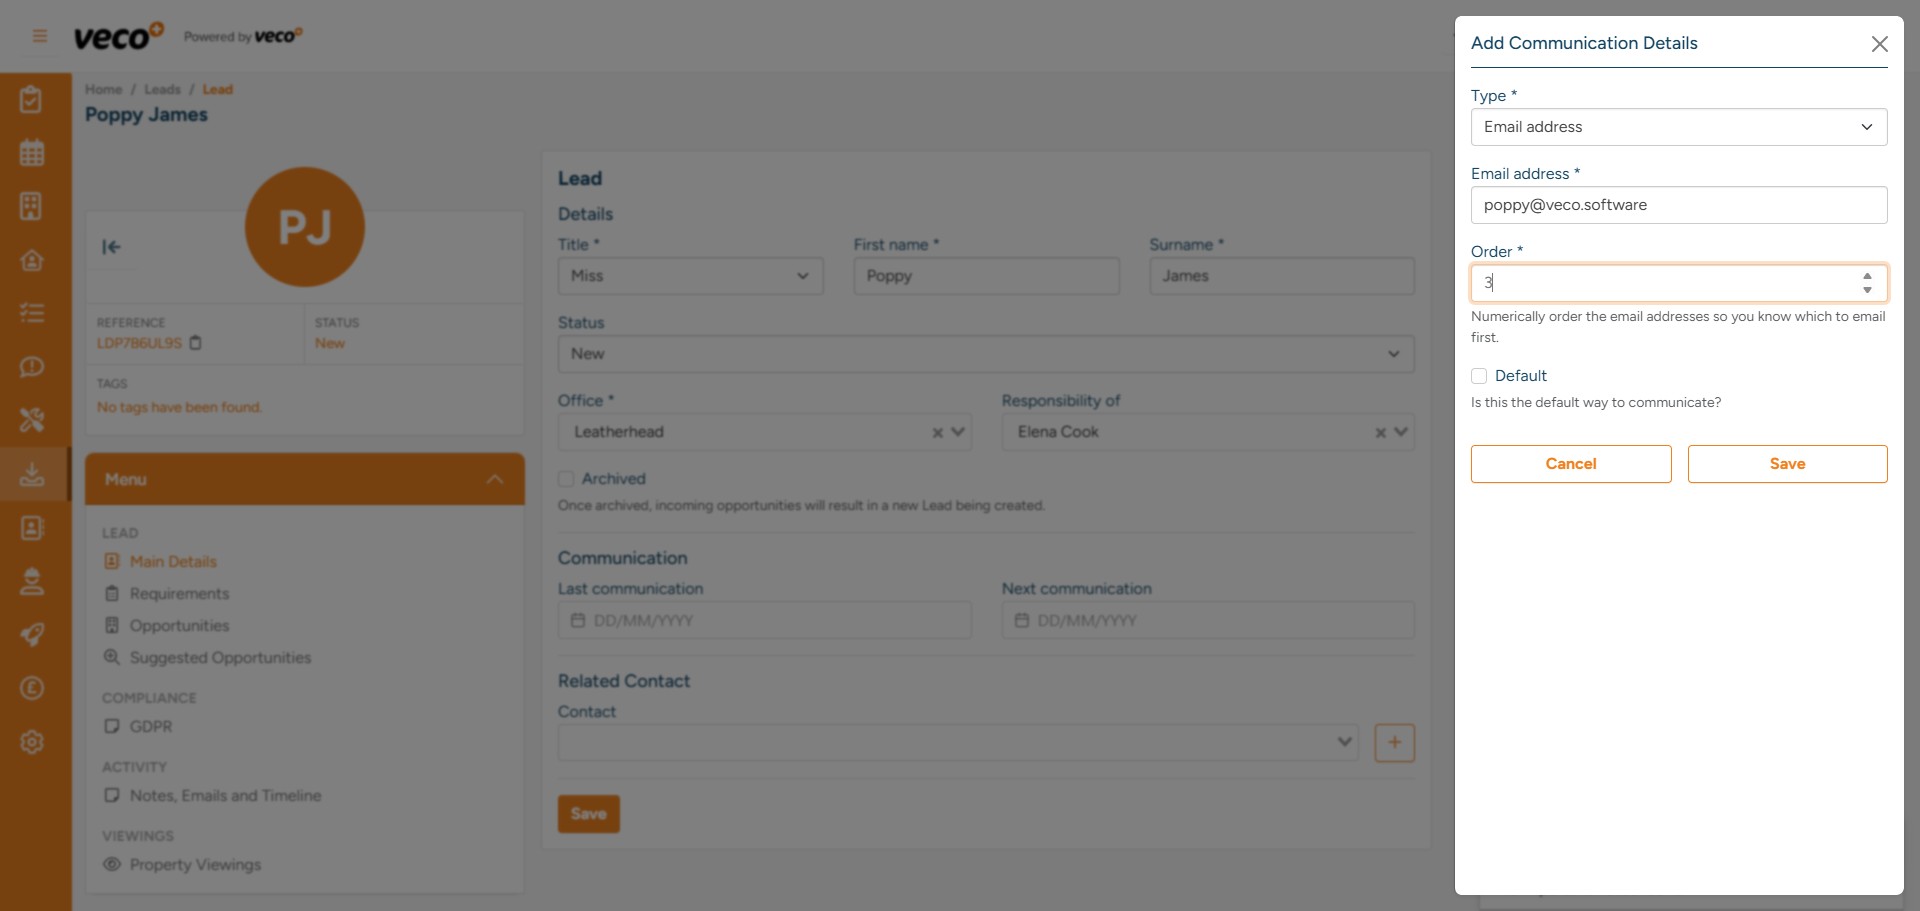
Under the contact details you can select 'Add'
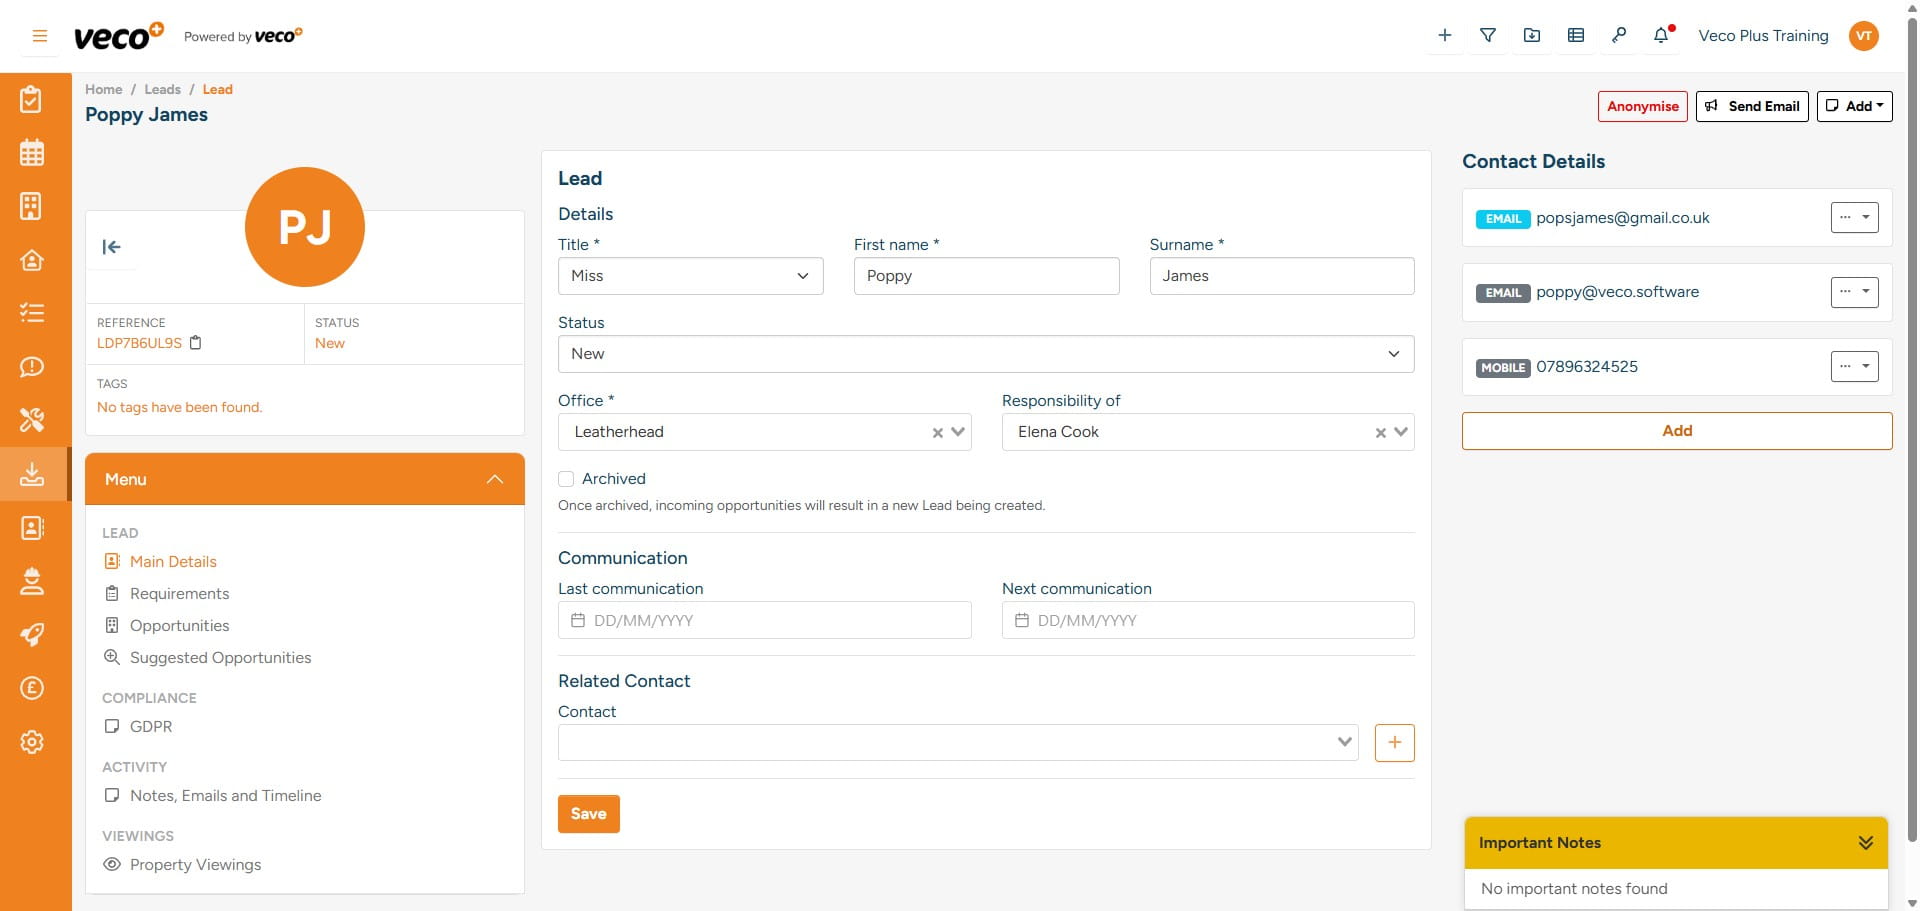
This will allow you to add additional communications for the Lead as well as adding a priority order
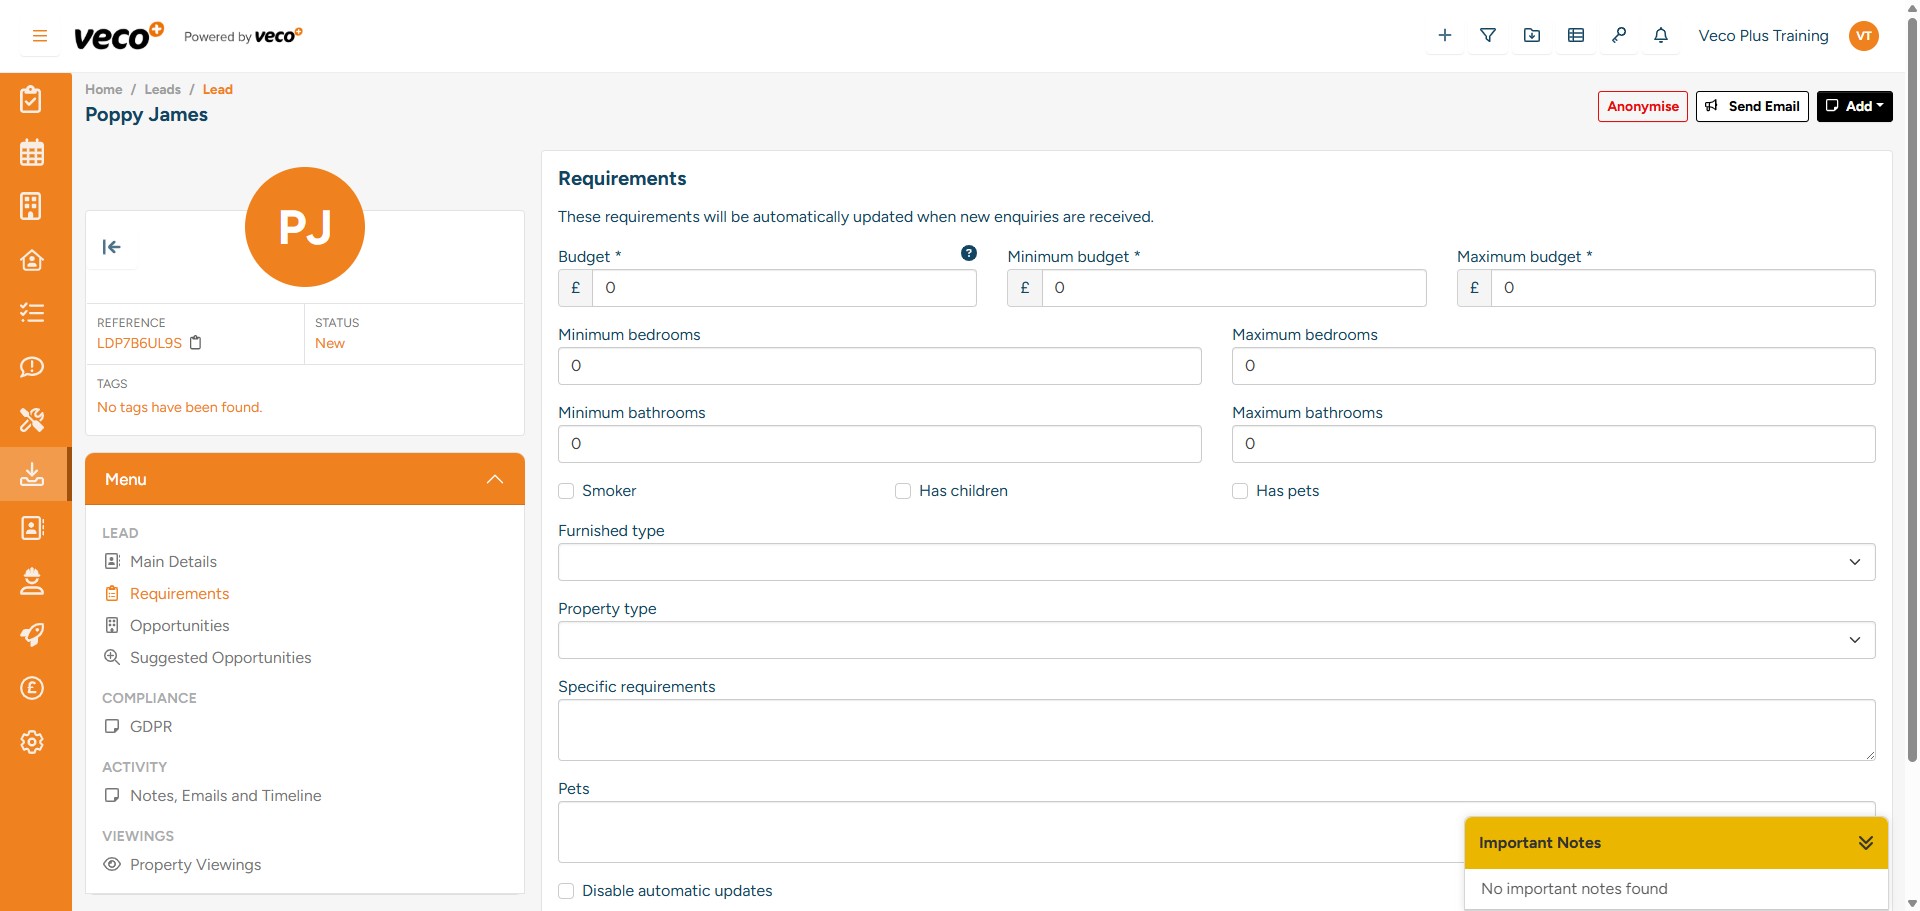
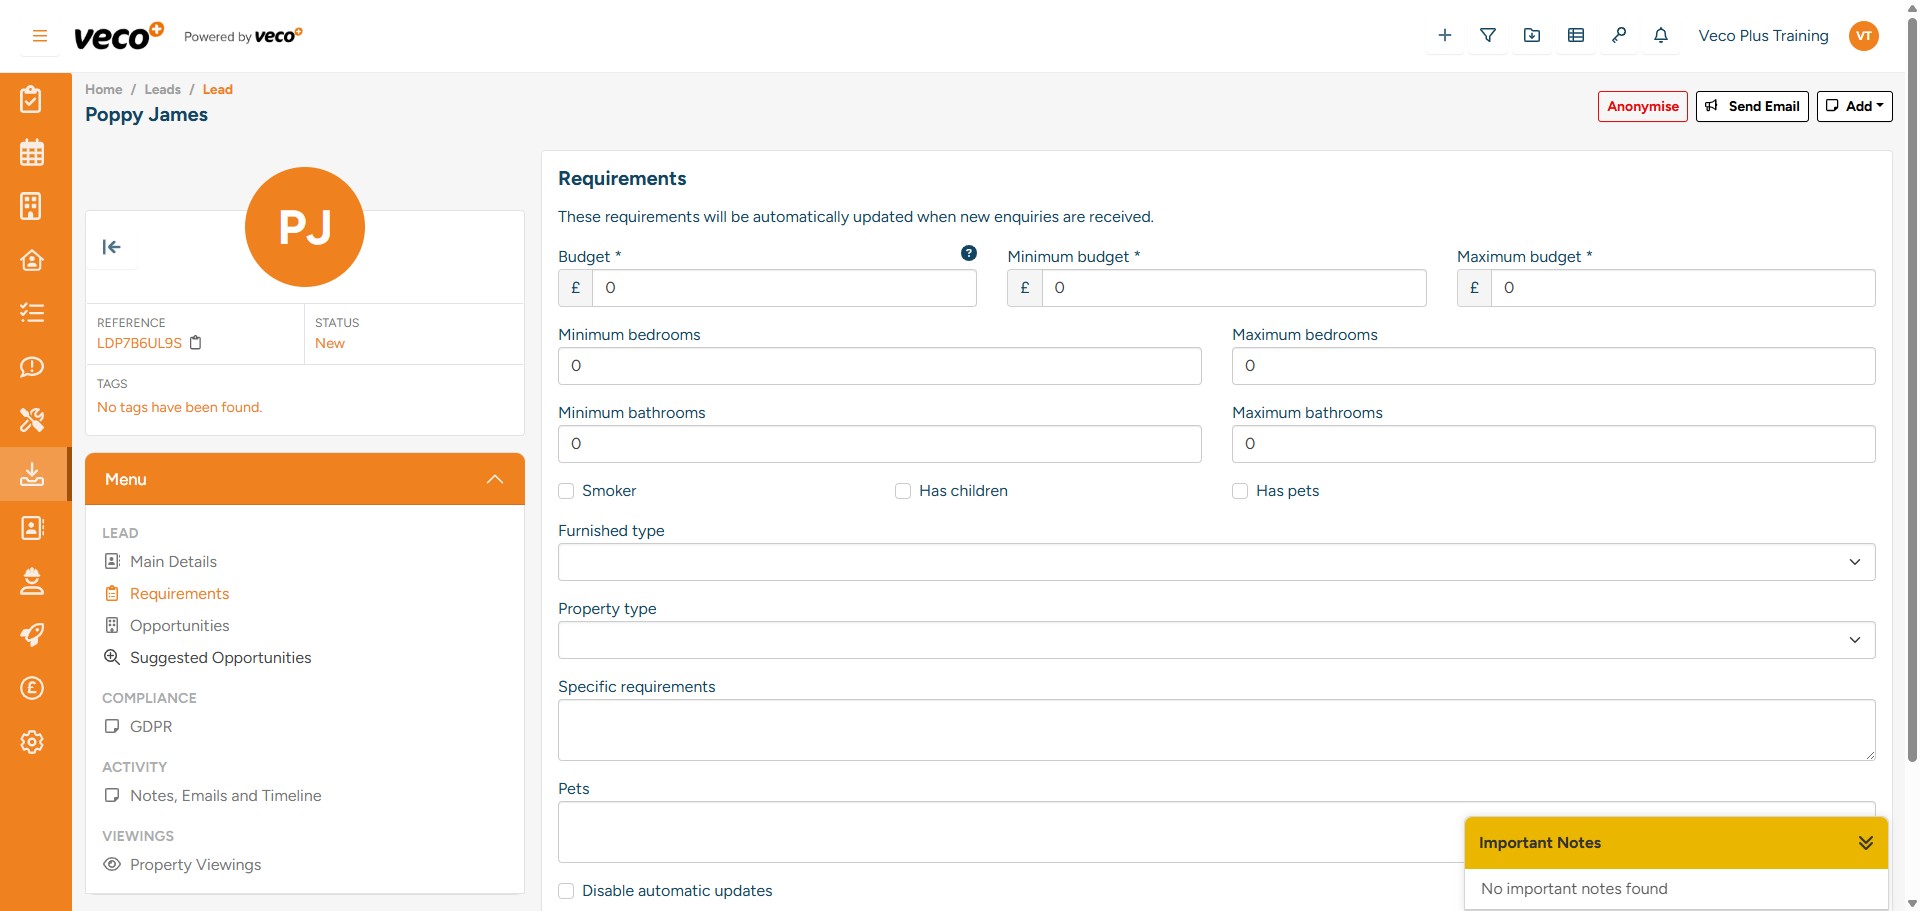
Following that, you should input the Lead's 'Requirements,' accessible from the ‘Menu’ located in the lower left corner. After entering the requirements, select ‘Save'

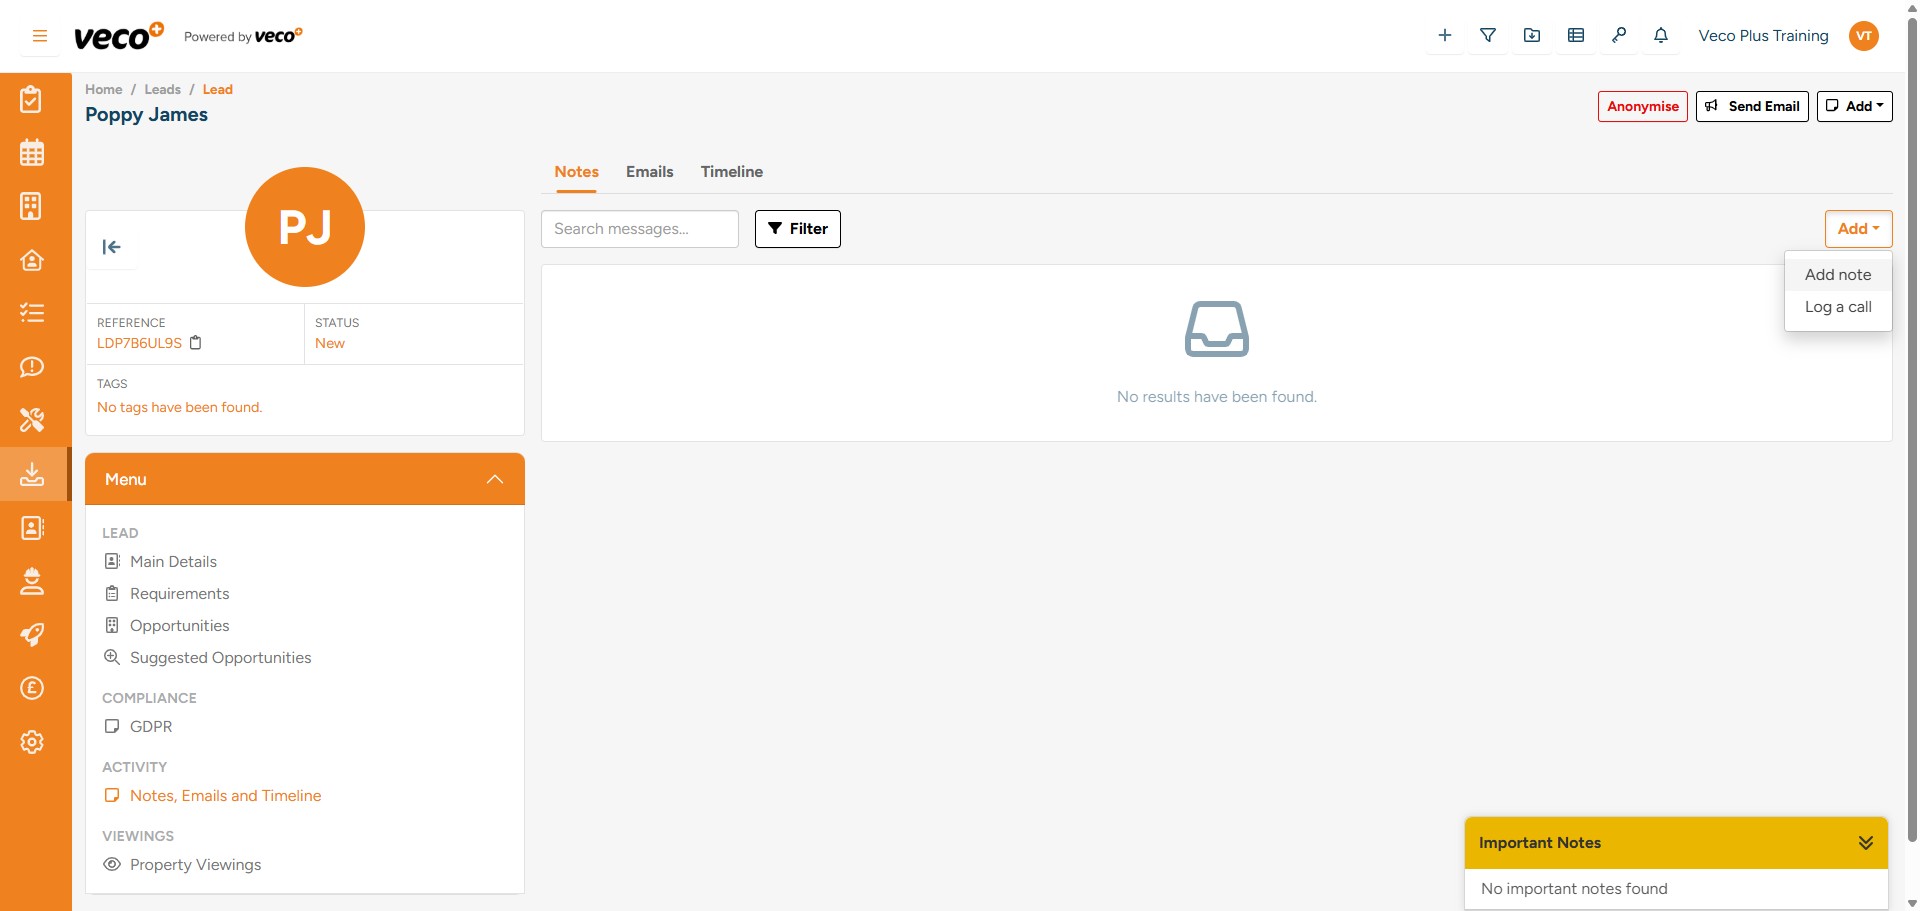
If you would like to include additional information about the Lead, you can add a note using the add button
Then select' Add note'

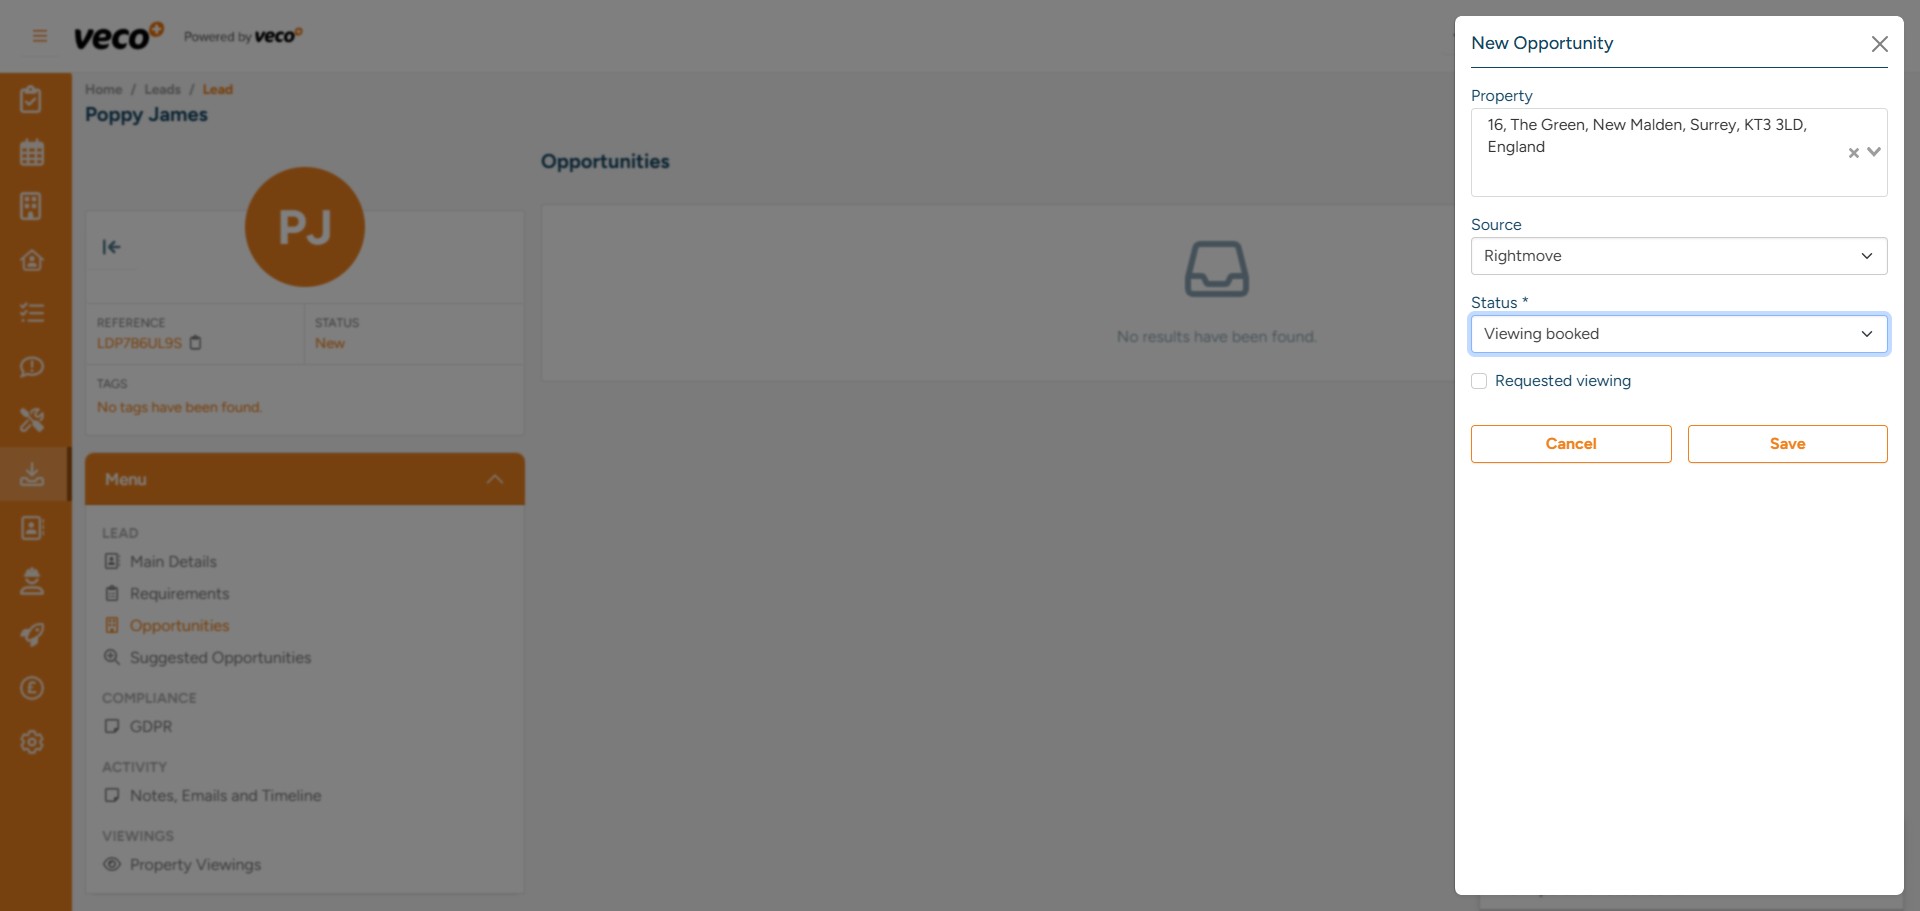
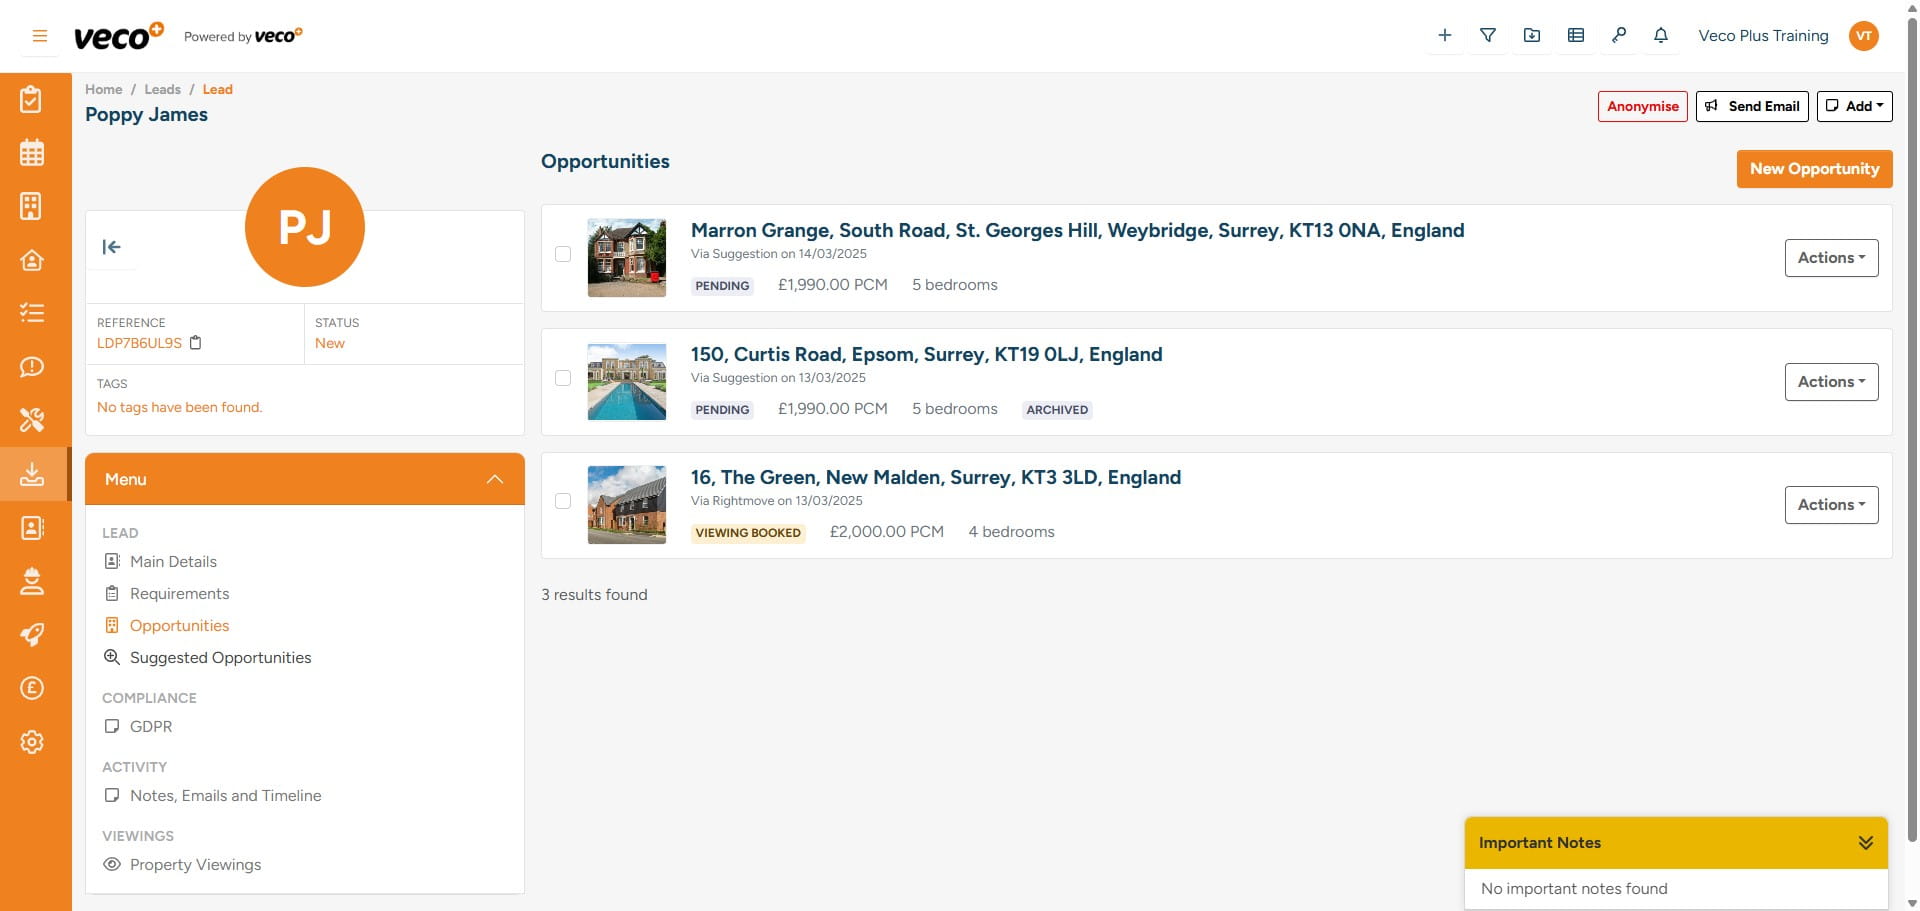
Within the same menu you will see ‘Opportunities'
Select 'New Opportunities'. This is where you can add any properties that you would like to present to the Lead

Search for the property you would like to add
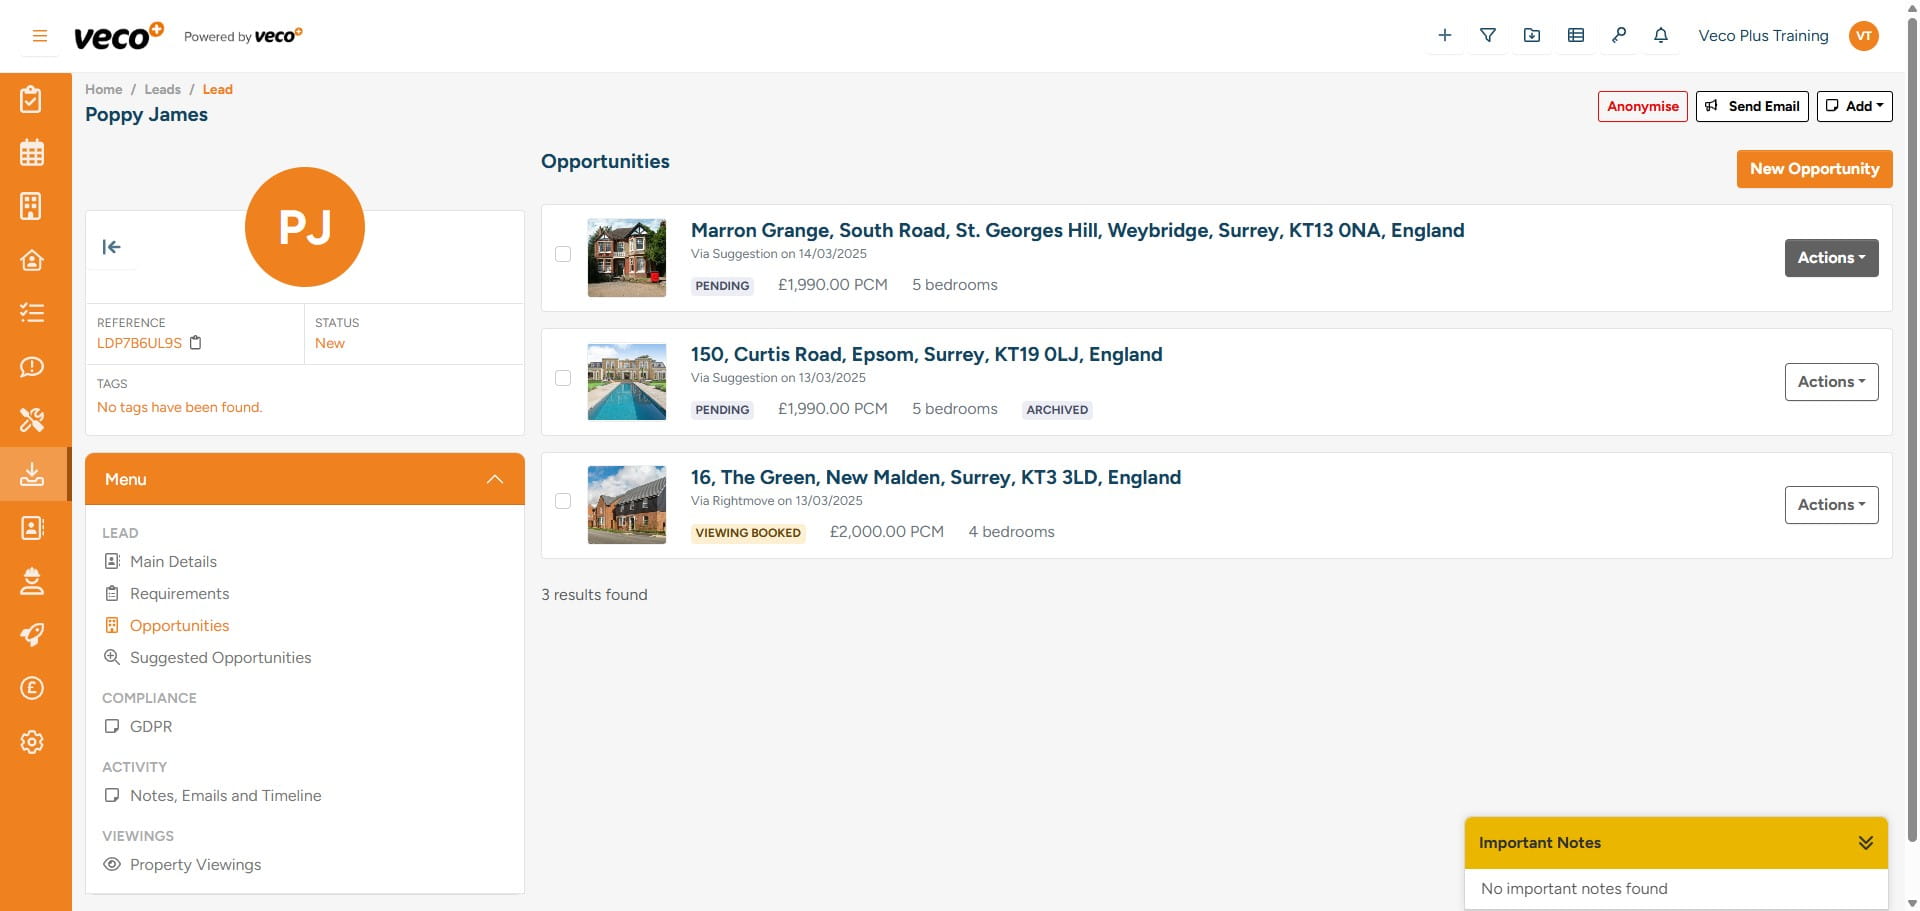
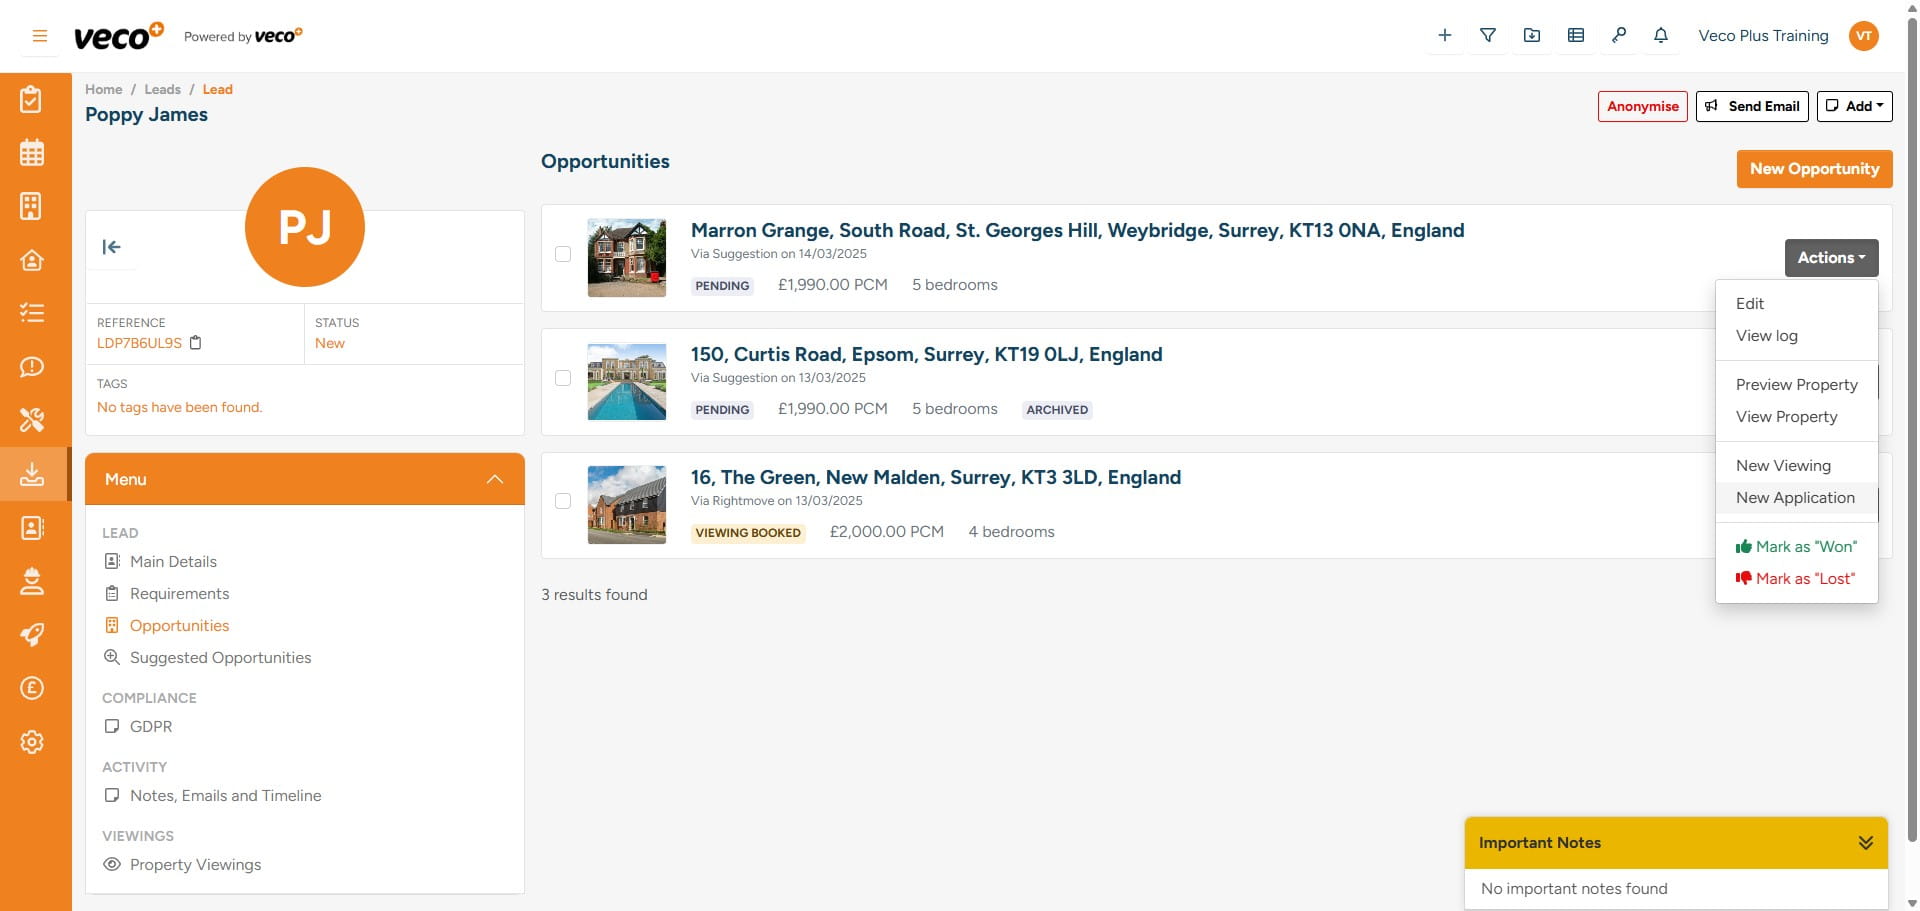
Once you have selected 'Save', the property will appear on a list, from here you can select 'Actions'
This will allow you to view the property record, book a viewing, add an application and mark it as 'Won' or 'Lost'
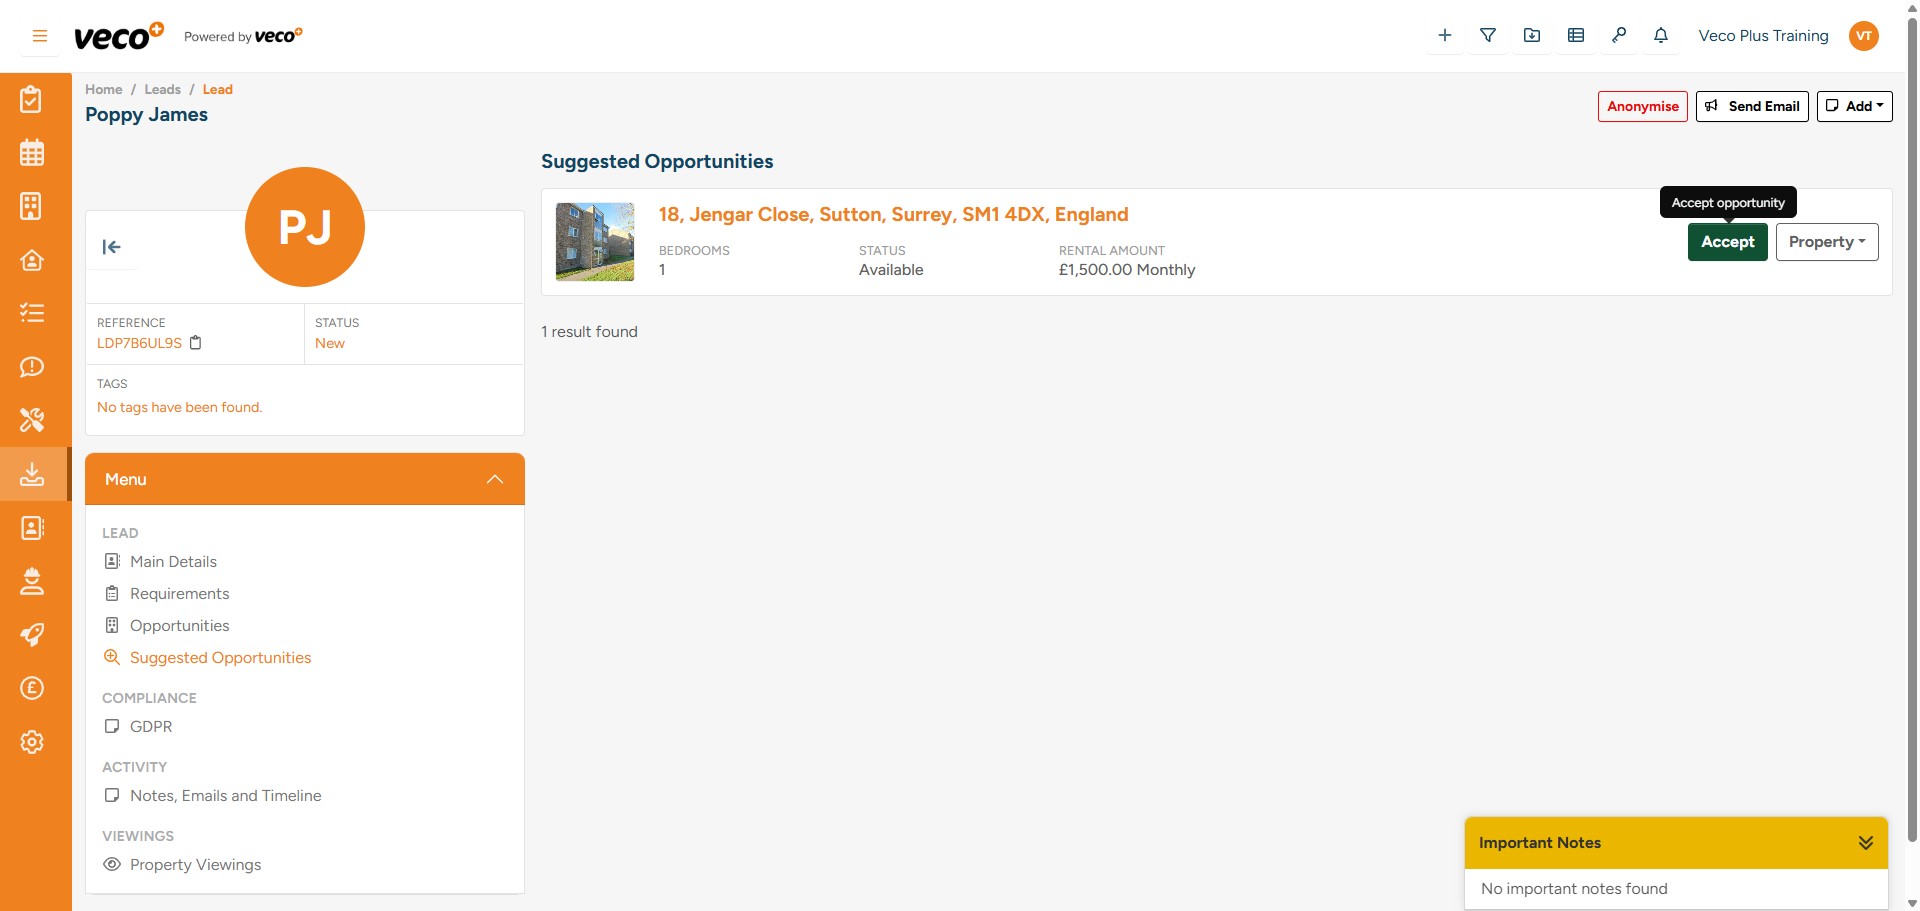
You will also be able to select 'Suggested Opportunities'
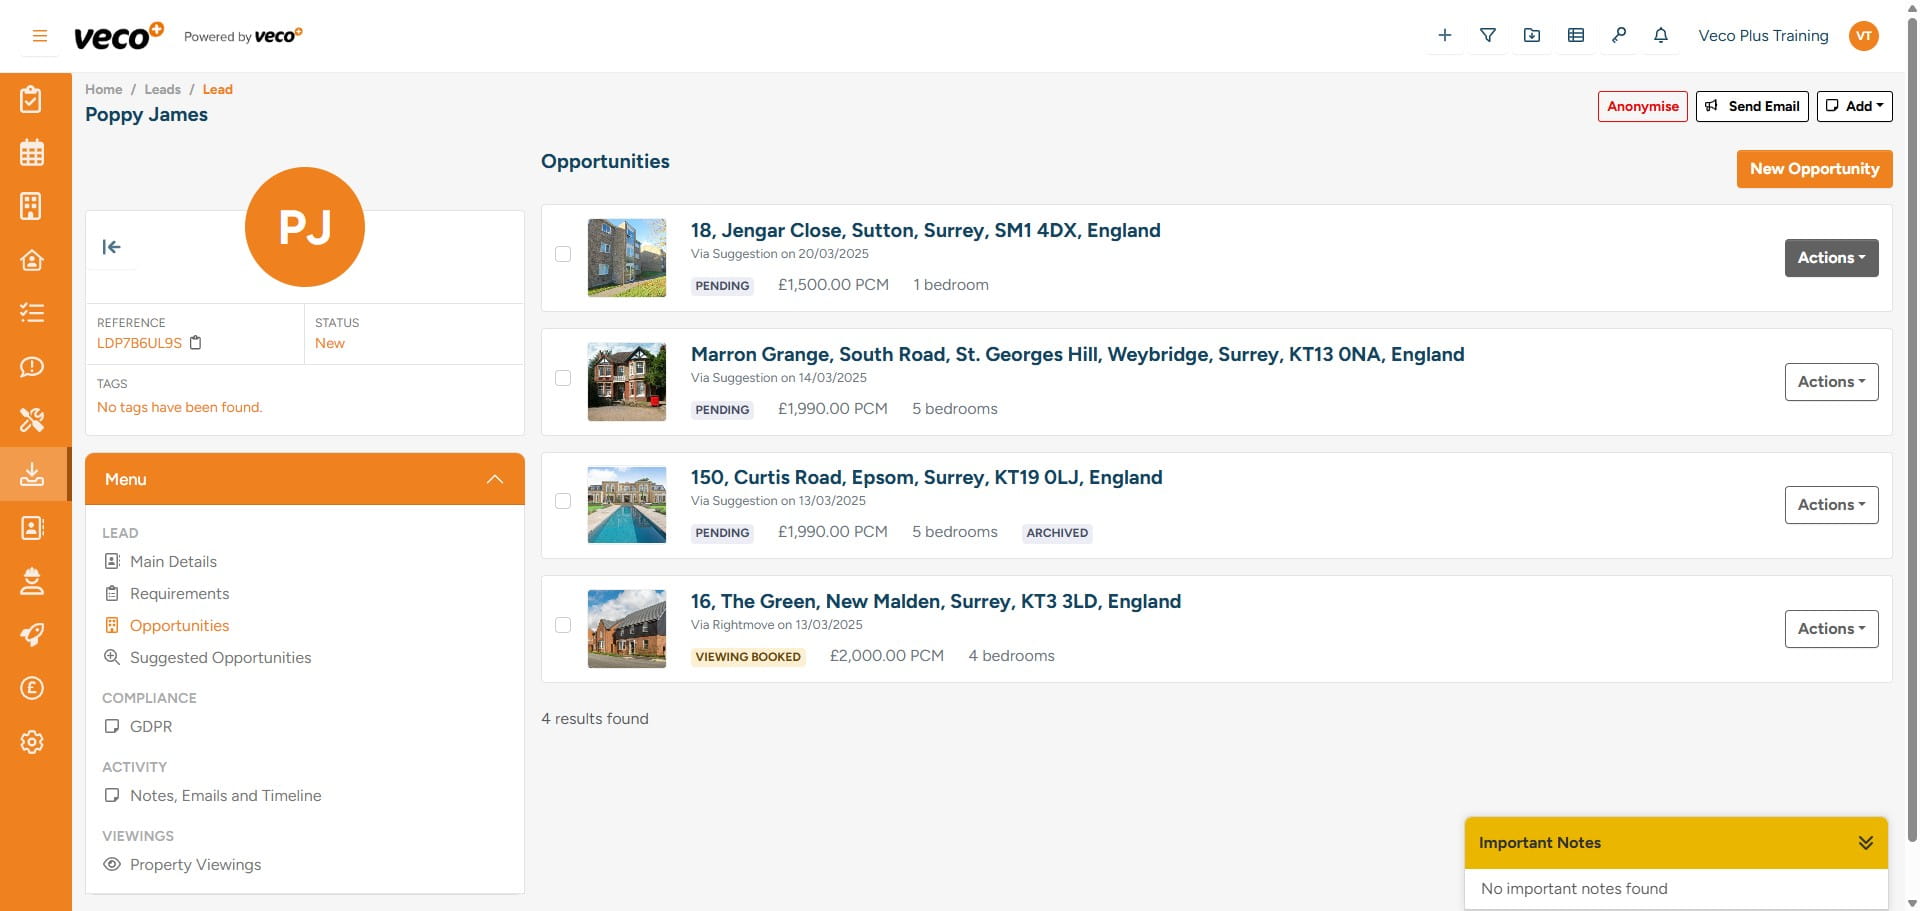
This will list properties you can suggest, based on the Lead's requirements. If you select 'Accept' the property will appear in the 'Opportunites'
Along with other properties that you may have added manually
The ‘Action’ button provides options for navigating to different areas of the system, as outlined below. If you would like to schedule a ‘Viewing’ or if the Lead is interested in the property, you can create a new ‘Application’

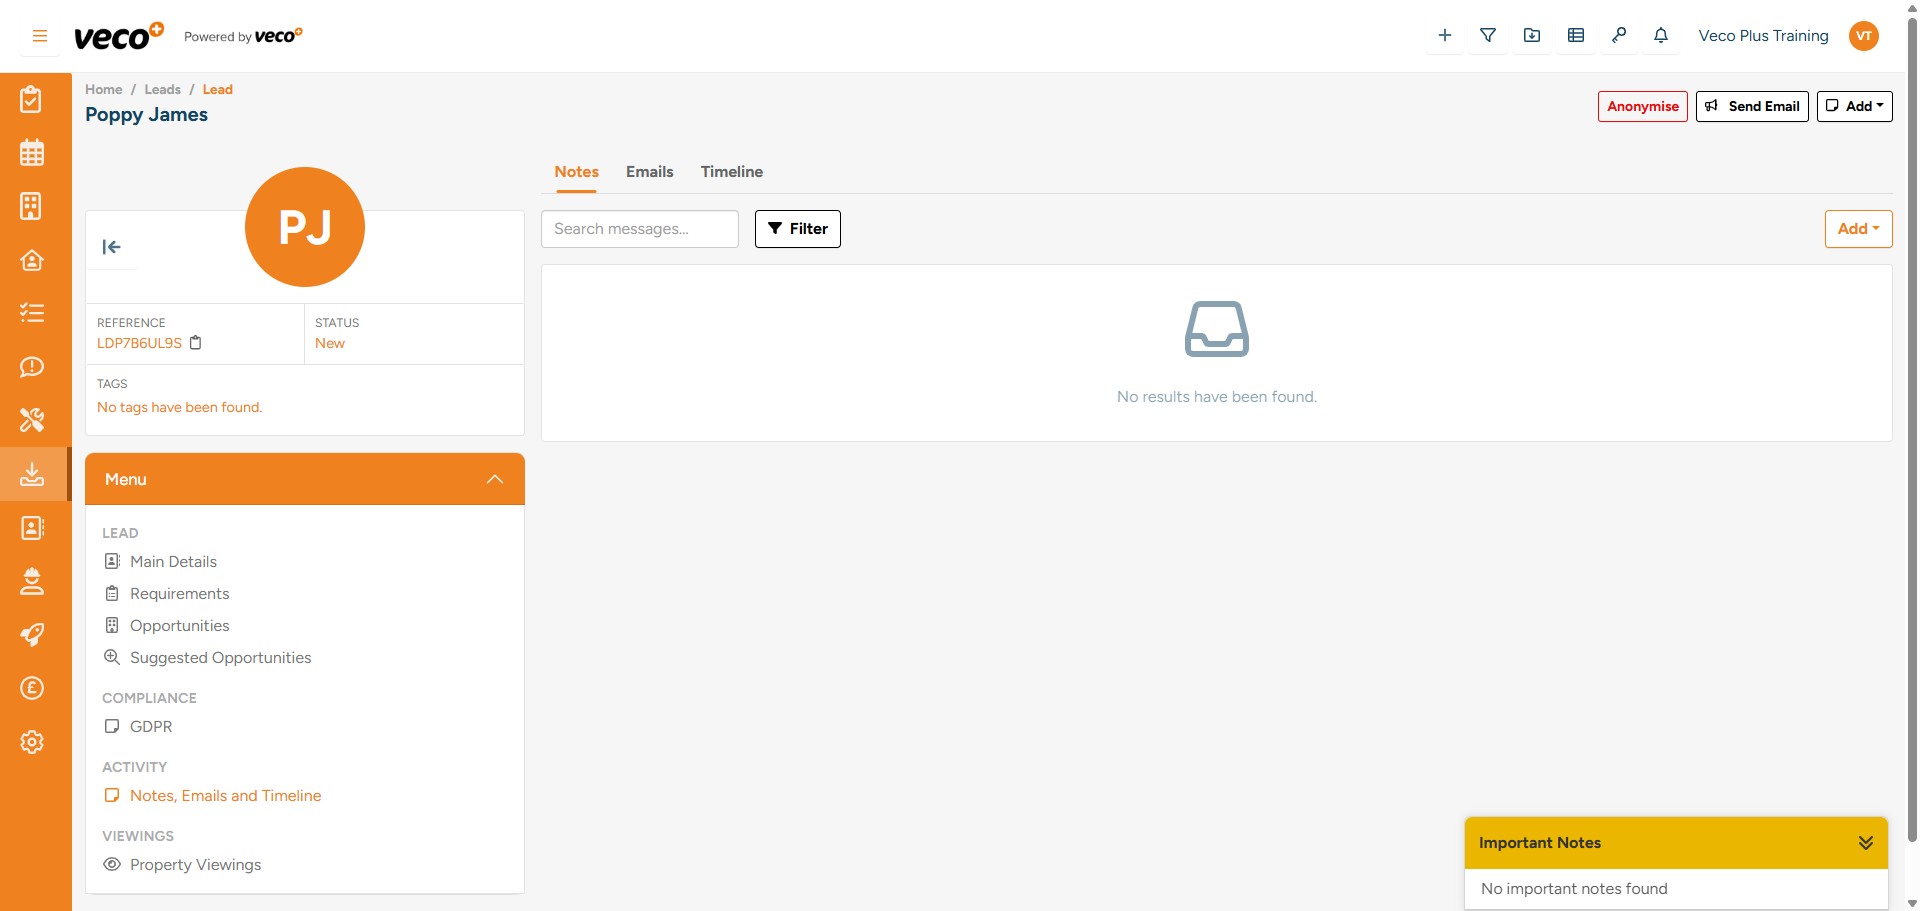
On the ‘Menu’ in the lower left corner, you can view all ‘Notes, Emails and Timeline’ for this record
Then select 'Add note' on the upper right corner
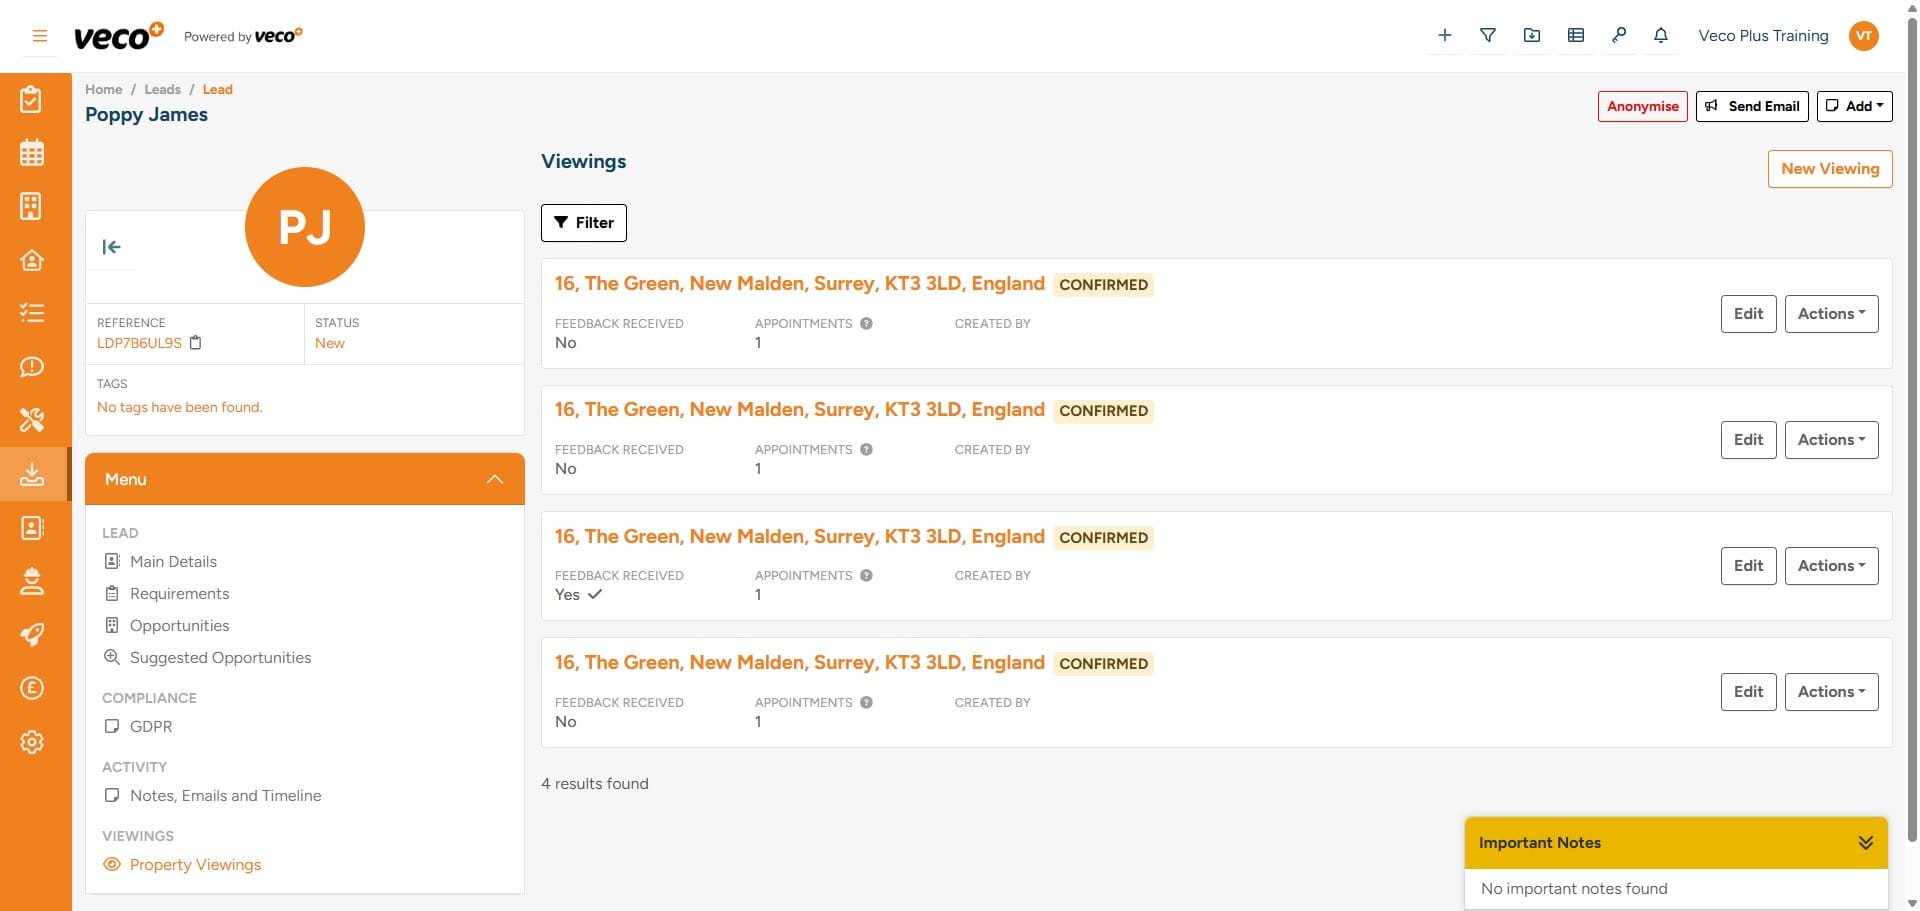
On the same menu, you can view a history of all ‘Viewings’ the Lead has attended by selecting ‘Property Viewings’
The list will appear as below