Adding a Workflow
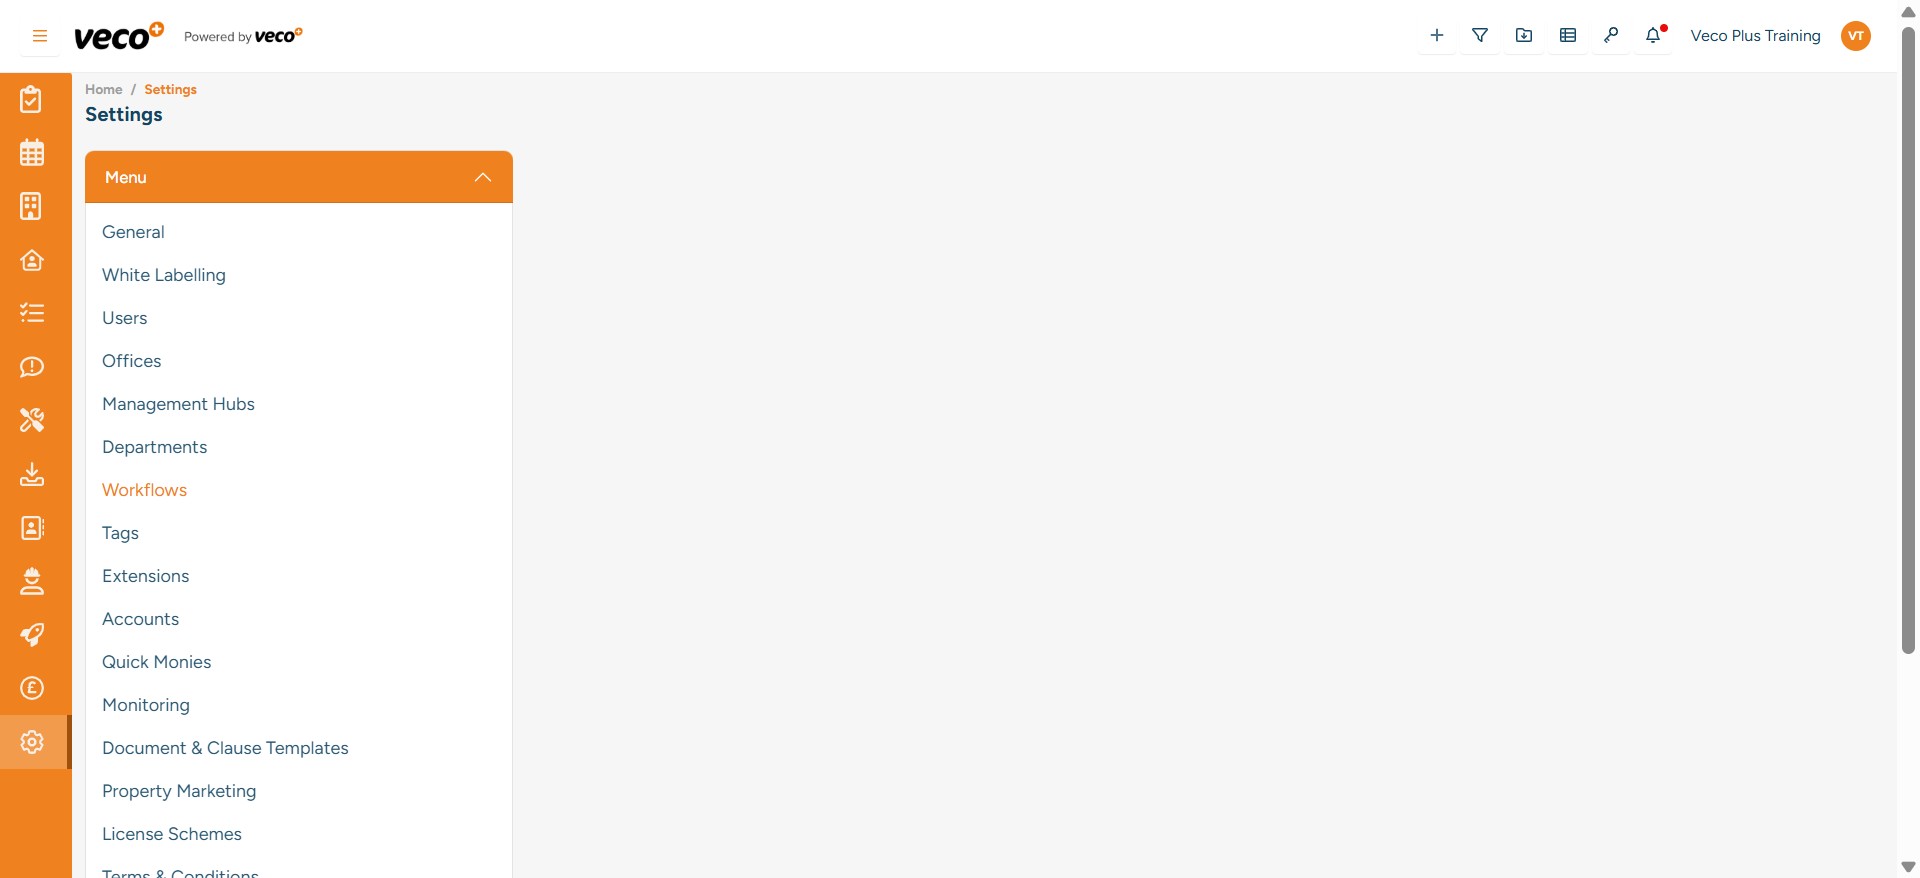
To add a new Workflow, select ‘Settings’ on the navigation bar
Select ‘Workflows’
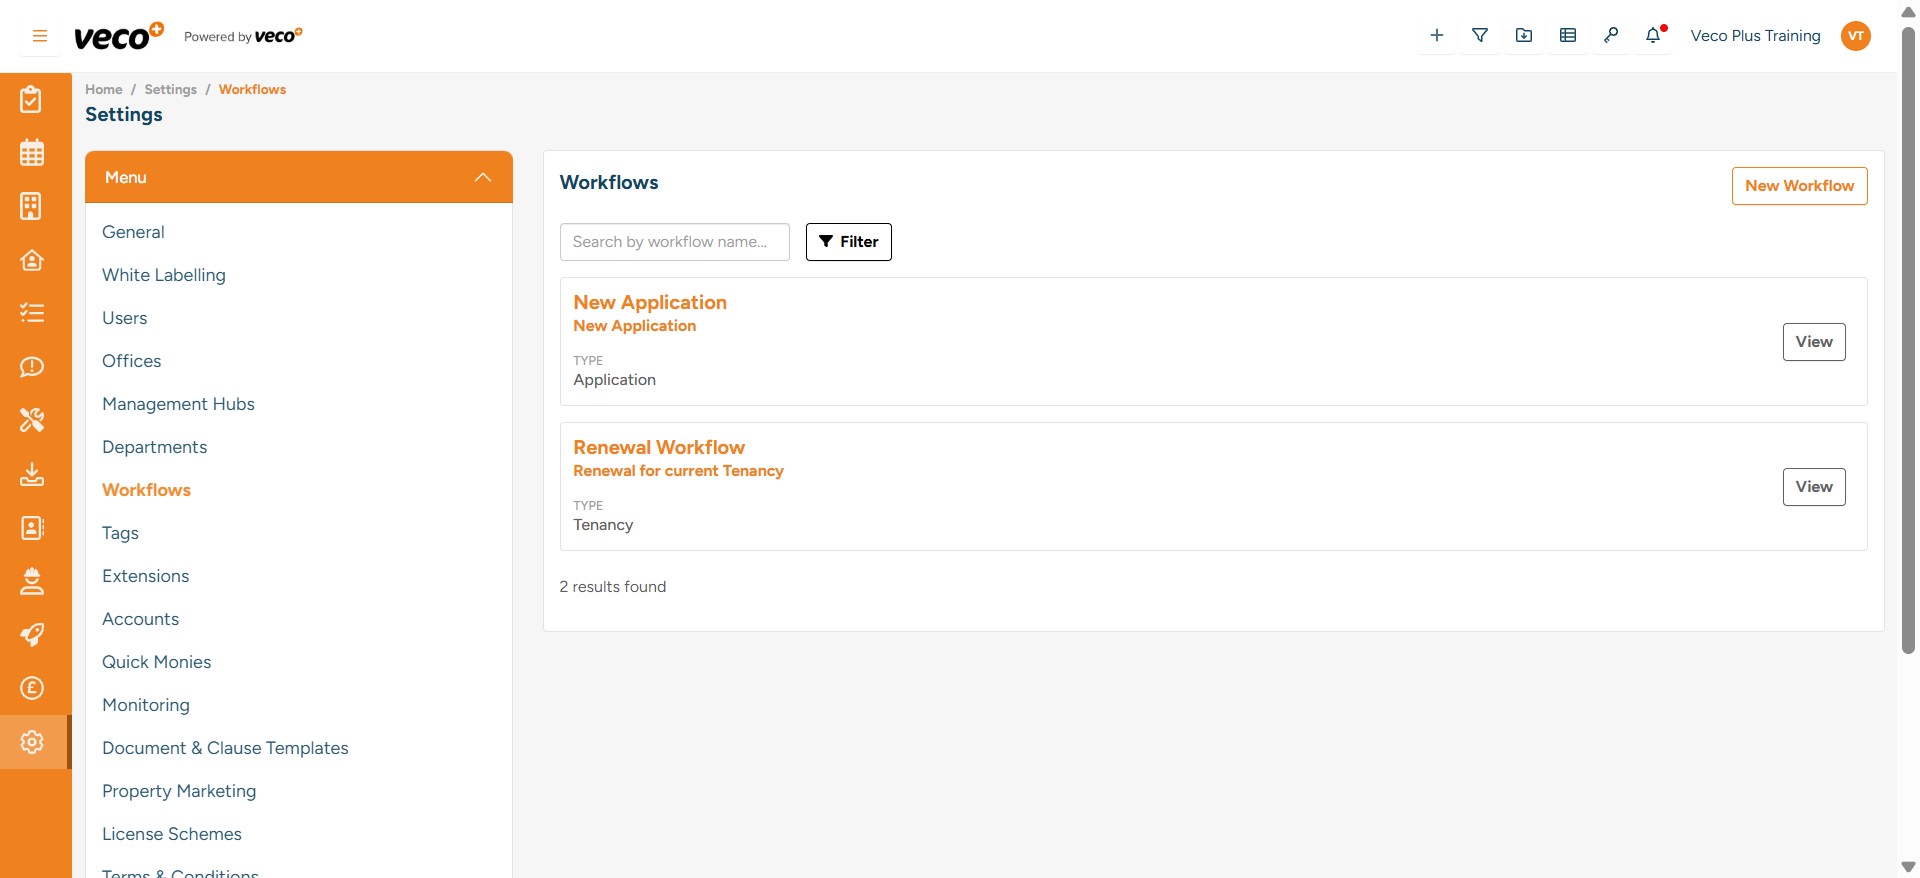
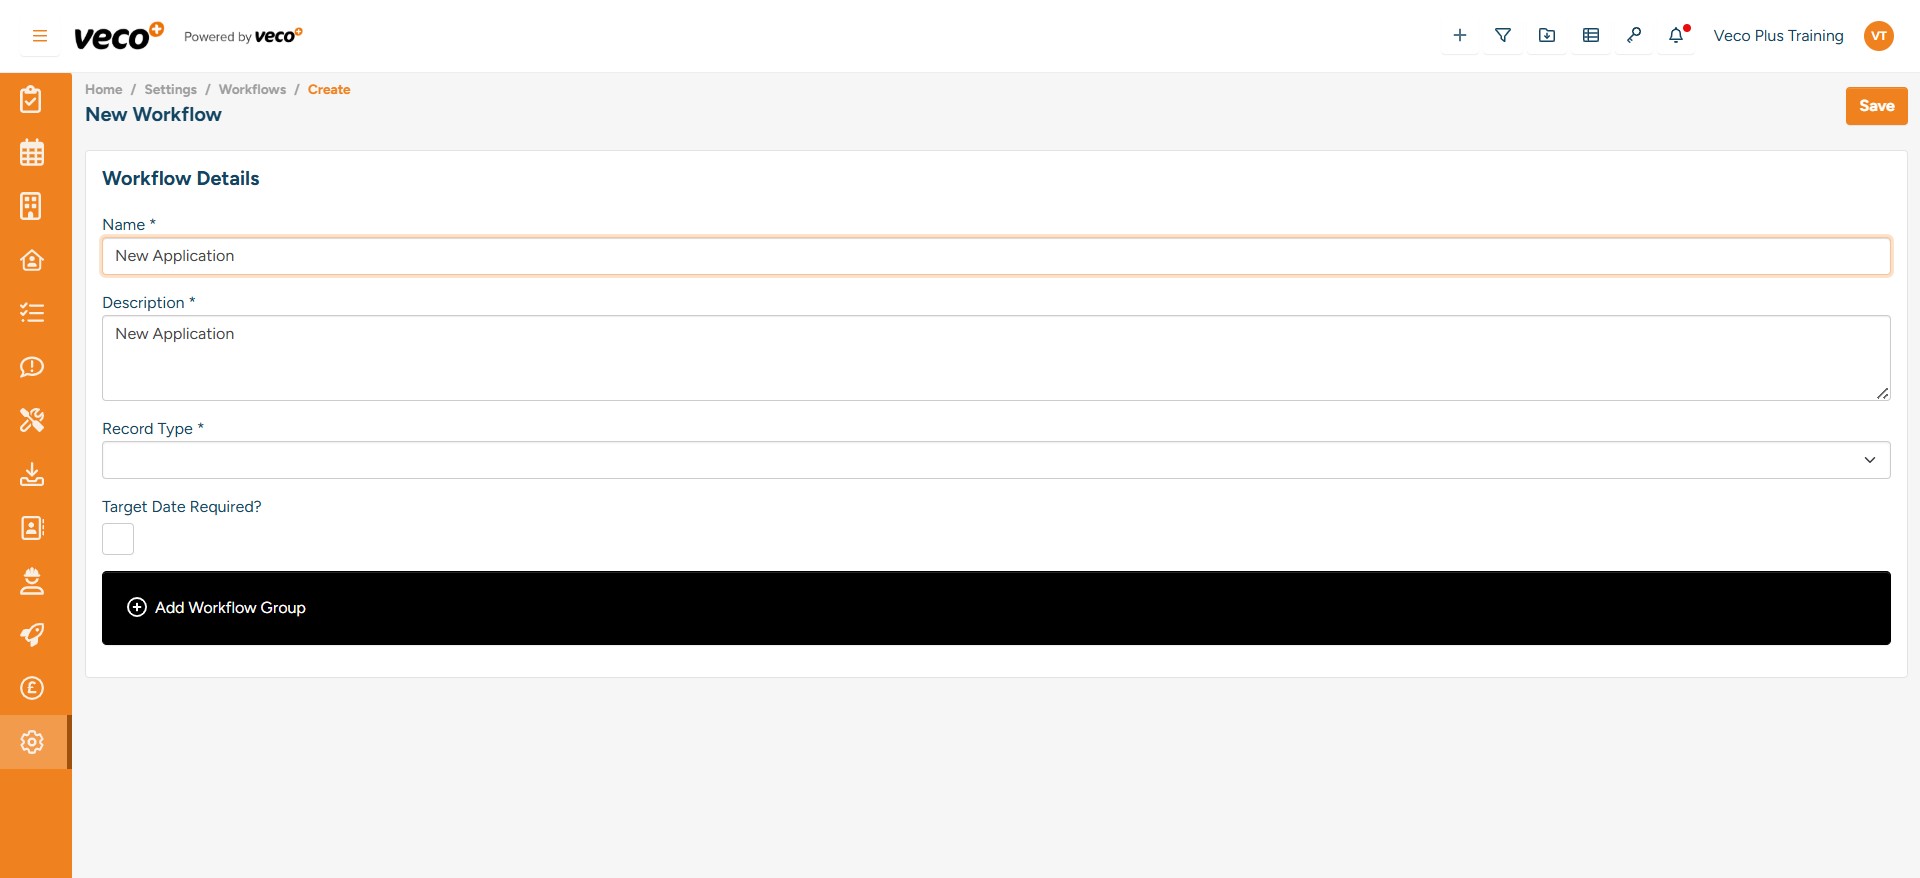
Select ‘New Workflow’ in the upper right corner
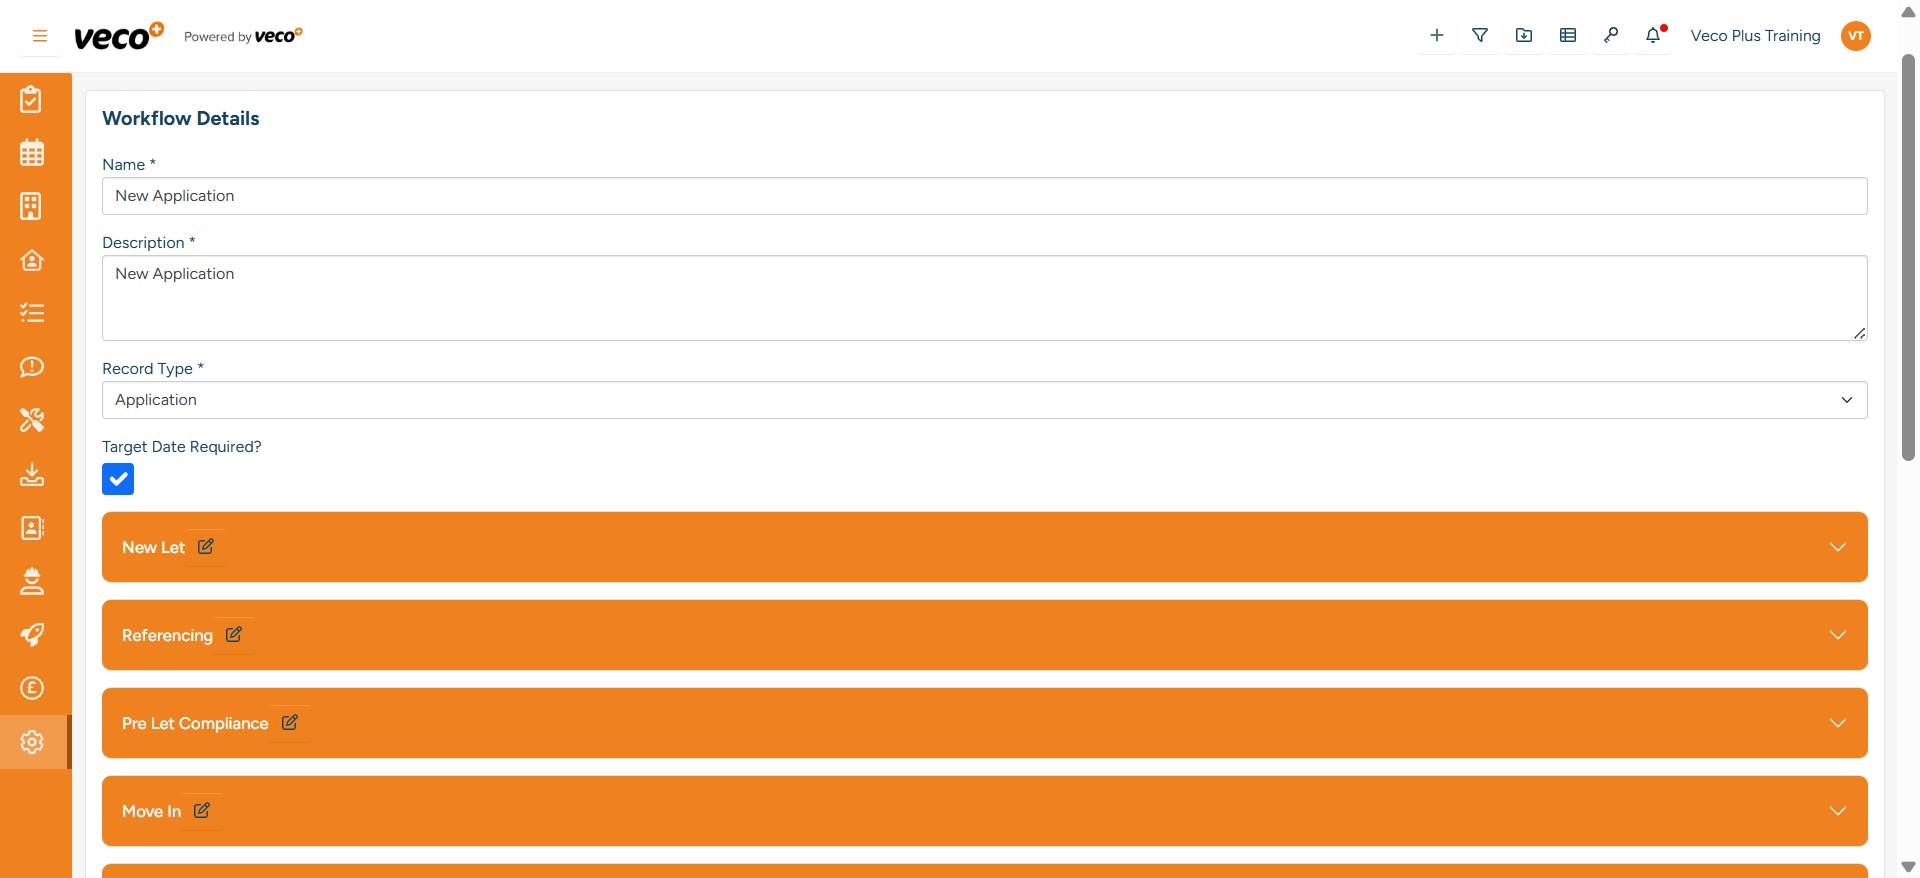
Name the Workflow and give it a short description to explain what the Workflow will be used for
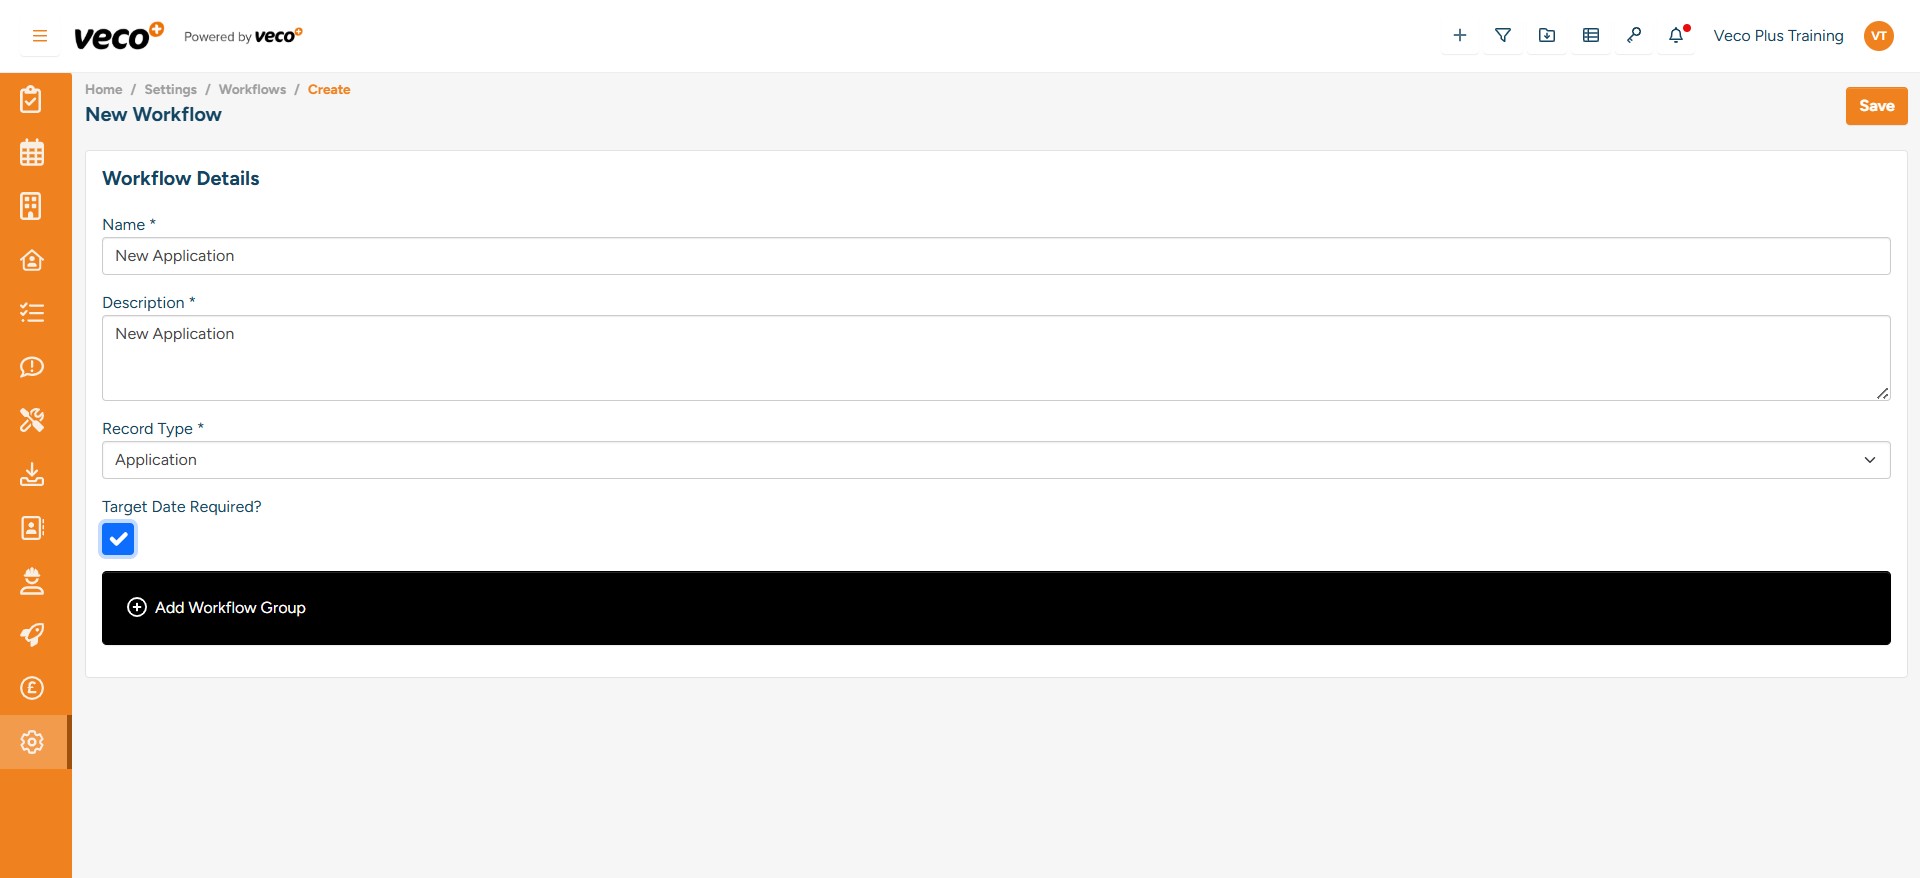
Add the ‘Record Type’ – this is the area where you would action the Workflow, e.g. Application, Tenancy or Property

If the Workflow needs to be completed by a certain date you can select ‘Target Date Required’. This date will then populate and can be amended as required when you add the Workflow to an item, such as an Application

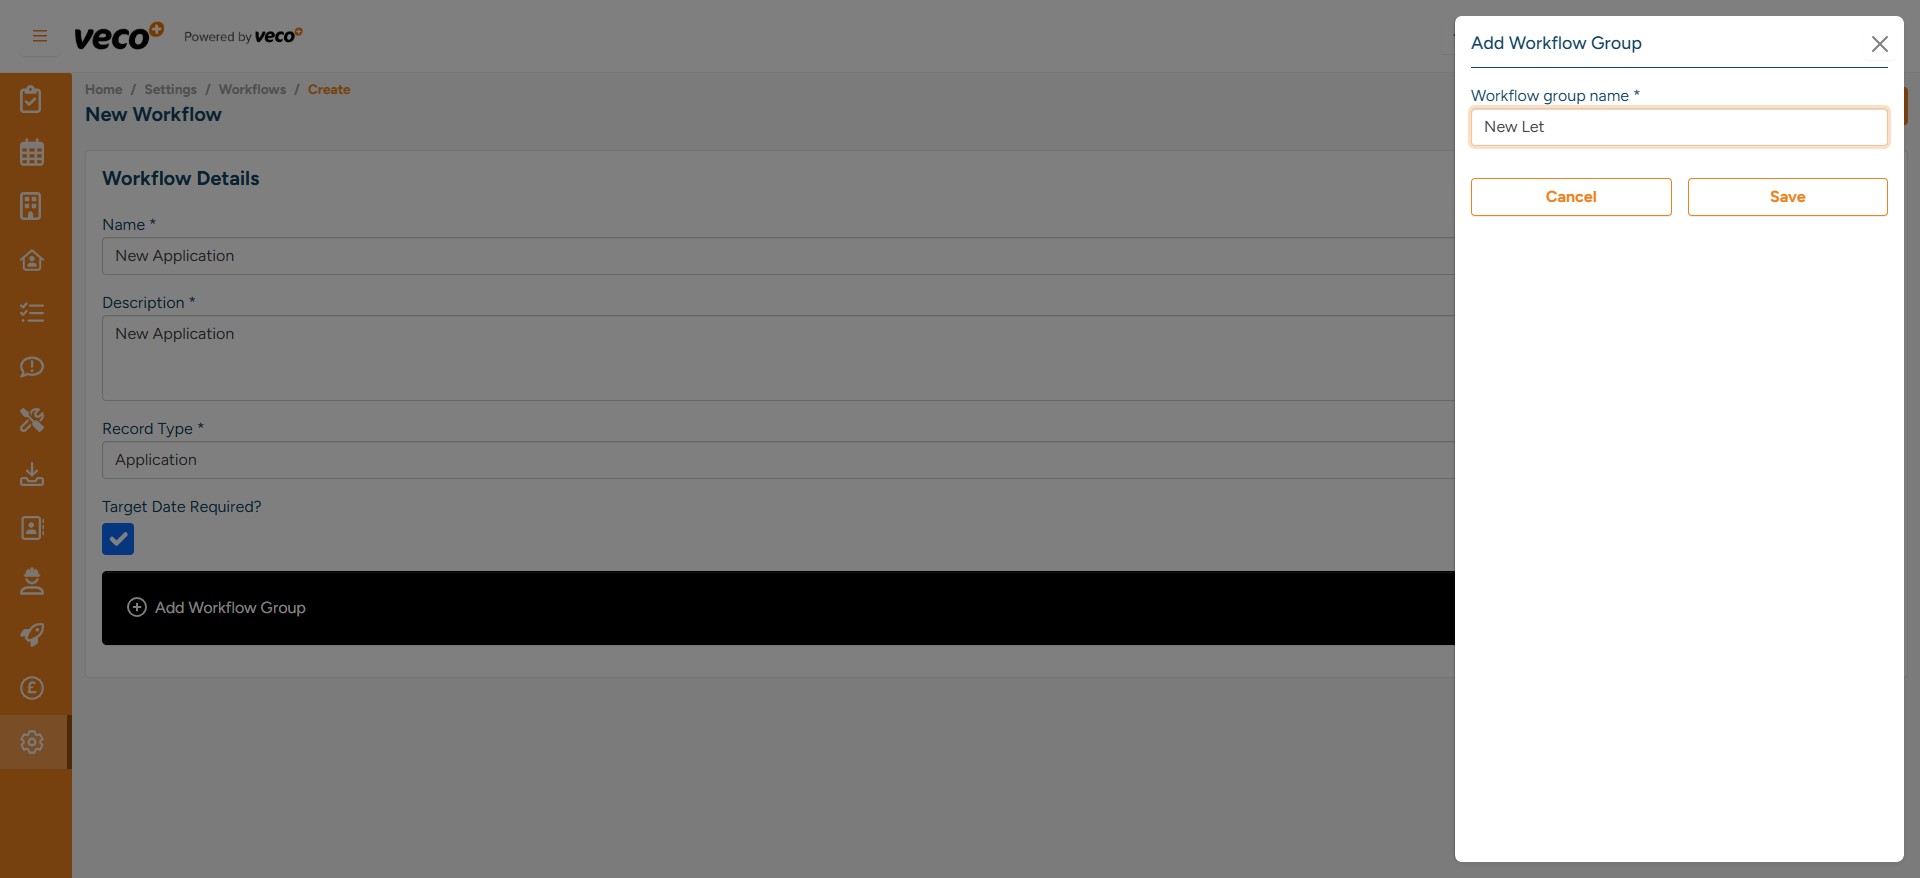
Once the Workflow details have been added, you can start creating ‘Workflow Groups’. A Workflow Group is for ringfencing tasks within a Workflow. Select ‘Add Workflow Group’
Add a ‘Workflow Group Name’ and select ‘Save’
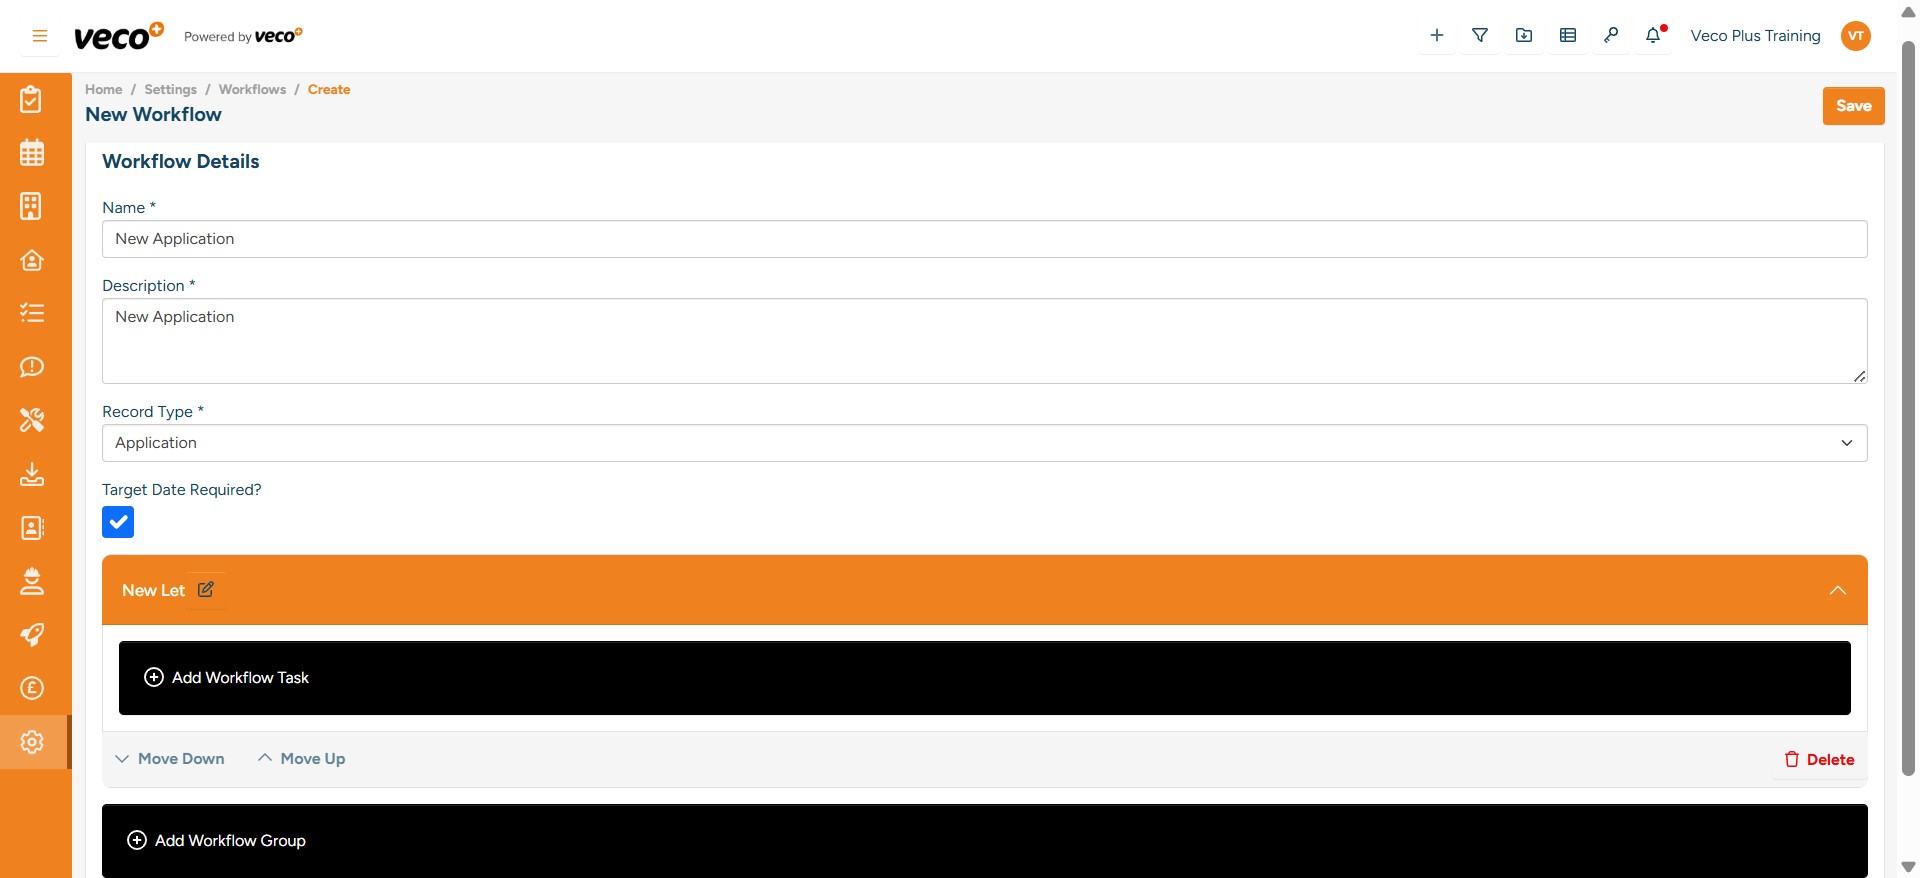
Once you have added the Workflow Group, you can start to add the individual tasks
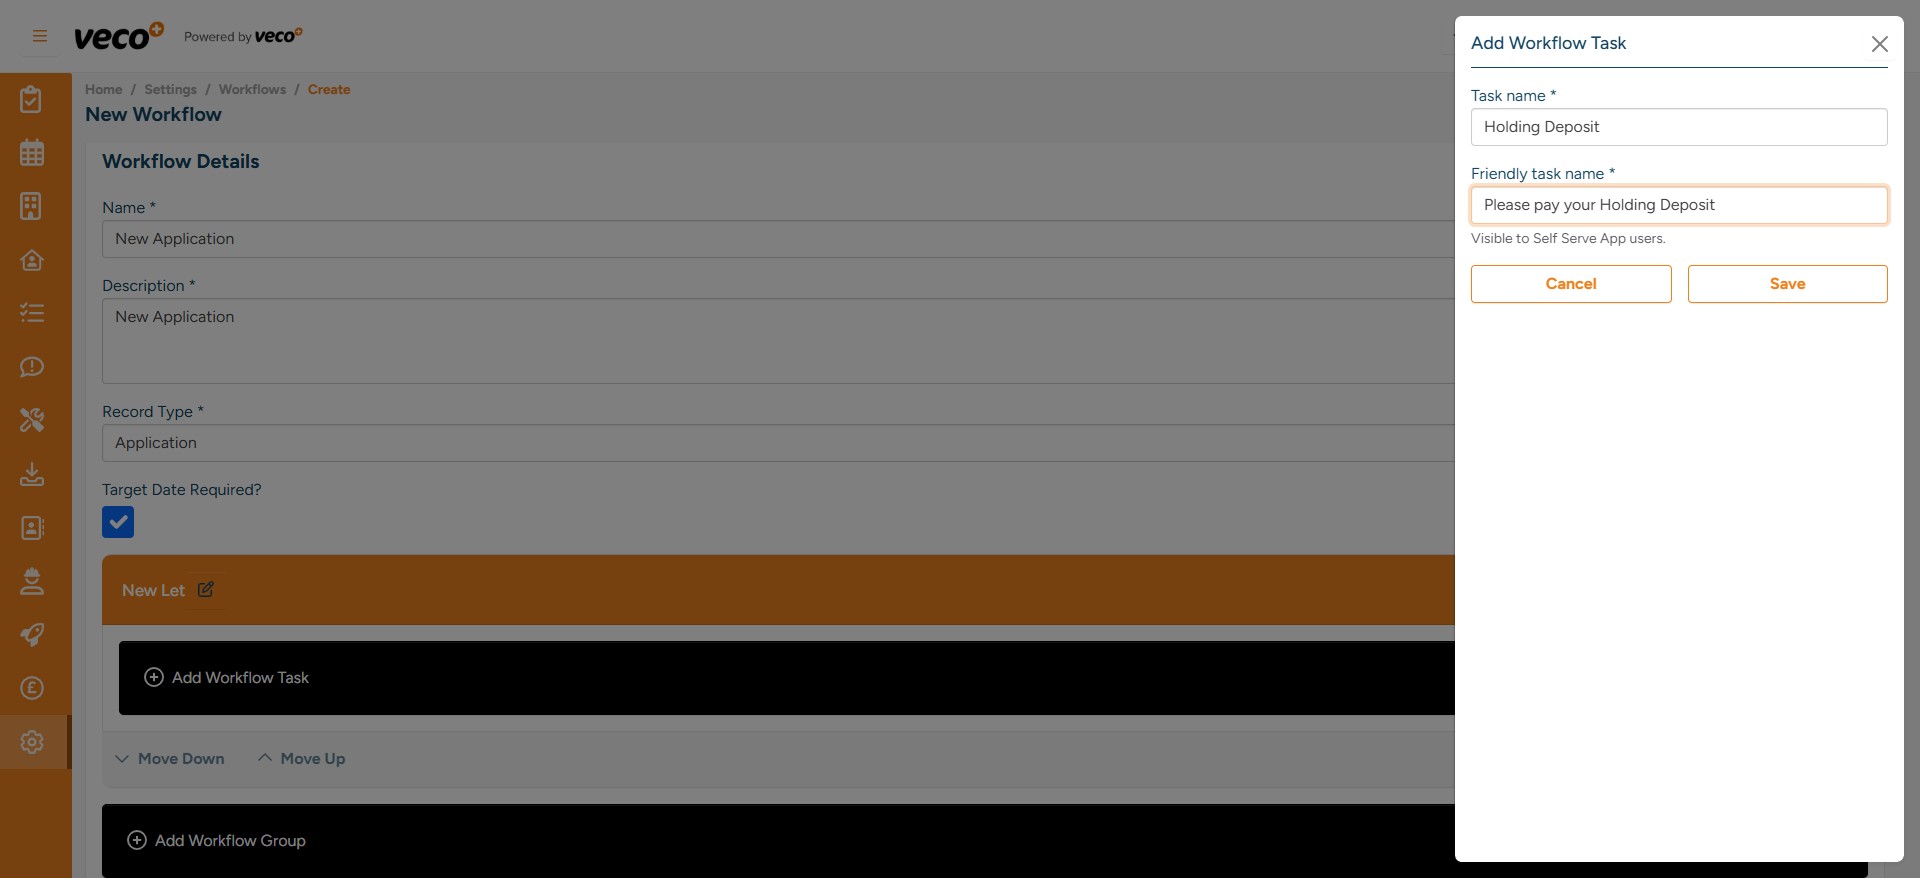
Name your task - the task name will only be visible internally if you also add a different friendly task name. ‘Friendly task name’ – this will be what your Landlords, Tenants or Applicants see when viewing the Workflow task from the ‘Self Serve App' externally
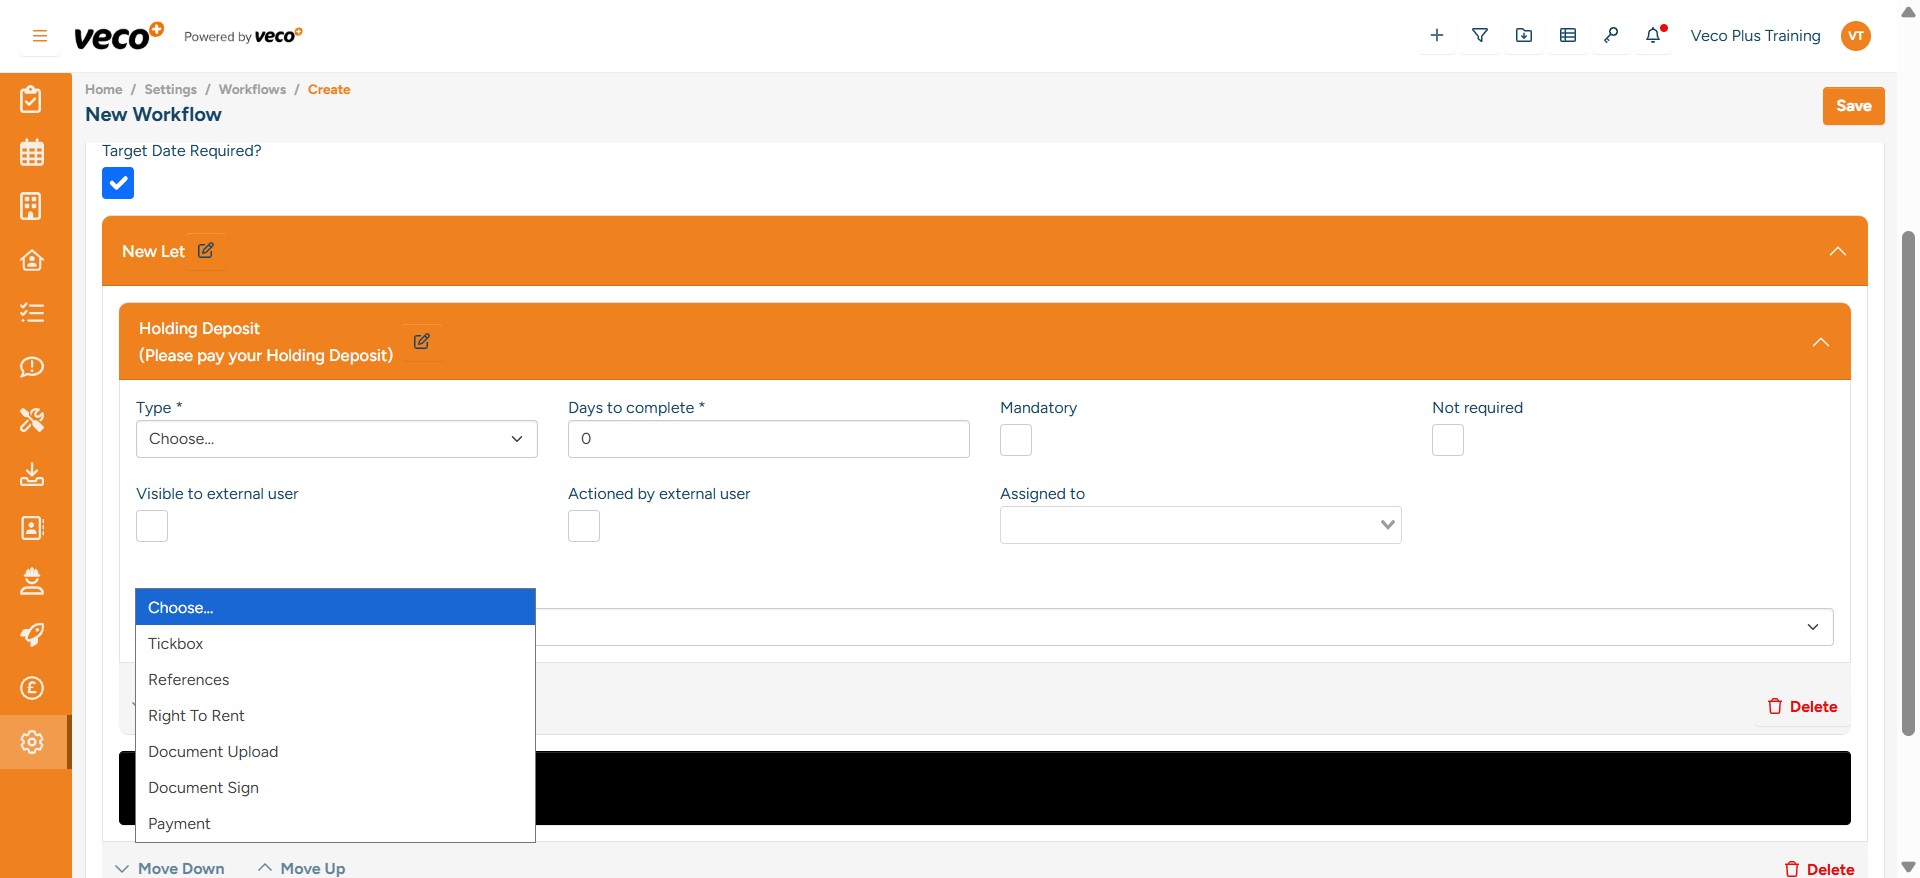
You will then need to choose what type of task to set, each Workflow ‘Type’ has a different functionality;
Tickbox – Allows the Self Serve user to confirm/acknowledge a task References – This form should contain all questions that referencing companies may ask. Right To Rent – Tick box to confirm that Right to Rent has been received Document Upload – This allows users on the Self Serve App to upload documents Document Sign – This will allow your documents to be E-Signed via Yoti Sign Payment– This is a payment gateway with Elavon
You will need to choose how many days should be given to complete the task. This date will be from the point at which you add the Workflow to an item, such as an Application
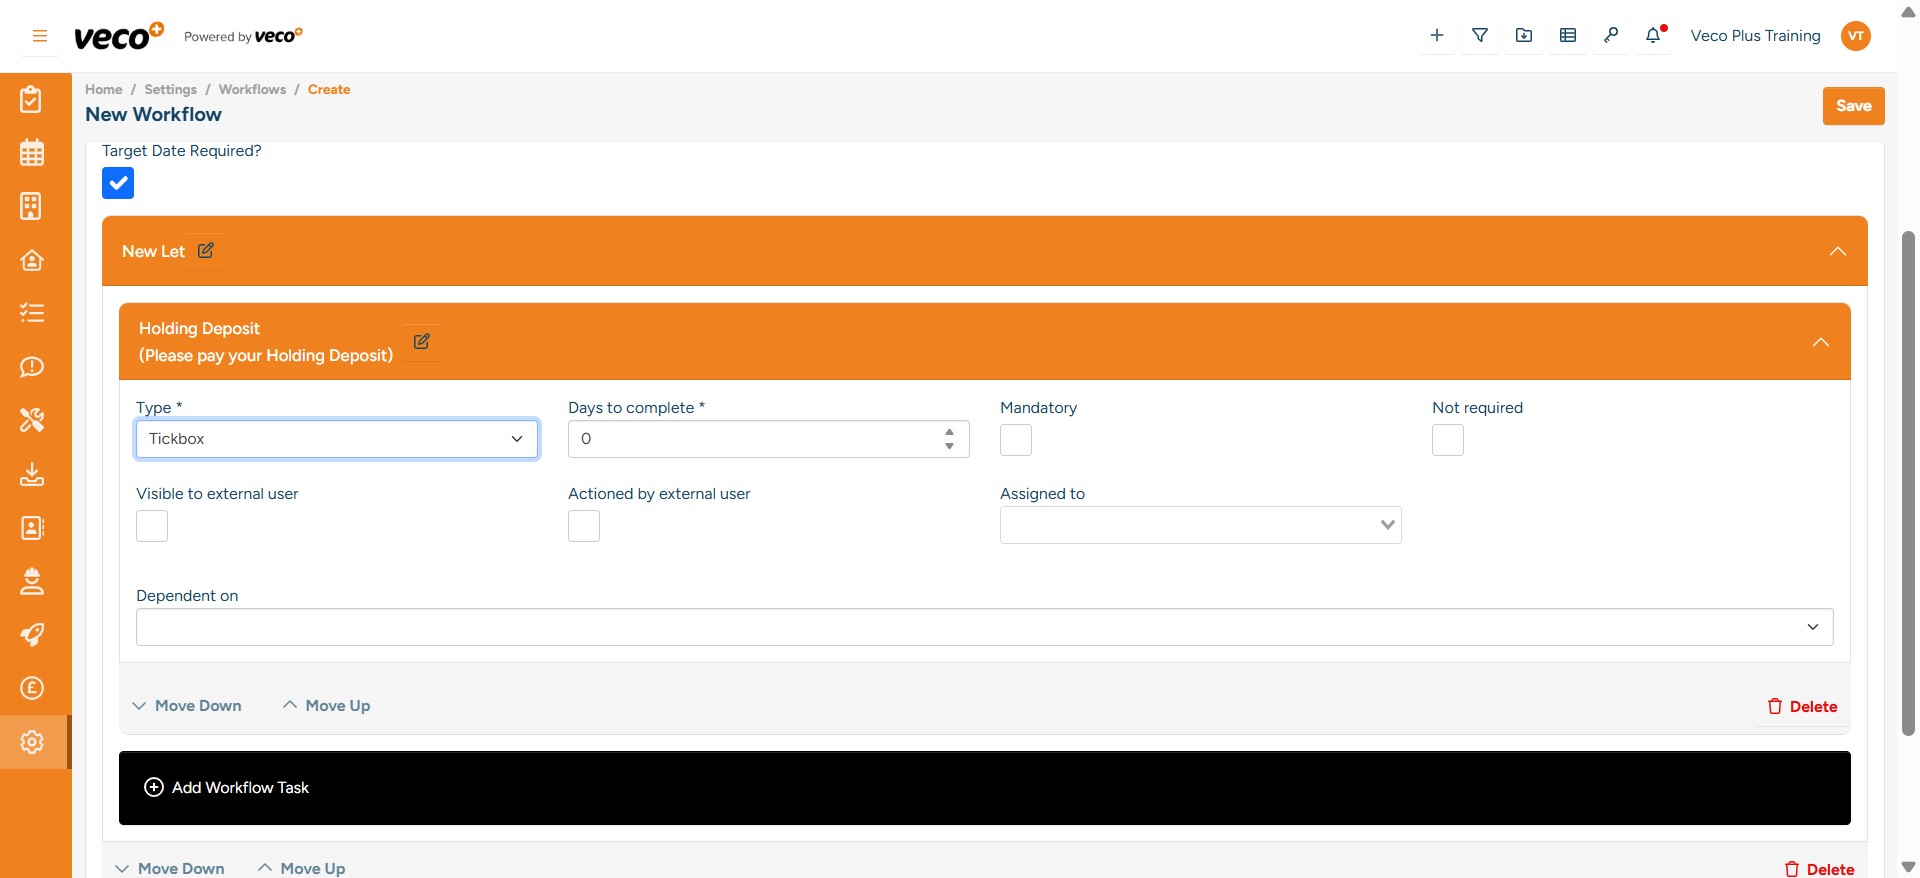
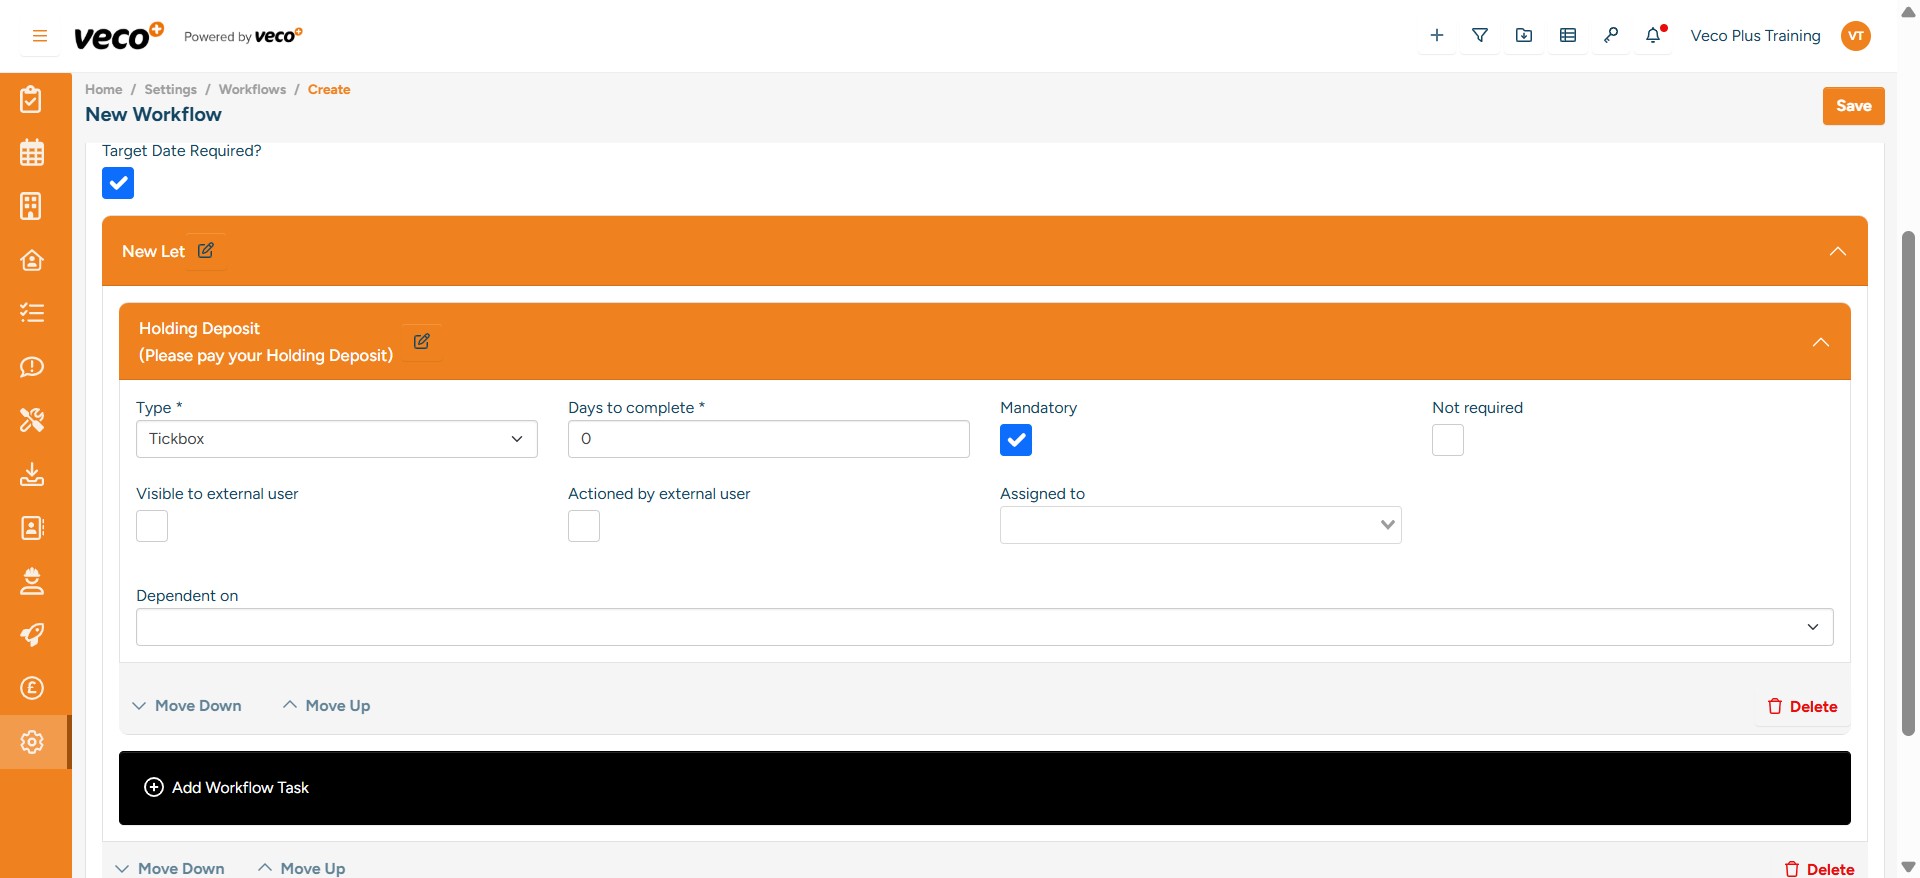
You will need to choose whether the task will be mandatory or not

You can also set individual tasks to be visible to internal and external users. Only internal staff users will be able to see the Workflow tasks if 'Visible to external user' is not selected
Each task can also have dependencies, if set this means that you cannot complete the next dependent task until the previous task has been completed. This guides the internal user to complete tasks in a certain order. For an external user, this will only display the next and upcoming task

Should you wish to change the ordering of any tasks, you are able to do so by selecting the ‘Move Down or Move Up’ Arrows

You can also ‘Delete’ tasks if you no longer need them
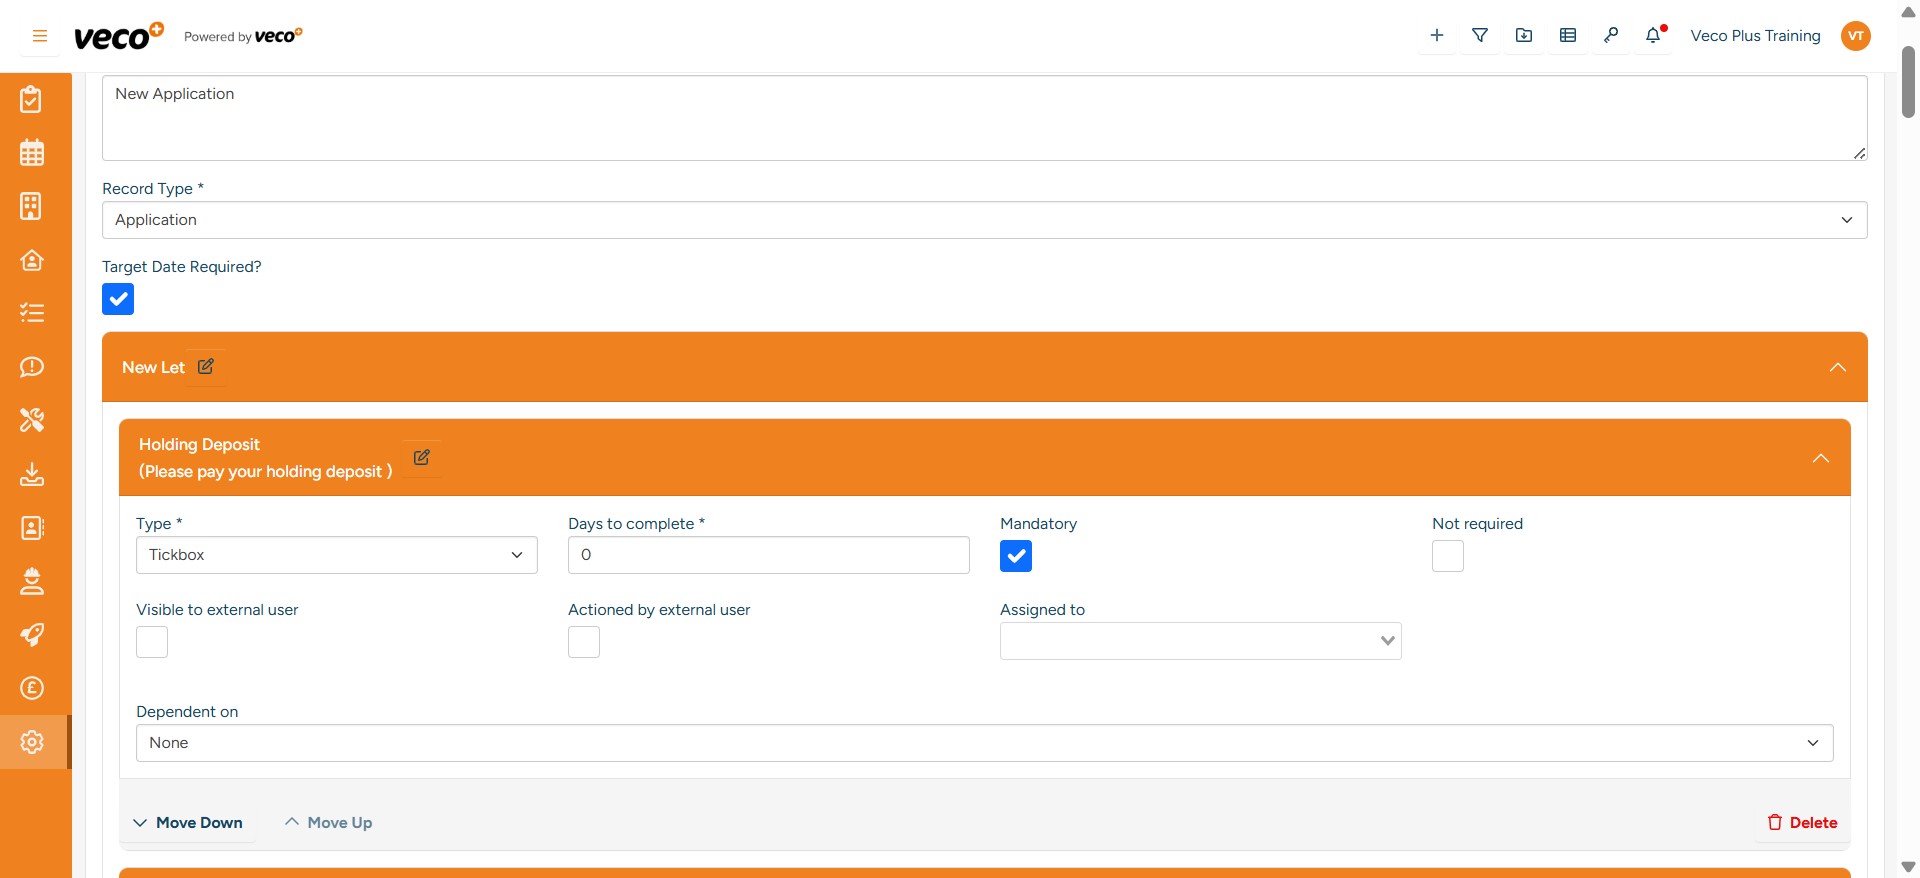
An example of a Workflow Group containing tasks

An example of a complete Workflow
To add a Workflow to an application go to 'Applications' on the navigation bar
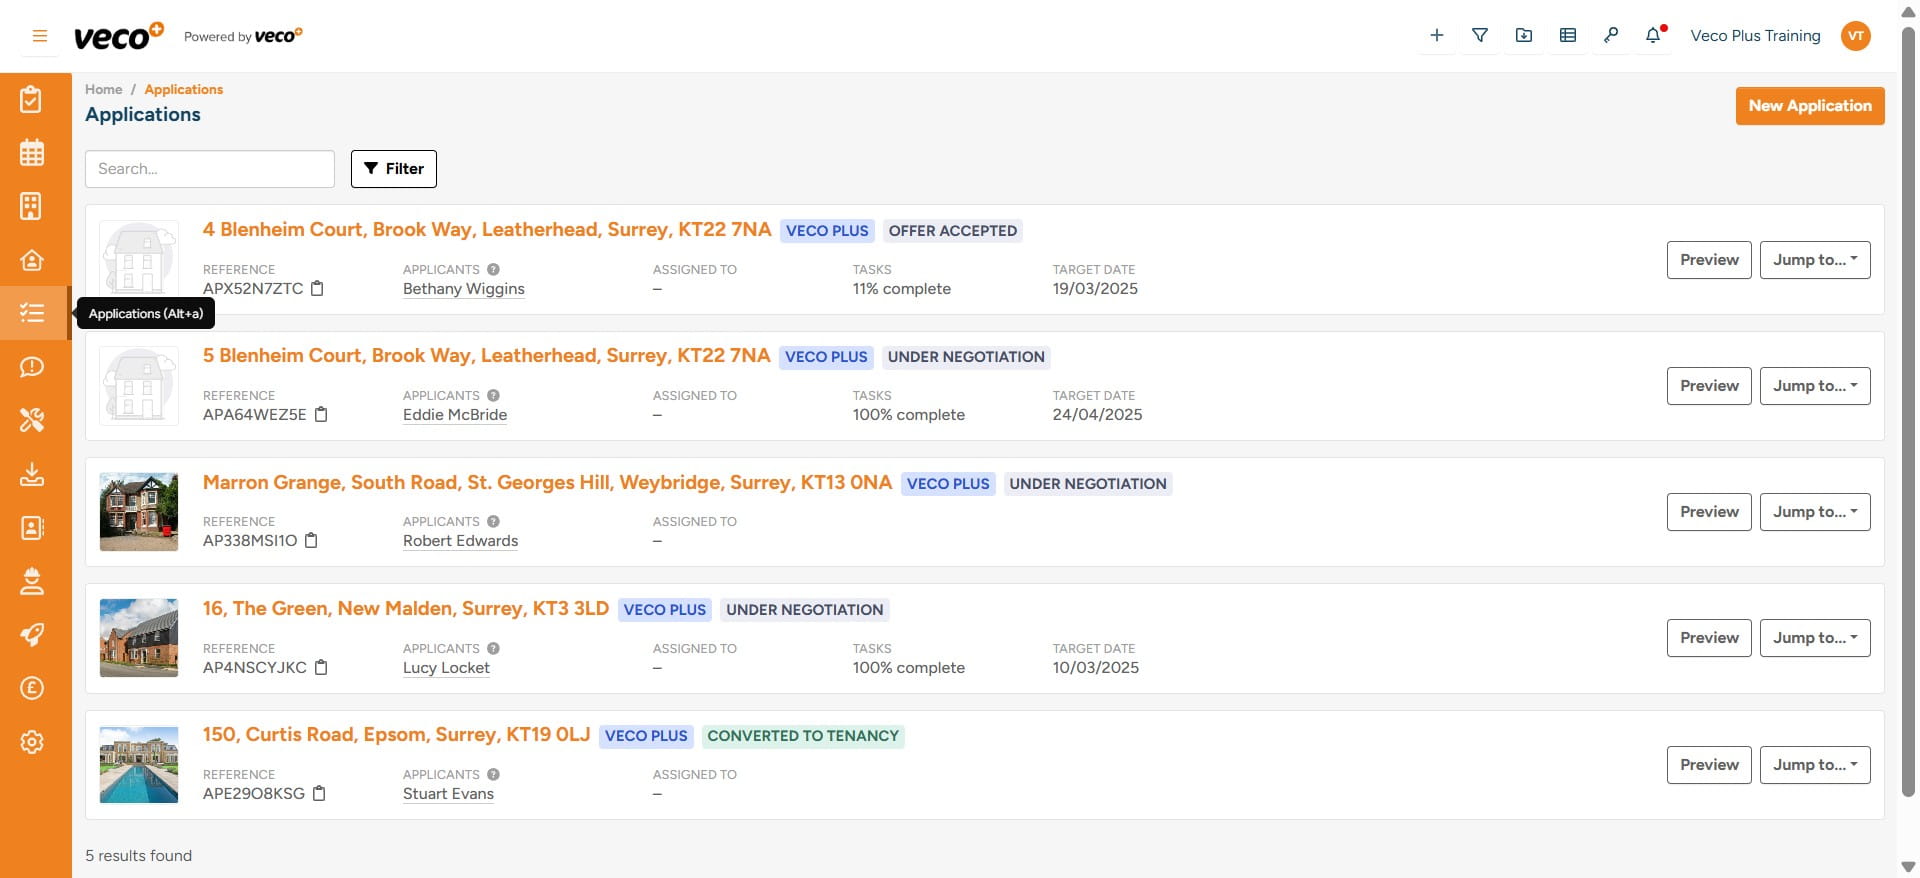
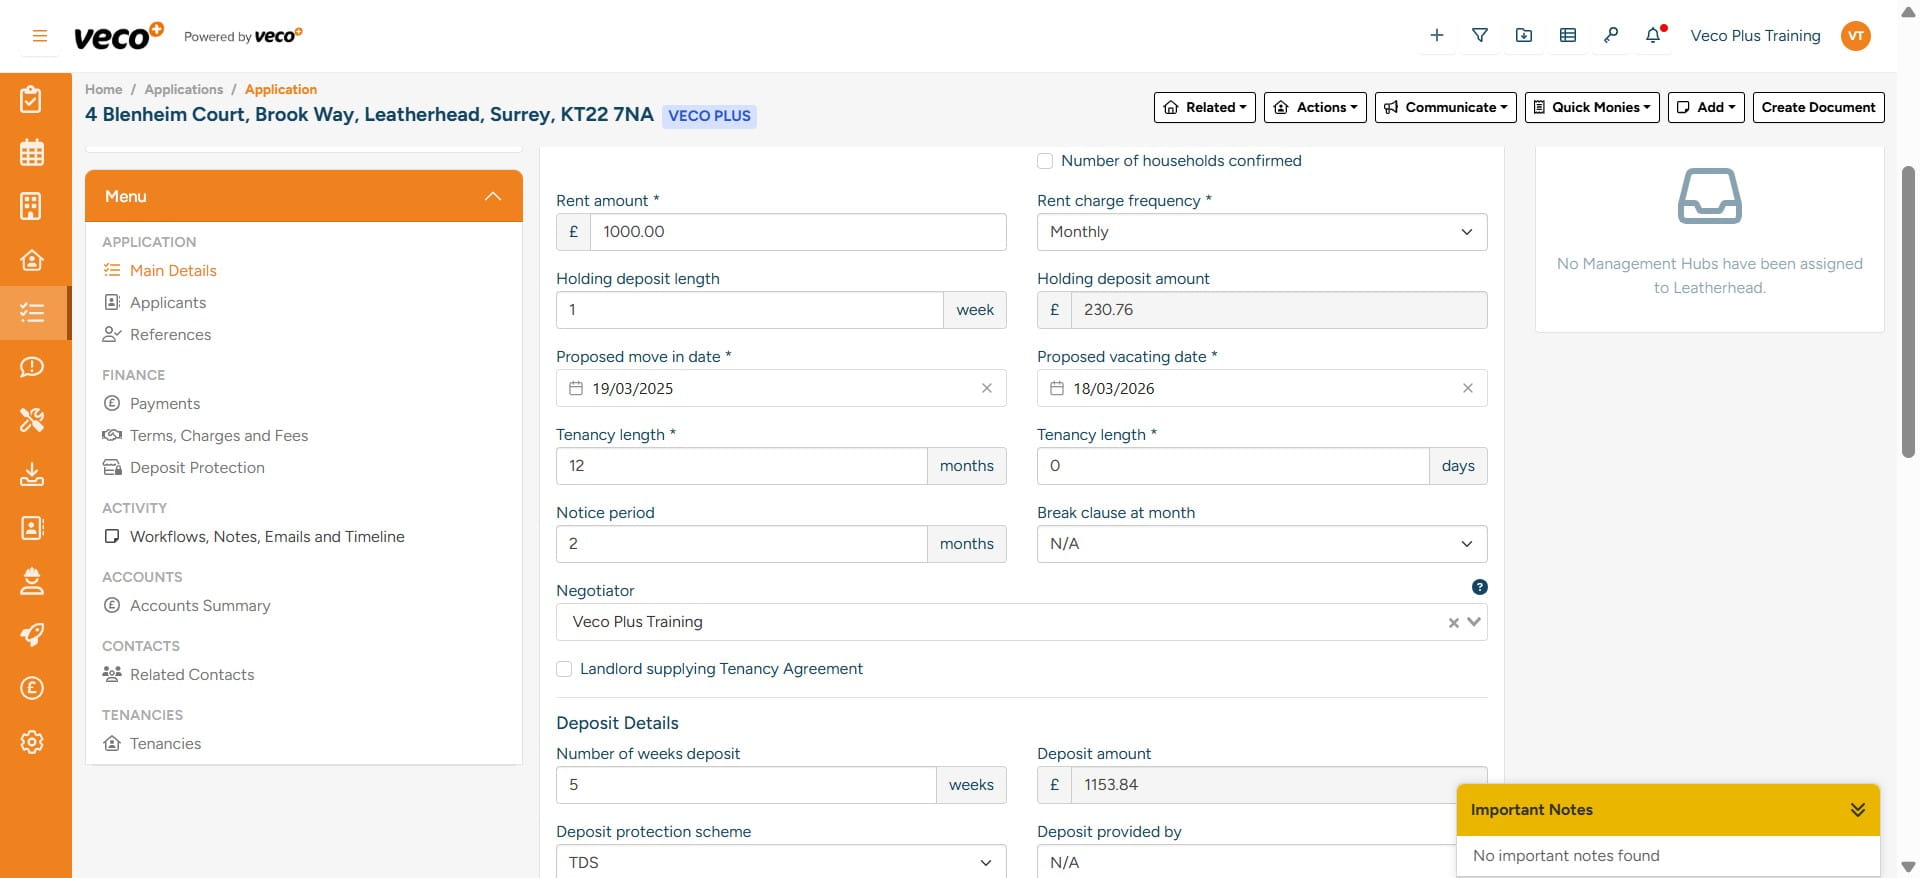
Select the Application you would like to add the 'Workflow' to
Go to the Menu on the left and select ‘Workflows, Notes, Emails and Timeline’
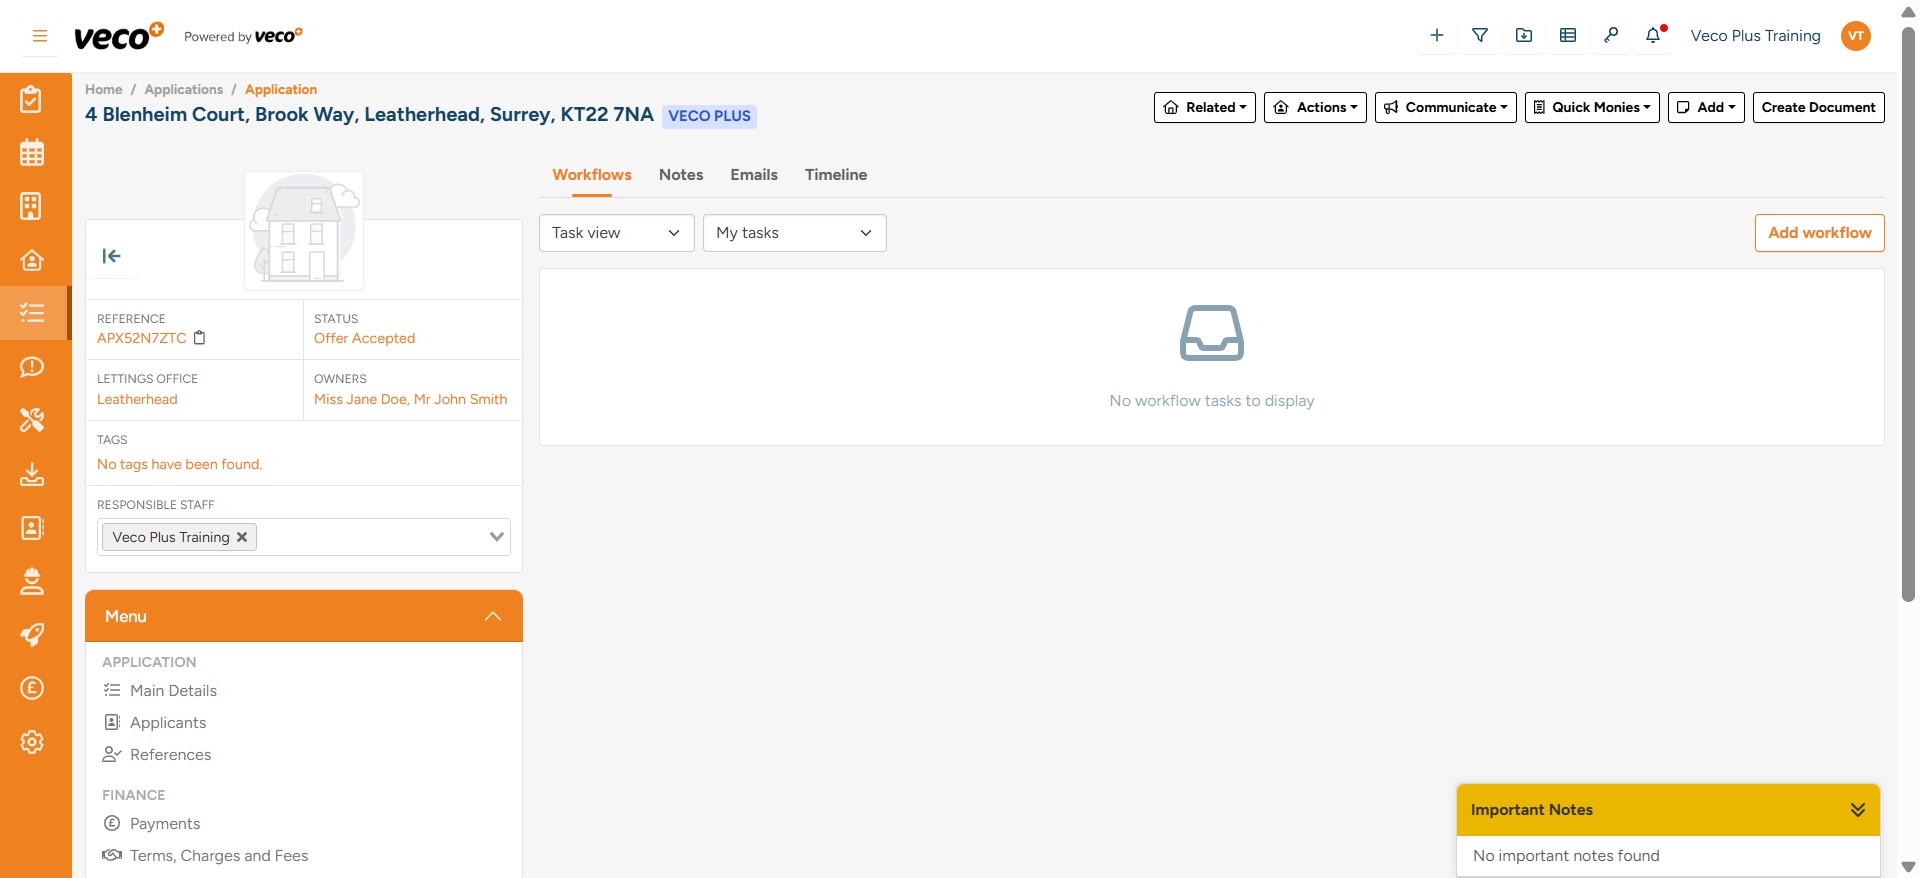
In the upper right corner select ‘Add Workflow’
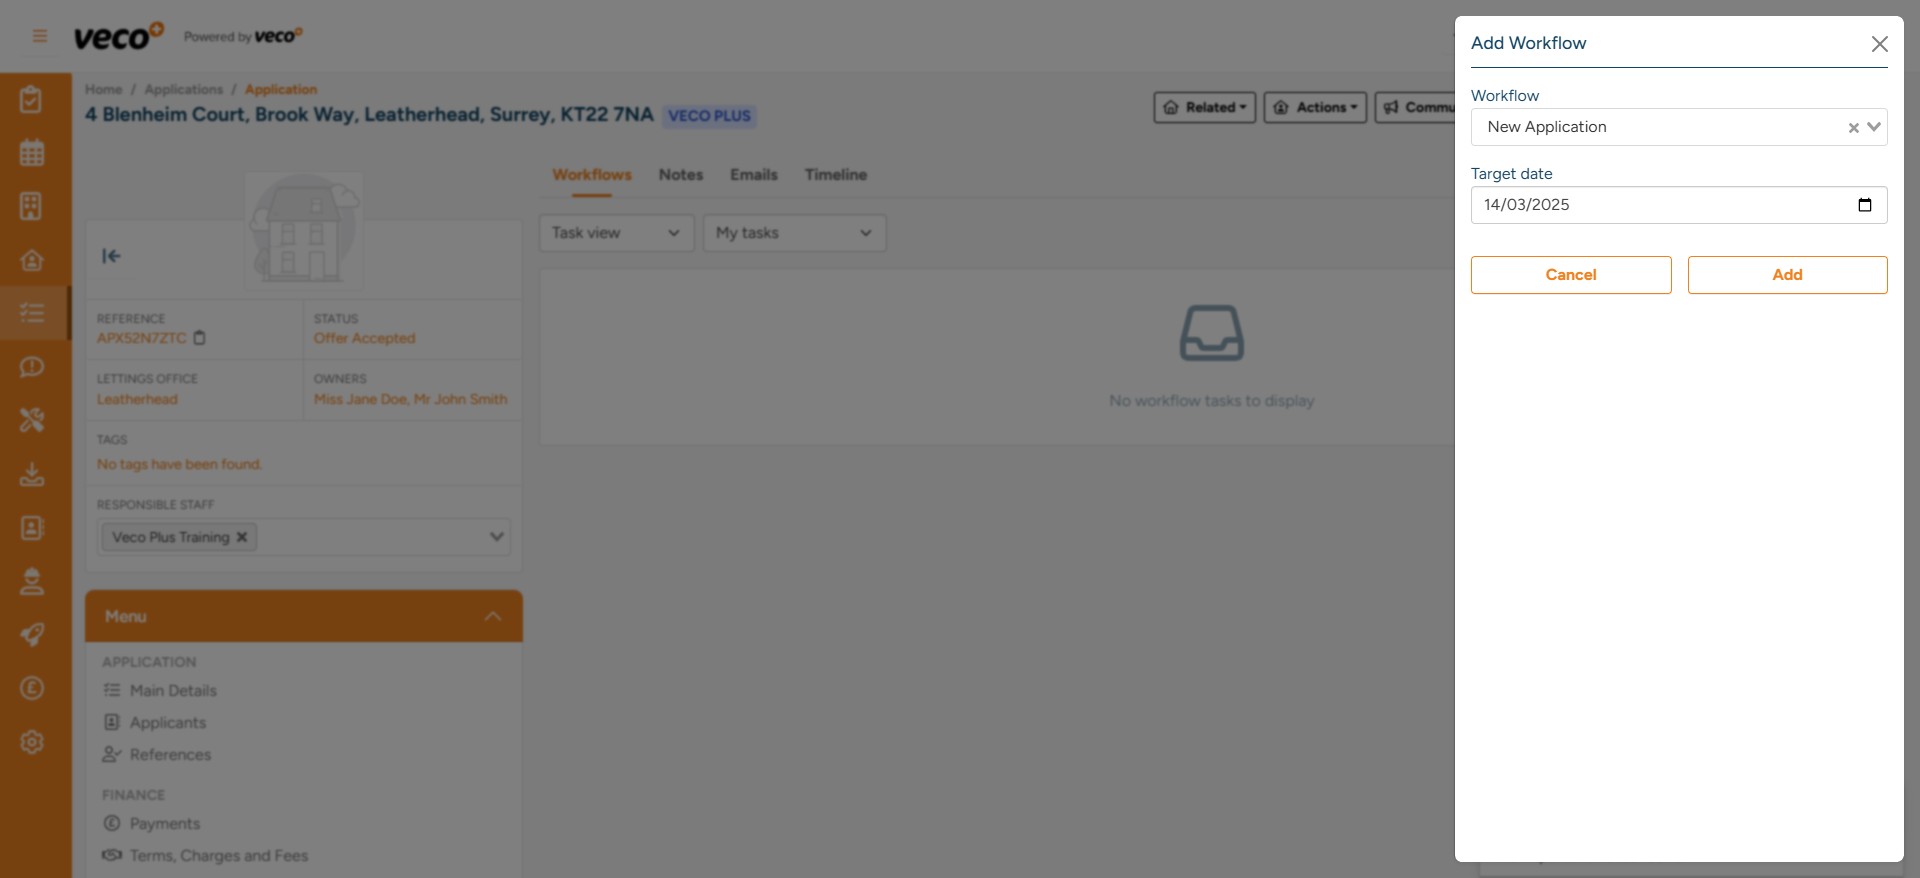
Select the 'Workflow' and 'Target date'
The Workflow will then appear on the application
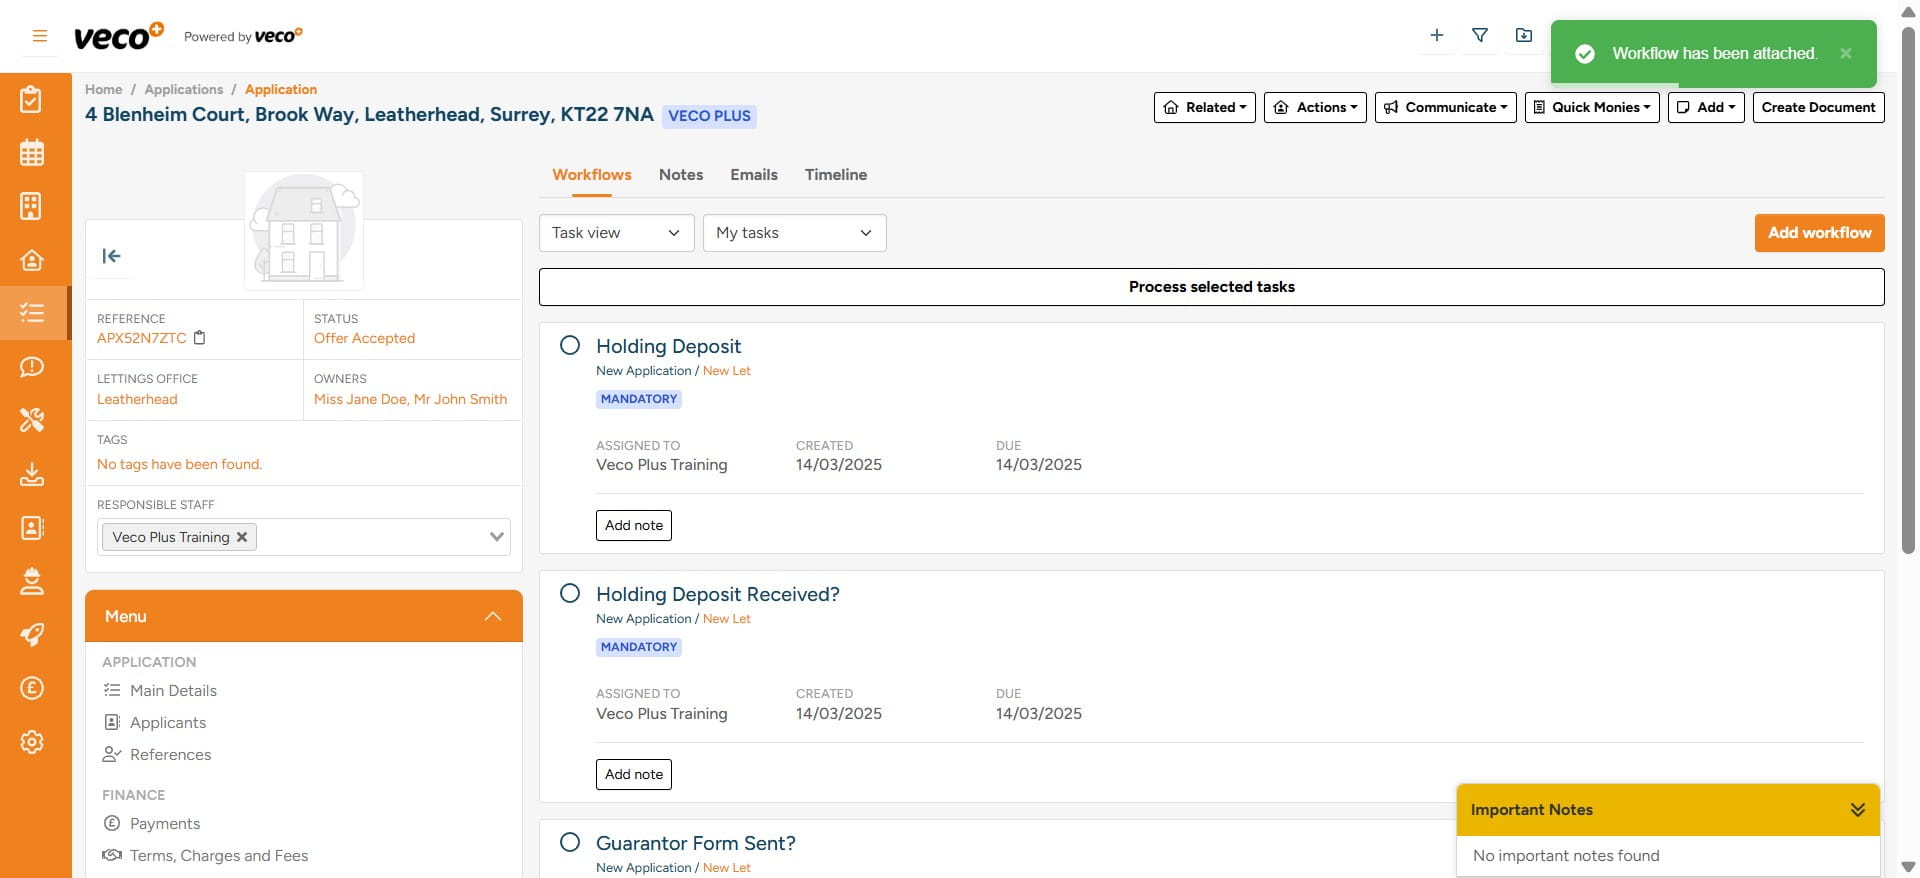
‘Workflow View’ can be changed to view the Workflow tasks in different ways and you can also filter the tasks to view what has been assigned to you

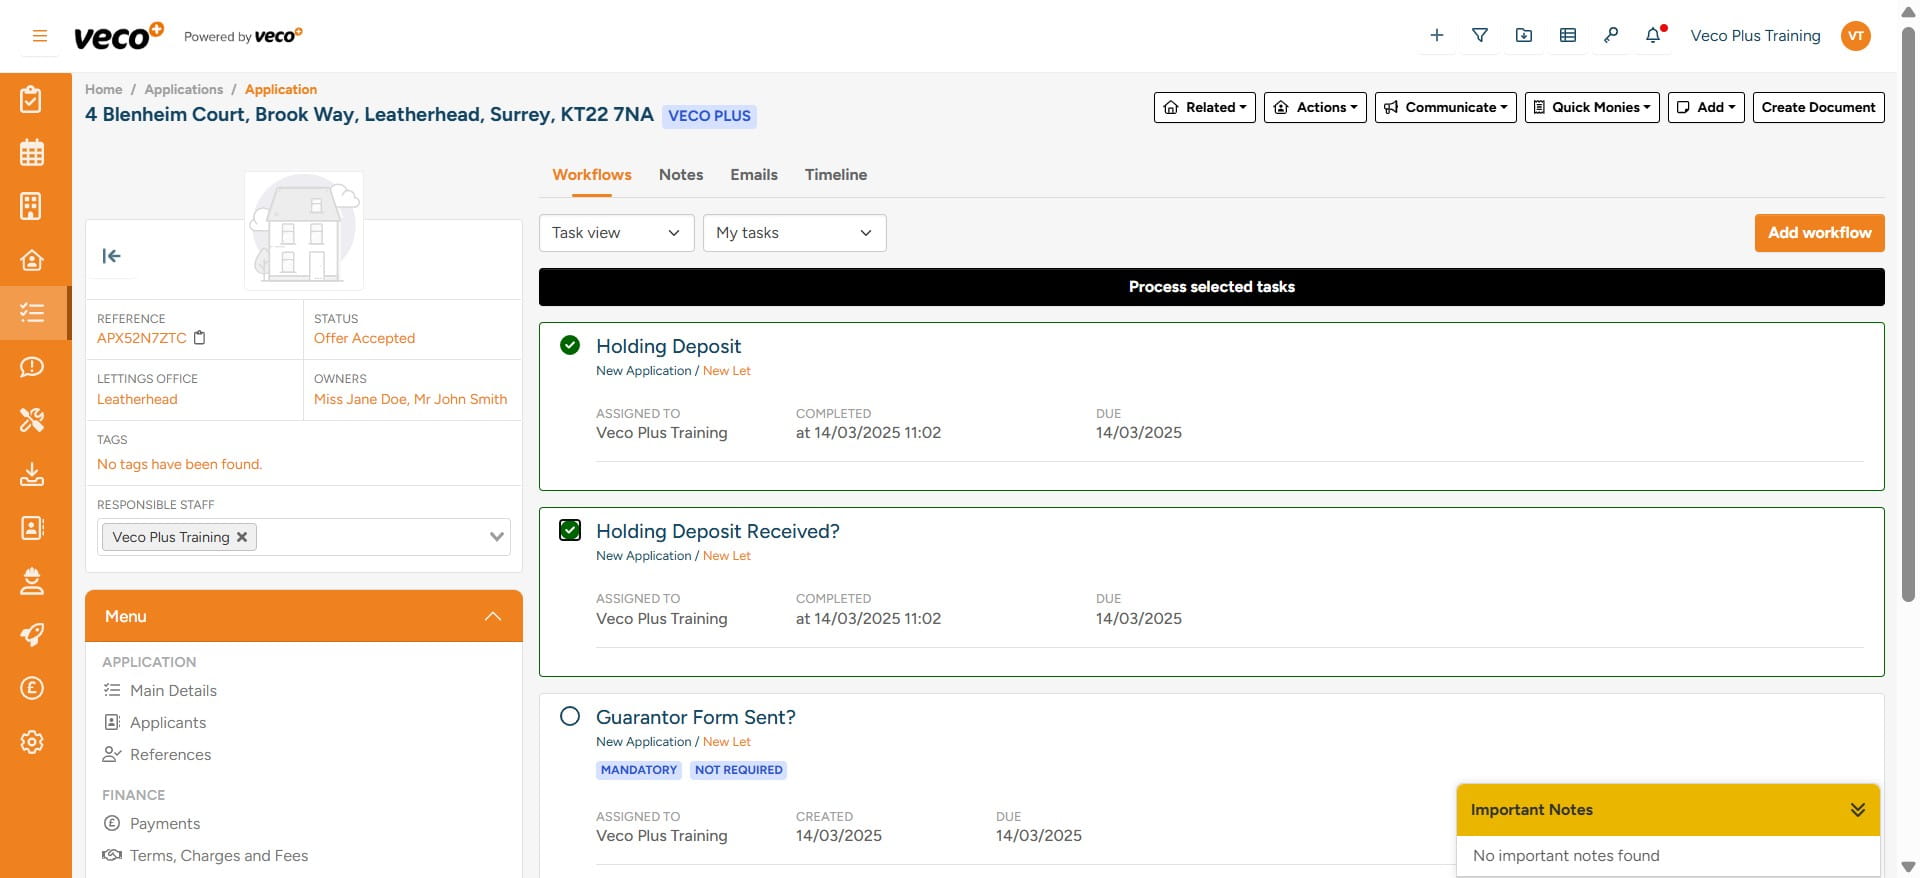
You will also be responsible for ticking when a task has been completed
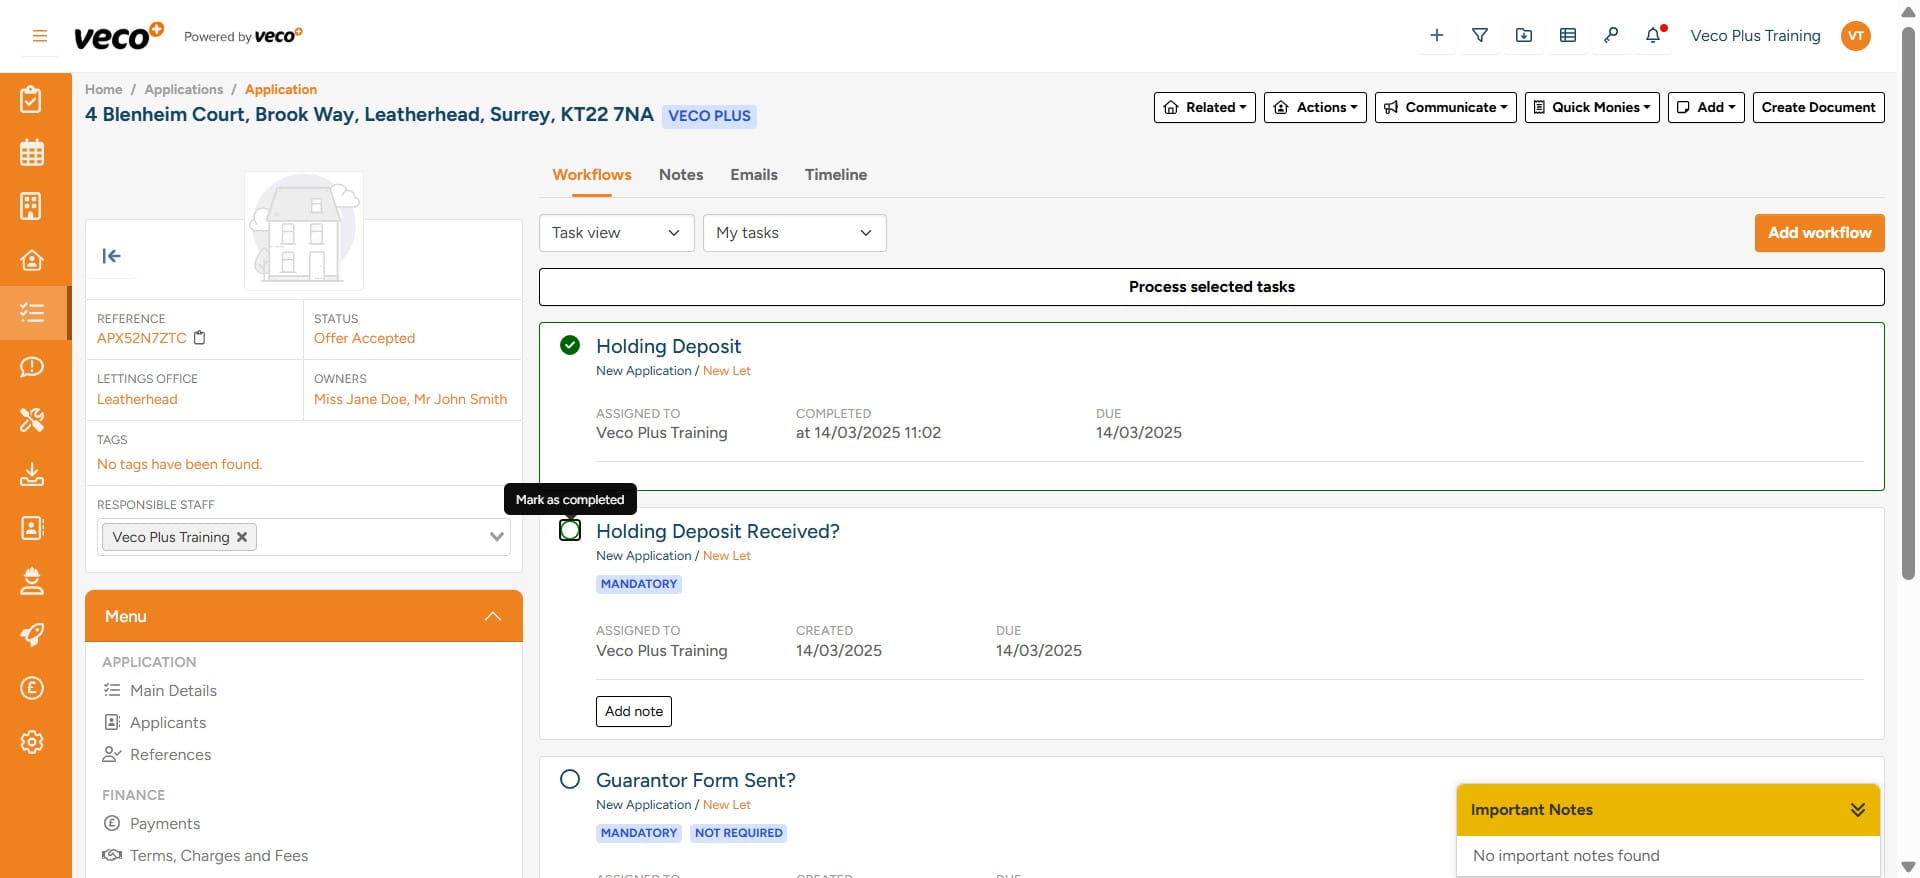
Once you have completed the individual task, you will need to select 'Process selected tasks'
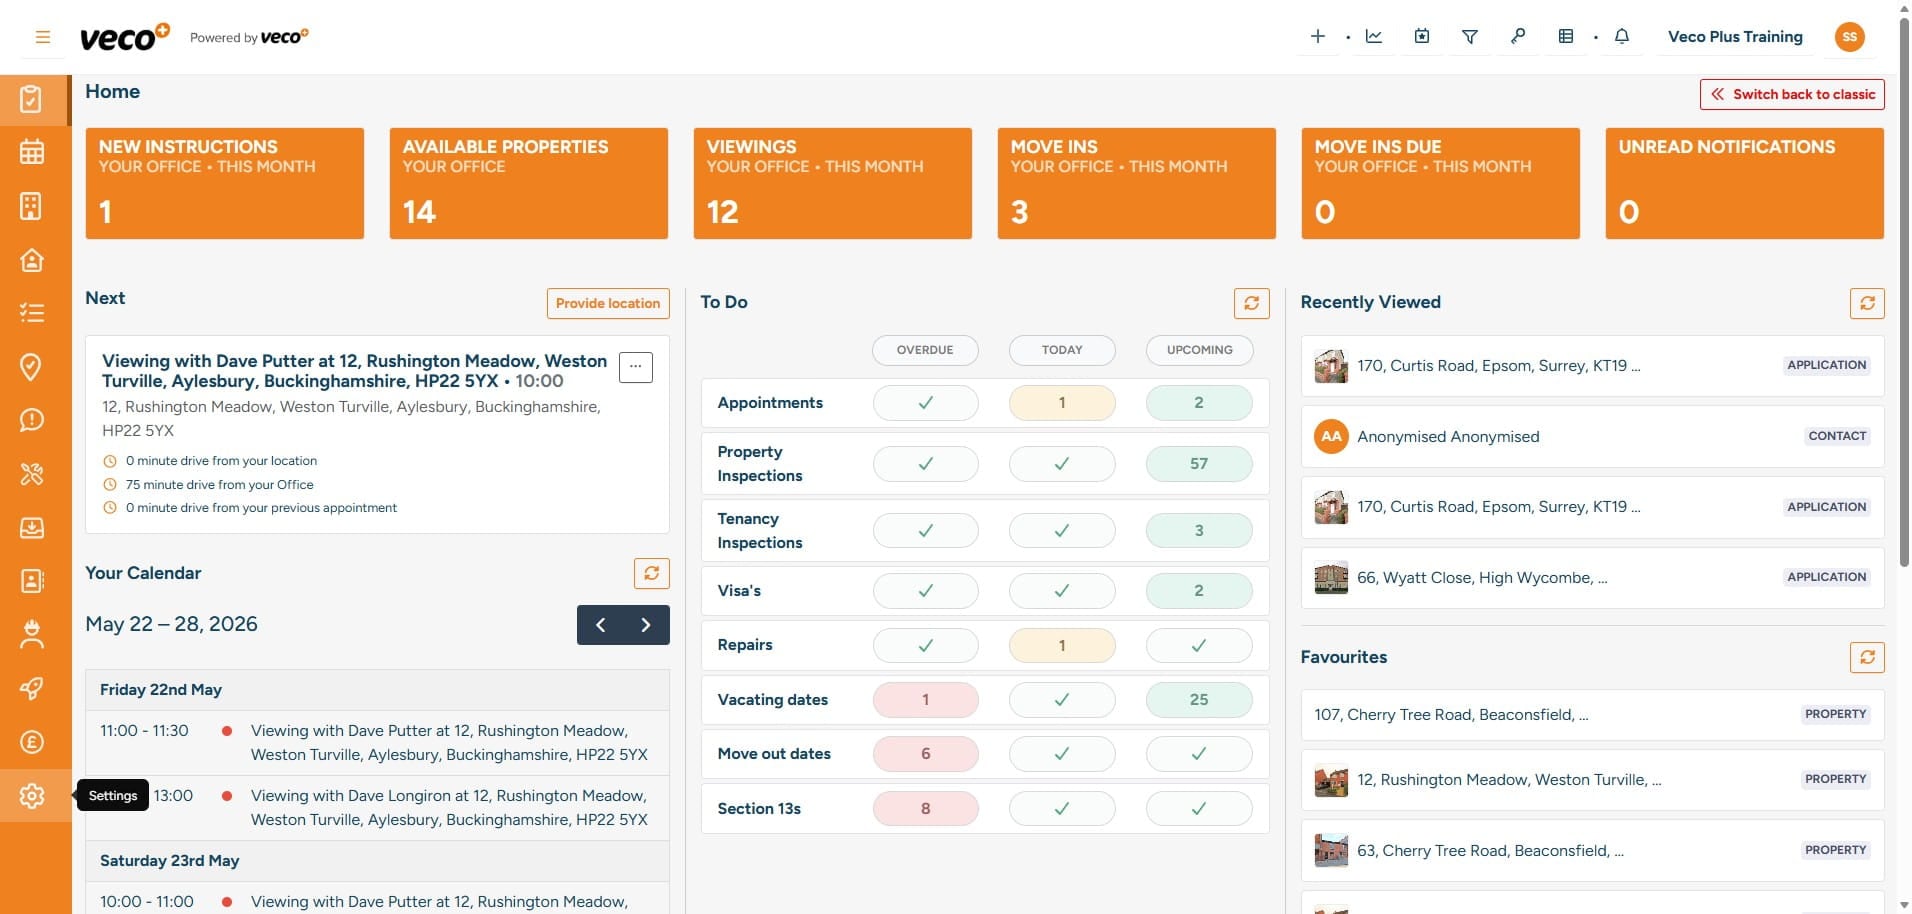
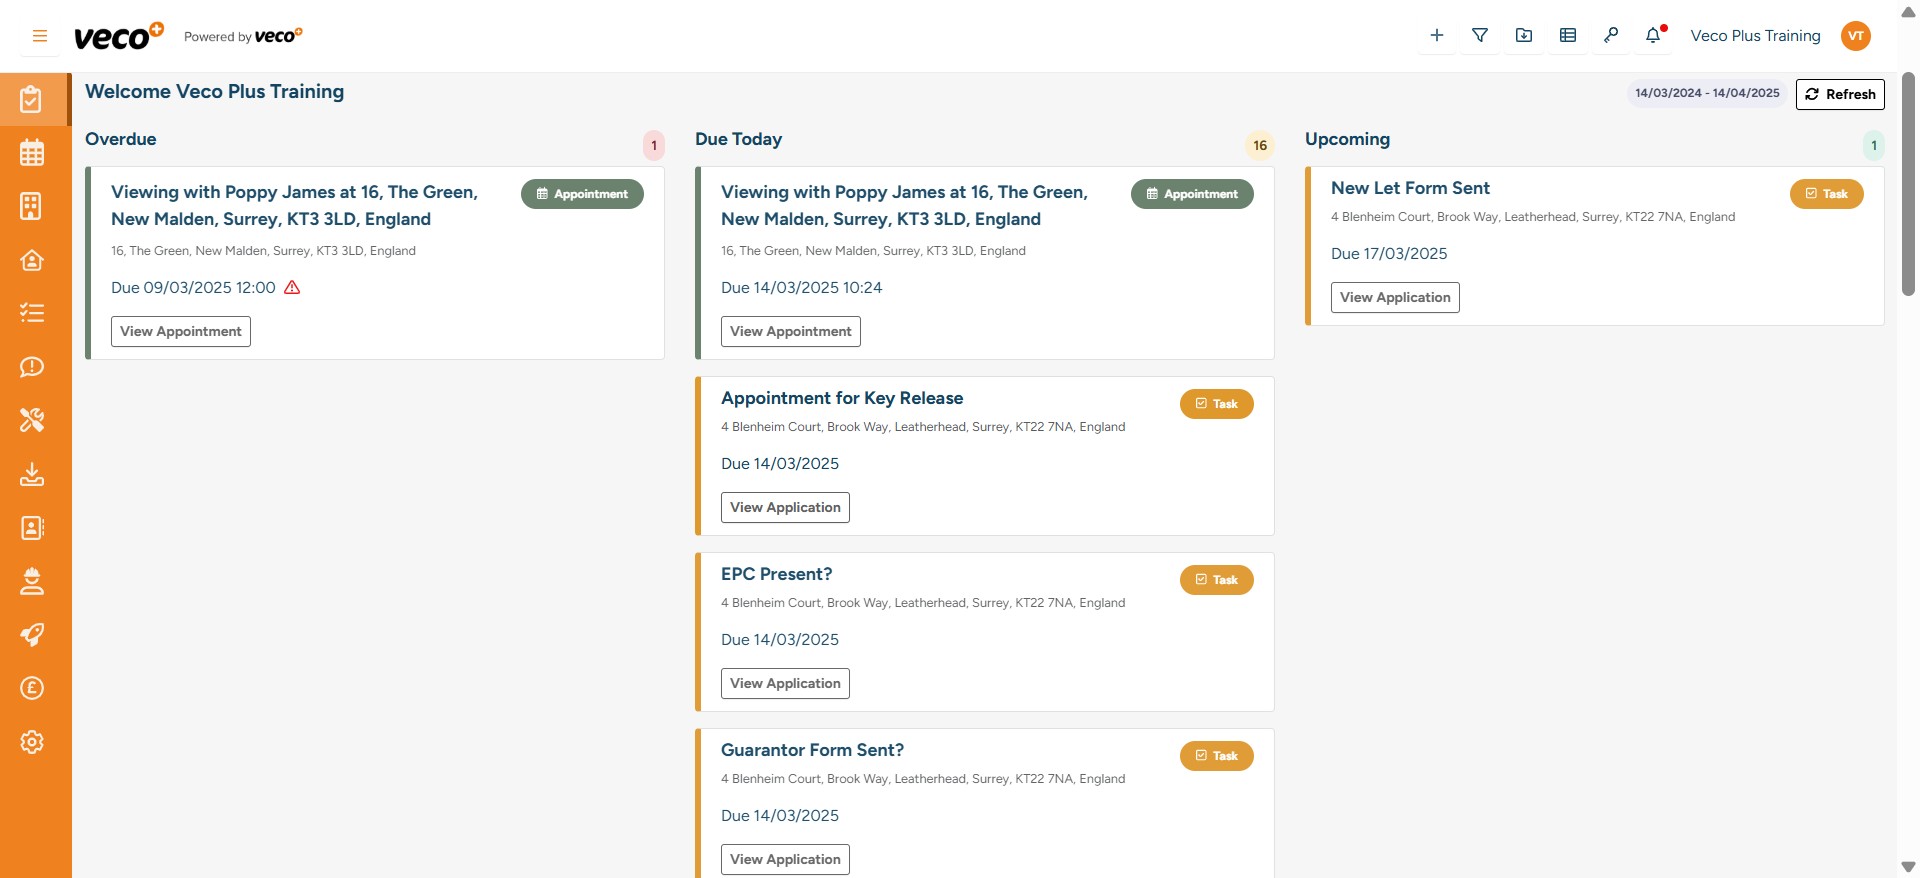
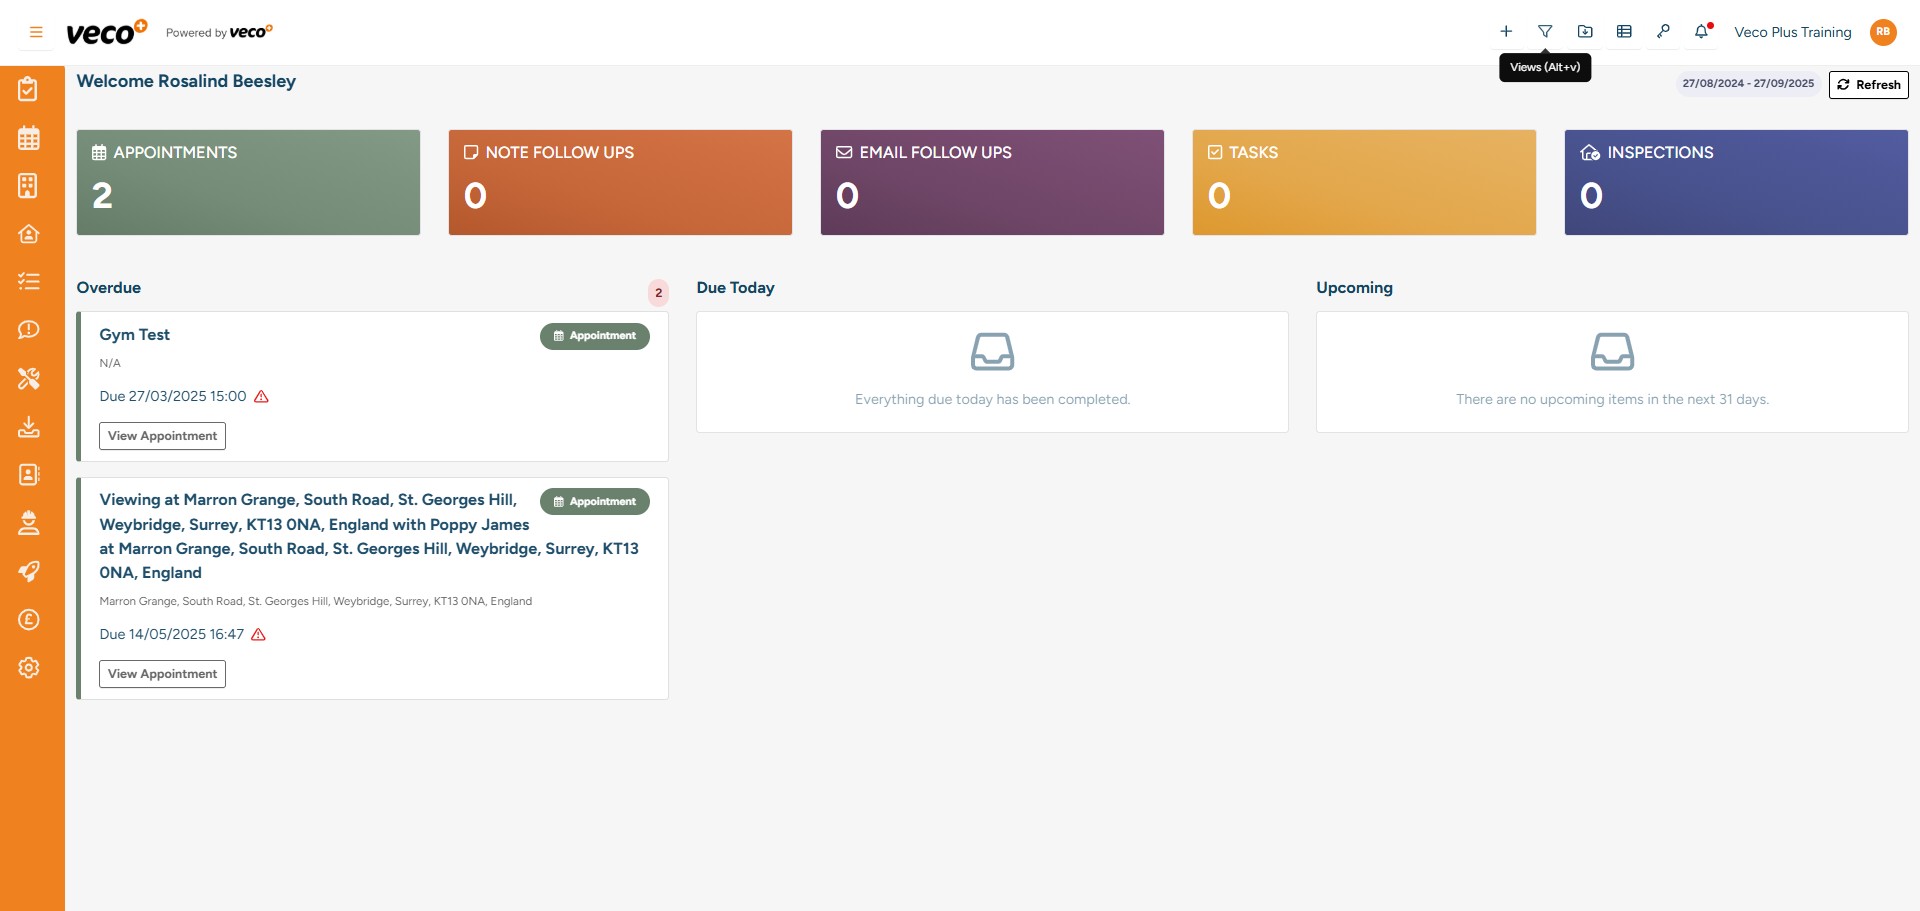
Tasks assigned to you will appear in your 'Tasks' from the Dashboard
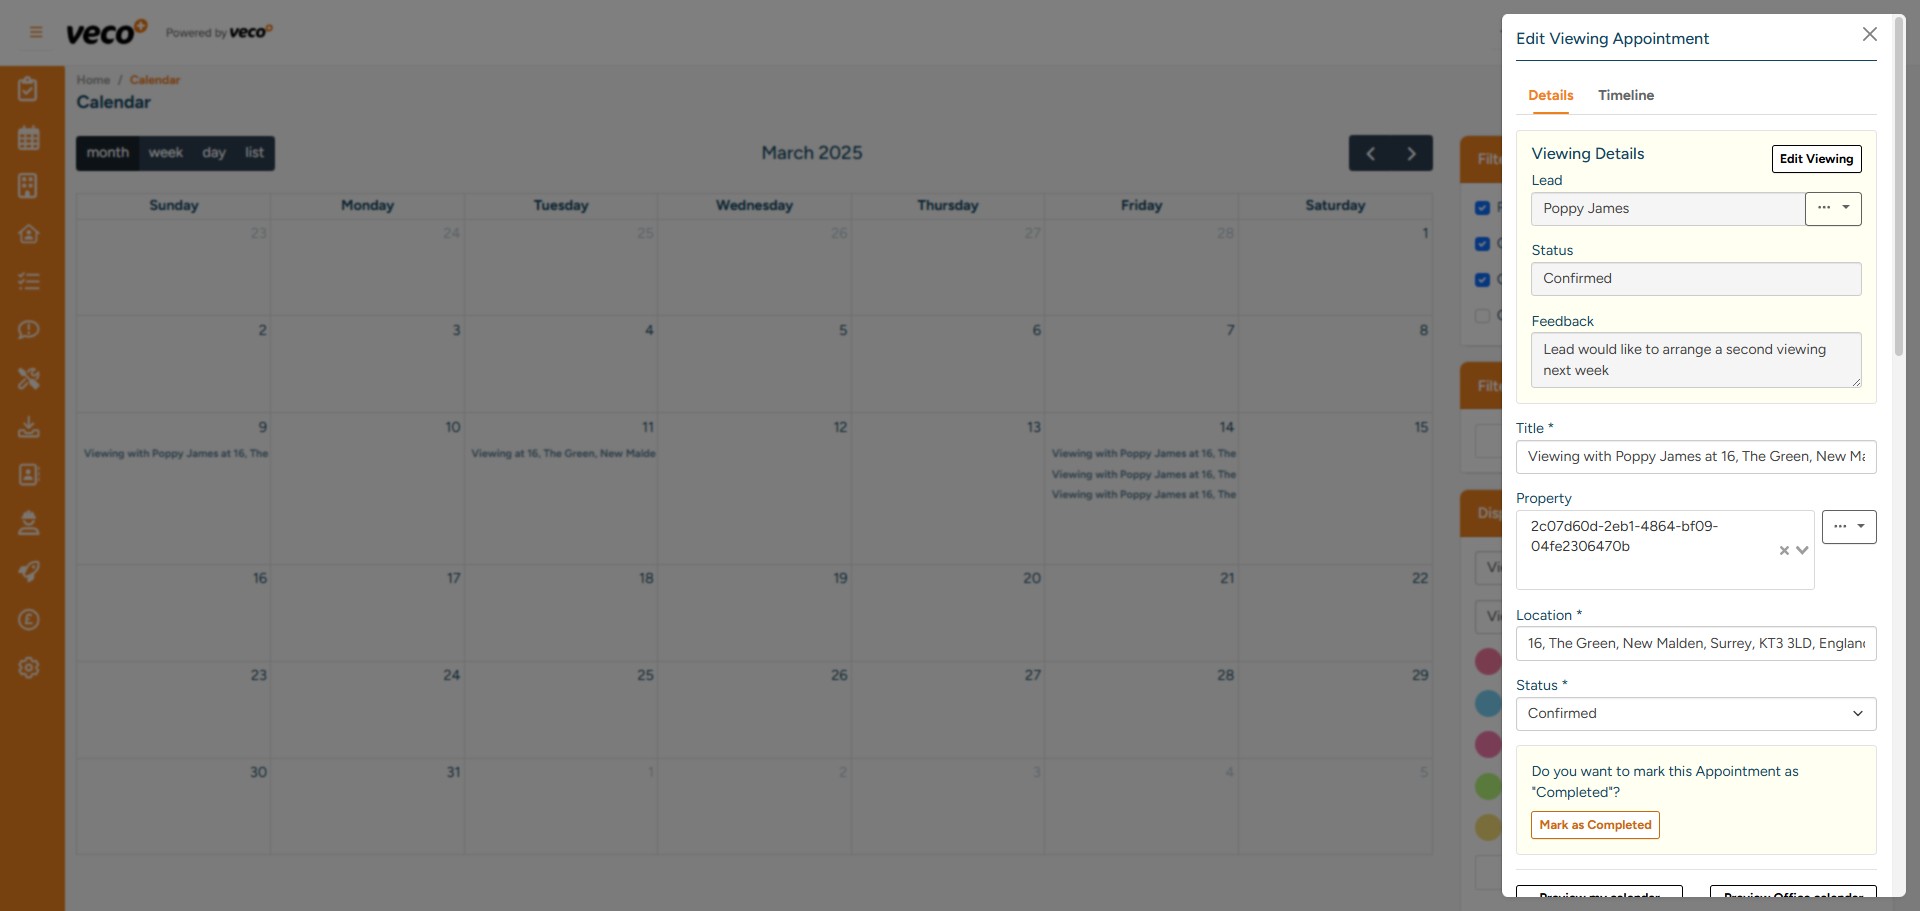
Once the Appointment has been completed you can select 'Mark as Completed'
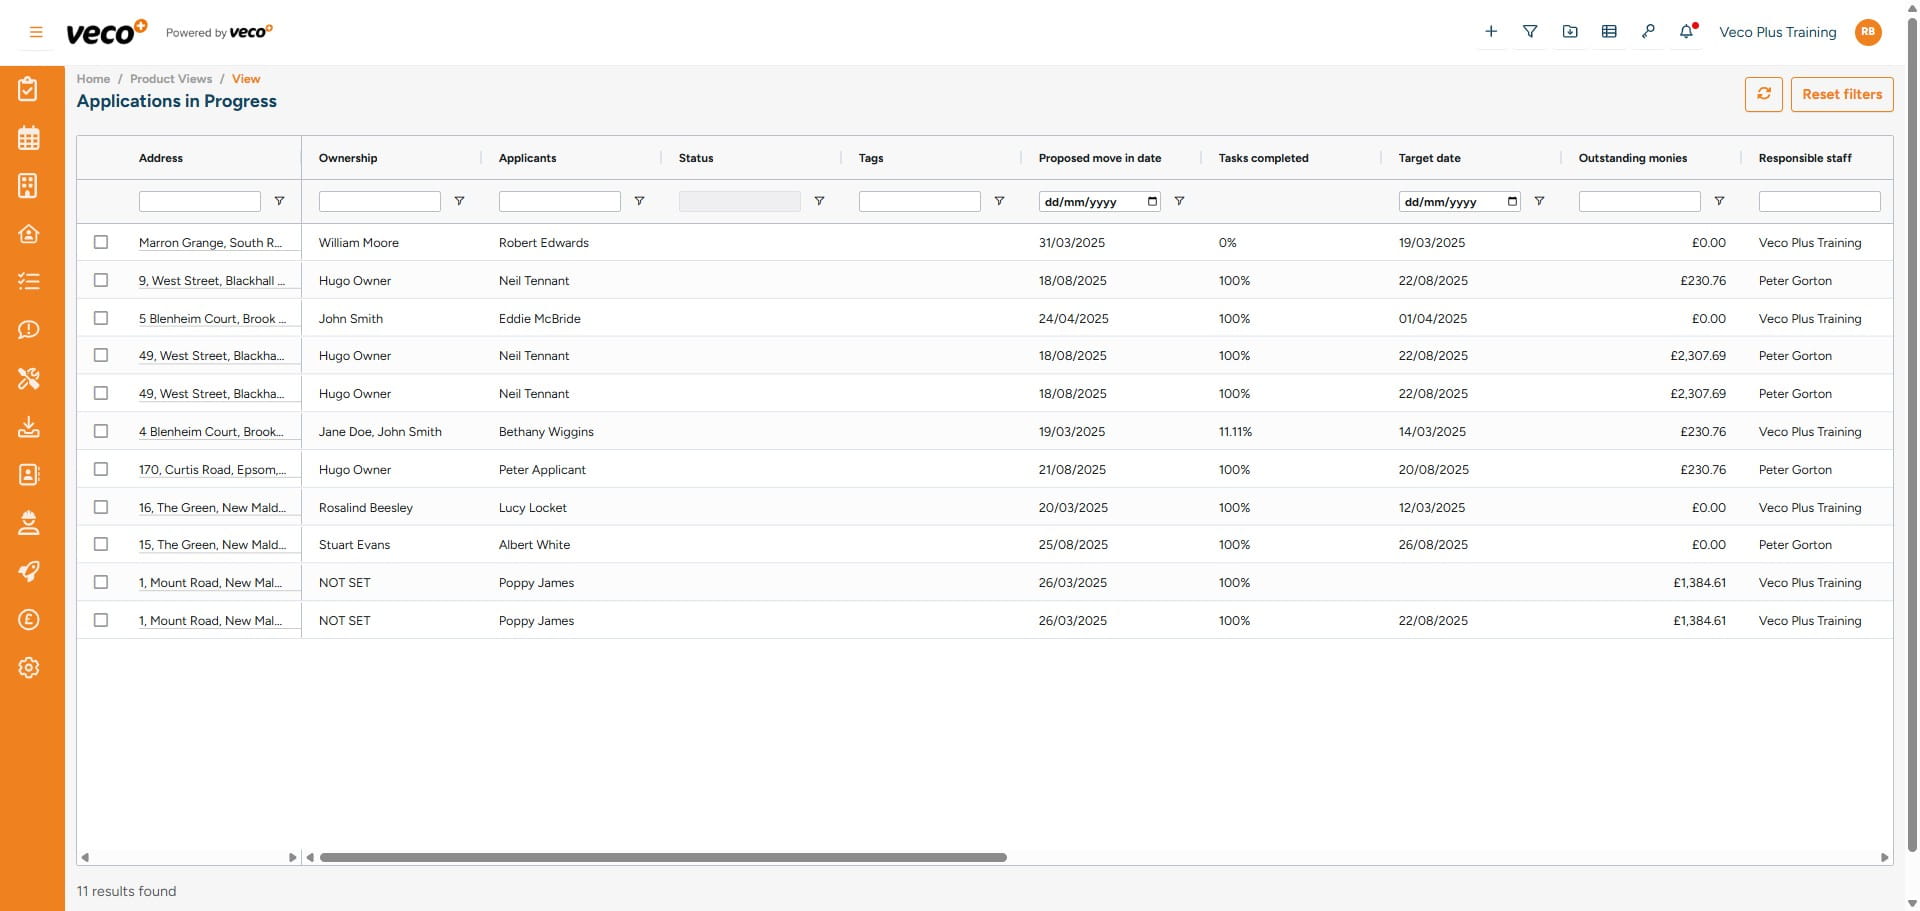
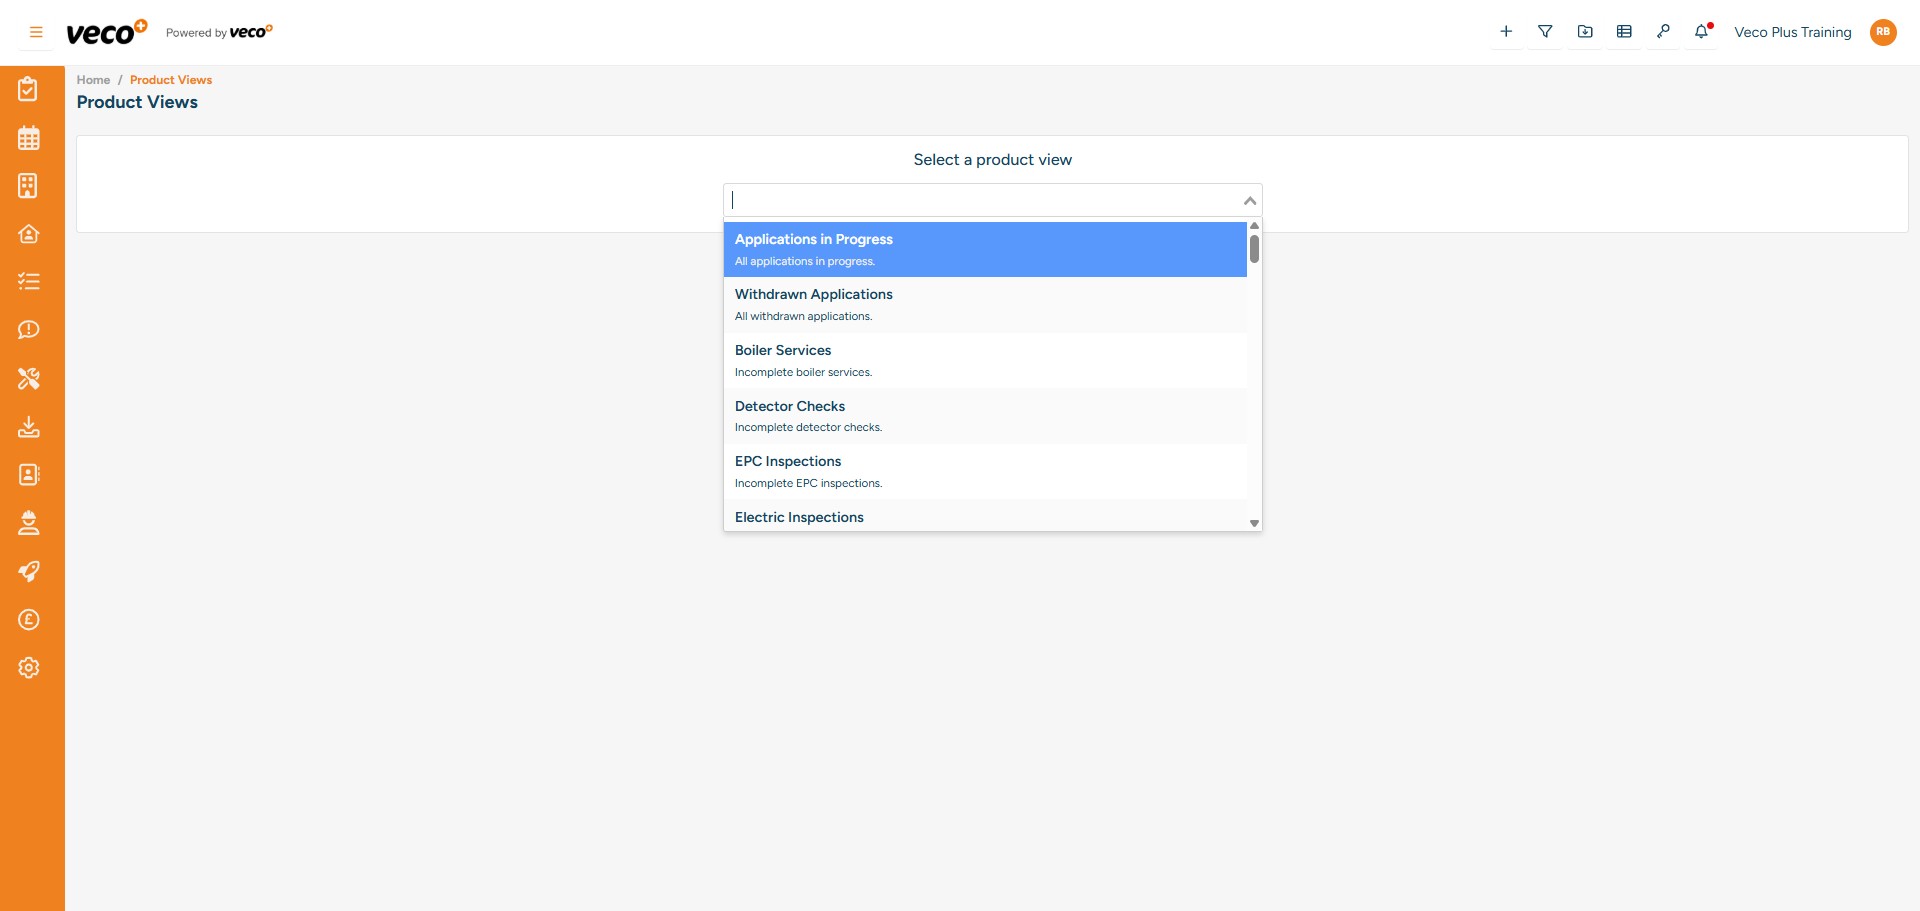
You can select ' Views' in the upper right corner
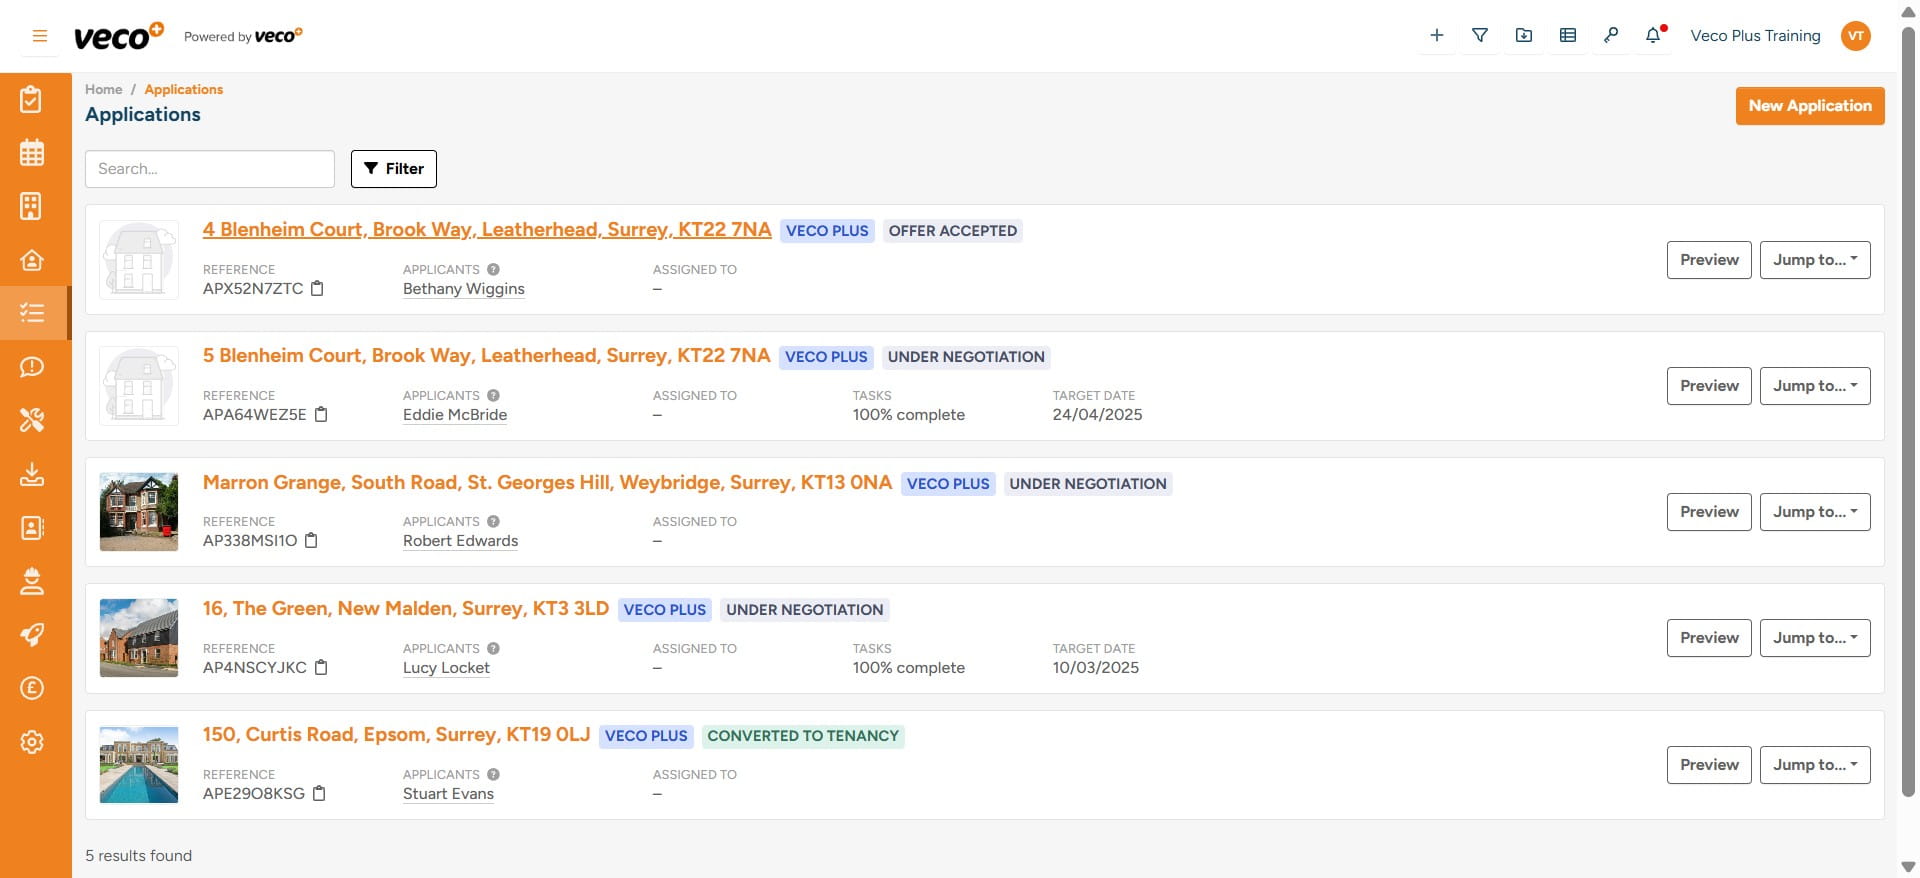
Select the 'Applications in progress' view
Here, you can see the percentage of tasks that have been completed on a Workflow for an Application, and a target date if one has been set