Adding a Viewing
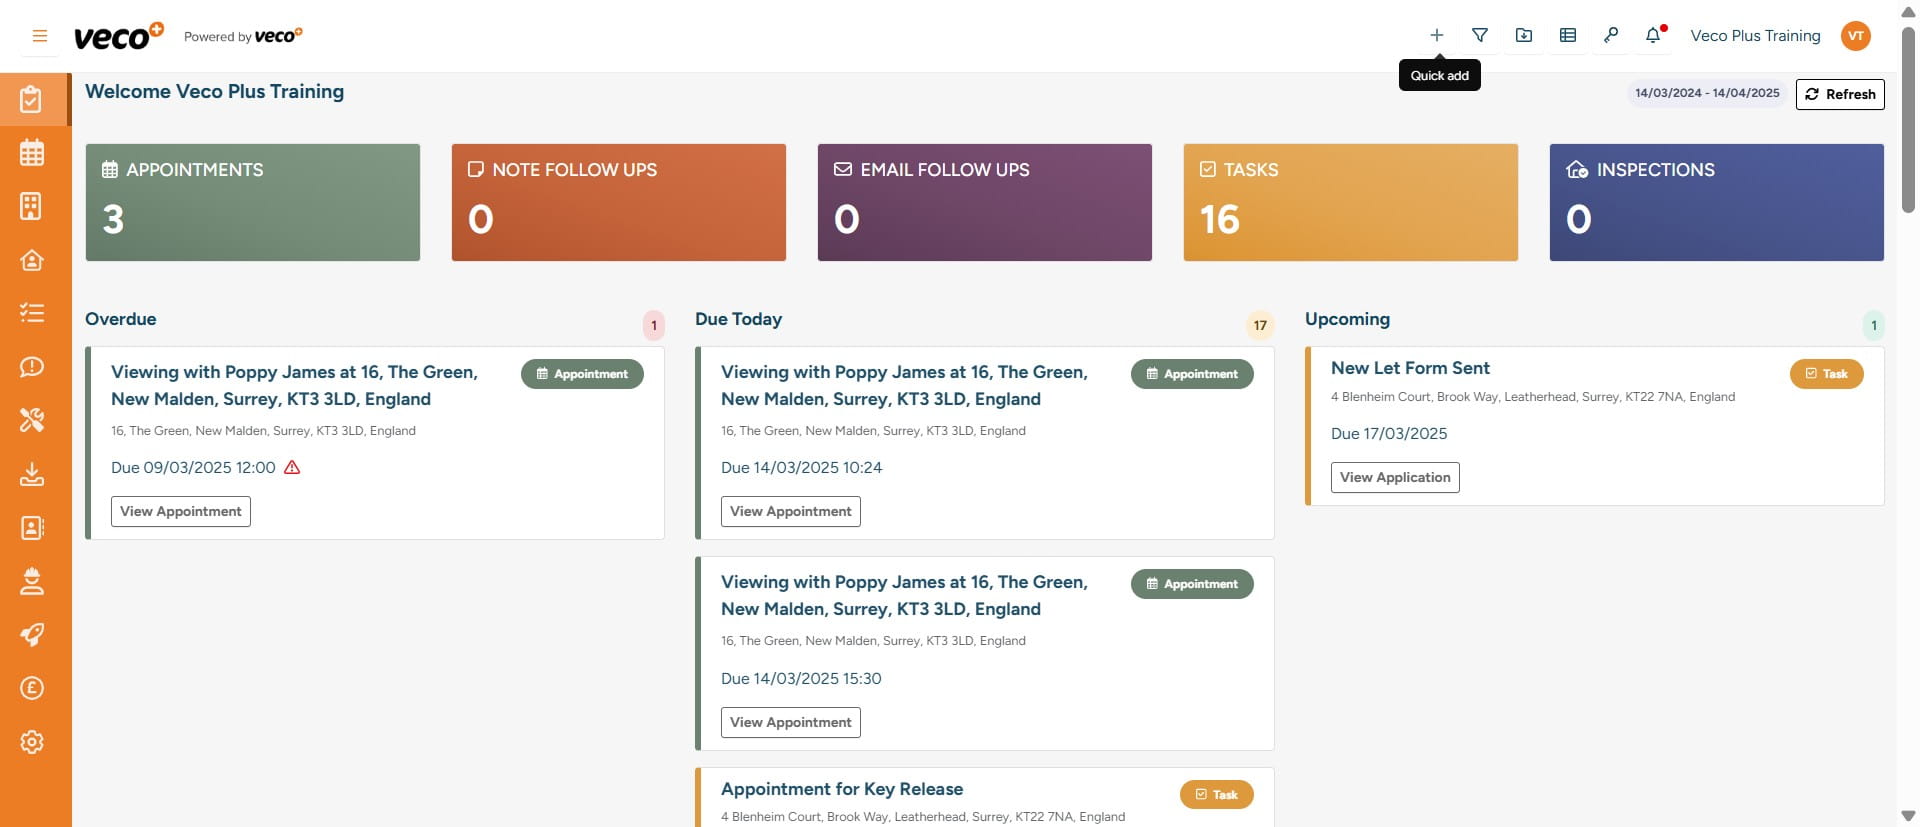
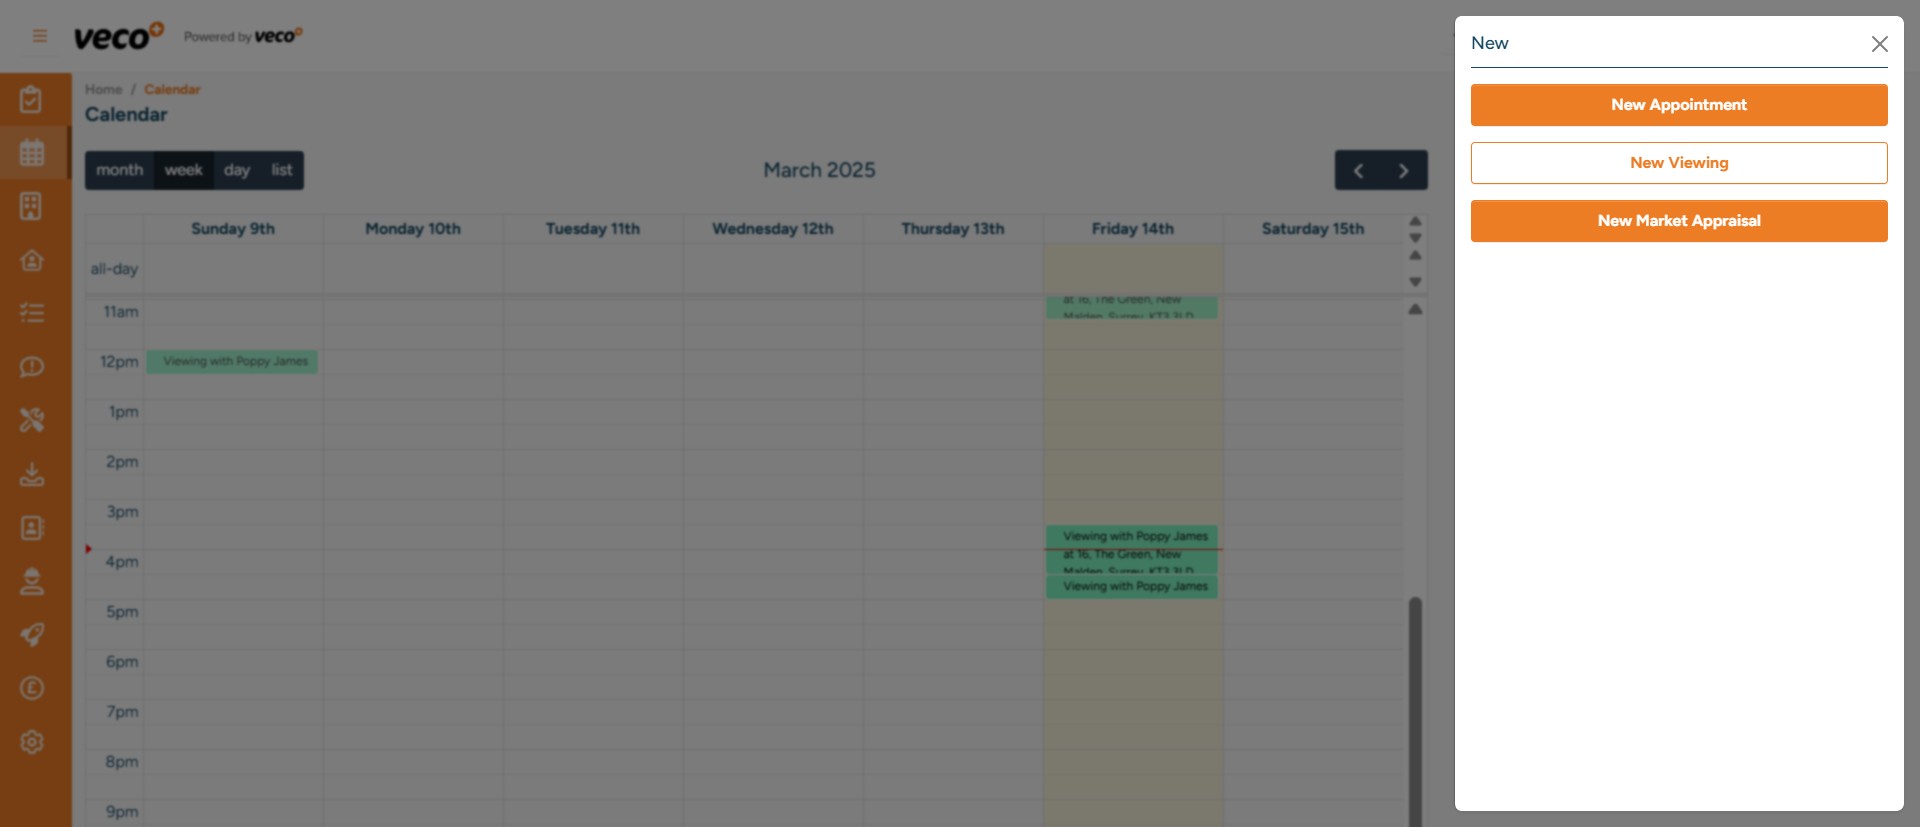
To add a viewing, in the upper right corner, select the ‘+’ symbol
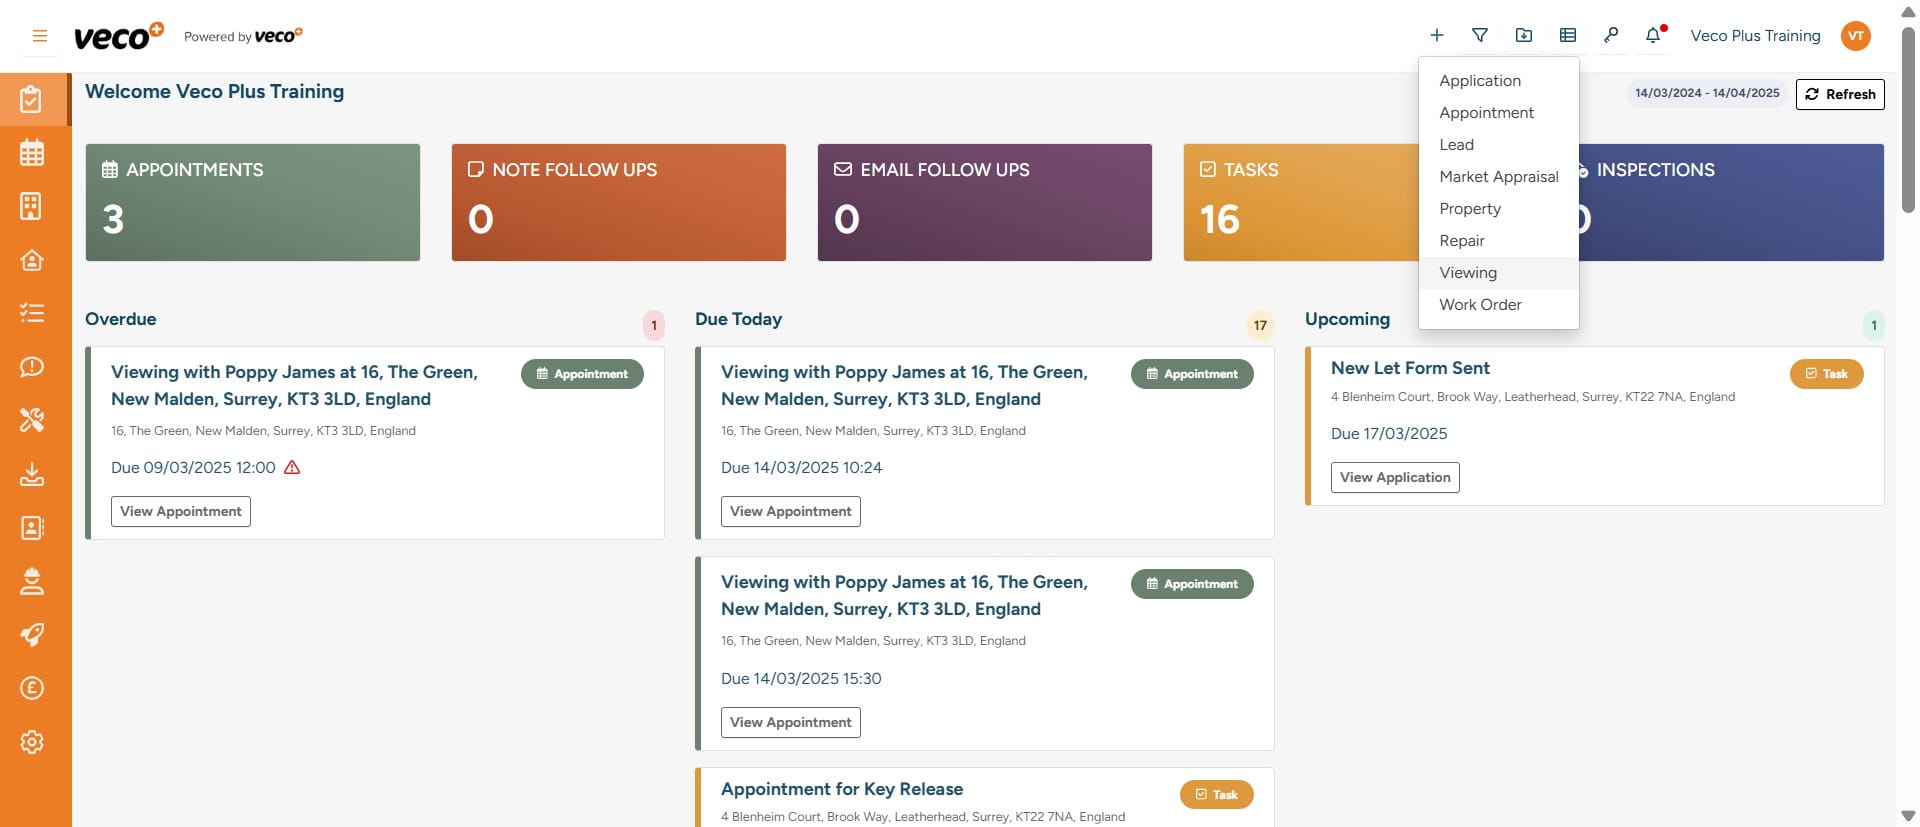
Select ‘Viewing’
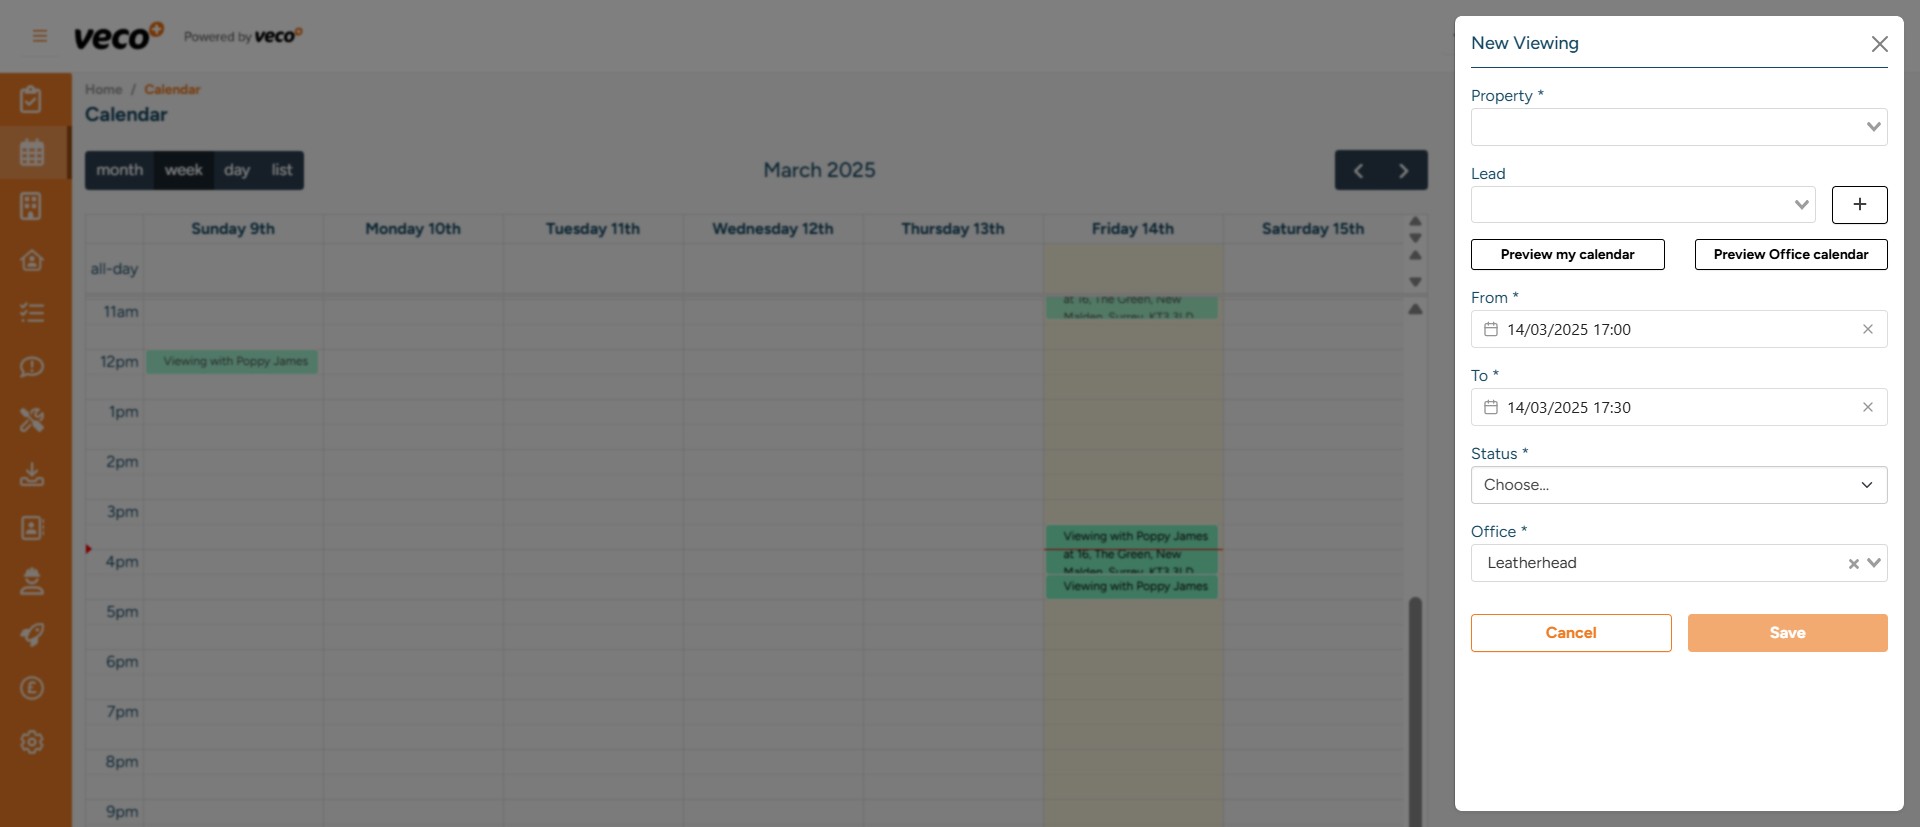
Please enter the required information such as the 'Property' and 'Status'
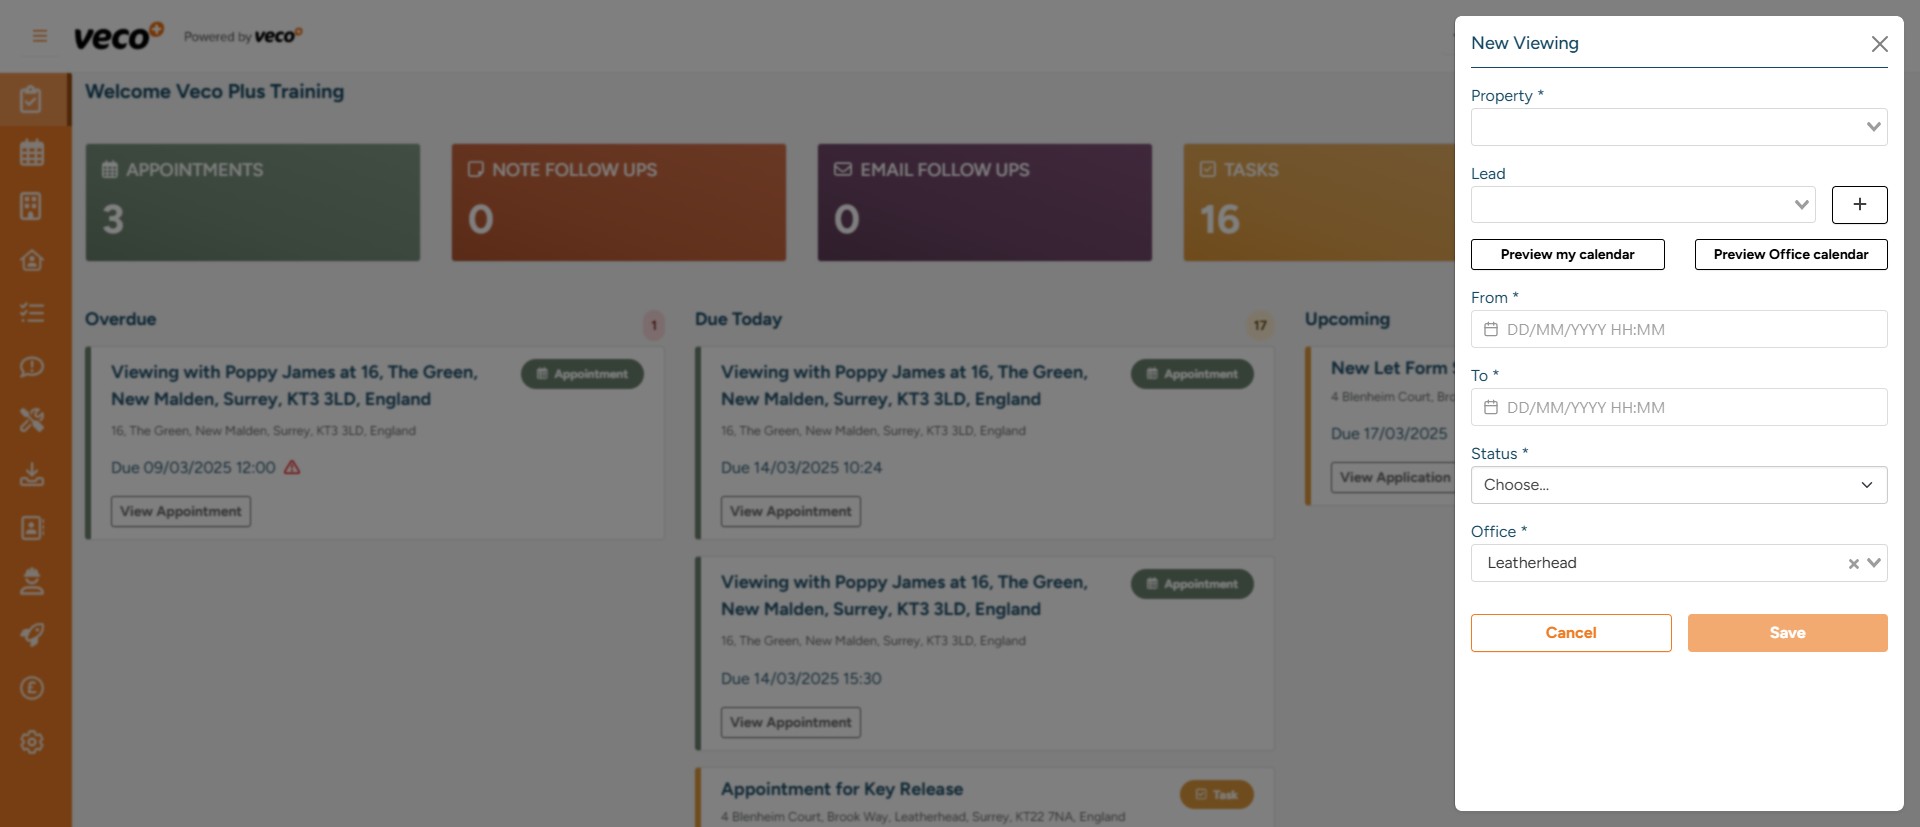
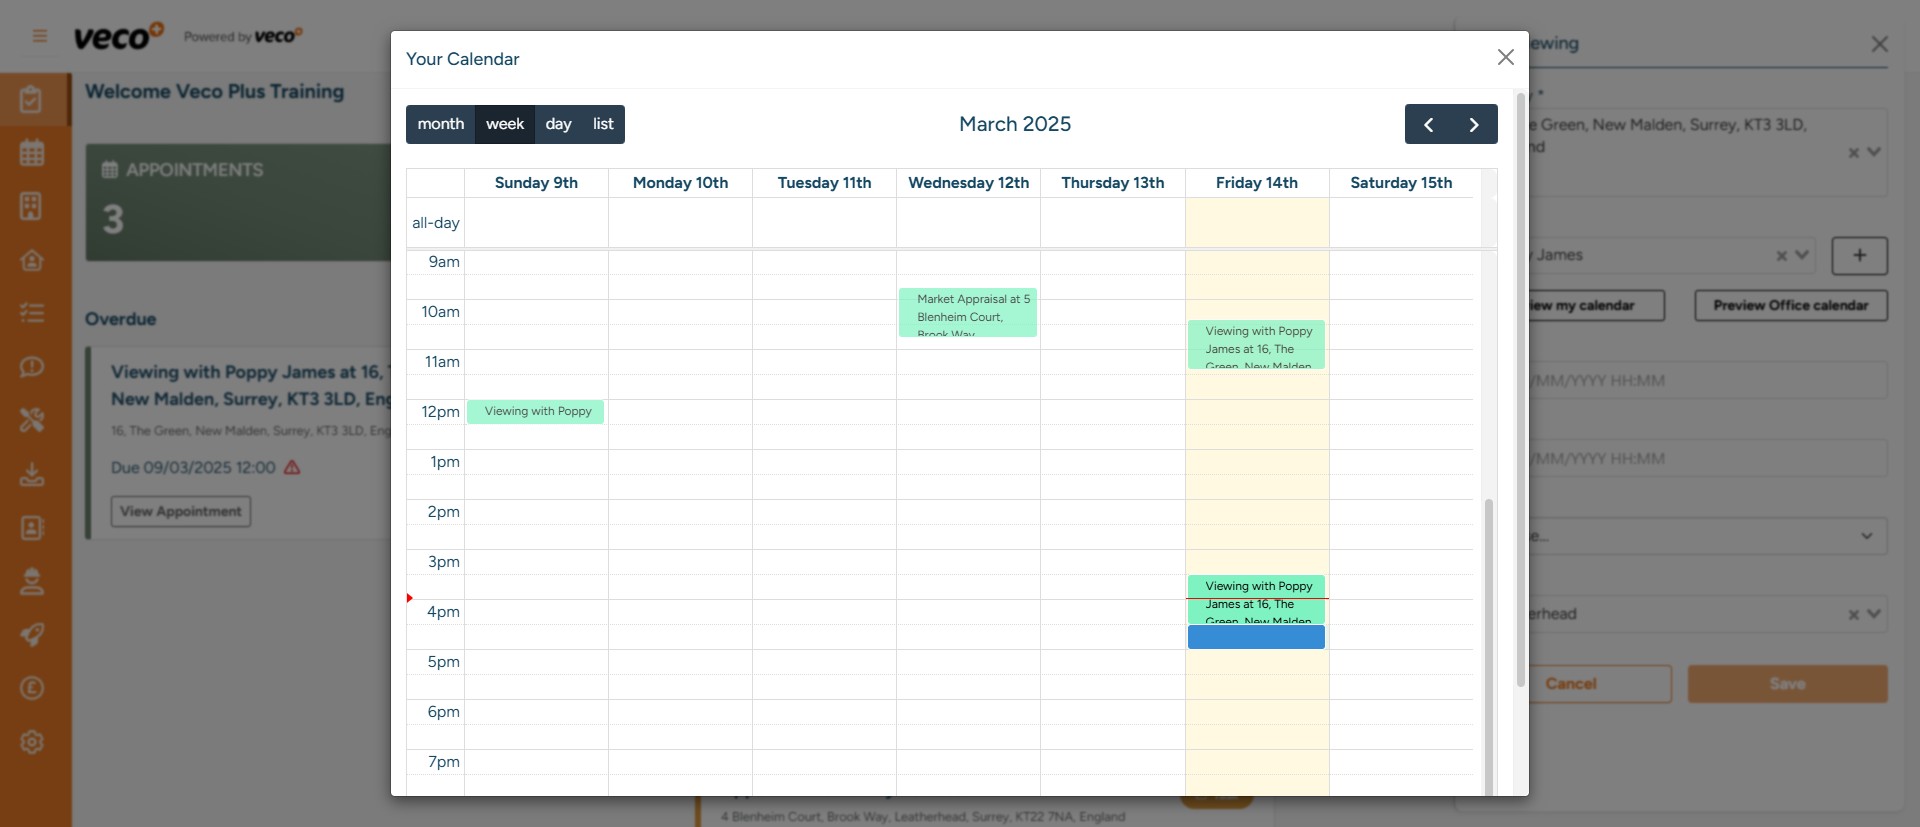
You can also preview the calendar from here ahead of booking in the viewing to check availability, by selecting ‘Preview My Calendar’ or 'Preview Office Calendar'

You can select the date and time of the viewing by clicking directly on required slot in the calendar
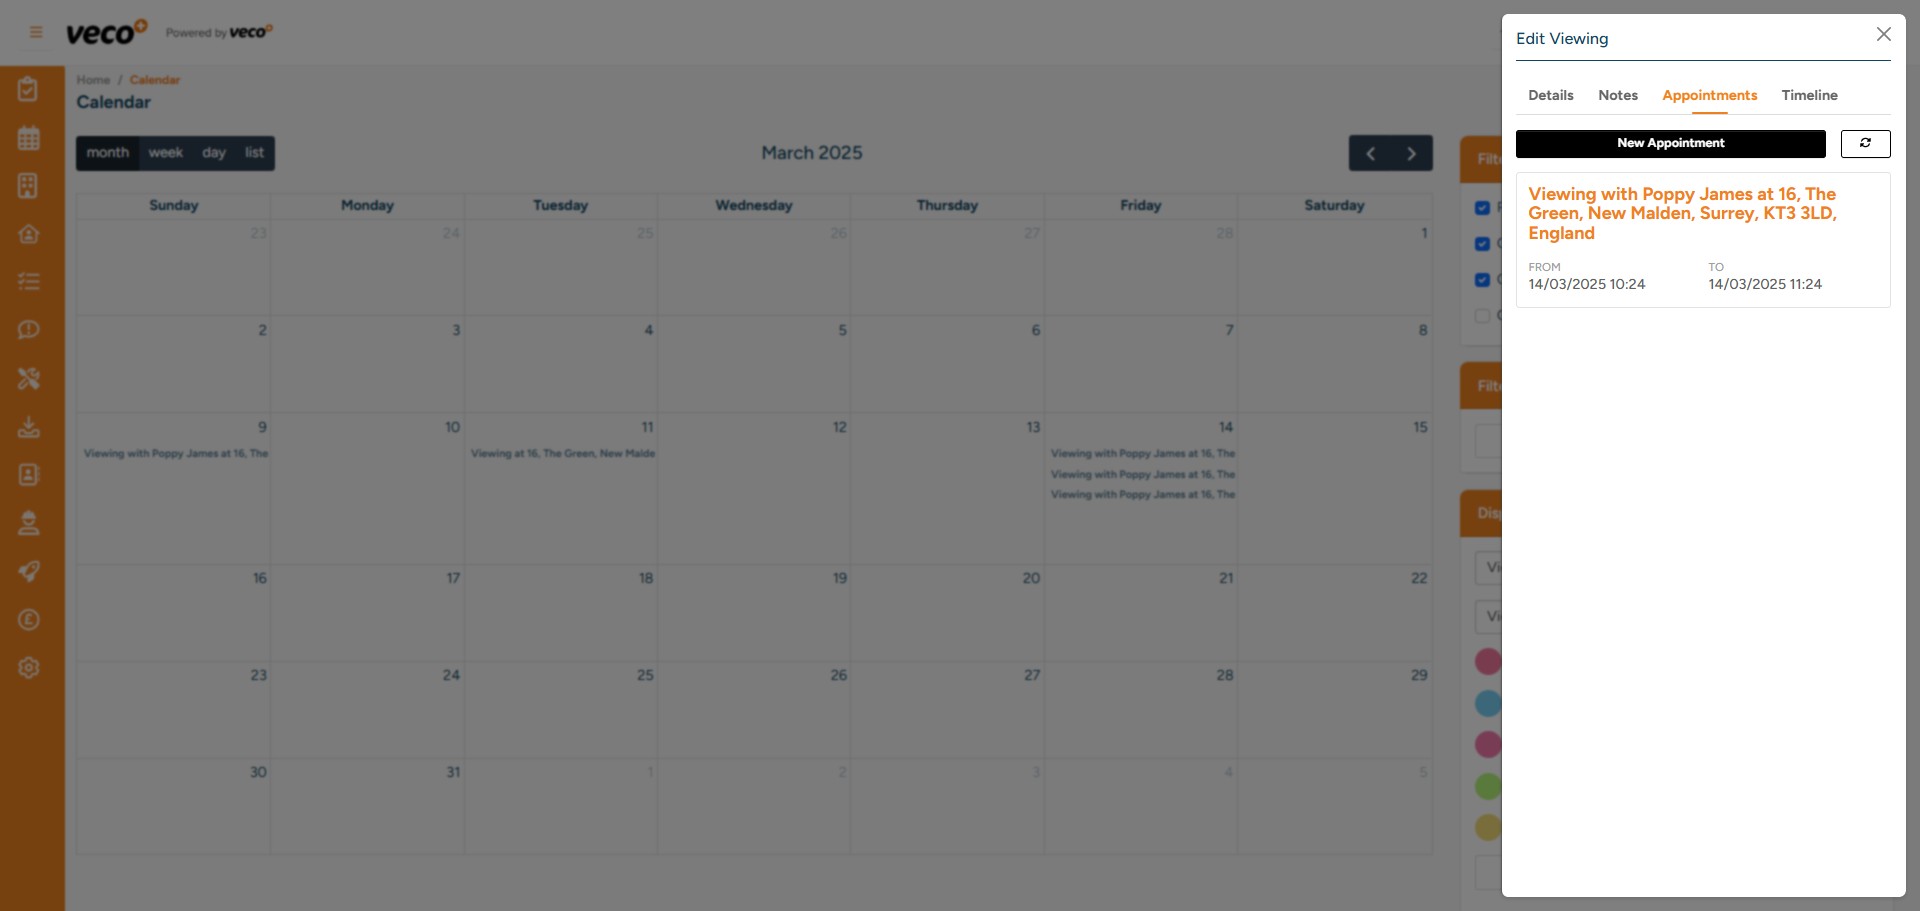
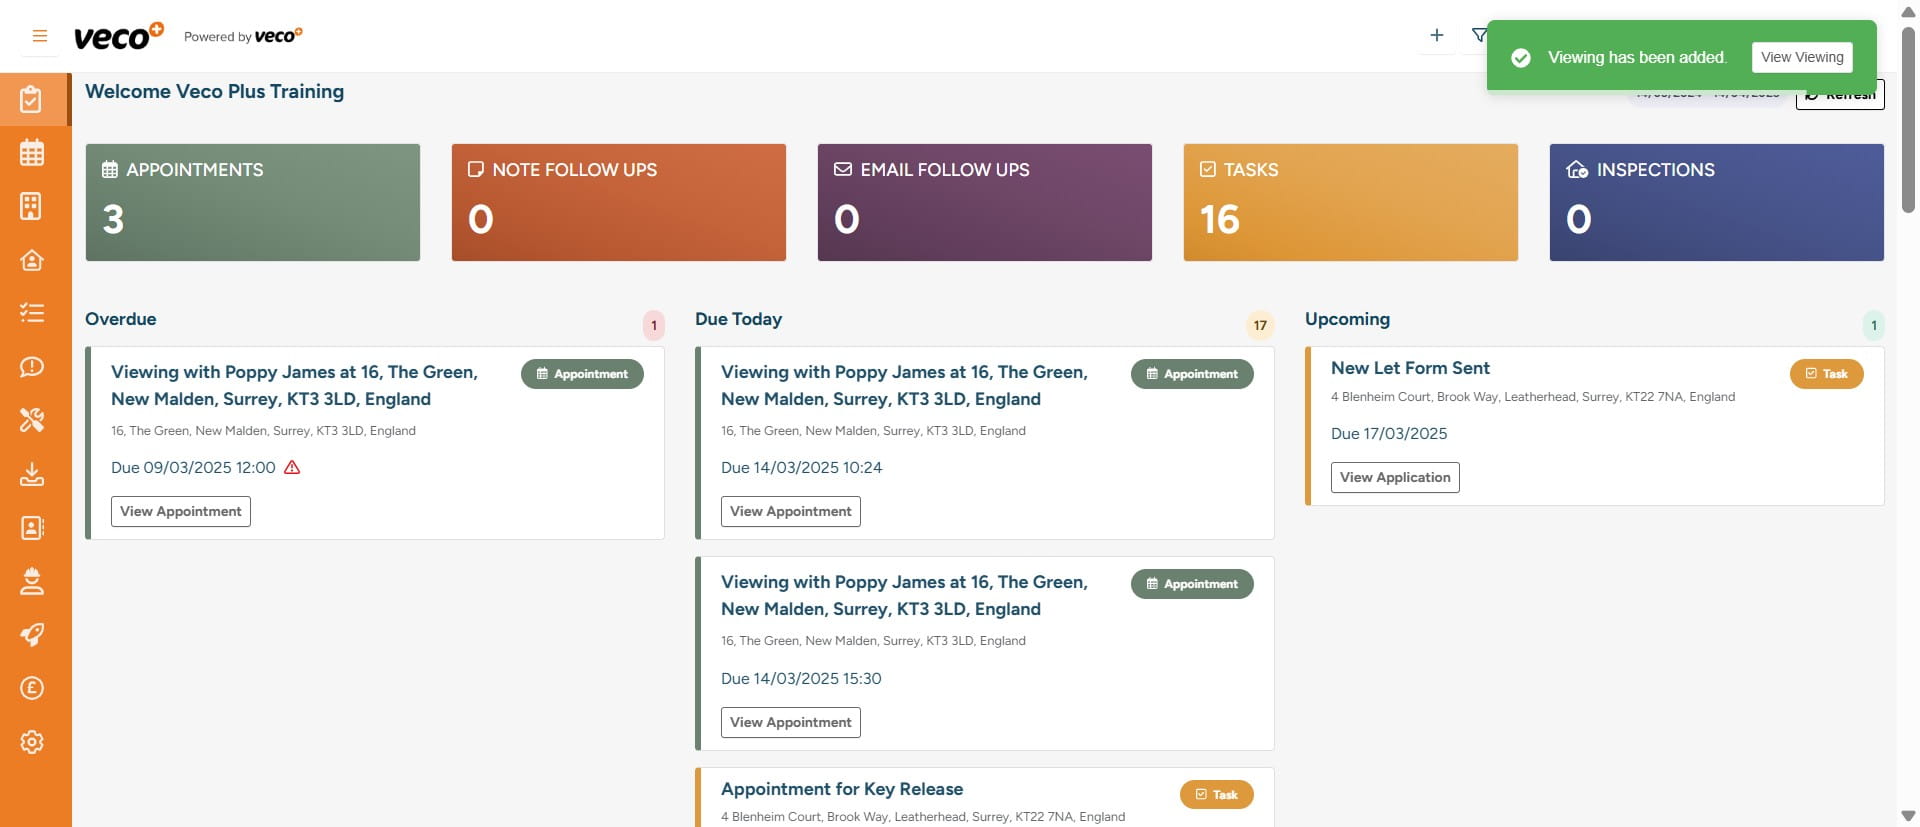
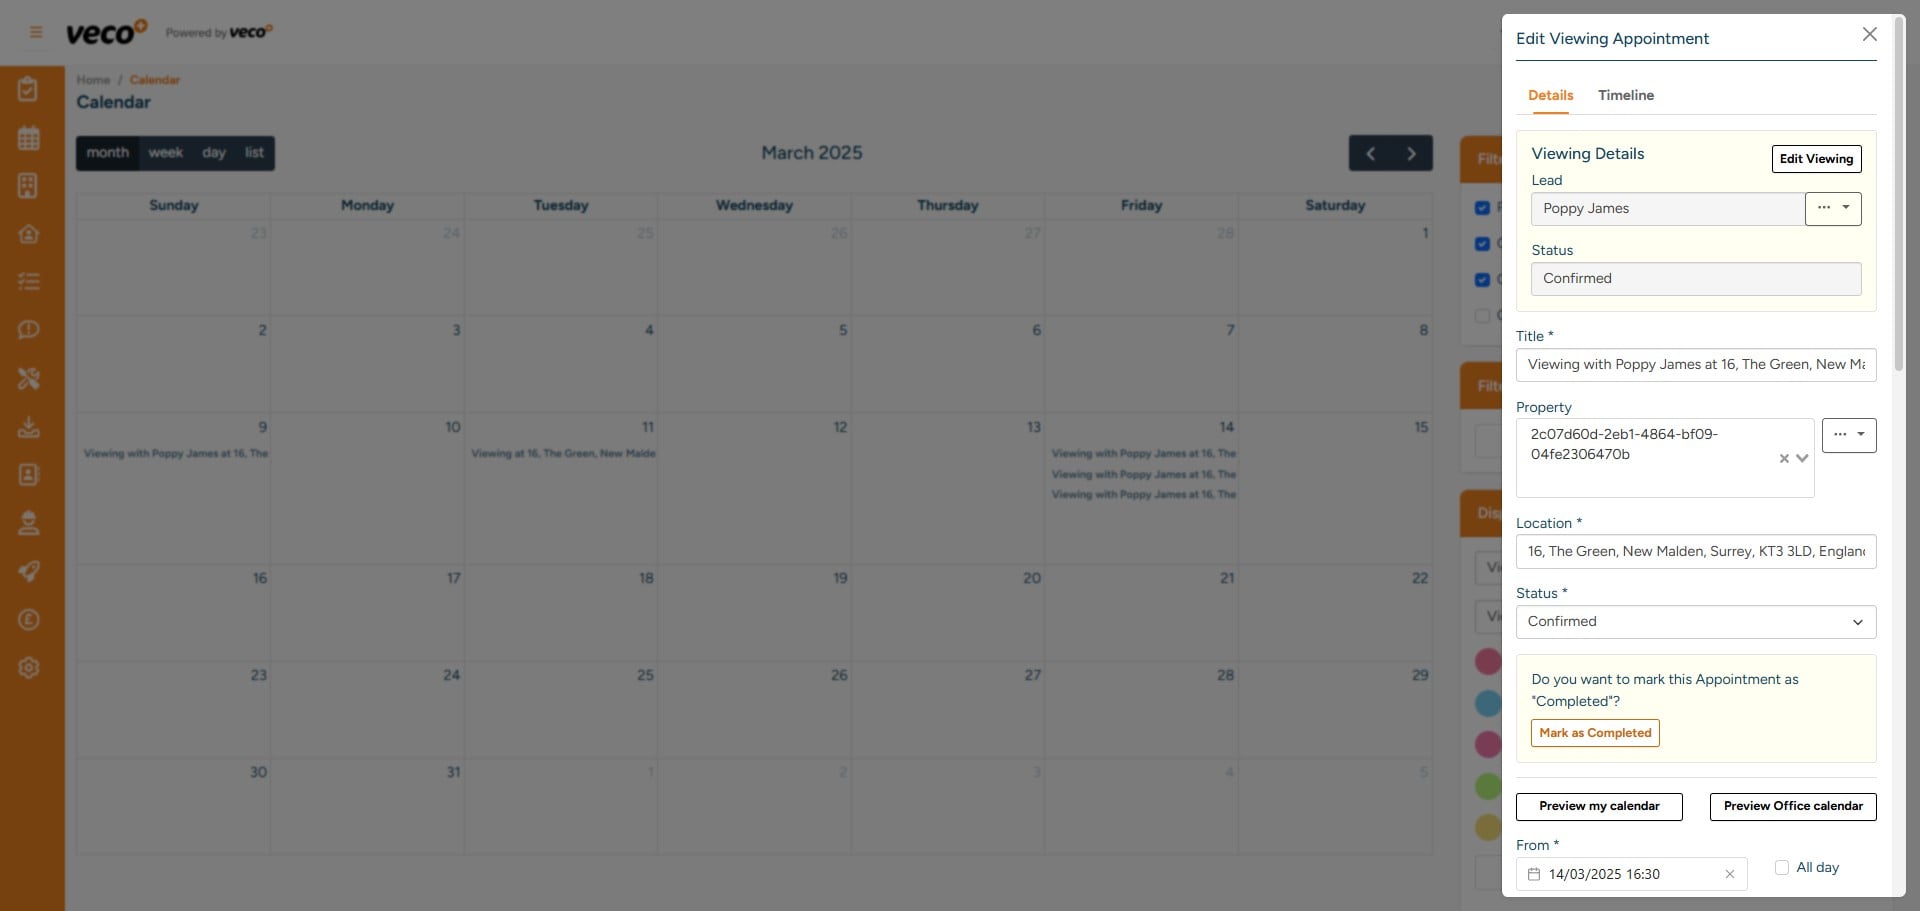
By selecting 'View Viewing' on the notification after saving, you will be able to add feedback, notes and follow up appointments. You can also get to the same place by selecting a viewing in the calendar and then 'Edit Viewing'
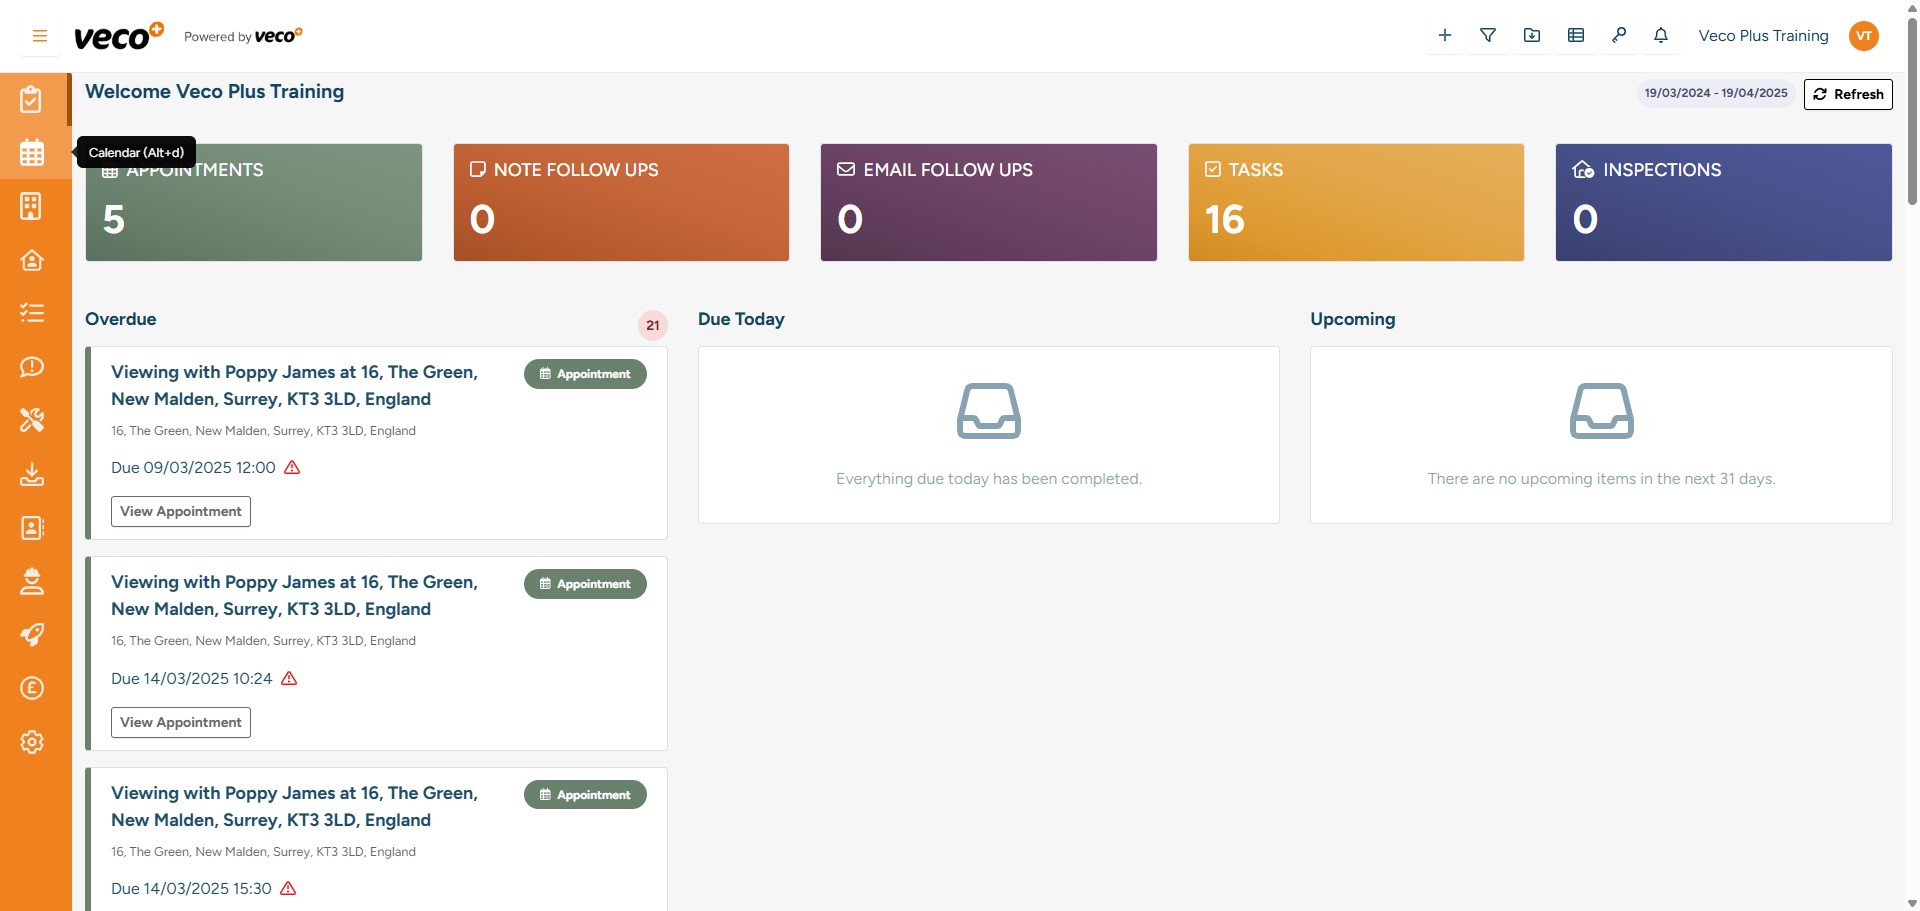
You can also book a Viewing by selecting the 'Calendar' on the navigation bar
Please select the date and time of the appointment you would like to book
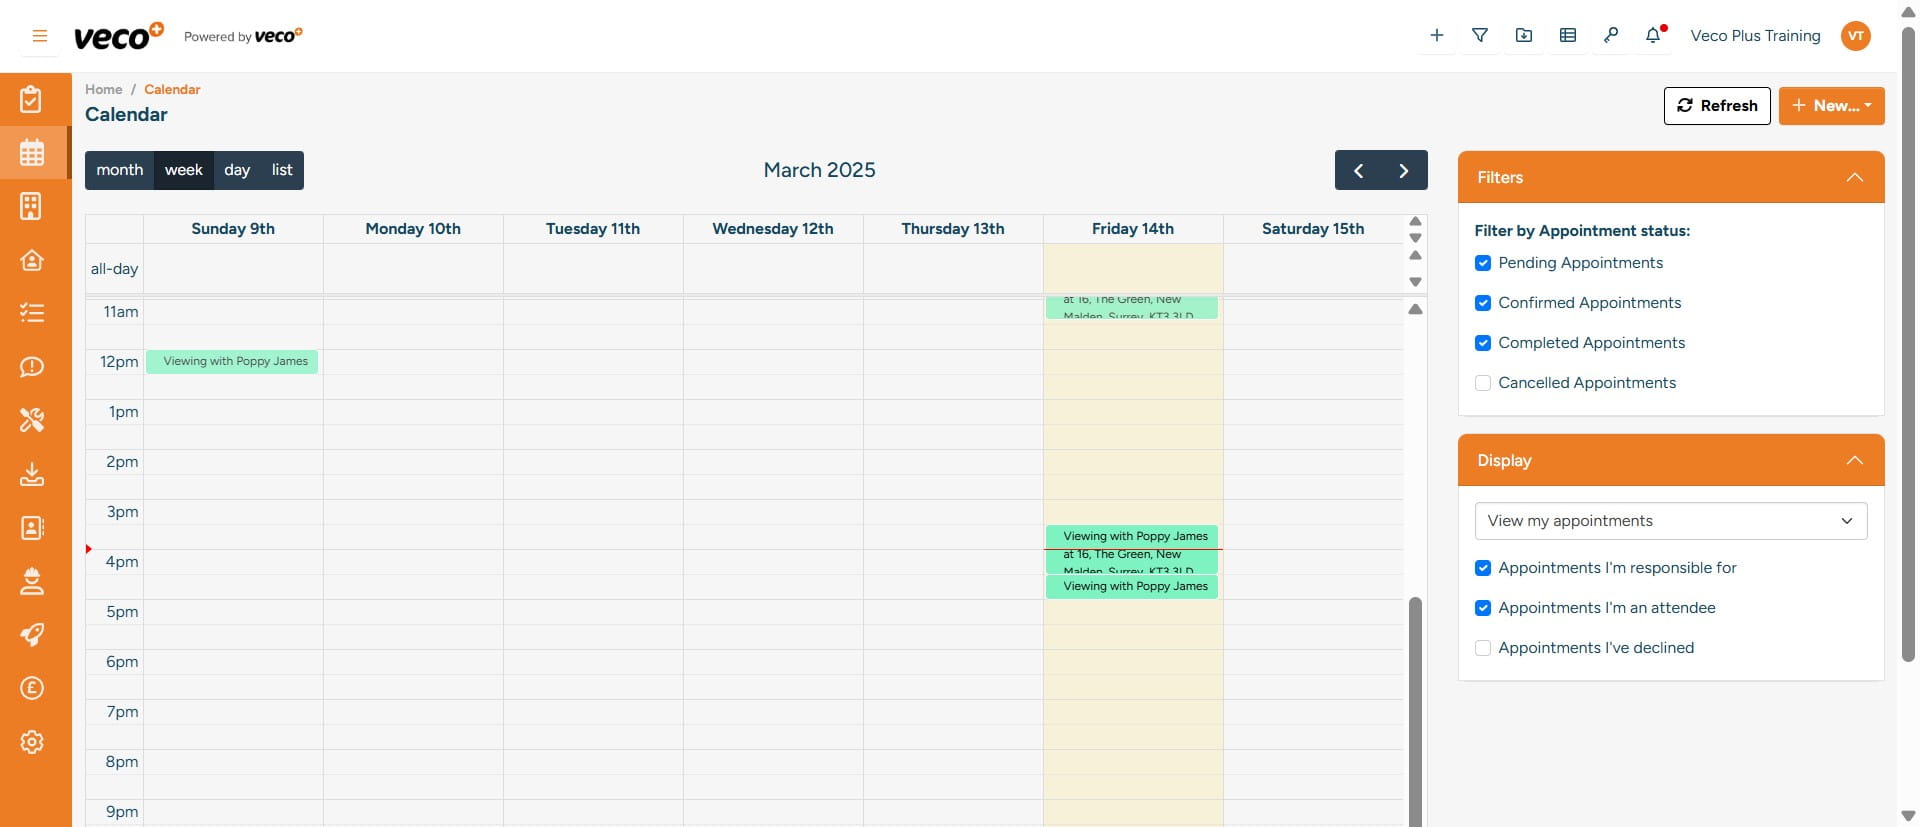
This will bring up the following options, then select ‘New Viewing’
Fill in the required details and 'Save'
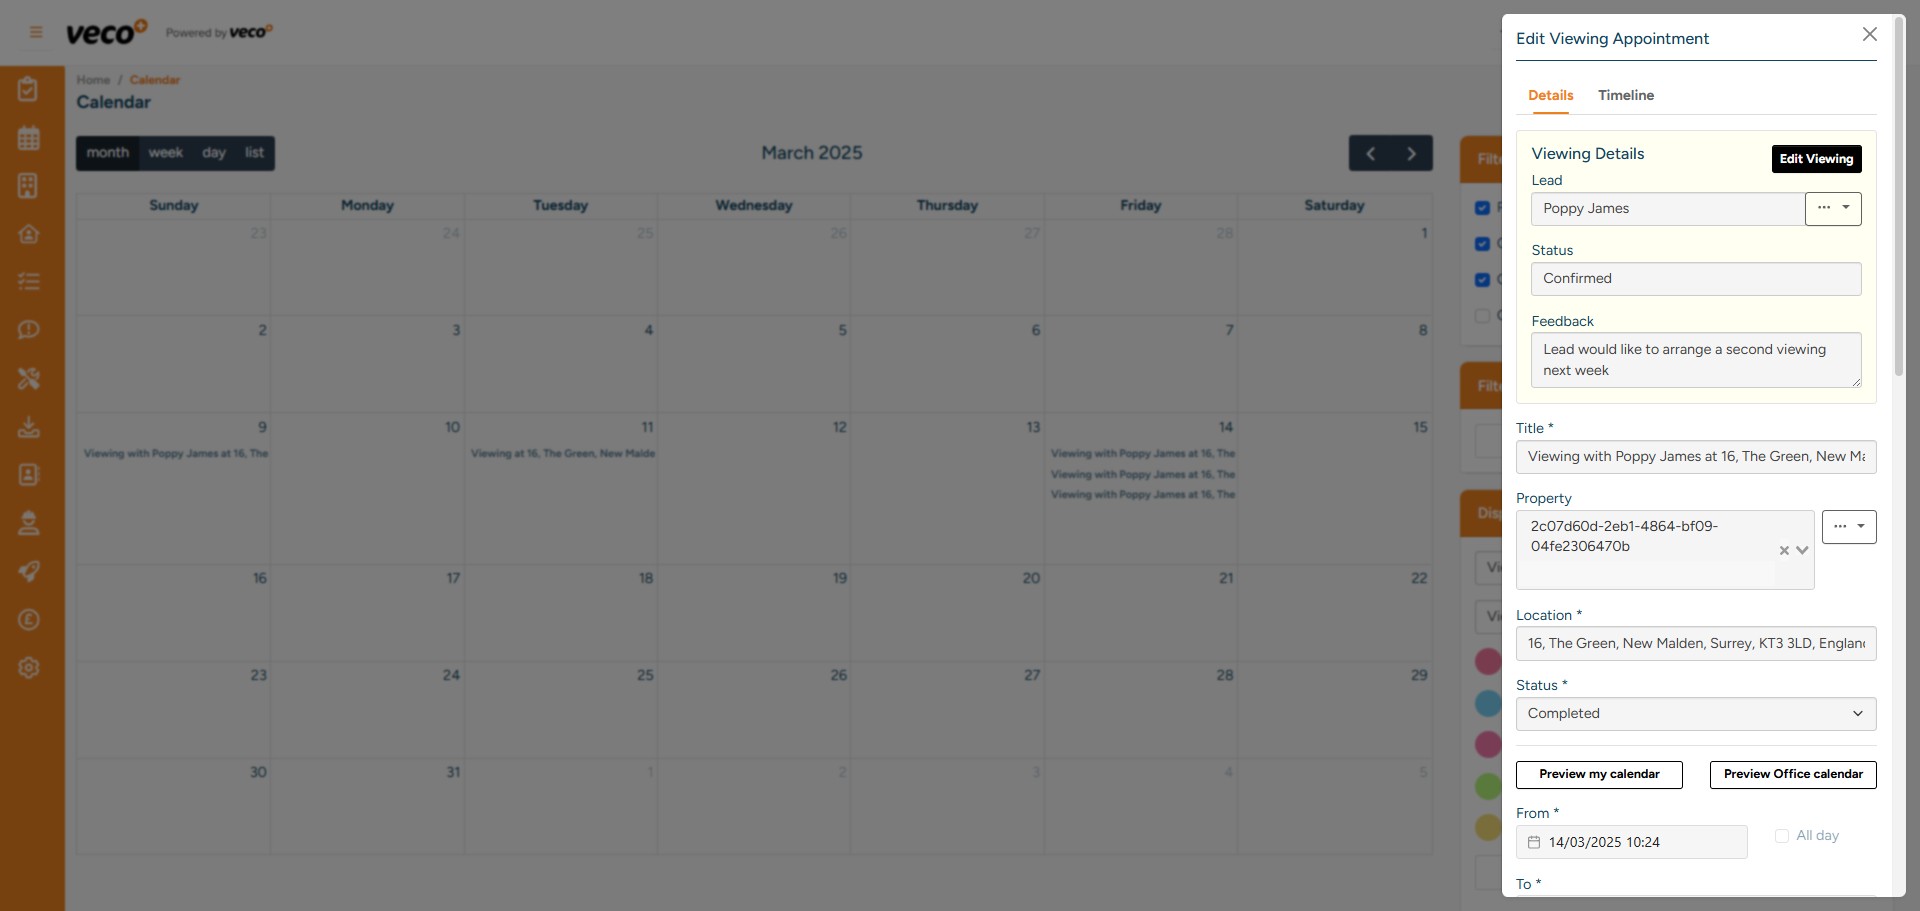
Once the Viewing has been completed, you can open the Viewing and select 'Mark as Completed'
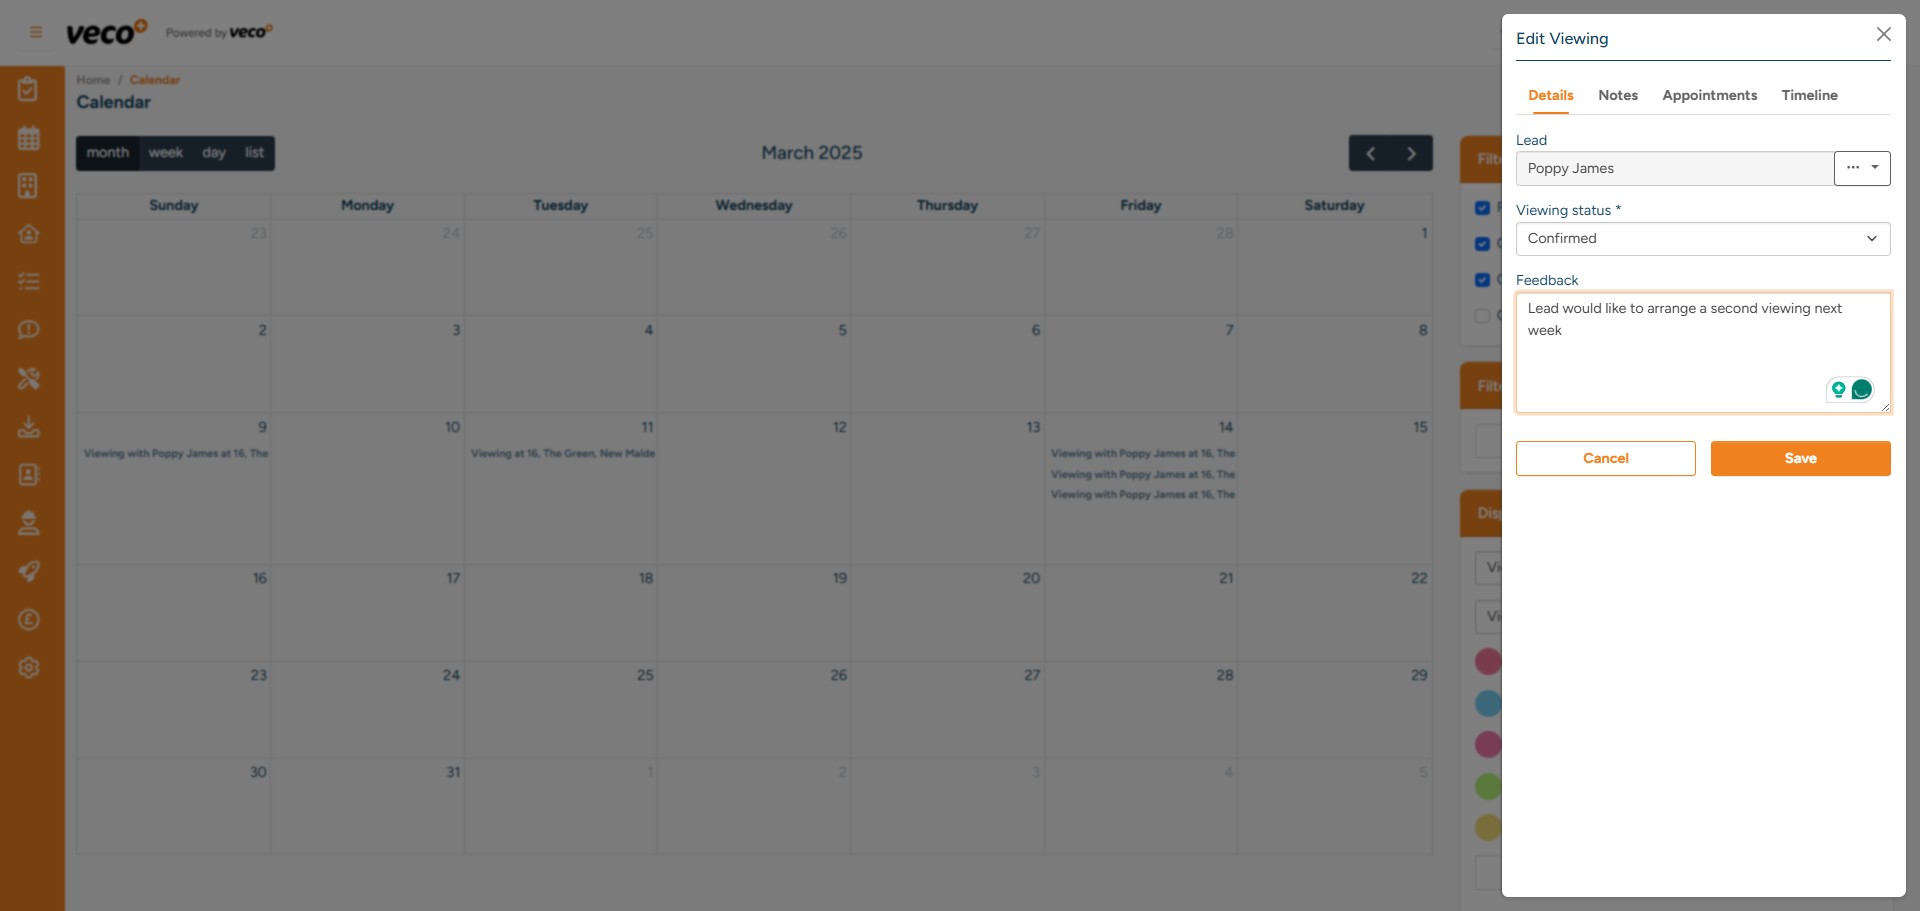
You can also leave feedback, then select 'Save'
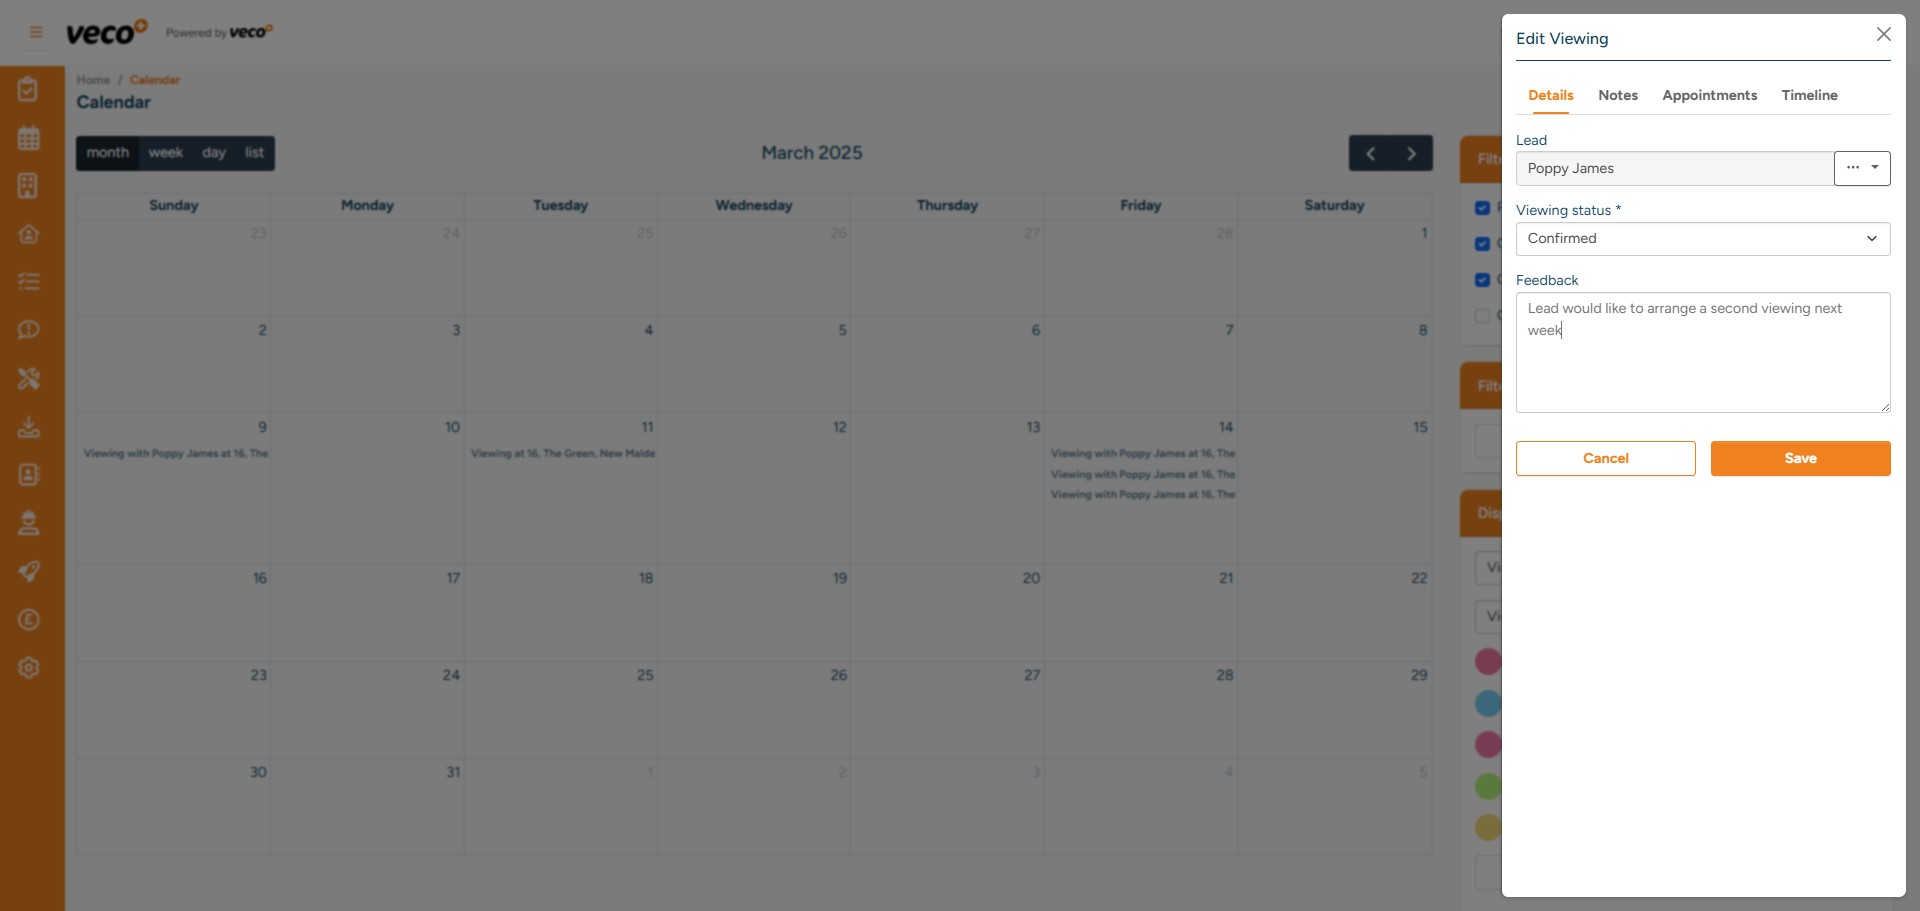
If the Lead would like a second Viewing for this property, select 'Edit'
Then select 'Appointments'
Then you can select 'New Appointment'