Import Receipts
May 22, 2026●
1
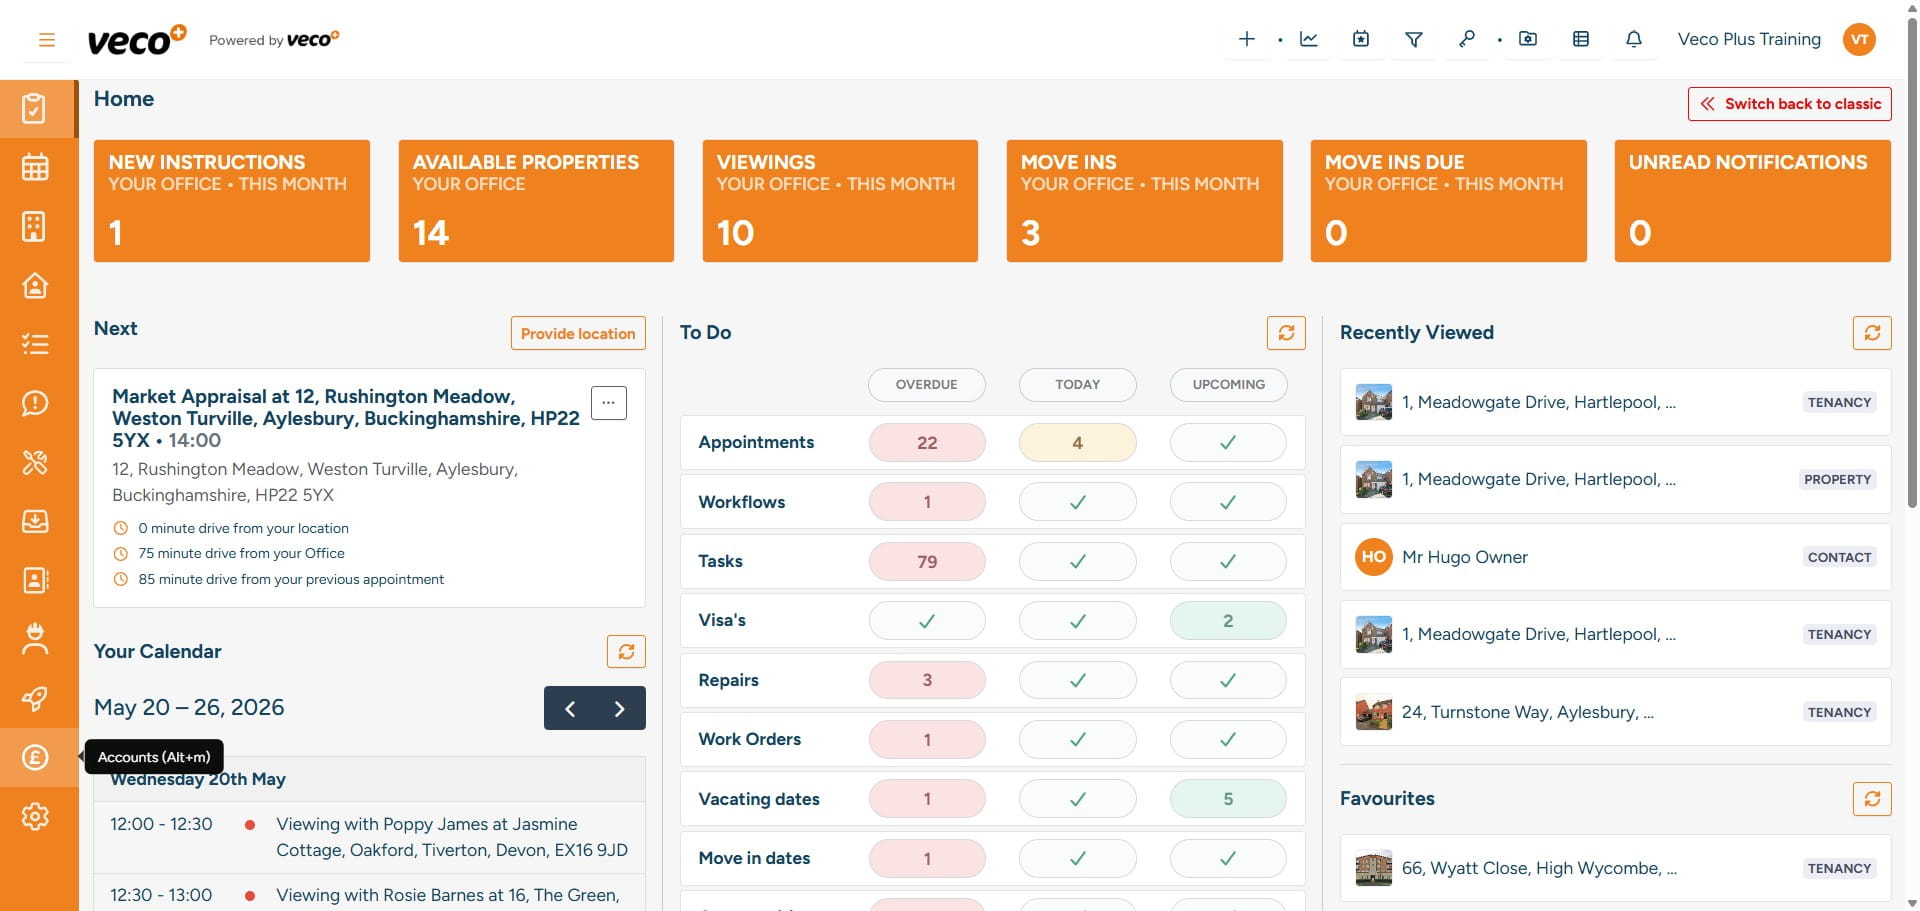
Select 'Accounts' on the navigation bar
2
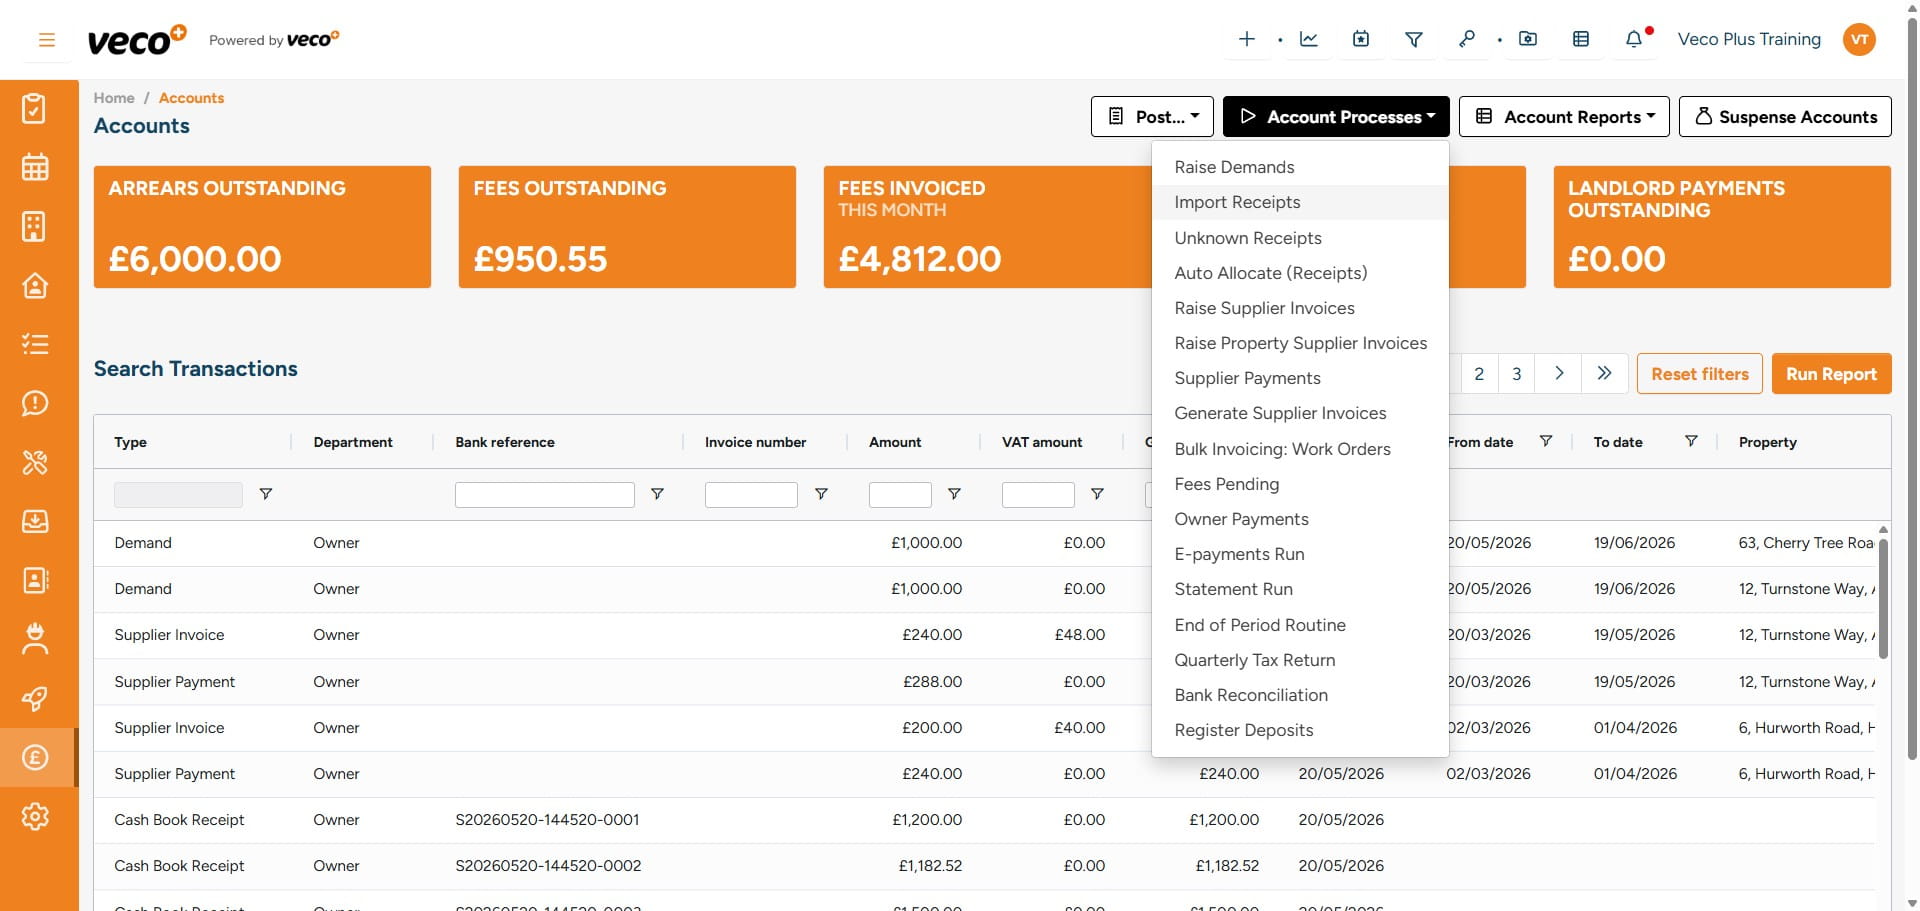
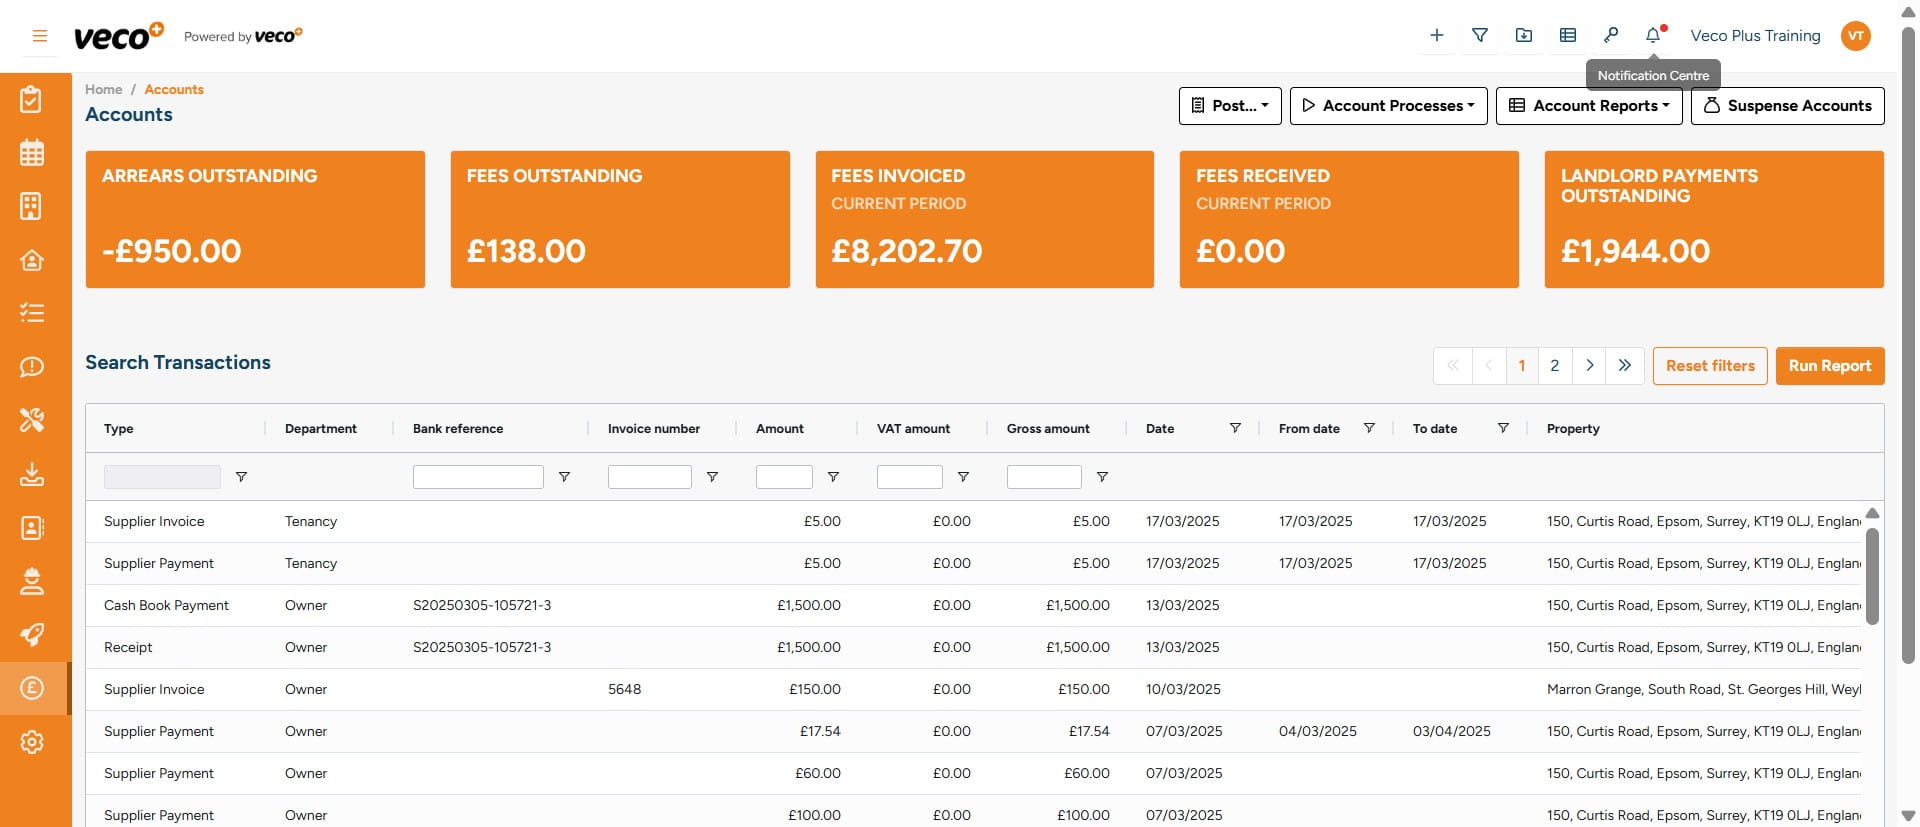
Select 'Account Processes'
3
Select 'Import Receipts'
4
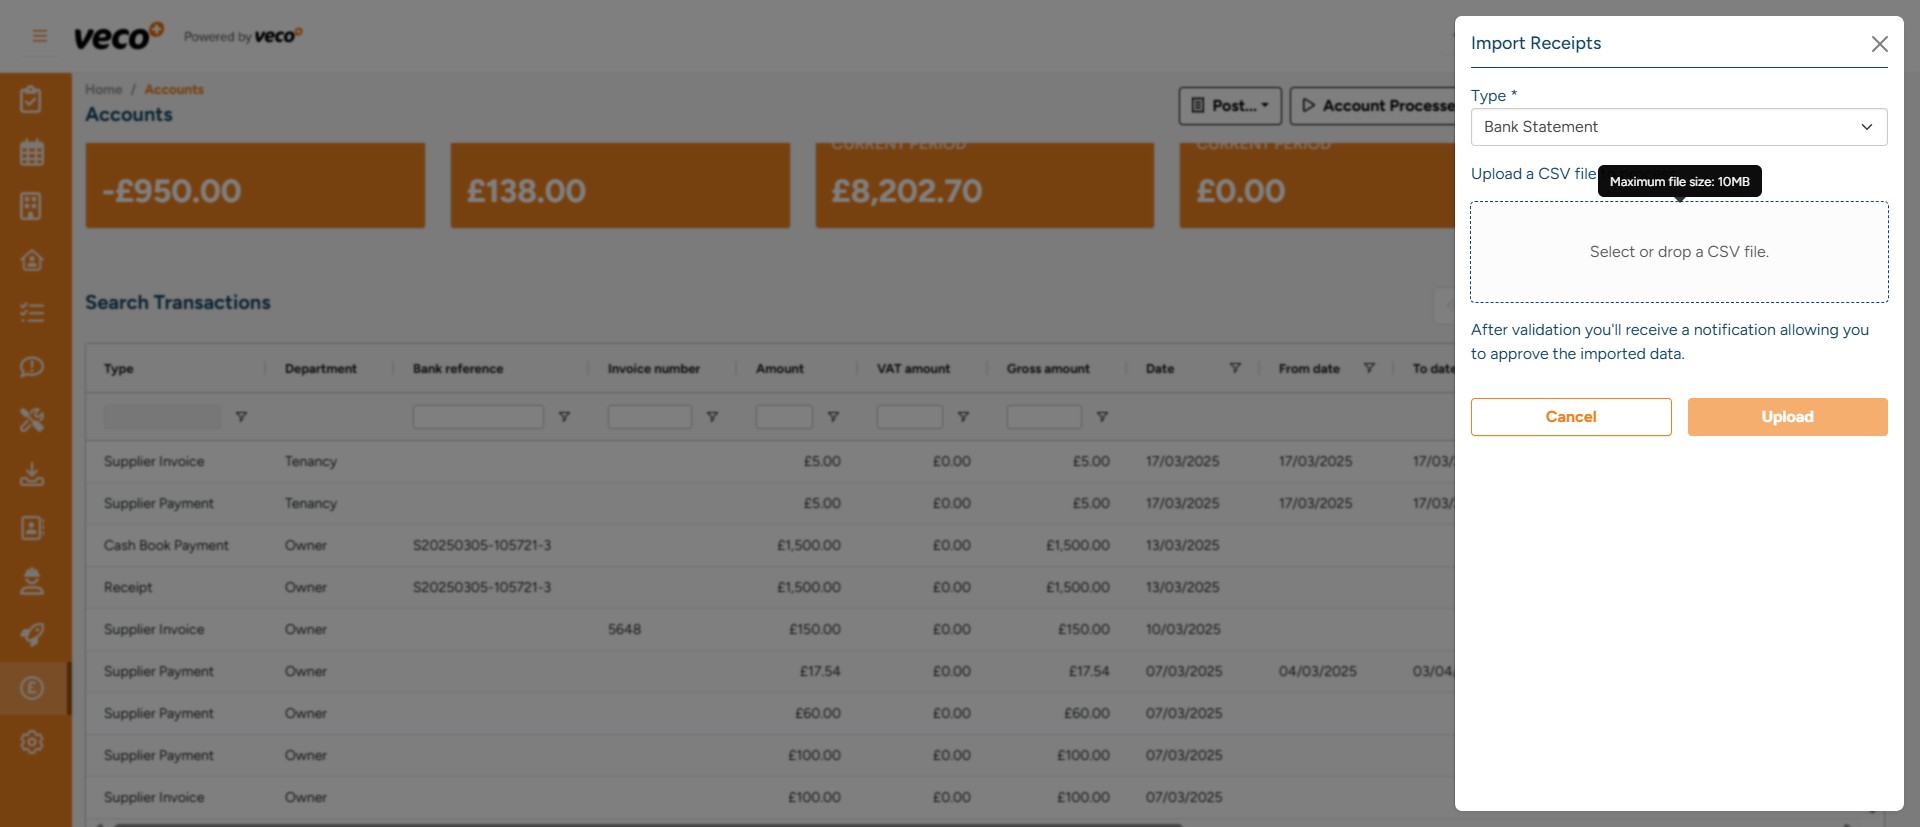
Select whether the file is a 'Bank Statement' or a 'Card Statement'
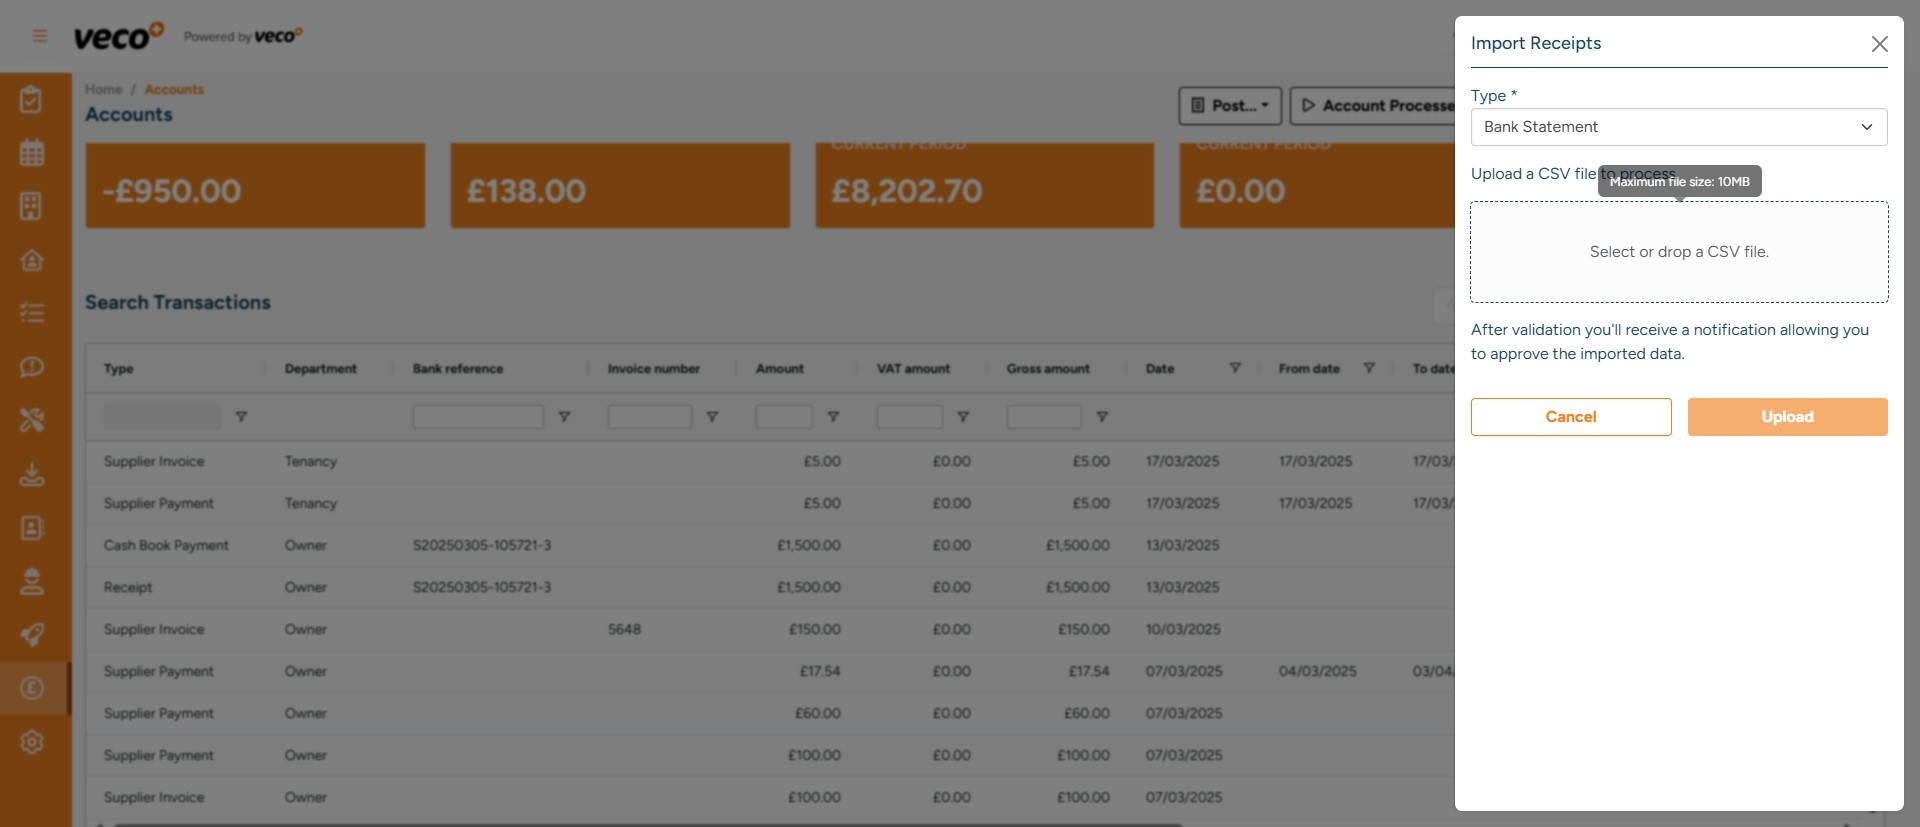
5
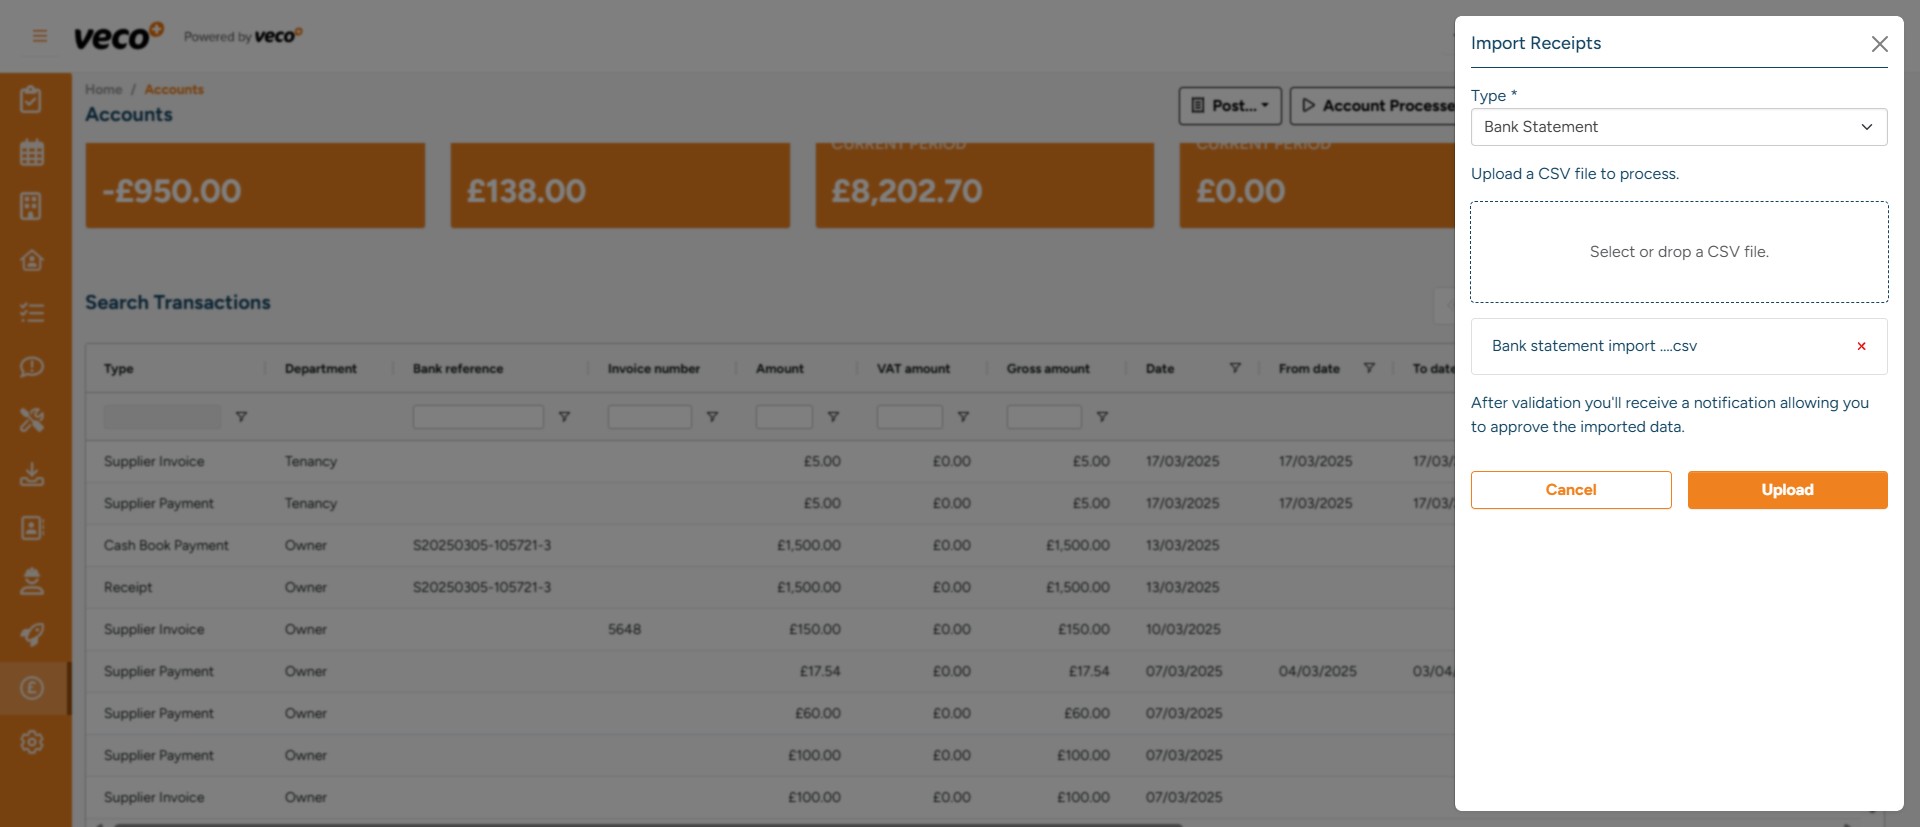
You can either click to select or drag and drop the CSV file into the drop box
6
Once the file has been added, select ' Upload'
7
The import process will then be initiated and the file validated
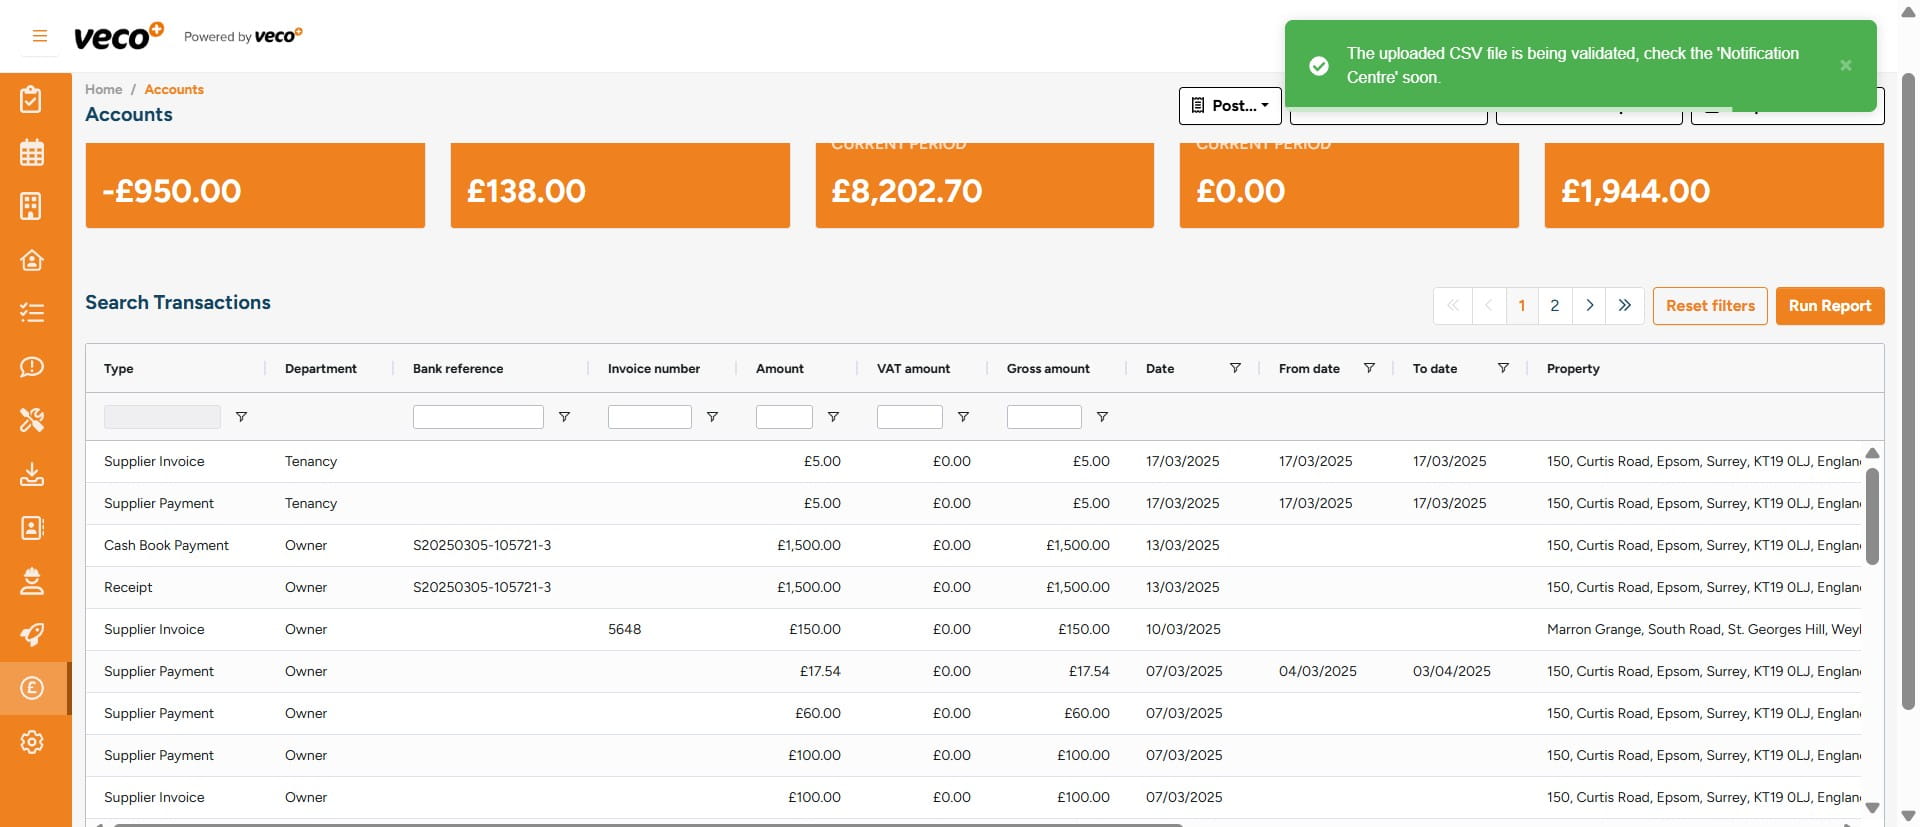
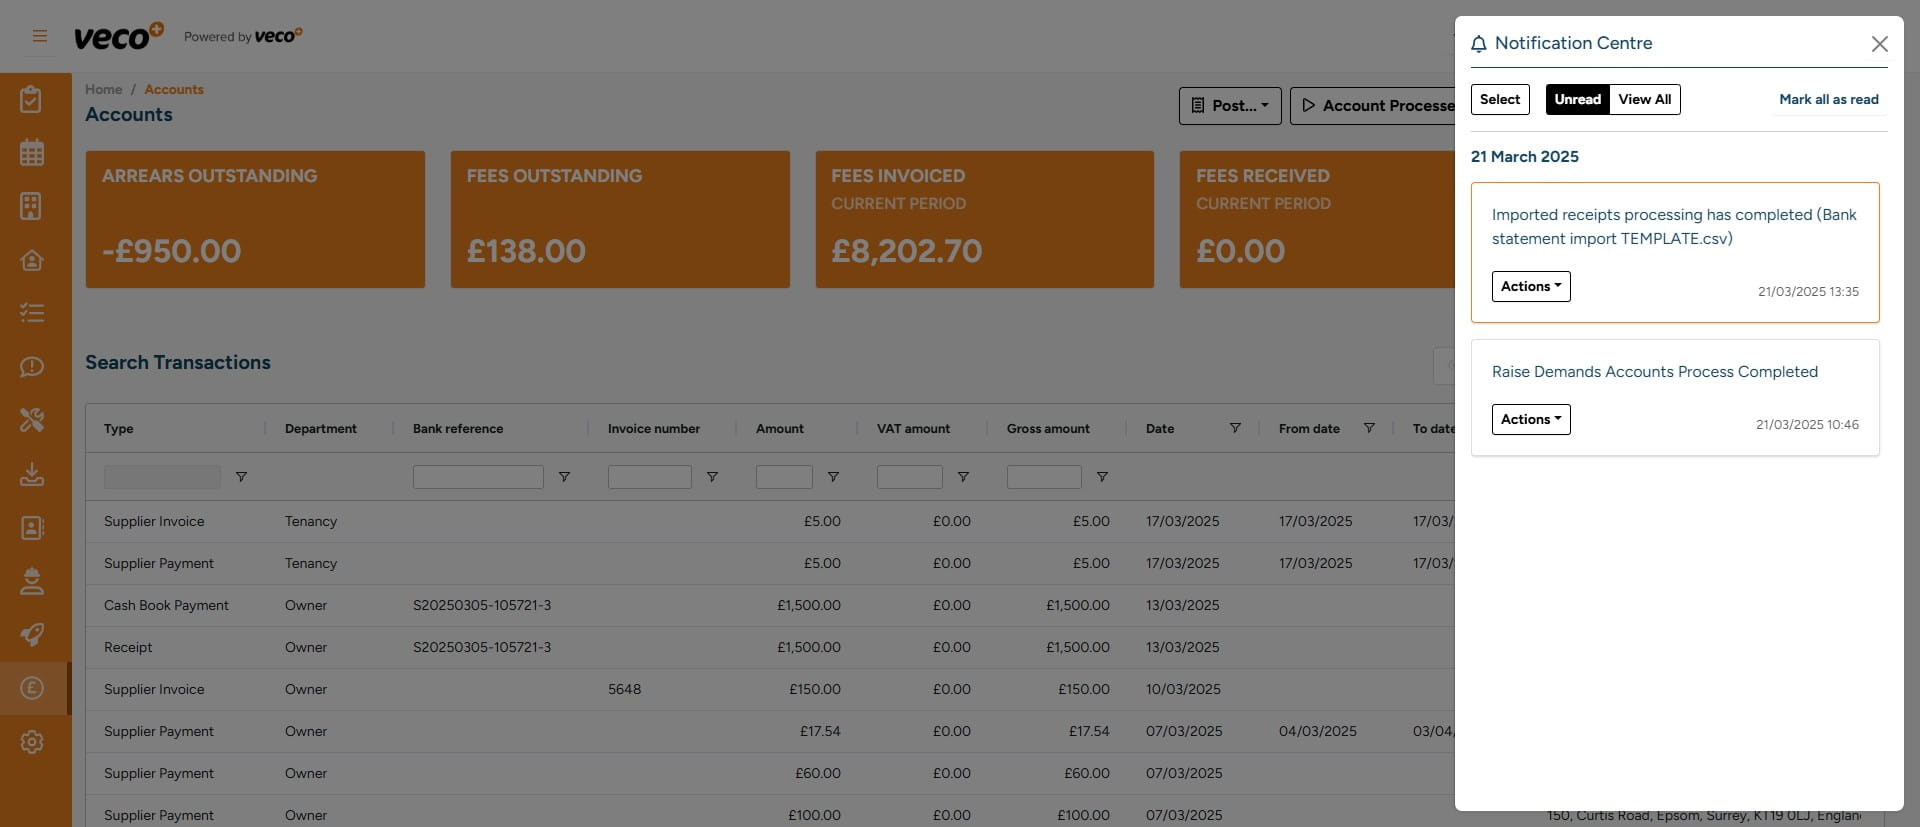
8
Once the upload has been completed, you will get a notification in the notification centre
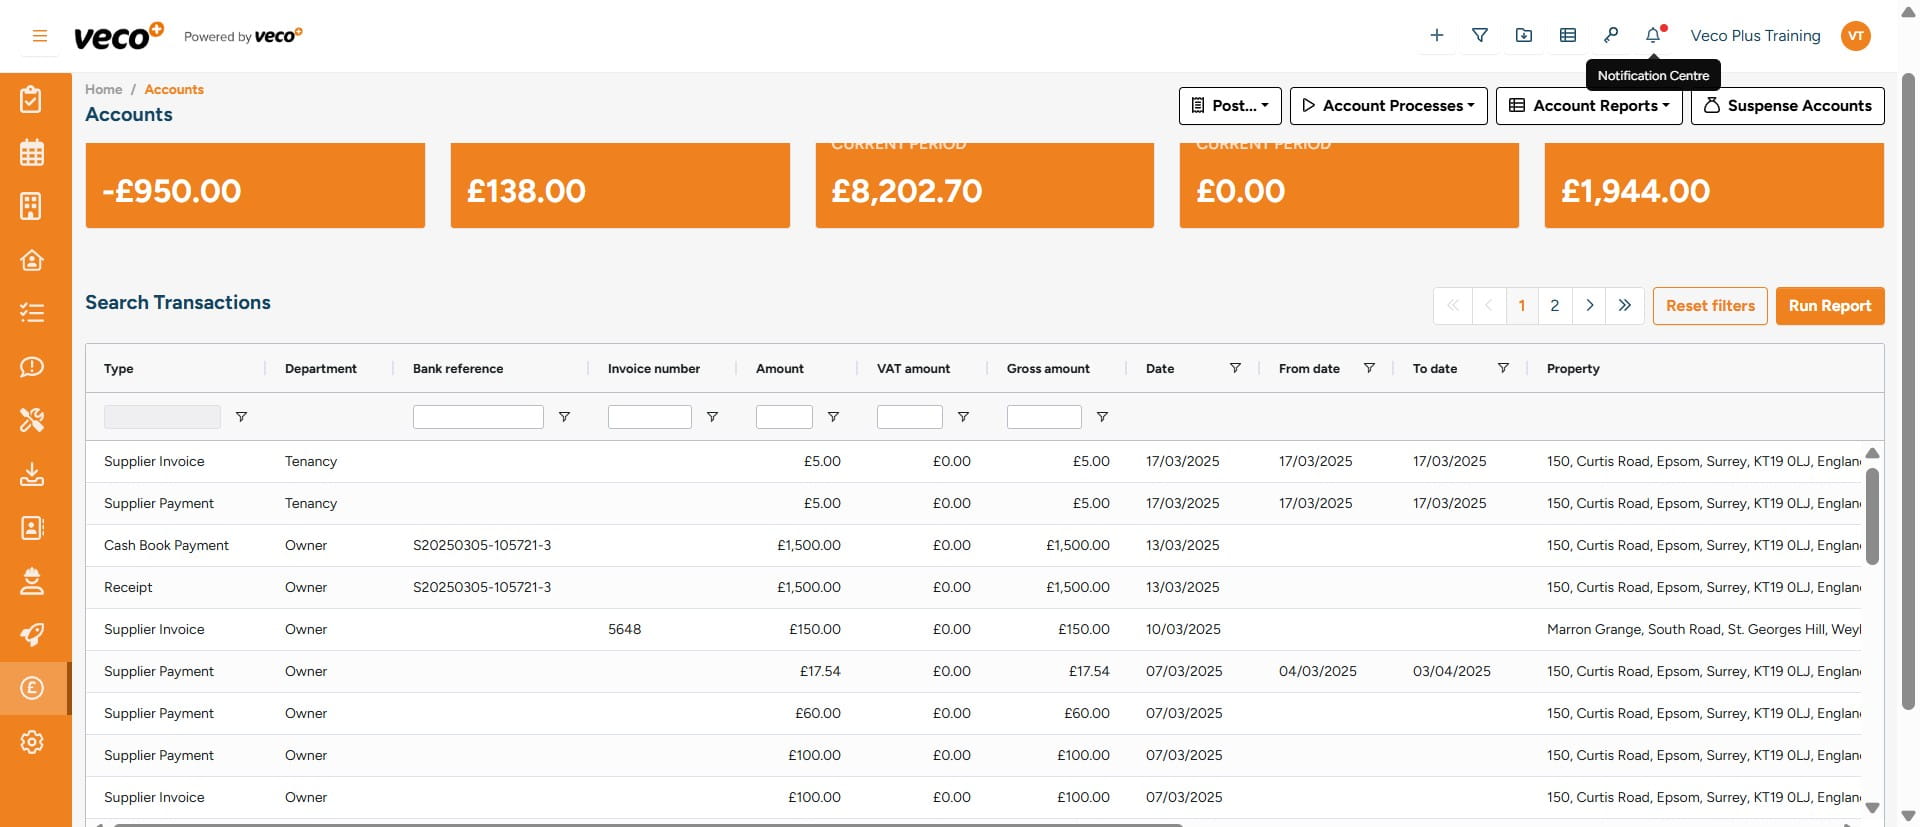
9
Select the notification
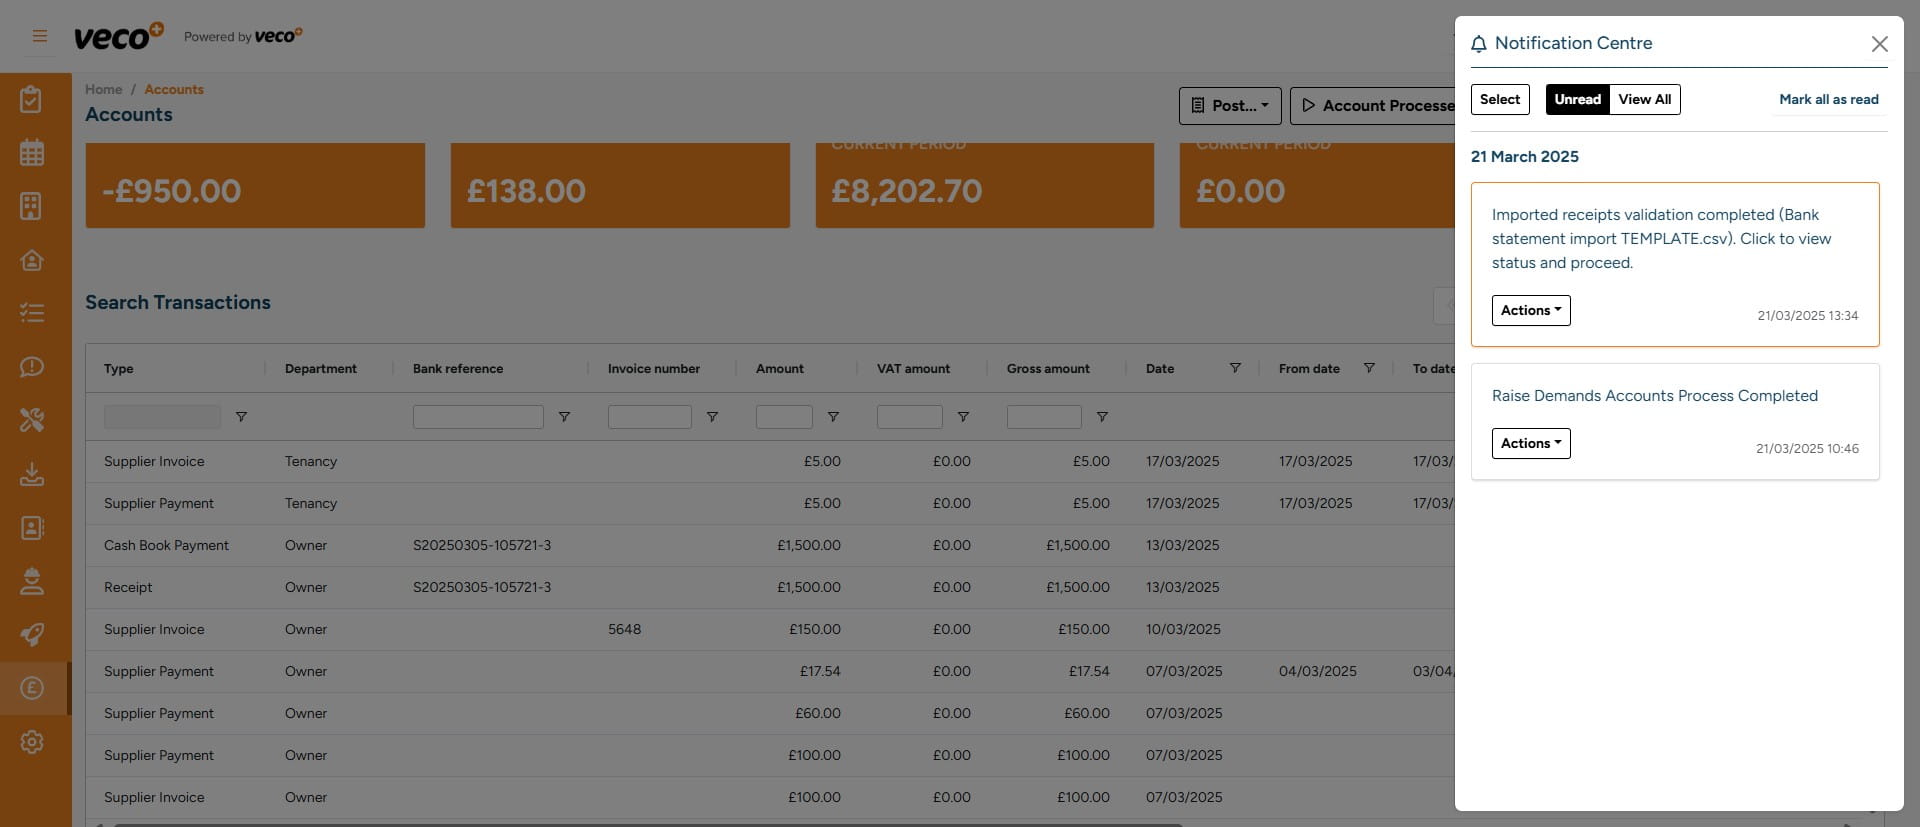
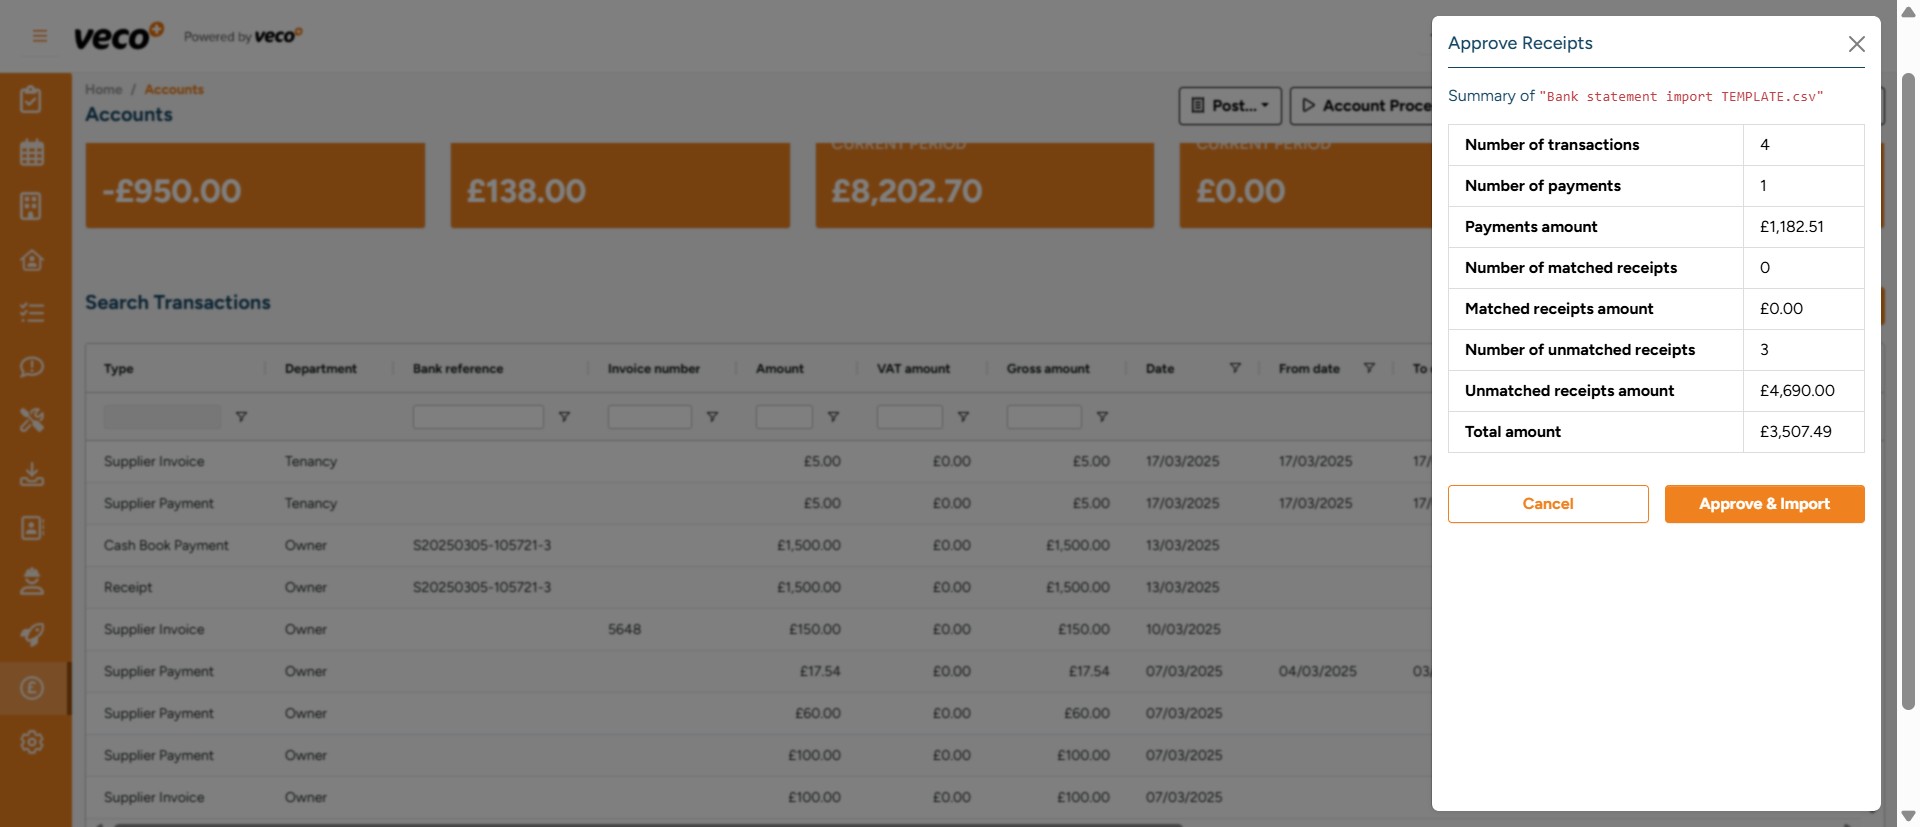
10
You will now need to approve the receipts before selecting ' Approve & Import'
11
The import will then be queued
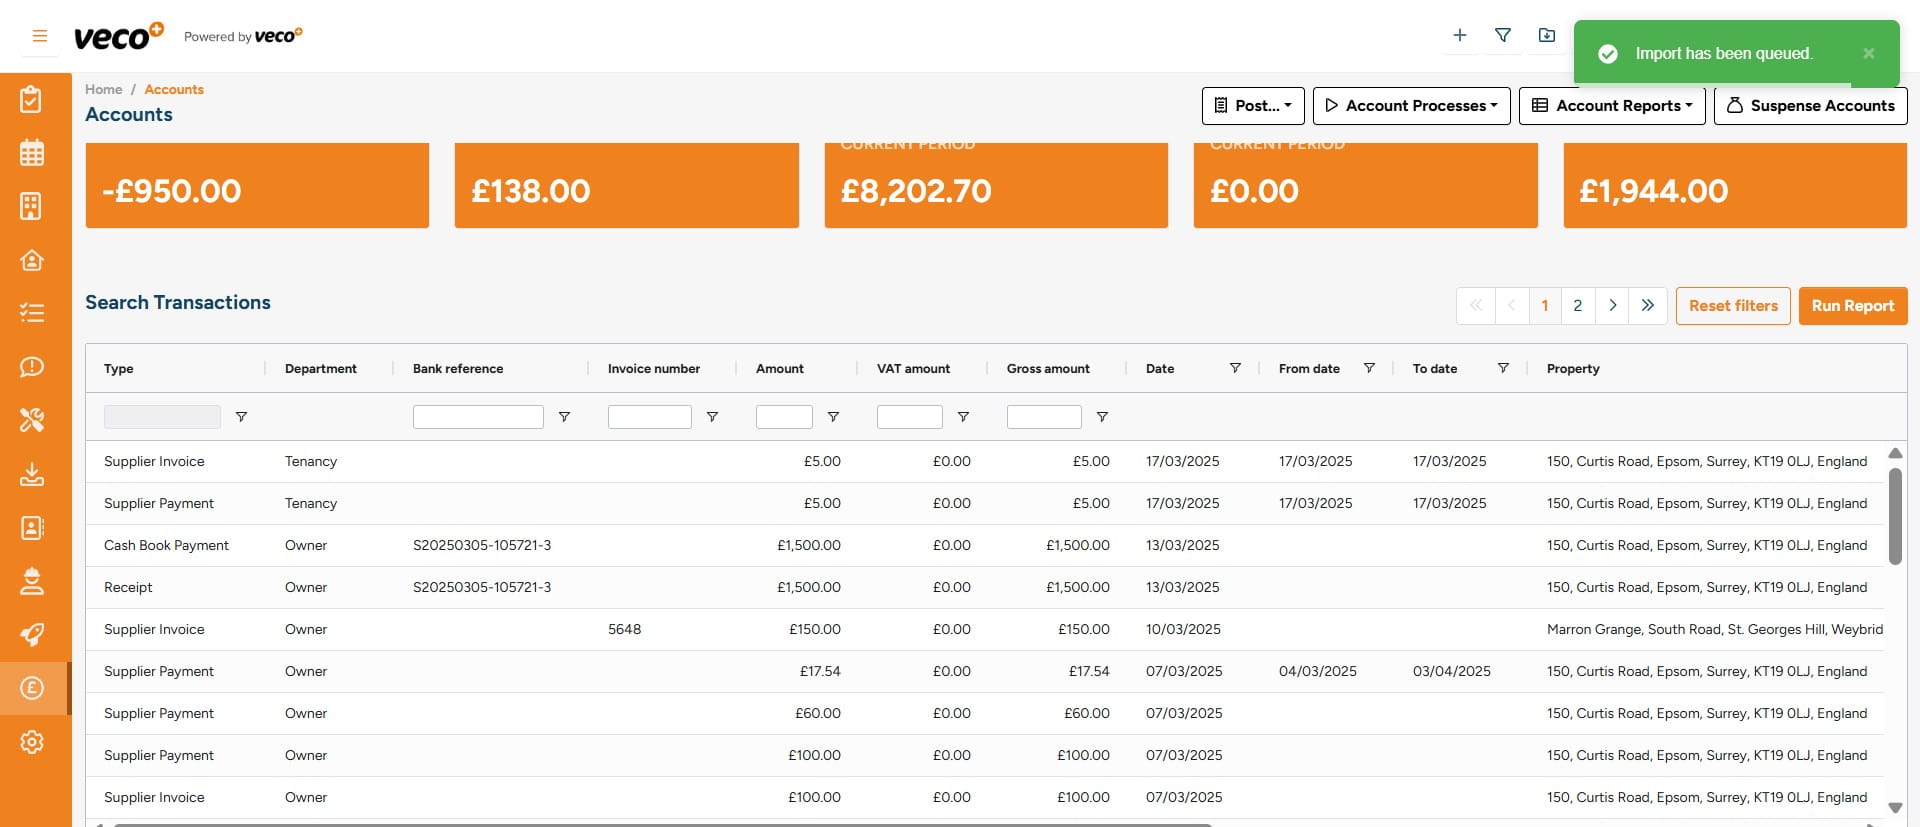
12
You will then get another notification in the notification centre confirming once the import is complete
13
By selecting 'Actions' you can mark this notification as read